Fixing Flipped Backfaces in PiXYZ Studio
Tutorial
intermediate
+10XP
30 mins
Unity Technologies

PiXYZ Studio can flip backfaces manually, or as part of a script or repair operation. Almost every time you reorient faces as part of a script or repair operation, manual adjustment is necessary as the user has no control in those scenarios. In this tutorial you will learn how to fix flipped backfaces in PiXYZ Studio.
Languages available:
1. Fixing Flipped Backfaces in PiXYZ Studio
This tutorial has been verified using Unity 2019 LTS and PiXYZ 2020.1.1.8.
In Unity, faces that are flipped (facing away from the camera, also known as backfaces) are typically culled, or removed from view. Whatever is behind the face, from the camera’s point of view, will be shown instead. The exception to this is when the face’s material is two-sided. PiXYZ Studio can flip backfaces manually, or as part of a script or repair operation. Almost every time you reorient faces as part of a script or repair operation, manual adjustment is necessary as the user has no control in those scenarios.
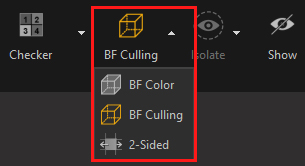
In the top center of the PiXYZ Studio window is a button that sets how backfaces are dealt with (Figure 01). It has three settings, which can be cycled through by clicking, or using the dropdown triangle:
BF COLOR: Backfaces are highly visible and distinct from front-oriented faces, selectable, and rendered in solid hot pink. This is the recommended setting when orienting faces in PiXYZ Studio.
BF CULLING: Backfaces are removed from view.
2-SIDED: Backfaces are indistinguishable from front-oriented faces in both appearance and behavior.
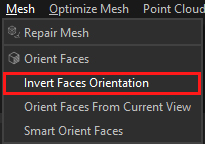
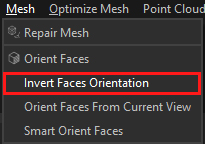
It’s possible, if unlikely, that you will need all backfaces in an occurrence. In this case, click to select the occurrence, and select Invert Faces Orientation from the Mesh dropdown (Figure 02). The steps ahead will show you how to flip individual faces.
1. Click a face or occurrence to be flipped. Either action will select the whole occurrence.
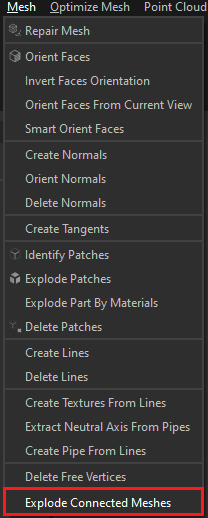
2. From the Mesh dropdown, select Explode Connected Meshes (Figure 03). The components of this occurrence are now individually selectable.
3. While holding Ctrl to enable selection of multiple parts, click the faces you want to flip. (Figure 04)

4. If you select a wrong face, click it again while still holding Ctrl to deselect it.
5. From the Mesh dropdown, select Invert Meshes Orientation. (Figure 05)
6. In the Product Structure pane, click to select the original part that you exploded.
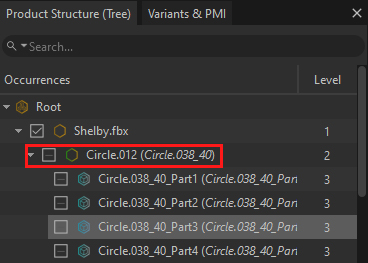
7. To make it easier, you can right-click one of the faces you flipped, select Find in tree from the context menu, and it will be highlighted in the Product Structure (Figure 06). Click to select its parent.
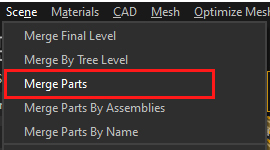
9. With the exploded part selected in the Product Structure pane, select Merge Parts from the Scene dropdown. (Figure 07)
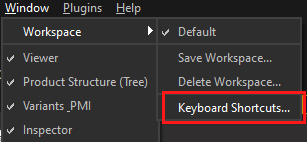
Flipping backfaces is already fast but can be sped up by assigning shortcut keys to the actions presented here. To view and edit keyboard shortcuts, select Workspace > Keyboard Shortcuts from the Windows dropdown. (Figure 08)
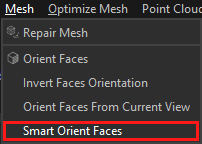
Alternatively, utilizing the Smart Orient Algorithm found in the Mesh dropdown menu will automatically orient all the faces consistently at once. This is meant to be used on a full mock-up model like a car.
2. Conclusion
Proper orientation of faces is important. Unless your material is 2-sided, a backface will render incorrectly (or not at all) in Unity.