Get started on your guided project
Tutorial
Beginner
+10XP
20 mins
568
Unity Technologies
Before you begin creating in your guided project, there are a few options to consider and technical tasks to complete, which you’ll use for every new Unity project.
By the end of this tutorial, you'll be able to:
- Define key terms of real-time graphics including rendering, render pipeline, and scriptable render pipeline.
- Identify the differences between Unity’s provided render pipelines, including advantages, disadvantages, and common use cases for each.
- Create a new project using a particular render pipeline.
Materials
Languages available:
1. Overview
You have selected a design document to use as a reference for your guided project. In this tutorial, you will create a new Unity project, import the assets you’ll need, and begin working on your scene.
This tutorial will guide you through the technical decisions you need to make when creating a new Unity project with a specific goal in mind.
2. Before you begin
Update the Unity Hub
Before you begin to set up your Unity project, consider updating your Unity Hub to the latest release. If you are using an older version of the Hub, there may be differences between the guidance provided and your experience.
Get the latest LTS version
Install Unity 6, if you haven’t already done so.
3. Browse possible templates for your project
When you create a new project from Unity Hub, you’re immediately confronted with a very important decision: which template should you use?
Templates offer different starting points for your Unity project, configured and optimized for different purposes. Let’s take a look at the options.
1. Open the Unity Hub and select New Project. You will notice a long list of possible templates to choose from. As you click through the options, you can also see a brief description of each template on the right side, with an option to Read more.

2. Since you are going to be making a 3D project, select and read the descriptions for each of the following templates:
- Universal 3D
- Universal 3D sample
- High Definition 3D
- High Definition 3D sample
- 3D (Built-In Render Pipeline)
Noted in the descriptions — and very importantly — each of the templates utilizes a different Render Pipelines:
- The Universal 3D template and Universal 3D sample uses the Universal Render Pipeline (URP).
- The High Definition 3D template and High Definition 3D sample uses the High Definition Render Pipeline (HDRP).
- The 3D template uses the Built-In Render Pipeline.
But what are render pipelines exactly? And how do you choose the right one?
To understand render pipelines, let’s proceed one word at a time, beginning with the first word: render. What is rendering?
4. What is rendering?
Rendering is the process of taking three-dimensional (3D) data and using it to generate a two-dimensional (2D) image for a screen.

Let’s break it down even further:
In Unity, you can position 3D models, apply materials to those models, and point a virtual camera at them. Rendering is taking in all that data (object geometry, position, colors, lighting, and much more) and producing an image from the perspective of a camera.

So now that you know what rendering is, let’s move on to the second word: pipelines.
5. What are render pipelines?
If rendering is the process of getting from point A to point B (3D data to a 2D image), then you can think of render pipelines as the different ways of getting there.

Since each render pipeline uses different techniques and calculations to produce a 2D image, the results can vary, depending on which pipeline you choose.
Choosing a render pipeline for your project is just like choosing whether to walk, cycle, or drive to your destination; no one option is inherently better or worse than the other – it just depends on your goals!
And just as walking, cycling, and driving have advantages and disadvantages, so too do different render pipelines. One is fastest, one might be easiest, and sometimes, one won’t work at all for where you’re trying to go! That’s why it’s important to choose the render pipeline that best suits your goals for the project.
6. Choose a render pipeline
What are the options?
Let’s revisit the template options you looked at in the Hub in a bit more detail, including their advantages and disadvantages:
- Unity’s Built-In Render Pipeline works on all platforms and is pretty reliable. It’s easy to use, but it is built-in to Unity, so it’s not very customizable. It isn’t the most efficient, either.
- The Universal Render Pipeline (URP) is ideal for mobile, web, and VR projects, since it is highly optimized for performance. It’s a bit more complex to configure, but it is more customizable than the Built-In Render Pipeline. It can produce pretty decent graphics.
- The High Definition Render Pipeline (HDRP) is designed to produce high-quality graphics for high-end platforms, like consoles or gaming computers, where there is plenty of processing power. It is very complex to configure, so should only be used by people with lots of graphics experience.
URP and HDRP are both Scriptable Render Pipelines (SRPs). SRPs are highly customizable and can even be written from scratch. Since writing a render pipeline is a big task, Unity provides these two SRPs as templates, which will handle most projects.
Make the decision
So, which one should you choose?
Let’s immediately rule out HDRP, since we’re not targeting extremely high end machines and because it requires a lot of graphics expertise.
But how should you choose between the Built-In Render Pipeline and URP? Well the whole point of this pathway is for you to learn and experiment with the core features of Unity’s creative systems, including lighting, materials, post-processing, and visual effects. So here are some reasons to choose URP over the Built-In Render Pipeline:
- URP is more customizable than the Built-In Renderer Pipeline, allowing you to experiment more.
- Some really powerful new editor features like Shader Graph and VFX Graph are only compatible with URP and not the Built-In Render Pipeline.
- URP projects are optimized for performance on whichever platform you want to target (web, desktop, mobile, or VR).
To sum up: HDRP is too fancy, and the Built-In Render Pipeline isn’t quite customizable enough for what we want to do – so we’ll use URP throughout this pathway.

If you want a more in-depth look at the decision-making process that might go into selecting a render pipeline, take a look at this decision flow-chart.
7. Create a new URP project
With the render pipeline decision out of the way, you are ready to create your project.
1. Create a new Unity project using the Universal 3D Sample Scene template. Name it something like “GuidedProjectAlienVideoGameShop” (or whichever design document you selected).
Unity will open to a sample project to showcase URP’s features. Take a moment to admire the beautiful example scene that comes with the URP template.
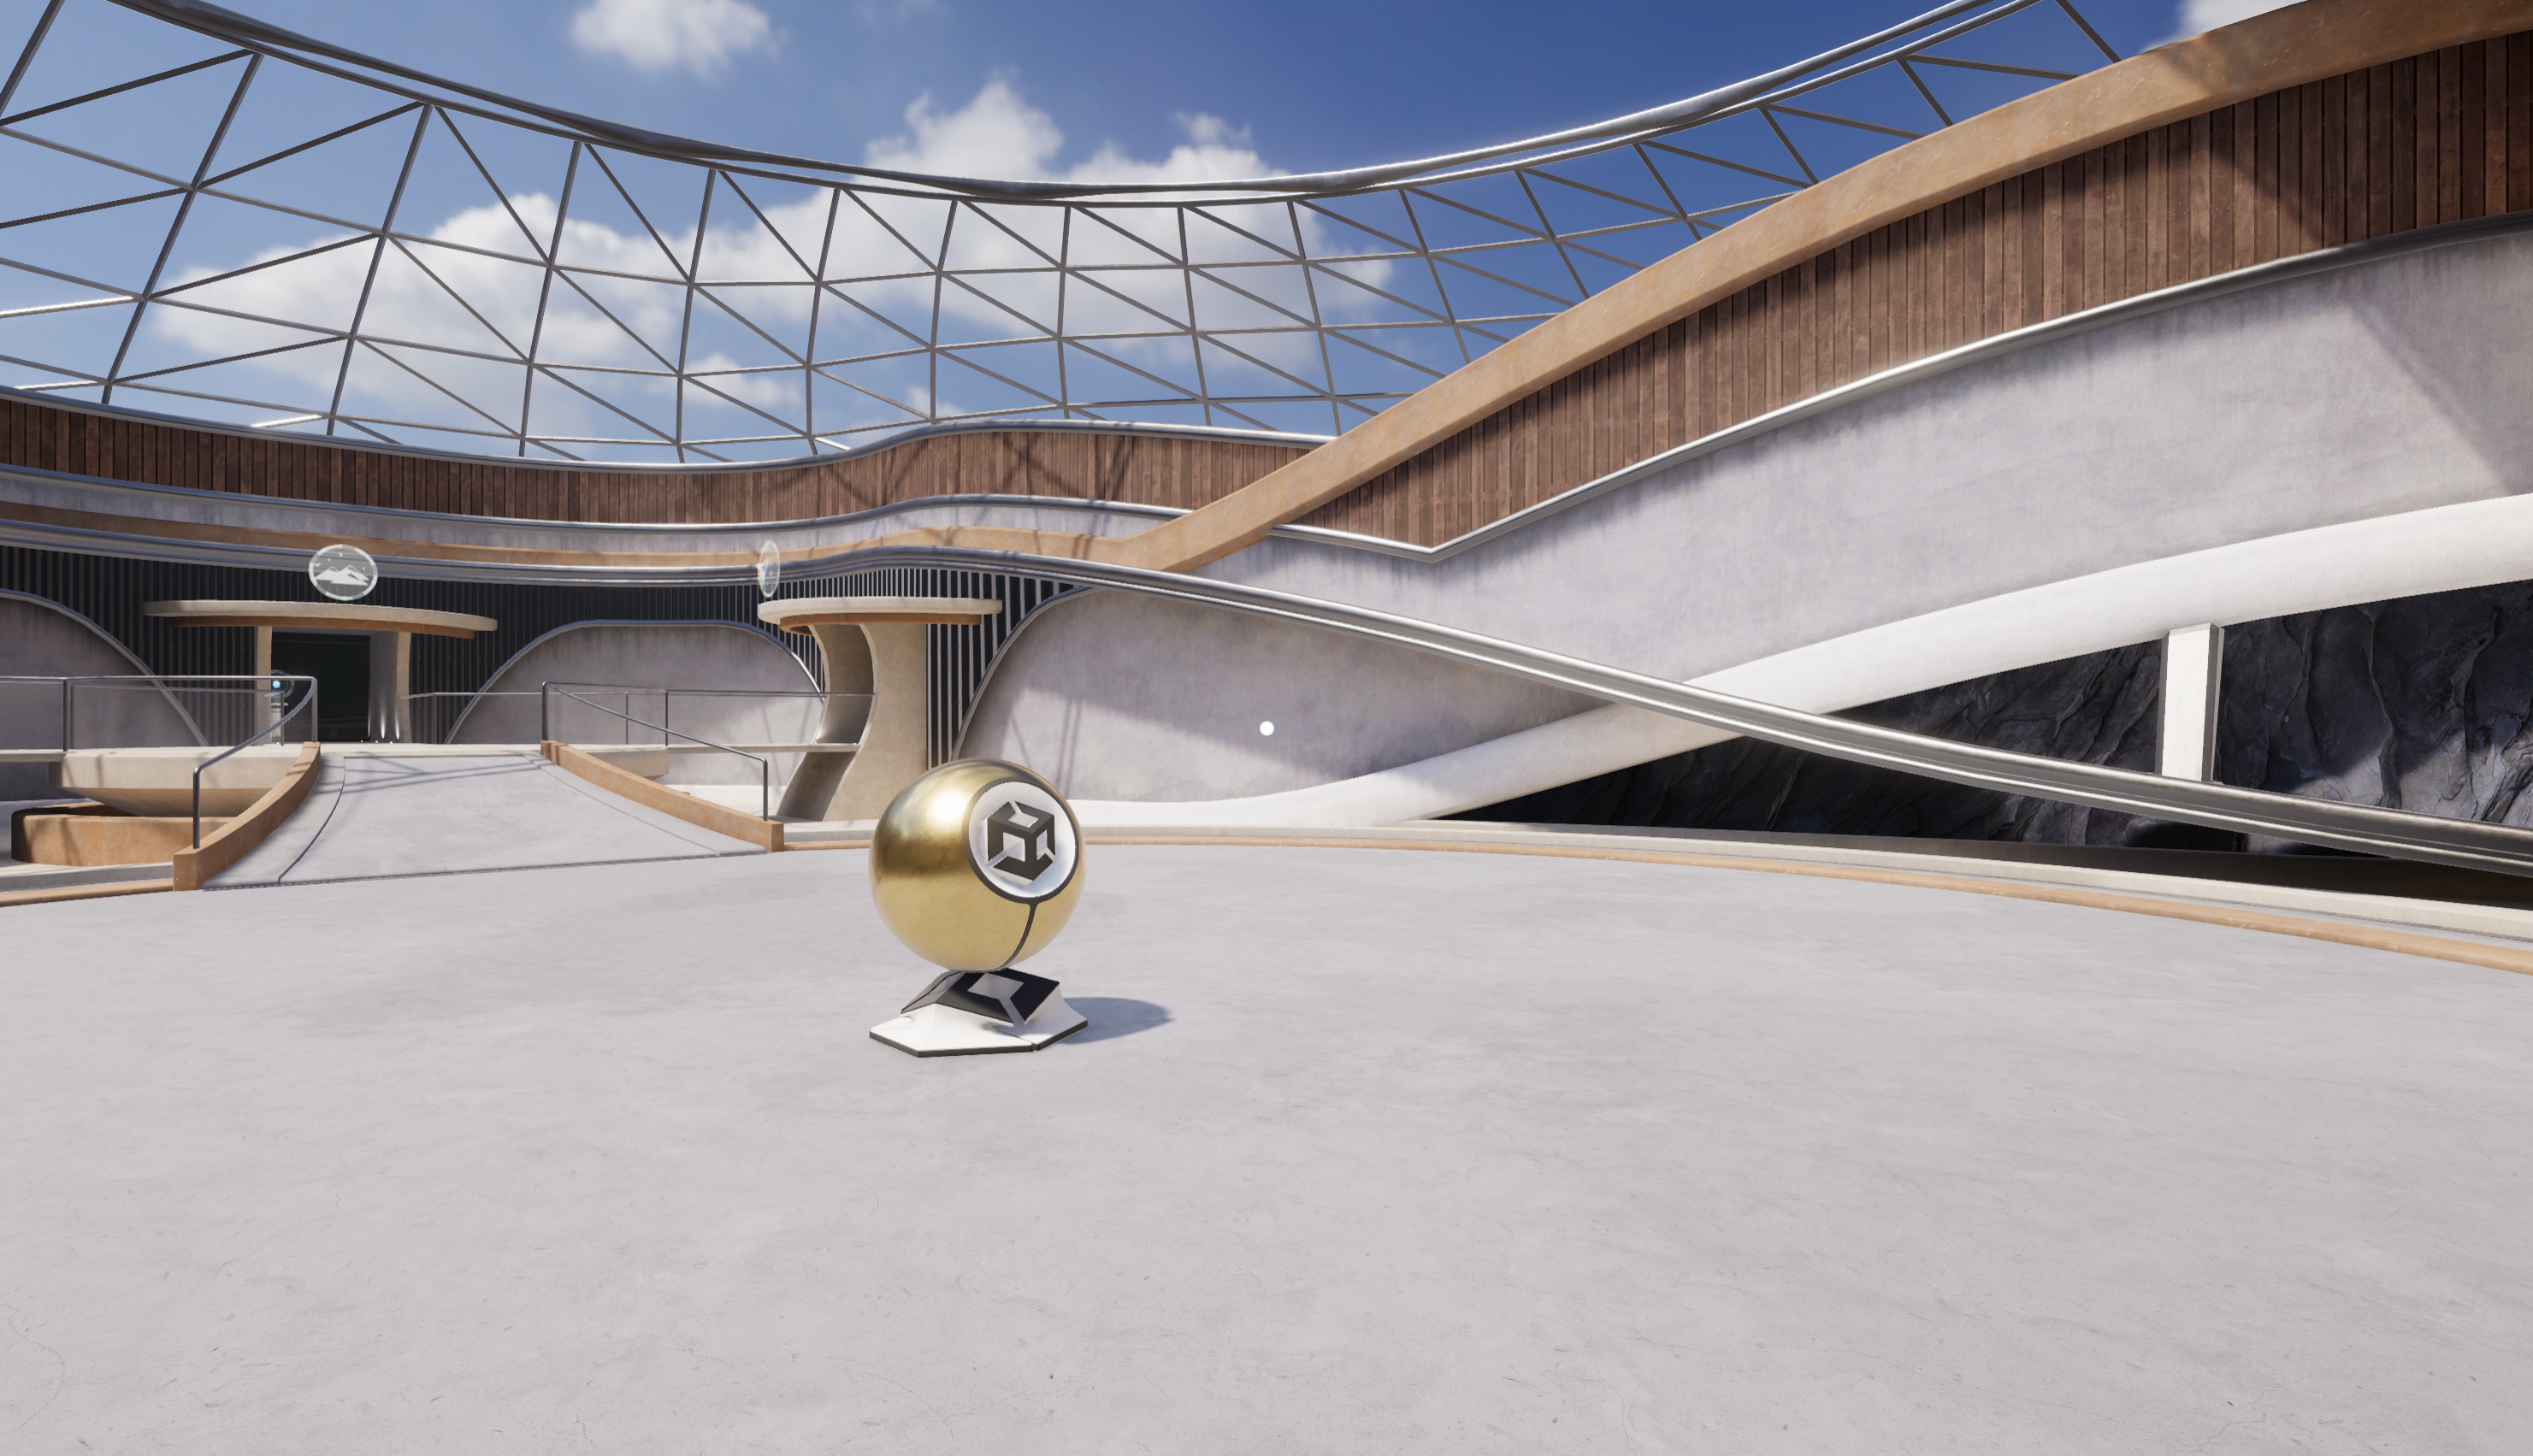
Now let’s take a look at what actually makes this project a URP project.
2. From the main menu, select Edit > Project Settings > Quality. At the center of the panel, you will see Low, Medium, and High Quality Levels and a green checkbox indicating the default quality level for each target platform.
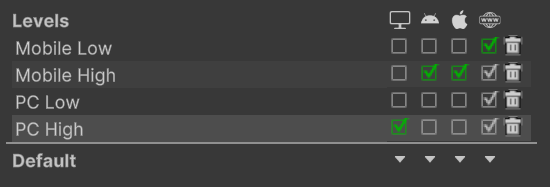
3. Click the Mobile Low, Mobile High, PC Low, and PC High text and notice the changes in the Scene view, focusing on the shadows, lights, and reflections on the half-painted blue wall.
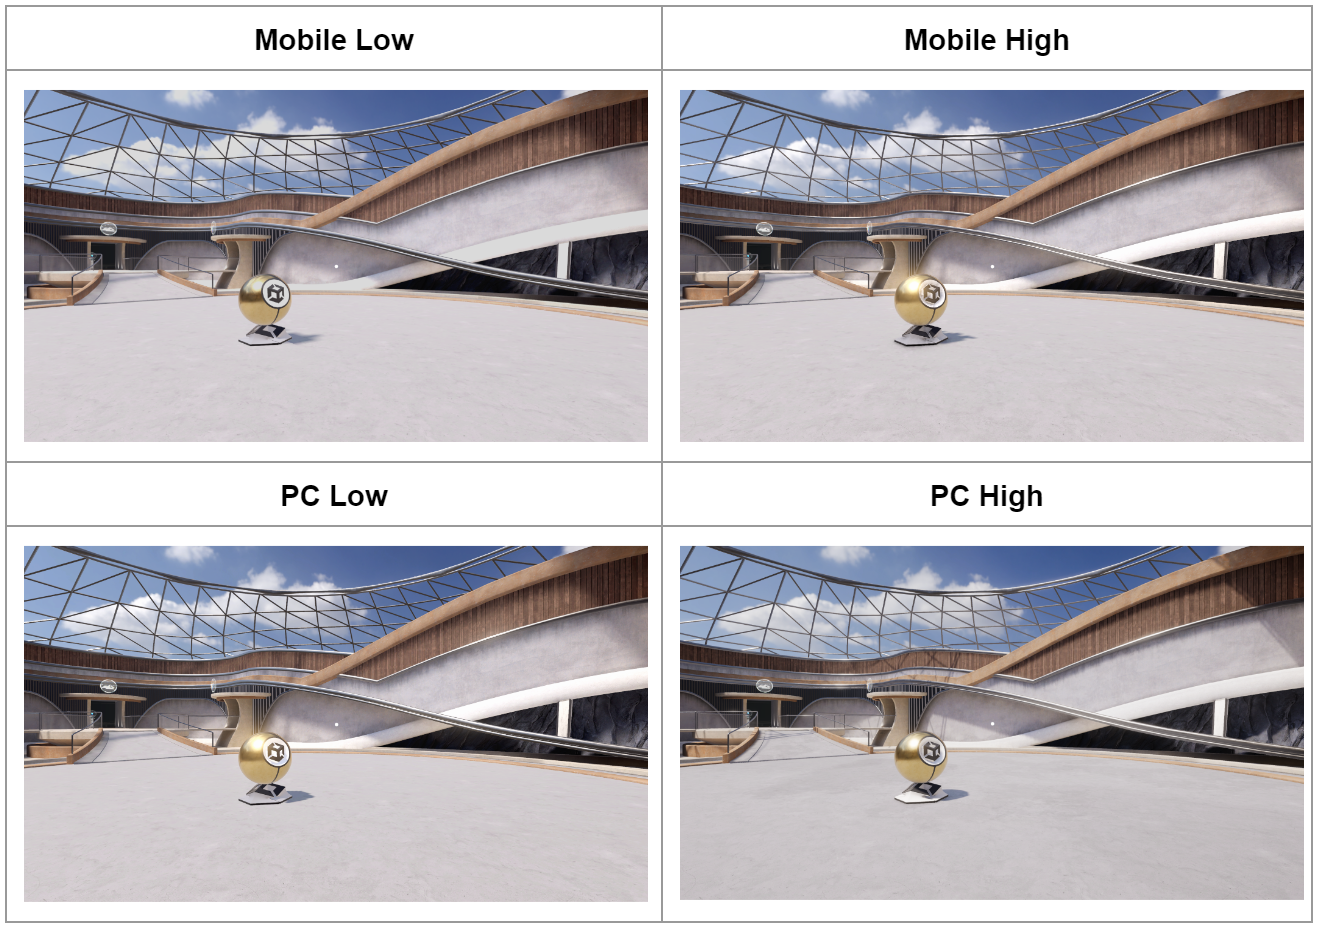
When you cycle through these quality settings, you are actually changing which URP Asset is used to render the scene.
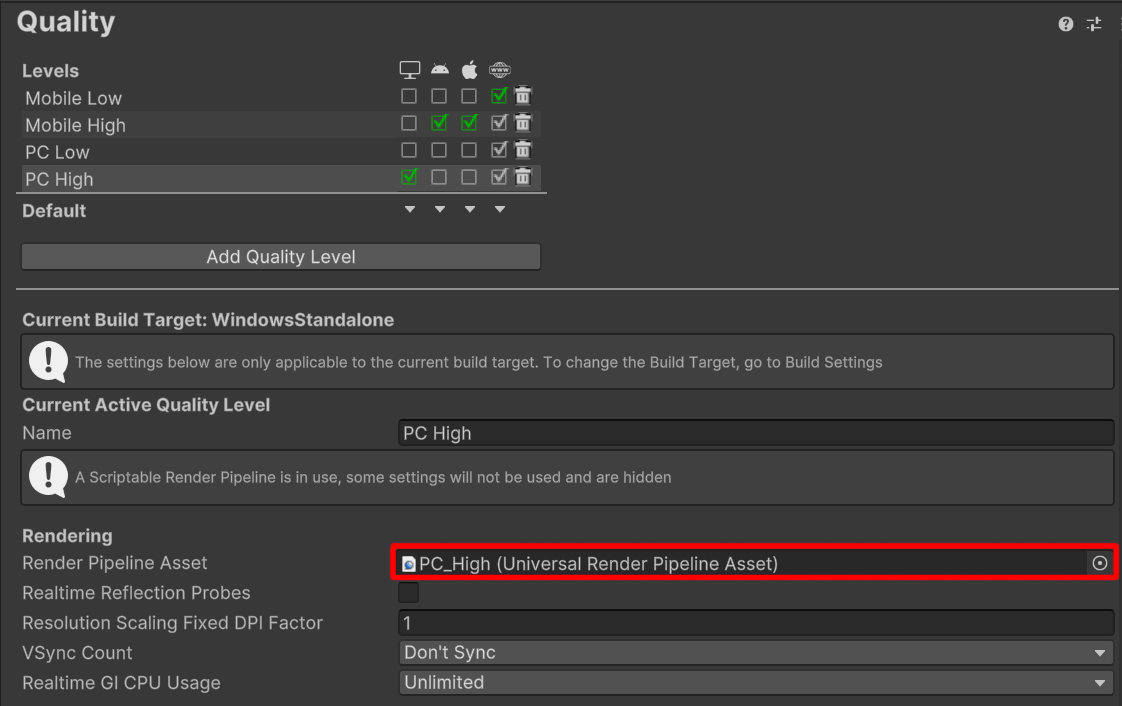
URP Assets control many quality settings in your project – especially related to light and shadows – and can be found in the Project window just like any other asset.
4. In the Quality Settings window, double-click the Render Pipeline Asset which, in the example in the screenshot above, is named PC_High (Universal Render Pipeline Asset). Your Render Pipeline Asset may be named differently, if you have a different quality level selected.
This will locate the asset in the Project window and reveal its properties in the Inspector. Browse through the settings available in the URP asset, specifically those related to light and shadows. Don’t worry if you don’t understand what they all mean – you’ll learn more about these settings throughout the pathway. If you want to read about these settings in advance, check out the URP asset documentation.
With a clearer understanding of URP, you are ready to make a new scene for your guided project.
8. Make a new scene and import the assets
Although this example scene is beautiful, it certainly doesn’t meet the requirements of your chosen design document. You need a new blank scene to work from.
1. In the Project window, in the Scenes folder, create a new scene called something like “AlienVideoGameStore”, then open your new empty scene. If you want, you can also now delete the other sample scenes in this folder.
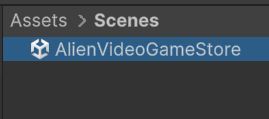
Looking out into the vast empty sky of your default scene, you will find yourself yearning for assets to fill it with.
2. Download the guided project asset library to your computer.
3. Import the GuidedProjectStarterFiles package into your Unity project.
After the assets have finished importing, feel free to browse the directories of the asset library. In the GuidedProject folder, you will find one folder for each of the iconic designs: the alien video game shop, the architectural rendering, and the beachside town.
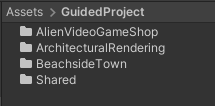
4. From [YourProjectDirectory] > Assets > GuidedProject > [YourChosenProject] > Prefabs, drag the StarterEnvironment asset into the Hierarchy to add it to your scene. If some of the objects have a missing pink material, that’s OK! You’ll fix that in the shaders and materials mission.
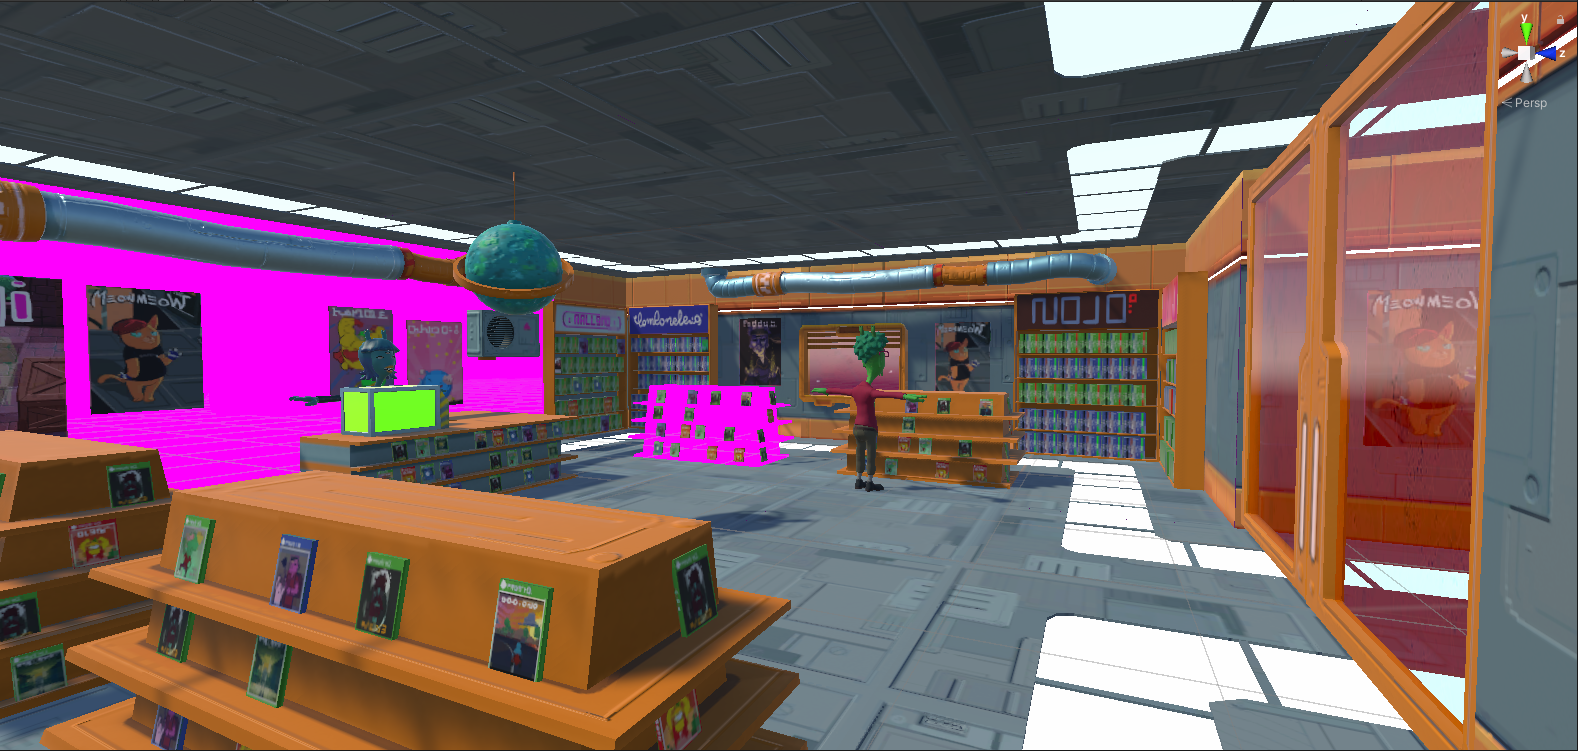
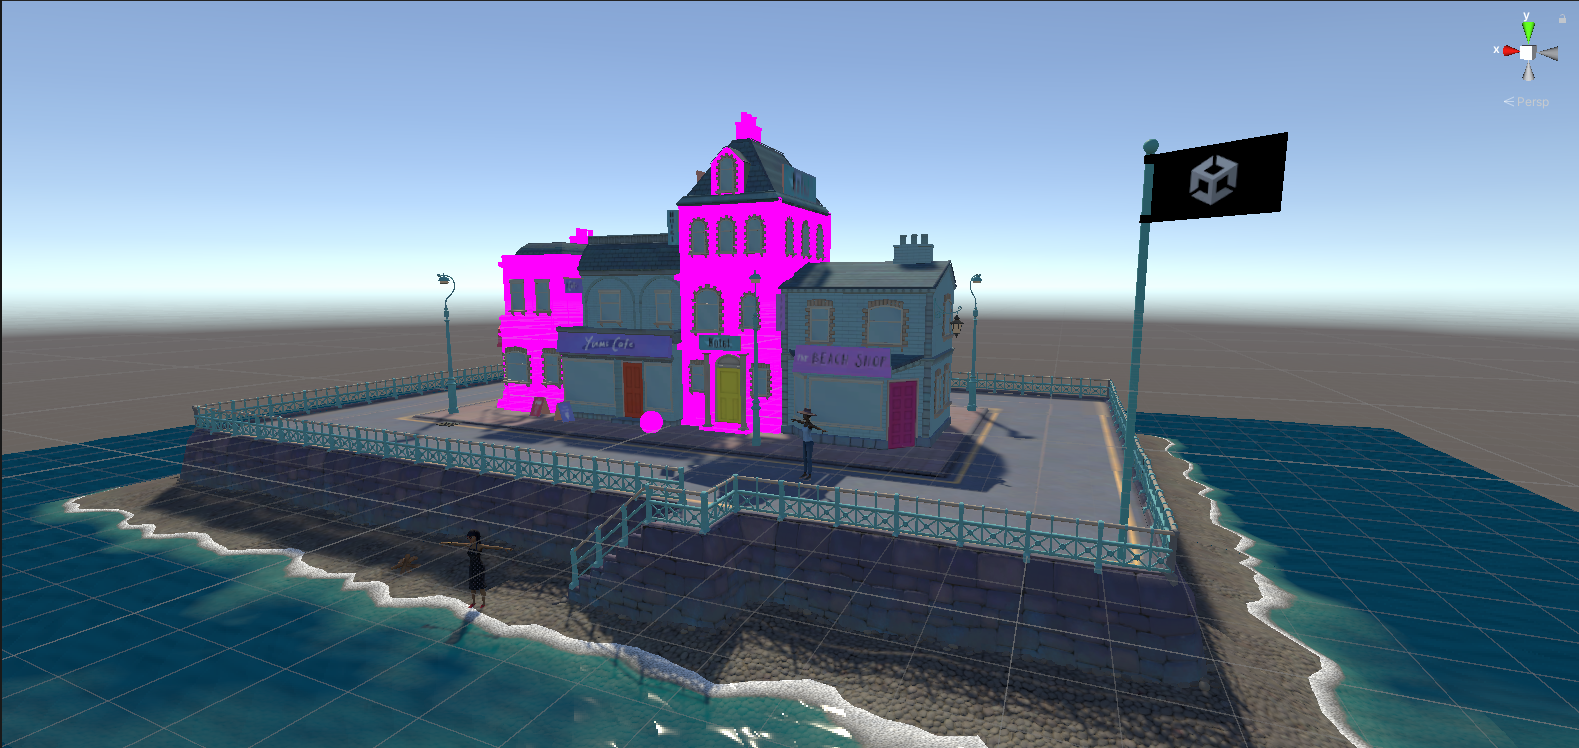
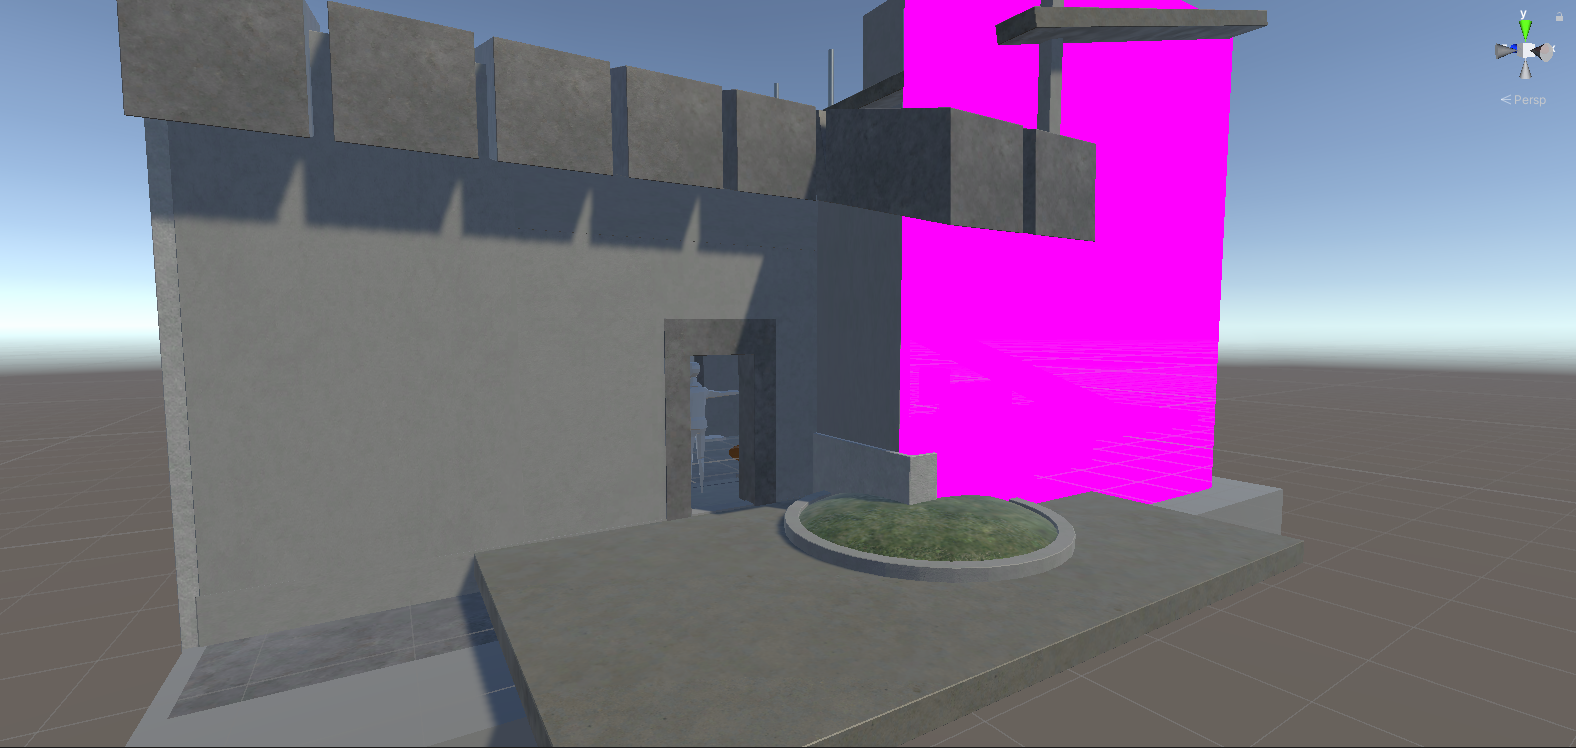
This starter environment is a configuration of the scene that we’ve provided you with, but you can rearrange the scene if you want! Most of the assets are modular and can be moved around.
Congratulations! You’ve just begun your work on your guided project.
9. Next steps
The scene doesn’t yet look nearly as good as the concept art in your design document.
Over the course of the next eight missions, as you gain new skills and know-how, you will build this project piece by piece until it becomes the beautiful, immersive, interactive masterpiece envisioned in the design document.
Your first step on that path is shaders and materials, where you will make sure every surface looks as good as possible.