Get started with scripts
Tutorial
foundational
+10XP
30 mins
6599
Unity Technologies

In this tutorial, you’ll:
- Identify the role of code in creating experiences in Unity.
- Discover what IDEs are, and what IDE is installed on your system.
- Create a new script component.
Materials
Languages available:
1. Overview
In previous tutorials, you added components to GameObjects to change their properties and behaviors. In addition to using the components provided in the Unity Editor, you can customize the properties and behaviors of GameObjects by writing custom scripts in the C# language.
In this tutorial, you will create a simple “Hello World” component and add it to a GameObject. You will see how you can use scripts to manipulate what appears in the Inspector window for any GameObject. Along the way, you will learn about the tools and windows used for programming in Unity.
2. Integrated development environments (IDEs)
What are IDEs?
Integrated Development Environments (IDEs), such as Visual Studio and Rider, allow programmers to write and debug code as efficiently as possible. IDEs support programming in a wide range of languages (e.g. C#, Java, Javascript, Python, etc.); Unity development is typically done in C# (pronounced “see sharp”) using Visual Studio.
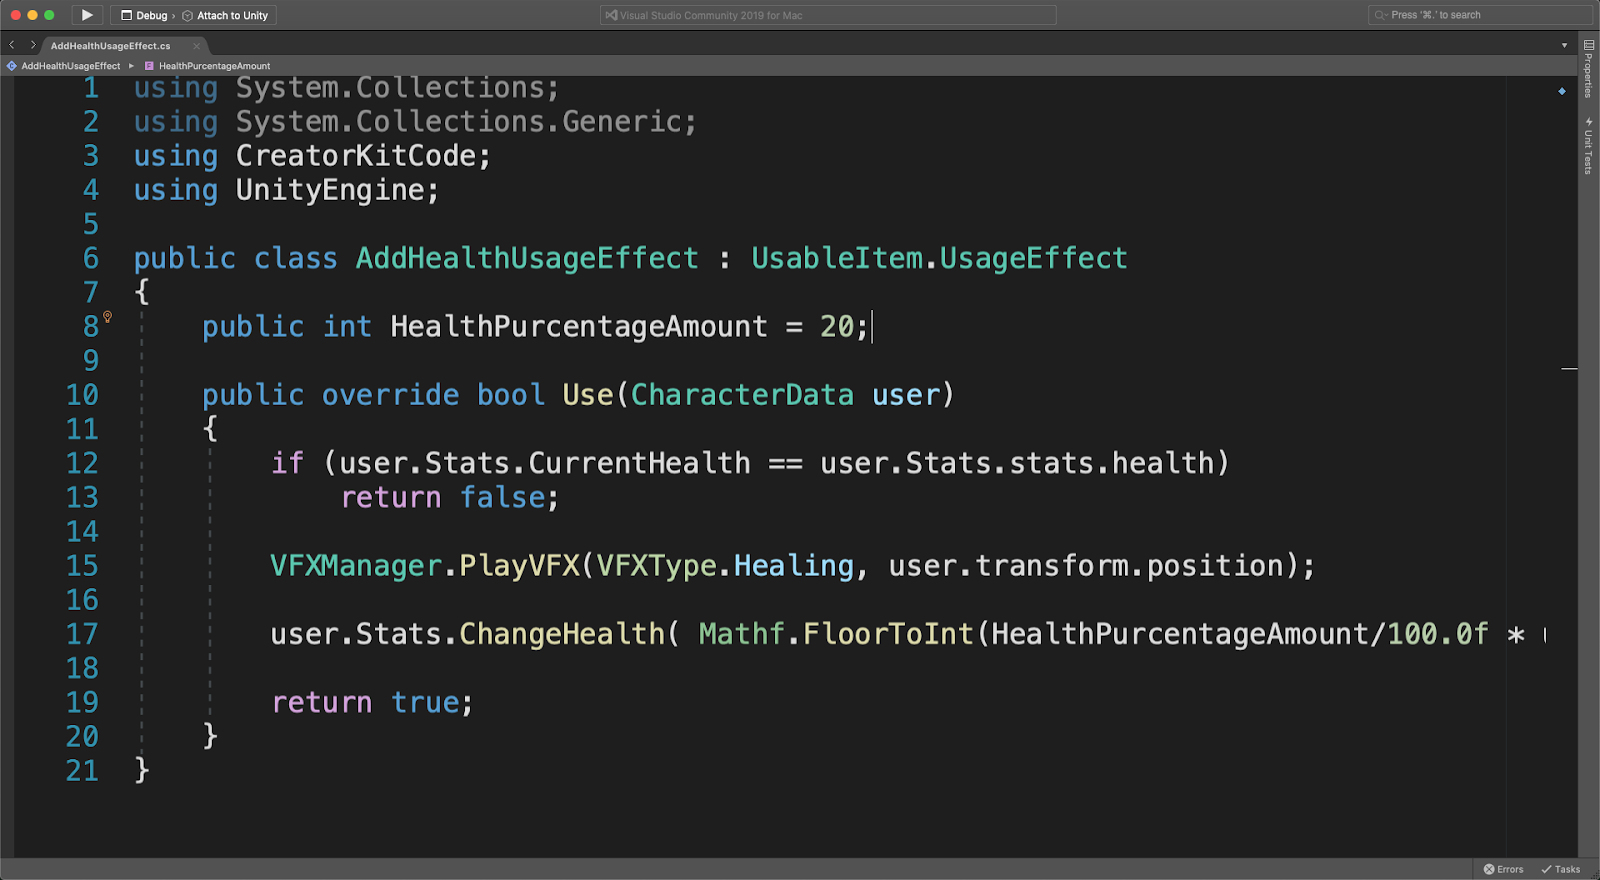
Watch the video below to hear how IDEs are used by some of our established creators.
It is technically possible to write code in a simple text document, but IDEs provide developers with a suite of tools to make programming easier. For example, most IDEs include error detection to highlight when something is coded incorrectly, a debugger to help locate the source of an error, syntax highlighting to make the code easier to read, and code completion to instantly fill out lines of code.

Unity comes packaged with Visual Studio, and integrates with Visual Studio to make coding and debugging much easier than it would be in a completely separate IDE.
3. Install the IDE
Visual Studio is installed during the initial Unity installation, but if it is not on your machine you can use the steps below to install it. This tutorial is based on Visual Studio.
You can check if you have Visual Studio installed and set up as your default script editor by going to Unity > Preferences and selecting External Tools. If Visual Studio is installed, it will be in the drop down menu for the External Script Editor.

Follow these steps to install Visual Studio if you need to do so.
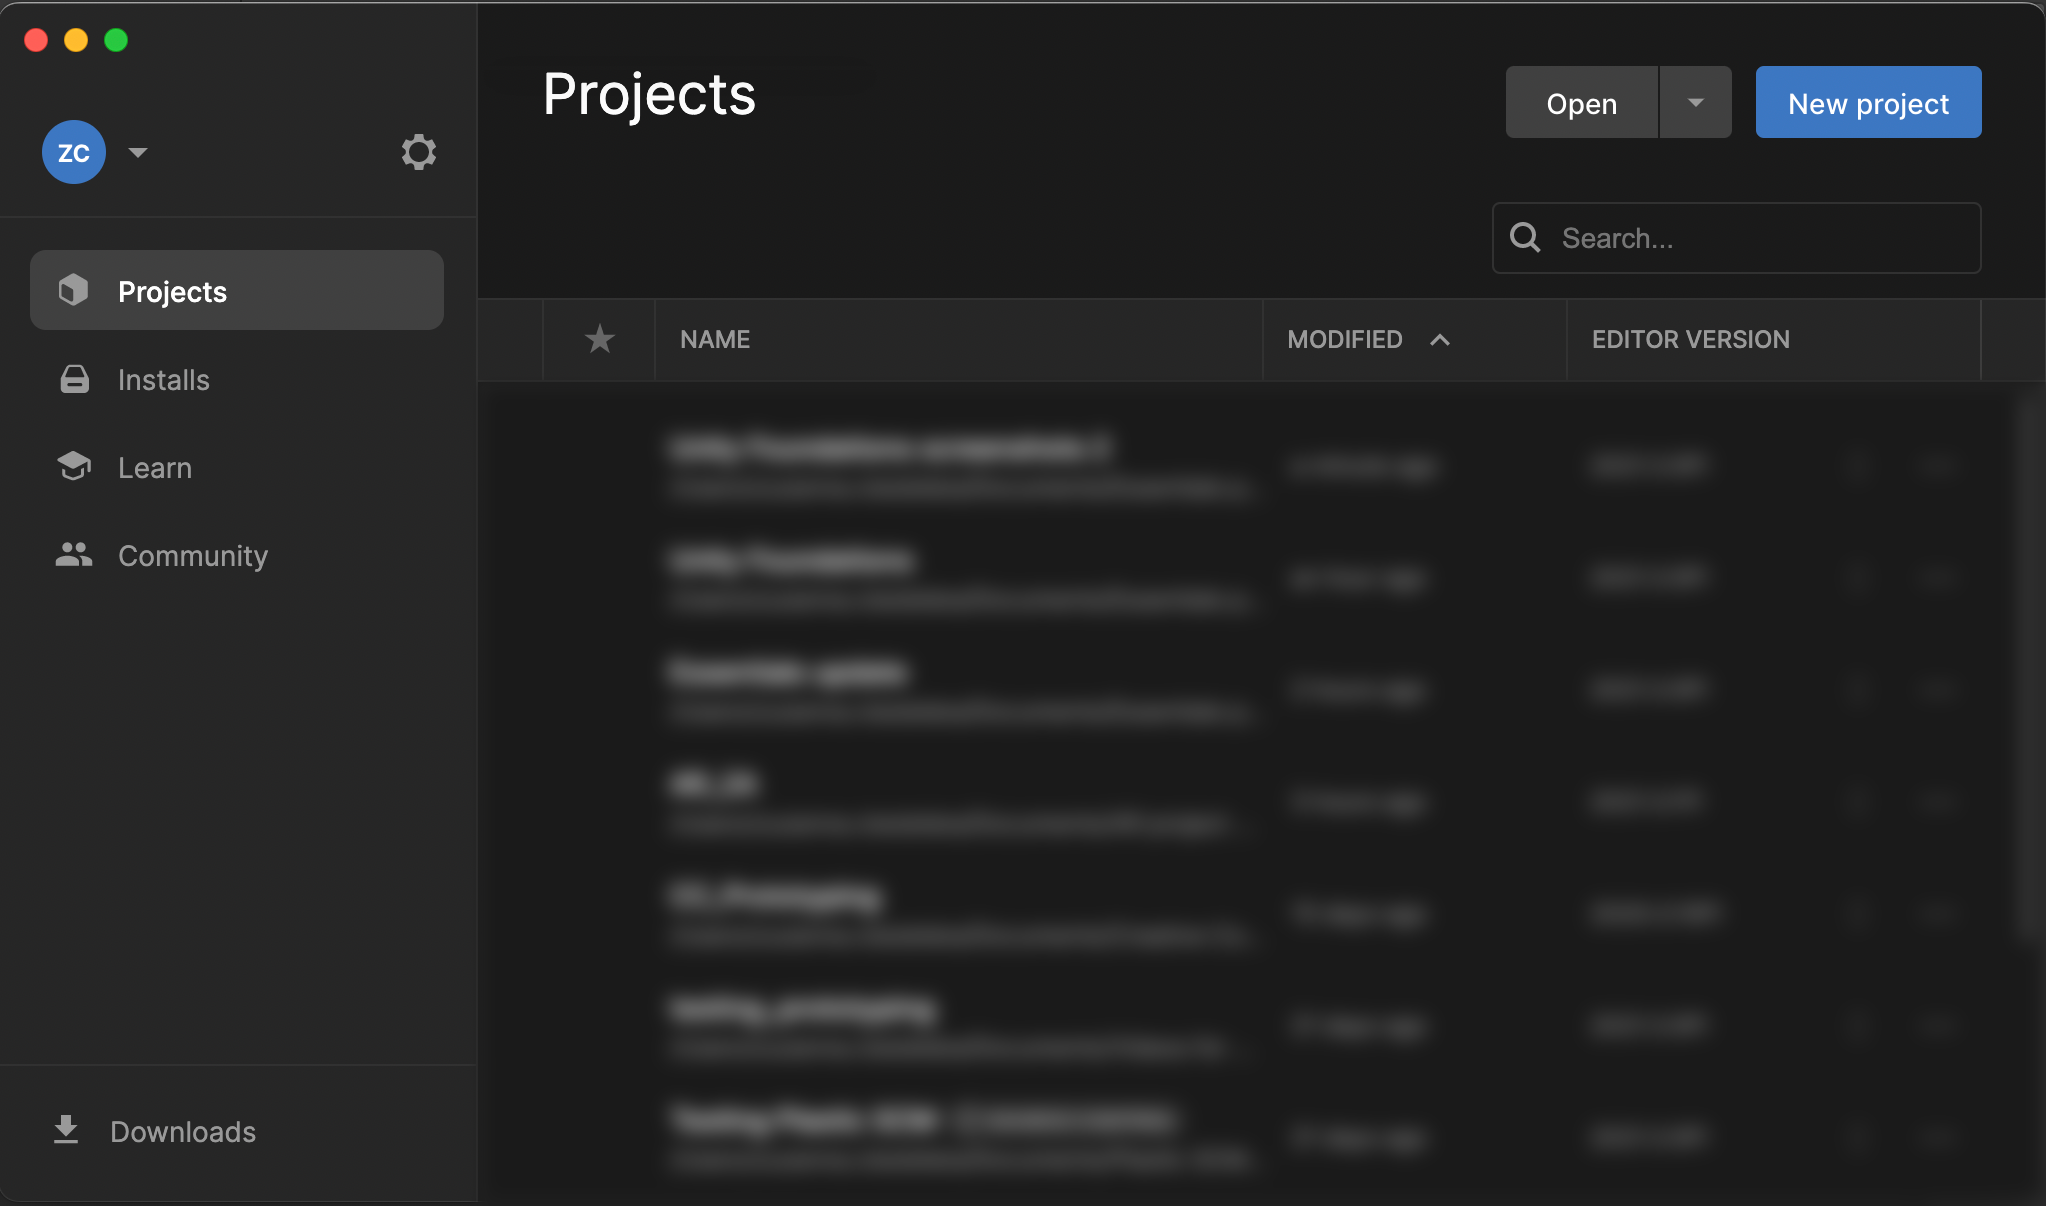
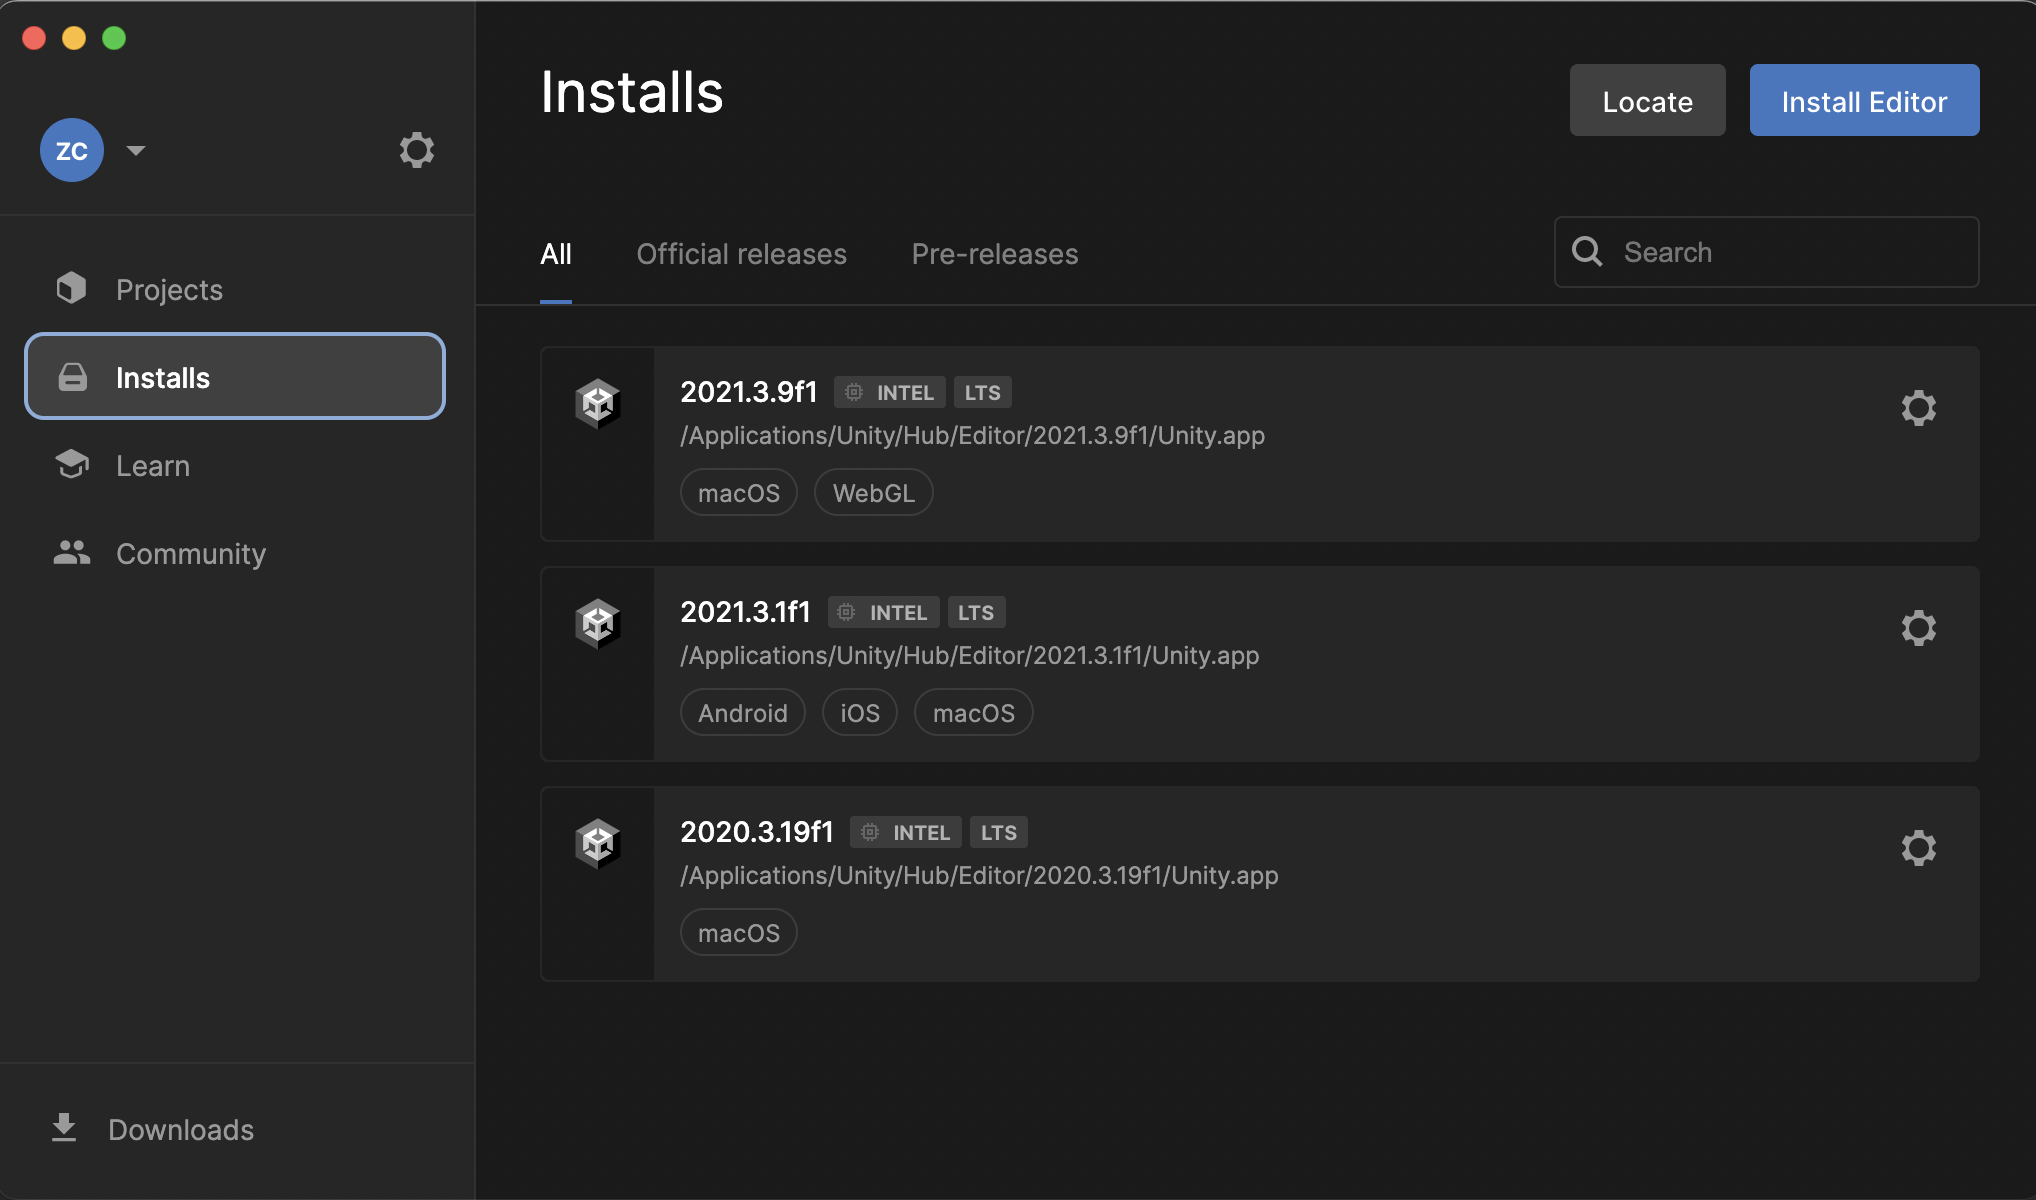
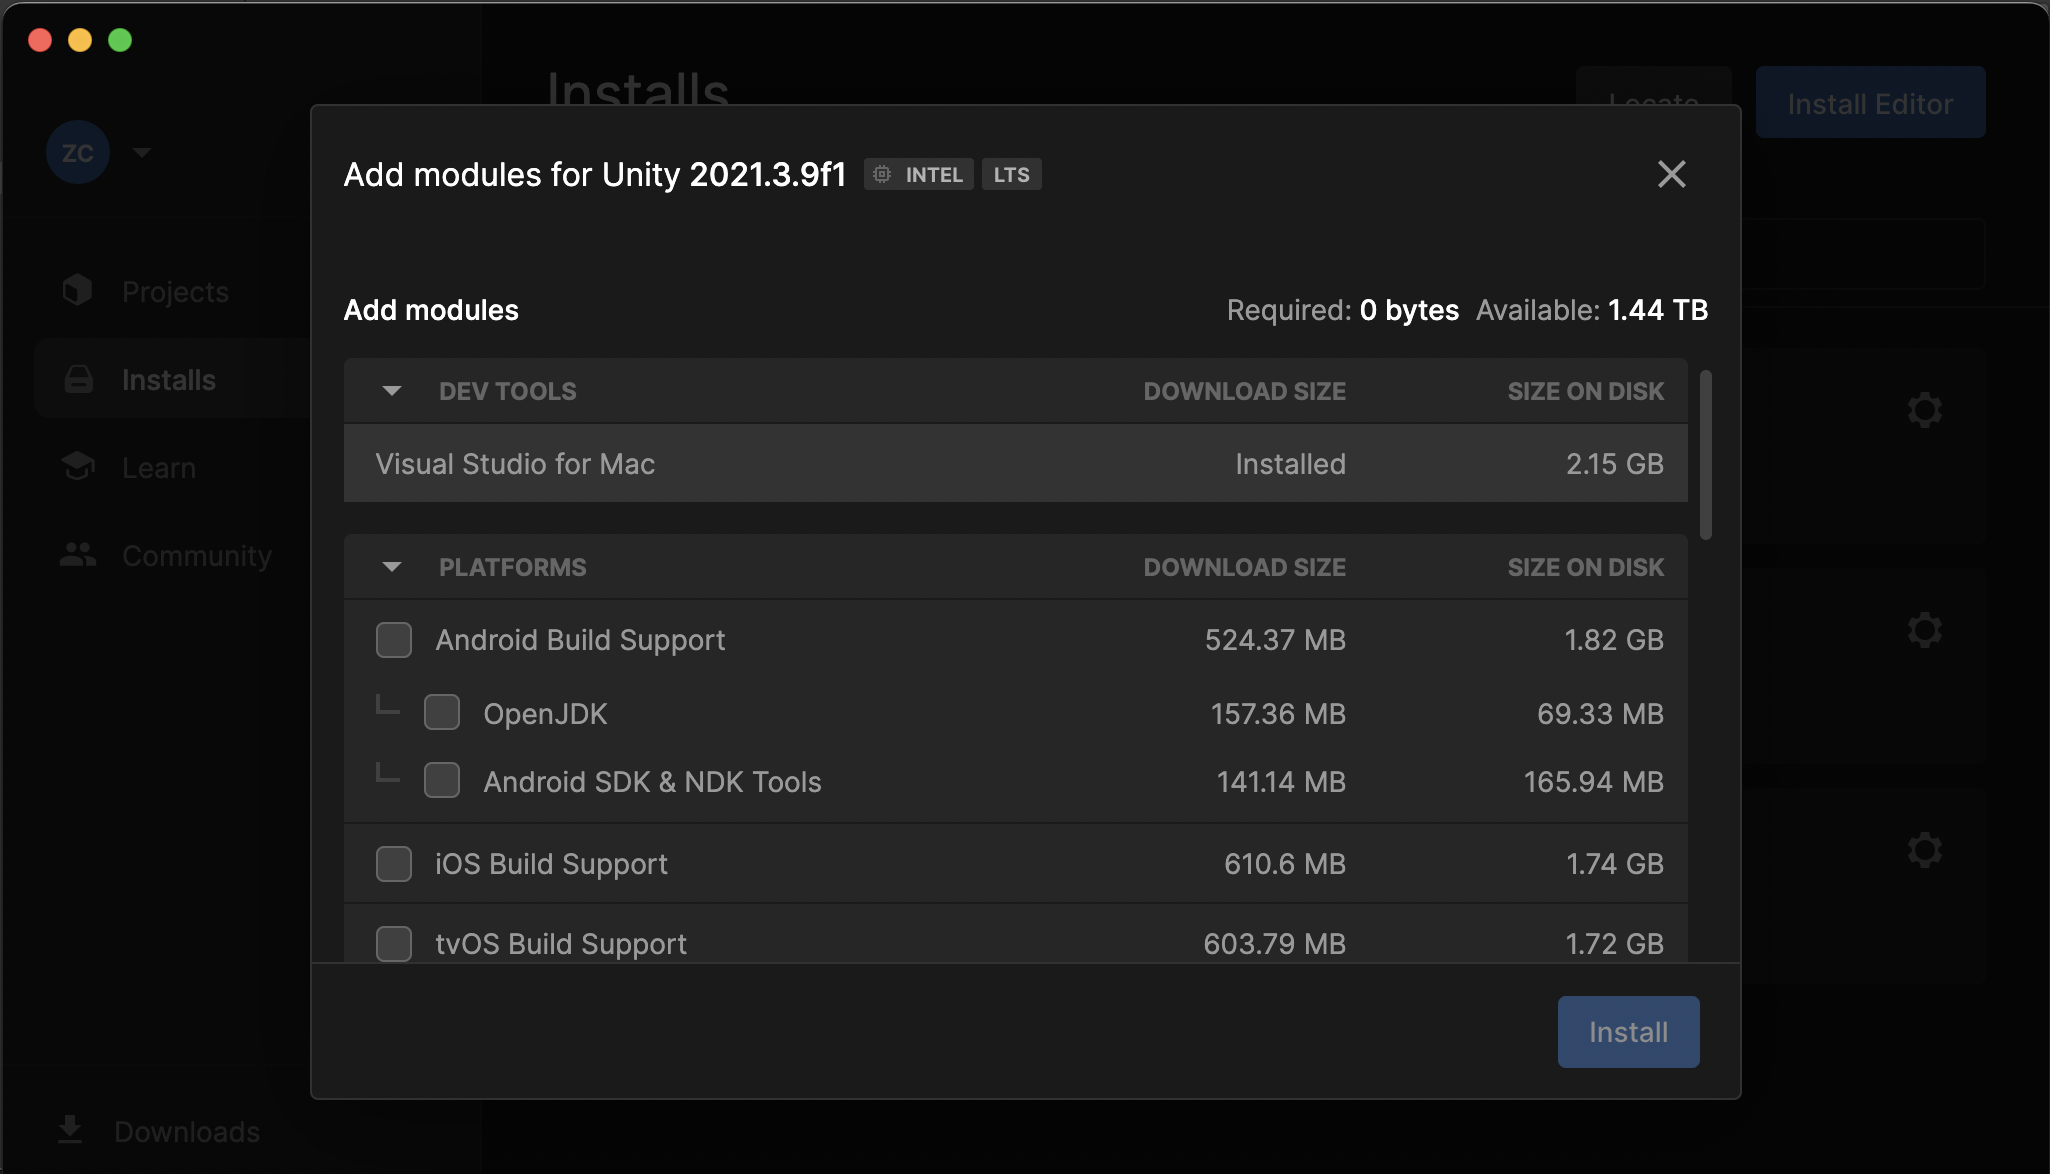
1. Open the Unity Hub and select the Installs section.
2. Select the three dots on the top right of the Unity version you are using.
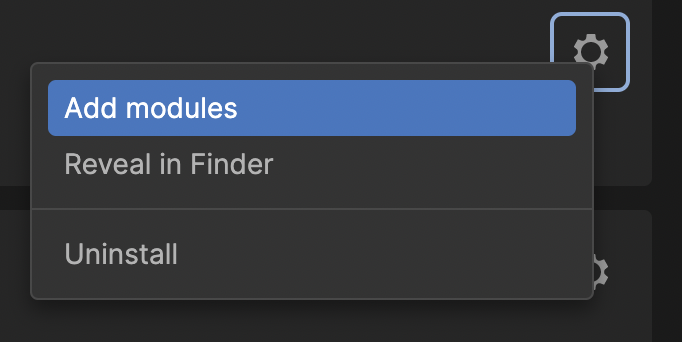
3. Select Add Modules.
4. Select the checkbox for the Microsoft Visual Studio installation, and select Next.
4. Create a new script
Let’s create your first script.
1. Open the 3D project you created for Challenge: The Floor is Lava! You’ll have an opportunity to customize this project further with scripting.
2. Create a new empty GameObject in the Scene by right-clicking in the Hierarchy and selecting Create Empty.
3. Change the name of the new GameObject to ScriptObject using the Inspector window.
4. While your new GameObject is still selected, select Add Component in the Inspector window. Select the New Script option.
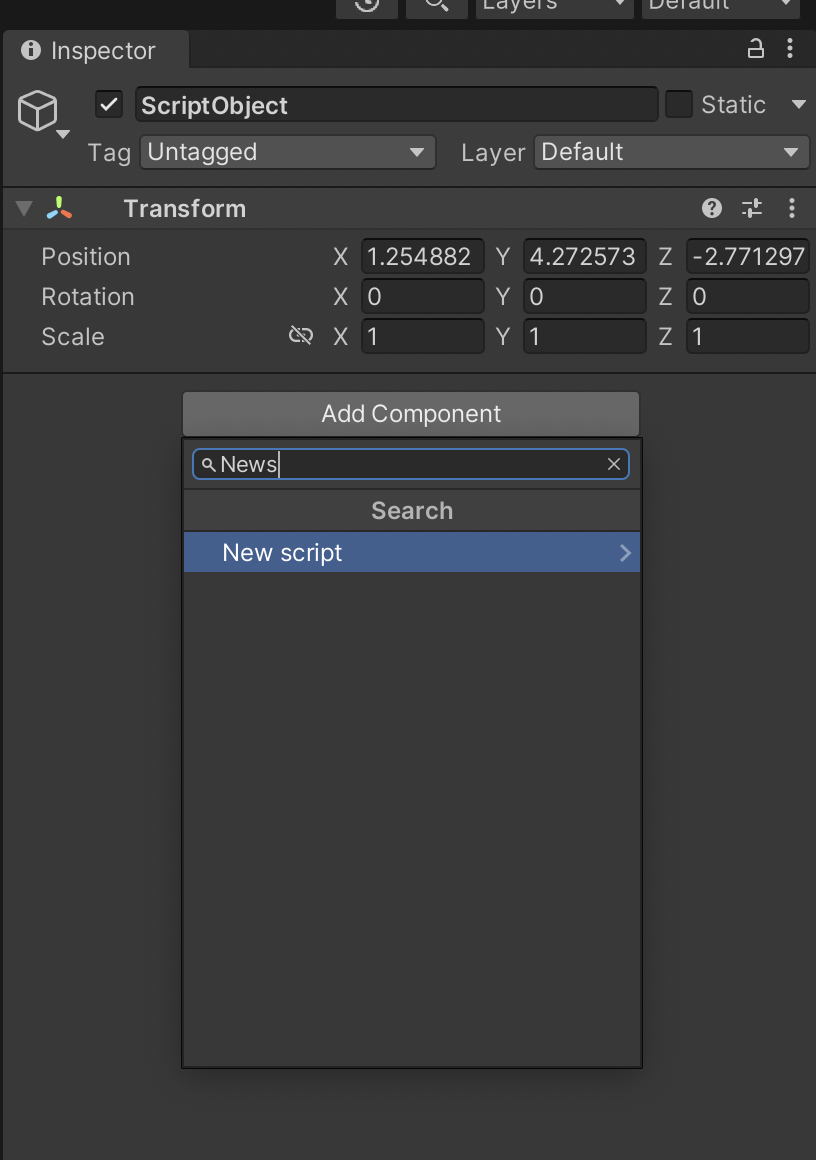
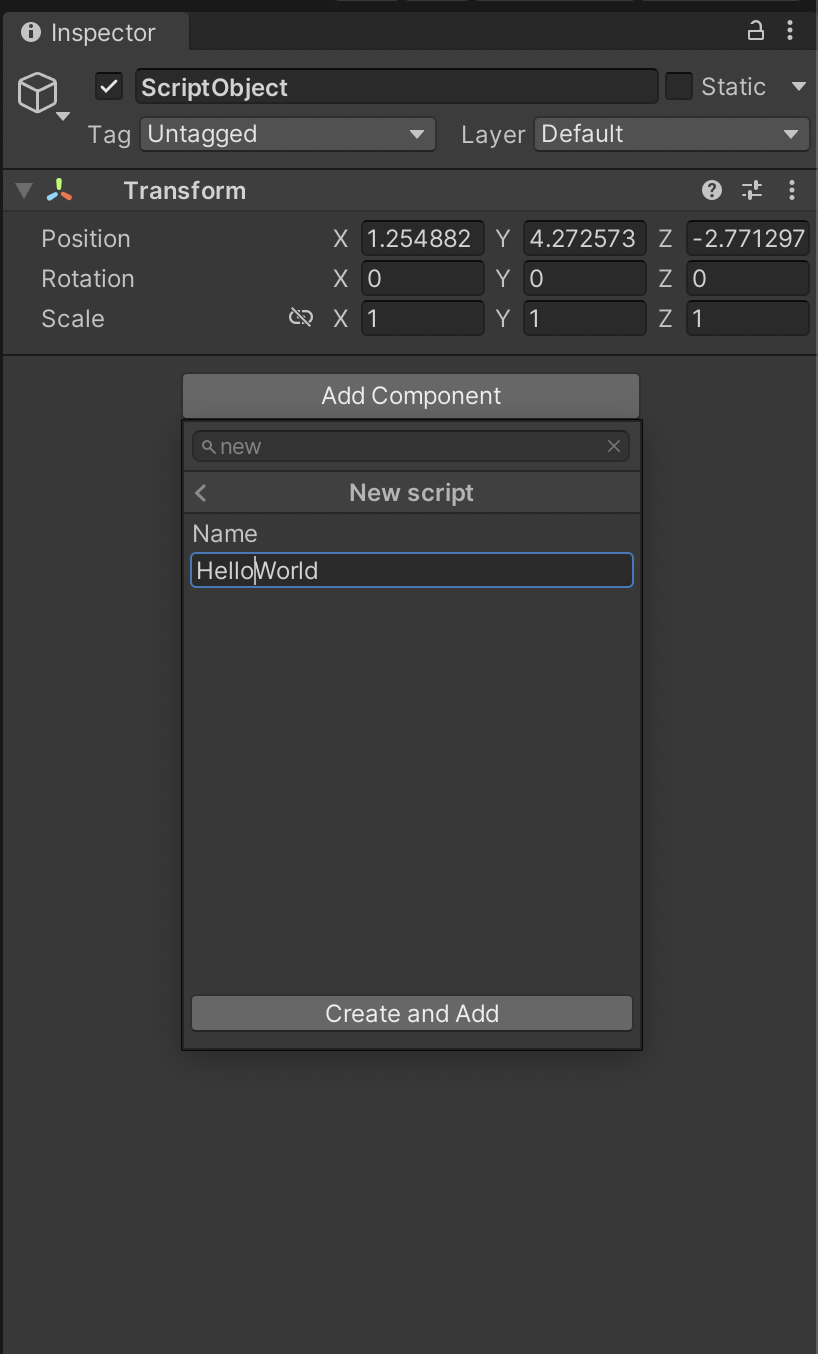
5. The typical first lesson in scripting in a new environment is the “Hello, World!” exercise, which is what we will do with this new script. Name the new script HelloWorld, and select the Create and Add button.
6. The script is now added to the empty GameObject as a component, and it also now appears in your project’s Assets folder.
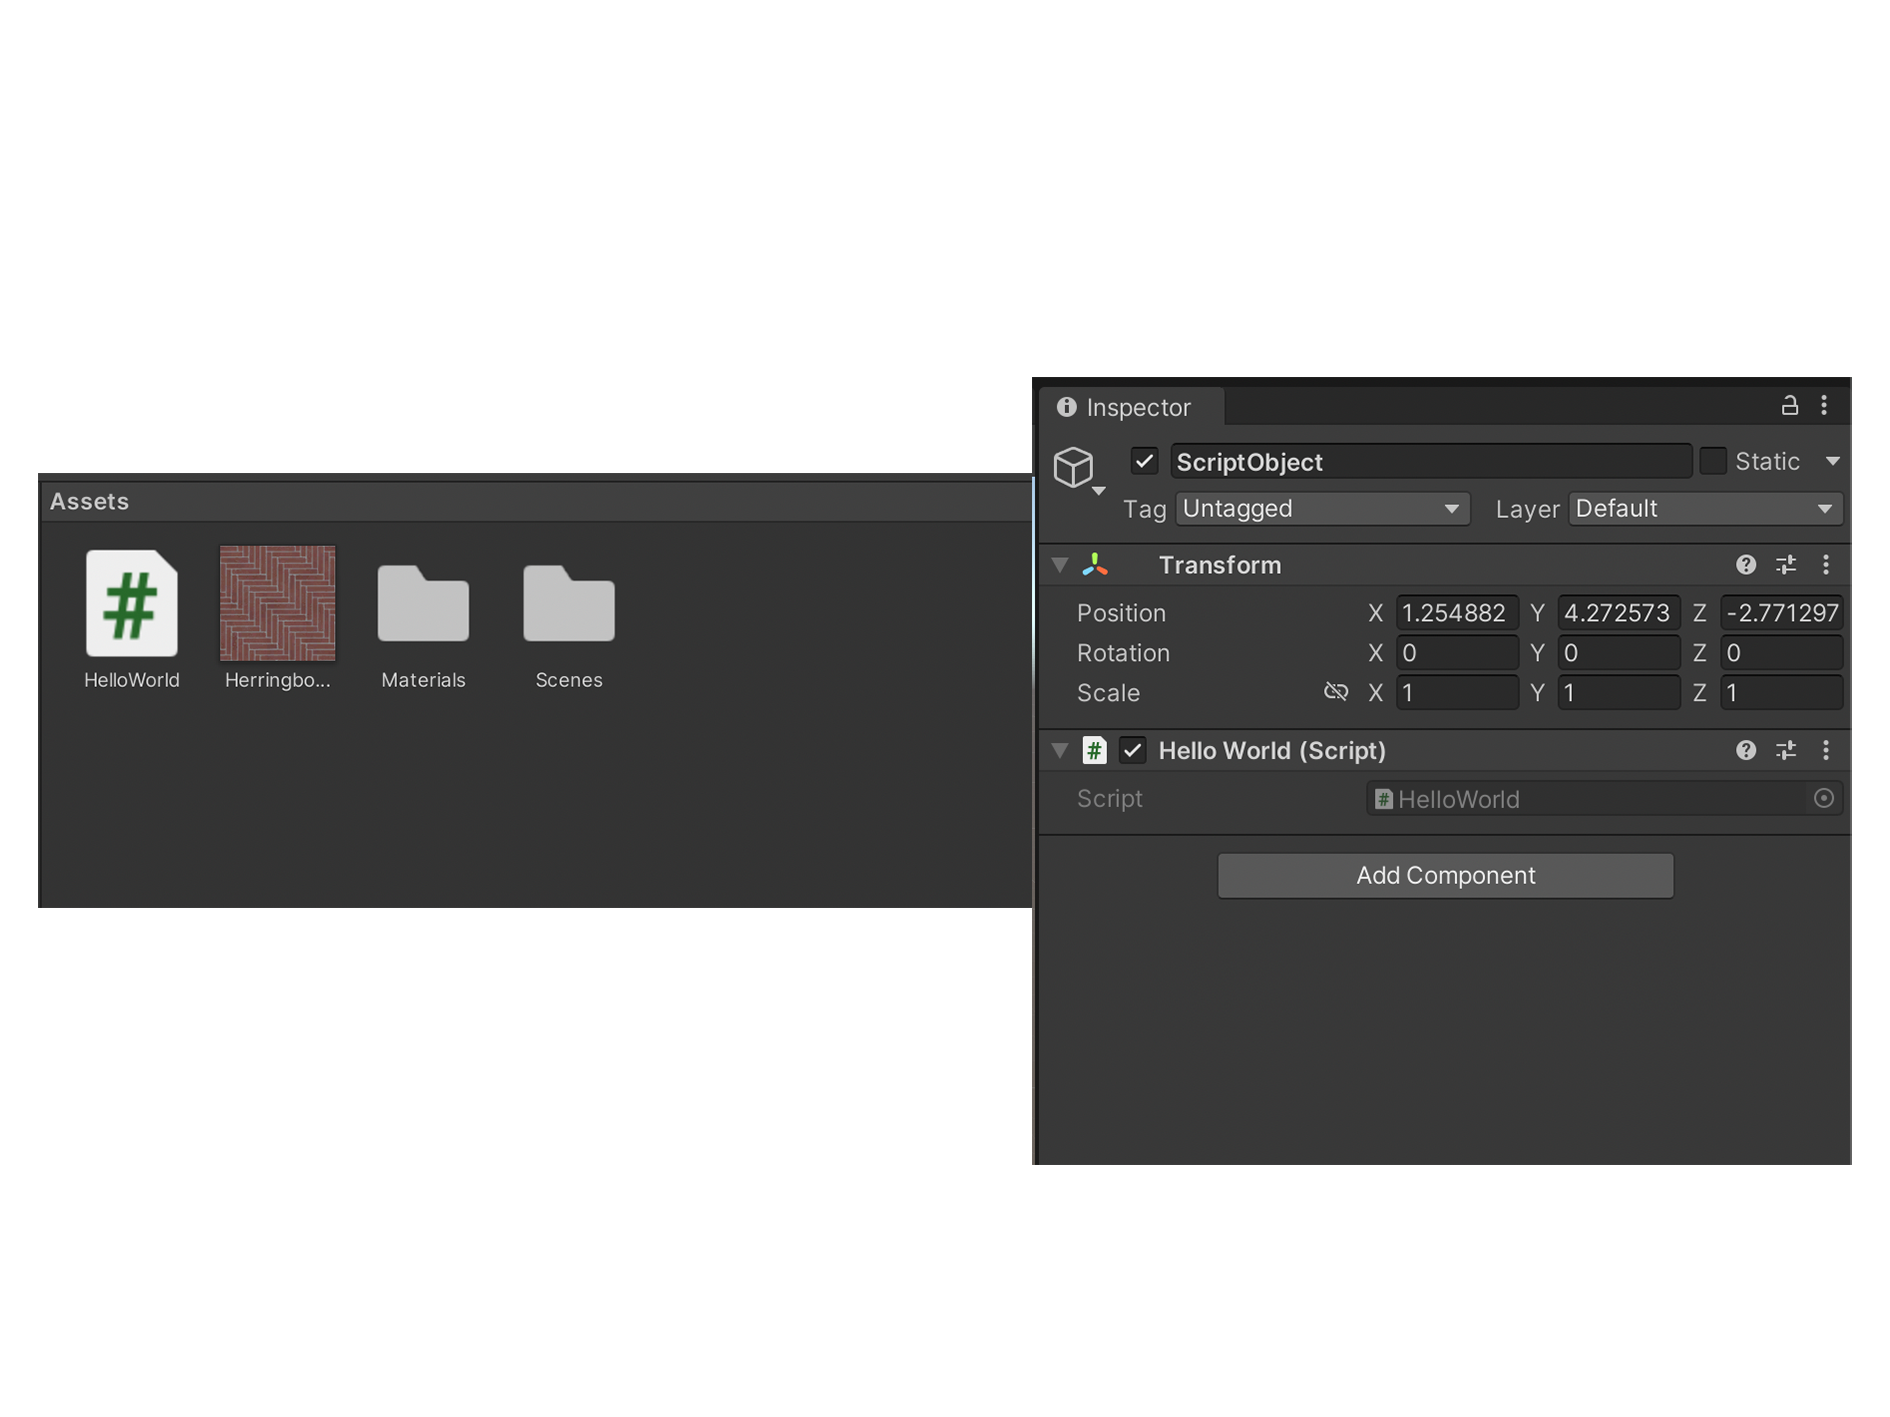
7. Double-click the new script to open it in Visual Studio.
5. Next Steps
You are ready to start coding your new script component, which is attached to an empty GameObject. Next, we will explain the default script that you see when you open Visual Studio.