
Getting started with Unity Web
Tutorial
Beginner
+0XP
1h 30m
(567)
Unity Technologies
Unity web has been designed for creators of all skill levels who want to take advantage of the web as a platform for their game. This guided learning journey will help you identify key settings within the Unity Editor, open and build a game project for the web, and understand the components of the web build. You’ll look at how to connect your Unity game with JavaScript within the web browser and how to use HTML templates and profiler tools with your web build. Finally, you’ll learn how to upload your web build to a hosting site where you can share your web game.
Languages available:
1. Overview
Unity web has been designed for creators of all skill levels who want to take advantage of the web as a platform for their game. This guided learning journey will help you identify key settings within the Unity Editor, open and build a game project for the web, and understand the components of the web build. You’ll look at how to connect your Unity game with JavaScript within the web browser and how to use HTML templates and profiler tools with your web build. Finally, you’ll learn how to upload your web build to a hosting site where you can share your web game.
2. Before you begin
Before you begin this tutorial, install the latest version of Unity 6 (on Windows, Mac, or Linux) with the WebGL Build Support module using the Unity Hub.
3. Open and build a sample to the web
To begin our tour, we’ll use the Universal 3D Sample template and build it for the web, and view it with your default desktop web browser.
To create and set up a new project using Unity Web, follow these instructions:
1. From the Unity Hub, select the New Project button, open the Editor Version dropdown and select the Unity 6 version you just downloaded, select the Universal 3D Sample template, and select the Create project button.
2. Once the project loads in the Unity Editor, select File > Build Profiles from the main menu. Under the Platforms section, select Web, then select the Switch Platform button and wait until the process finishes.
Note: If you have previously downloaded Unity 6 without the WebGL Build Support module, a dialogue will appear informing you that you need to download it in order to proceed. Follow the instructions to download it before you proceed with the rest of the tutorial.
The Universal 3D sample project template consists of several different test scenes. For our purposes, we don’t need all of them, so let's make a build that contains only one scene.
3. Once the build target has switched to Web, select the Open Scene List button in the right panel and disable all the scenes except for the CockpitScene.
4. Select Web from the Platforms section again and select Build And Run.
Note: If you’re unable to directly select the Web platform again, select another platform and then select the Web platform.
You’ll be prompted to select a folder where you’ll place the build.
5. Create a new folder in the WebGL project folder and name it “www_cockpit”.
Unity will now build that scene for the web. This can take several minutes.
Once the scene has been built, the Unity Editor will start a local web-server and open your default browser to load the build web page.
Note: The local web-server is limited to the computer you created the project on; other computers on the network won't be able to view the web page.
In our case, here’s the scene in the Chrome web browser:
You can select the blue fullscreen button in the lower-right corner to expand the game to be in fullscreen mode.
Finally, let’s take a look at the files created by the build:
6. In your browser, open the browser’s dev tools and select the Network tab that shows the order in which these files are downloaded.
Note: You might need to refresh your browser’s dev tools (Windows: F5, macOS: Cmd+R) to populate the Network tab with this information.
If you’re not familiar with web development and how browsers load web pages, take a few minutes to explore the pieces.
- First, the index.html is loaded which describes the elements on the page. The Unity content is rendered to the <canvas> element using the WebGL 2 graphics API.
- Surrounding the canvas element are a number of other elements: the icon and text below the canvas and the fullscreen button. The style.css stylesheet is used together with the HTML elements to position, size, and style these elements.
- www_cockpit.loader.js is the first JavaScript file that is loaded. This is a small piece of code that loads the main parts of the Unity game.
- The five .png files are the icons and buttons on the page. The favicon.ico is the icon used in the browser tab for this page.
- The www_cockpit.framework.js.gz file contains a set of JavaScript functions that connect functionality from the web page (including WebGL rendering and input events) to the Unity game engine runtime which is compiled into the WebAssembly binary (below). This file also contains any JavaScript plug-ins that your game uses.
- www_cockpit.data.gz is a single download containing all the asset data that’s included in your game including scenes, meshes, textures, and audio. For more complex and resource rich games, this file can become large and it needs to be completely downloaded before the game starts. In this case, consider using the Addressables system to split your assets into smaller files that are downloaded on demand.
- Finally www_cockpit.wasm.gz is the main game binary executable. At build time, the C# code from the game’s scripts, together with the C# parts of the Unity game engine and packages are combined and compiled to C++ using Unity’s ahead-of-time il2cpp compiler. The resulting C++ code is combined together with the C++ core of the Unity game engine and any C/C++ code in plugins/packages. The build then compiles this using the Emscripten toolchain to a WebAssembly binary. WebAssembly is supported by all modern web browsers and runs code at near-built-in speeds.
Notice that some of the files end with a .gz extension after the type (.js, .wasm, etc.). This indicates that the file has been GZip compressed. The web server can then serve the compressed file directly, and the browser will then automatically decompress it as it is downloaded. We’ll talk about compression a little later.
4. Web templates
While the Unity player for all other platforms either creates full-screen games or renders the game to a window, the Unity game is embedded into the web page and renders to the <canvas> HTML element. The Web template (distinct from a Unity project template) consists of the HTML, CSS, and icons that form the rest of the web page. This step will show you where to find the Web template settings and will discuss different template options.
To change the project to the minimal web template, follow these instructions:
1. Go to Player settings (Edit > Project Settings > Player) and set the platform-specific settings to Web.
2. Use the foldout (triangle) to open the Resolution and Presentation section and select Minimal.
3. Close the Project Settings window and rebuild the project following the same steps as before, using the Build And Run button in the Build Profiles window.
With the minimal template, a barebones HTML page is created and no TemplateData files are included in the build. The minimal template may be suitable if you’re creating Unity content to embed in another web page via an iFrame element, whereas the default template can be useful when building stand-alone pages with Unity content.
The web project also supports custom Web templates. Read the WebGL templates page of the Unity manual for instructions.
The third template that’s included is the PWA template. This showcases an example of how Unity Web build output can be customized into a Progressive Web App (PWA). A PWA behaves more like an application on the desktop or mobile device, but is built on web technologies. PWAs can be installed alongside native apps and can be configured to operate offline.
5. Connecting with JavaScript on the web page
In the previous section, we saw how the Unity content is displayed within a Web template. Modifying a custom template, or embedding the content into an existing website brings the possibility of the Unity game connecting with other elements on the web page. For example, a game might be running in a website alongside a HTML text chat with other players, and the game wants to send chat messages when certain achievements are attained.
In this section, we’ll create a simple example where the Unity game calls into a JavaScript function at the start of the game:
1. Create a new C# file to use it as a base for our JavaScript script in the following path: Assets/Scenes/Cockpit/Scripts.
2. Once the file is created, open it in your code editor and rename it “MyPlugin.jslib”.
Note: The Unity Project window can’t easily create .jslib files, so make sure to delete the .cs file extension.
3. Delete the base code and enter the following code:
mergeInto(LibraryManager.library, {
  HelloString: function (str) {
    window.alert(UTF8ToString(str));
  },
});
4. Find an existing MonoBehaviour C# script in the scene, Assets/SharedAssets/Scripts/Runtime/SceneMetaData.cs for example, and open it in a code editor.
5. Add the following using statement at the top of the file.
This includes the .NET Runtime assembly, which gives access to built-in functions on the platform - in our case a JavaScript function.
using System.Runtime.InteropServices;6. Declare the following function just above the Start() method.
This declares an external function with the name HelloString, which takes a string argument and has no return value.
[DllImport("__Internal")]
    private static extern void HelloString(string str);
7. Add the following line to the Start() method body itself to call this function when the game starts:
HelloString("This is a string.");Here, we’re passing the literal string “This is a string.”
8. Save your scripts and rebuild and run the project in the browser.
At the beginning, a browser dialogue should appear that looks like the image below:
The JavaScript code can do anything that’s possible in the browser; for example, it can manipulate other elements on the web page, call Web APIs, make web requests, or call other JavaScript libraries that you’ve included in your Web template.
Read the Interaction with browser scripting documentation for other examples of calling between C# and JavaScript.
6. Web platform differences
As we’ve seen, the web platform has some differences from the standard Unity engine. It also has some limitations compared to other desktop, mobile, and console platforms that Unity supports.
Some of the core platform differences are the following:
- JavaScript in browsers is based on an asynchronous event callback-based computing model, as opposed to a synchronous computing model that you would use when running games natively.
- Web browsers enforce a security model that is stricter than the security provided by other platforms.
- Web is a portable and platform-agnostic ecosystem that runs on all types of hardware. As a result, the hardware capabilities that web browsers can offer can be more limited.
- The threading model provided by Web Workers is different from operating system threads.
These differences result in special considerations for the web platform. For a comprehensive list, check out the following Advanced overview page of the Unity manual.
Therefore, if you’re porting an existing game to the web, there may be some tasks required to workaround these limitations. Also make sure to check whether any Unity packages that your project uses are also compatible with the Web Platform.
7. Using the Unity Profiler
As you’re developing your game, you’ll want to test how it performs on the web. The first tool to use is the Unity Profiler.
Like other platforms, the Unity web platform supports the Unity Profiler. However, since the Unity player in the web page connects to the Unity Profiler through a Web Socket connection, you cannot attach the profiler to an already running player in the browser.
Therefore, you’ll need to use the Auto Connect option. Let’s give it a try:
1. Open the Build Profiles window (File > Build Profiles) and enable Development Build and Autoconnect Profiler.
2. Then rebuild and run the project, and as the browser starts, the Unity Profiler window will open in the Editor.
The Unity Profiler should start when the web page opens in the browser. If it doesn’t, select the red record button to the right of the Autoconnected Player dropdown at the top of the Profiler window.
The Unity Profiler is great at profiling the runtime behavior of your game and the memory usage within the Web Assembly heap. However, it can’t profile any of the JavaScript code or the memory used by the JavaScript objects on the page.
For more details of the Unity Profiler, check out the Unity manual page.
Note: The Unity Profiler can't profile draw calls for WebGL.
8. Using the web platform Diagnostics Overlay tool
Another tool to use is the Diagnostics Overlay tool.
The Diagnostics Overlay tool uses HTML elements to display diagnostic data directly into the web page. These elements are managed by the Web template. The default Web template supports the diagnostic overlay tool, but the minimal template does not.
1. Open Player settings (Edit > Project Settings > Player) and set the platform-specific settings to Web. Use the foldout (triangle) to open the Resolution and Presentation section and select the Default template.
2. Use the foldout (triangle) to open the Publishing Settings section and enable Show Diagnostics Overlay.
3. Rebuild and run the project.
Note: You can turn off the Autoconnect Profiler Build setting from the previous step.
When the page loads, there is a new diagnostics button in the web template below the Unity game: the Show overlay button:
4. Select the Show overlay button and an overlay will appear at the bottom of the page:
Here we can see some properties of the running game, including both the WASM memory heap size and the total JavaScript memory used (available in Chrome/Edge browsers only). The data also includes various time measurements for the page load time. Having these measurements directly overlaid on the game is convenient when testing with different devices.
The Diagnostics Overlay tool can be enabled in development or release builds. It also works on mobile browsers where the button is shown in the lower right of the page.
9. Using web browser developer tools
The browser that you’re using likely has a set of developer tools included. Here are the instructions for accessing them on different browsers:
- Chrome: Chrome DevTools
- Safari: Use the developer tools in the Develop menu in Safari on Mac - Apple Support
- Firefox: Firefox DevTools User Docs — Firefox Source Docs documentation
These tools are useful for looking at messages displayed in the web console, which can include error messages and warnings from the Unity engine. They also include tools to profile the overall performance of the web page. However, note that they cannot analyze within the WebAssembly memory heap - the Unity Profiler is the best tool for that.
Note: The browser development tools can also be used with mobile browsers when an appropriate computer is attached to the mobile device.
10. Uploading your game to share
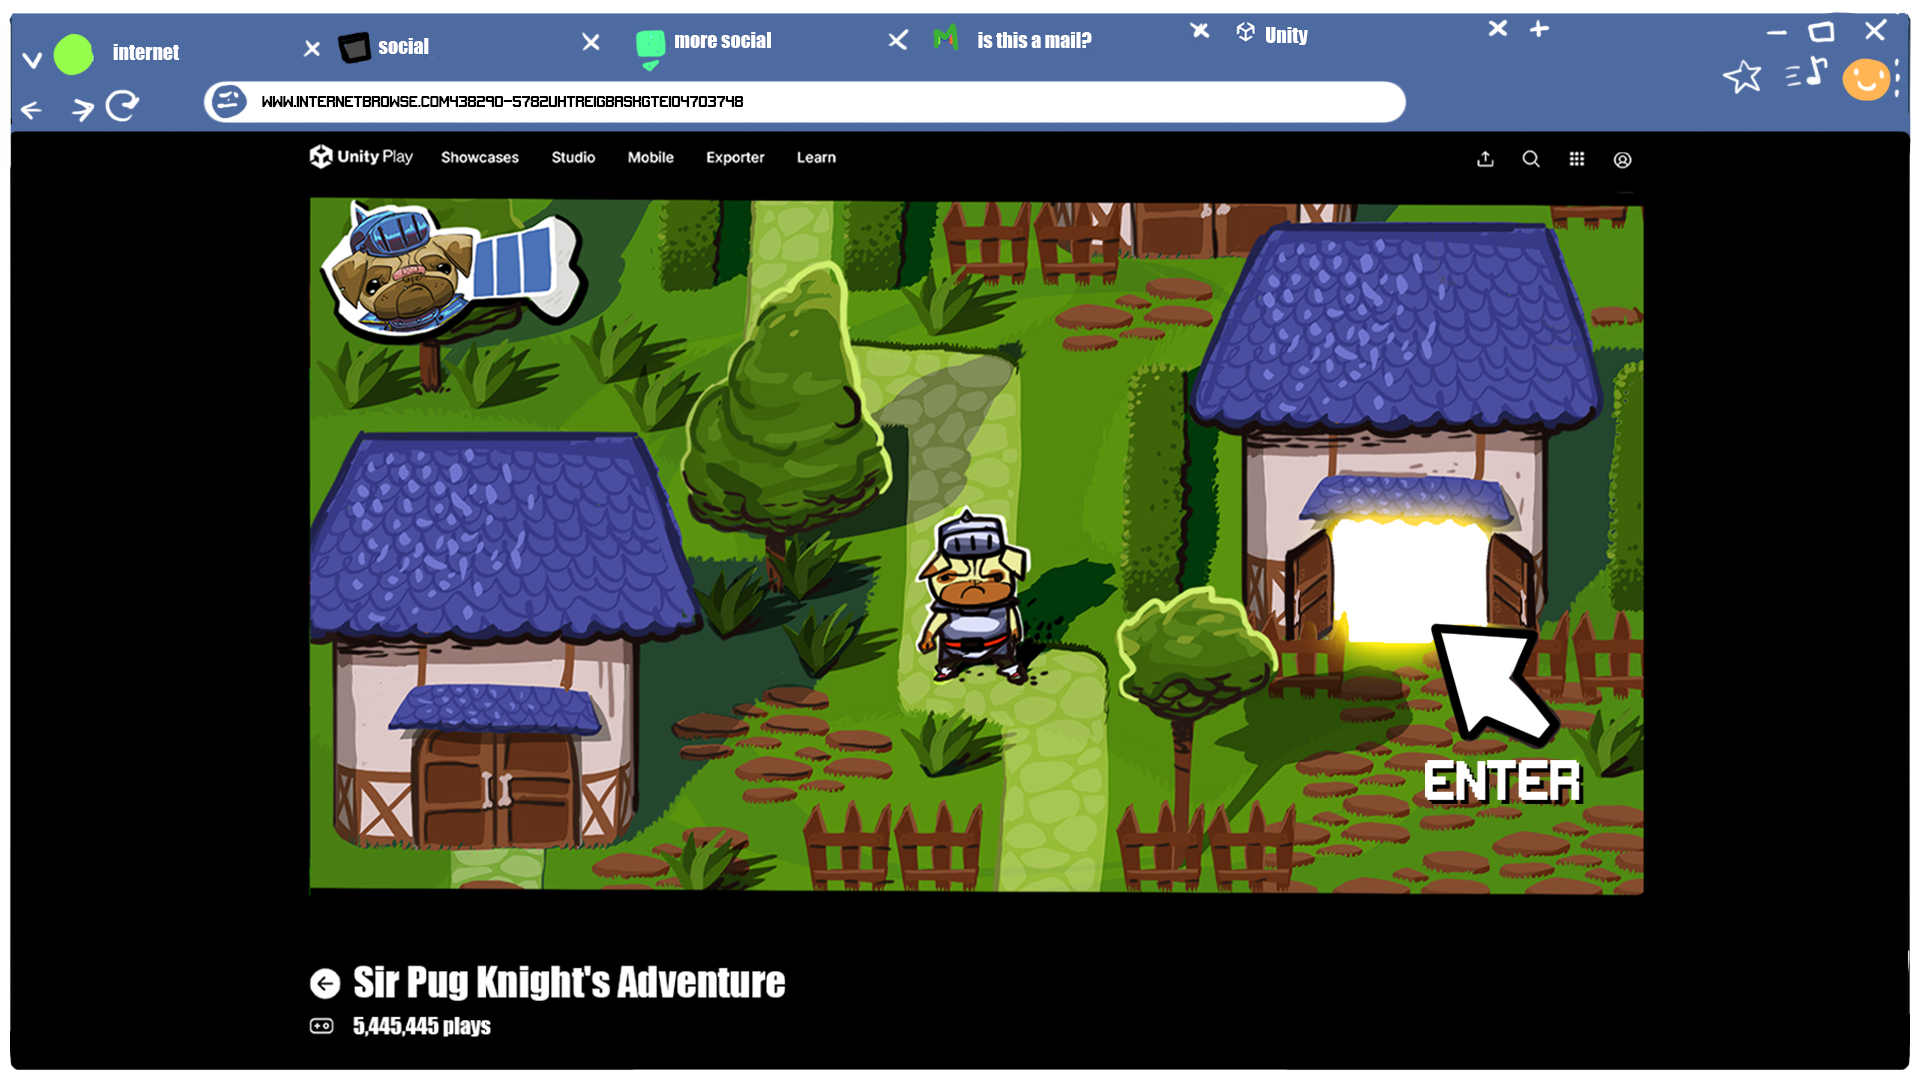
Thus far, building your project has hosted your game locally. Unity Play is a service provided by Unity where you can host your web games publicly. You can upload your game by zipping up the build output folder and using the web page here. Or add the WebGL Publisher package to your project so you can publish the game directly to Unity Play from within the Unity Editor.
Alternatively, there are many other hosted solutions where you can host your Unity game. One example is www.crazygames.com. They provide developer documentation here and a specific Unity SDK.
You’re also able to host your web games on your own web server. There are many web server products and services available. However, one important consideration is the compression type used. If you recall, the builds we’re making apply GZip compression to the files. An alternative and better compression option is Brotli compression. This is available in the Player settings. Note however, that your web server needs to be properly configured to serve Brotli compressed files. Check out the Deploy WebGL application manual and the Server configuration code samples manual for more information.
11. Conclusion
This tutorial has taken you on a tour of making builds for the web. We used the URP Sample Template for this, but now you can try making web builds for your own projects or other resources available on the Unity Asset Store.
We saw the following unique features of the web platform:
- On the web, the Unity game runs within a <canvas> element on the web page in the browser.
- You can choose one of three included Web templates to control the rest of the web page, or you can create your own using a custom Web template.
- Unity games can connect with JavaScript code running in the web browser, and we saw a simple example of opening a Browser alert dialog.
- Web provides extra security and portability restrictions compared to running games natively.
- There are three tools you can use to understand the performance of Unity games within your browser:
- The Unity Profiler, which needs to be started in Autoconnect mode.
- The Diagnostics Overlay, which is directly in the browser window.
- DevTools provided by the particular browser that you’re using.
- There are several options for uploading and hosting your web games to share with the world, including Unity Play.