
HDRP Area Lights
Tutorial
Beginner
+10XP
10m
(119)
Unity Technologies
Area lights in the High Definition Rendering Pipeline (HDRP) are rendered in real-time unlike the previous pipelines, there is no baking involved. They now benefit from the HDRP unitified lighting, which means that all objects within the scene should receive the same lighting and there is no longer a distinction between opaque, transparent, or volumetric materials. All of this results in a more coherent look within your scene in regards to your lighting.
Languages available:
1. Video Overview
This tutorial has been verified using Unity 2019.4 LTS
2. HDRP Area Lights
Introduced in Unity 2018.1, the High Definition Render Pipeline (HDRP) was developed to fulfill the needs of industries that require high-fidelity visuals. Area Lights in the HDRP are rendered in real time and, unlike previous pipelines, there’s no baking required. Area Lights now benefit from the HDRP’s unified lighting, which means there’s no longer a distinction between opaque, transparent, or volumetric Materials. In this tutorial, we will create an Area Light and then set its properties.
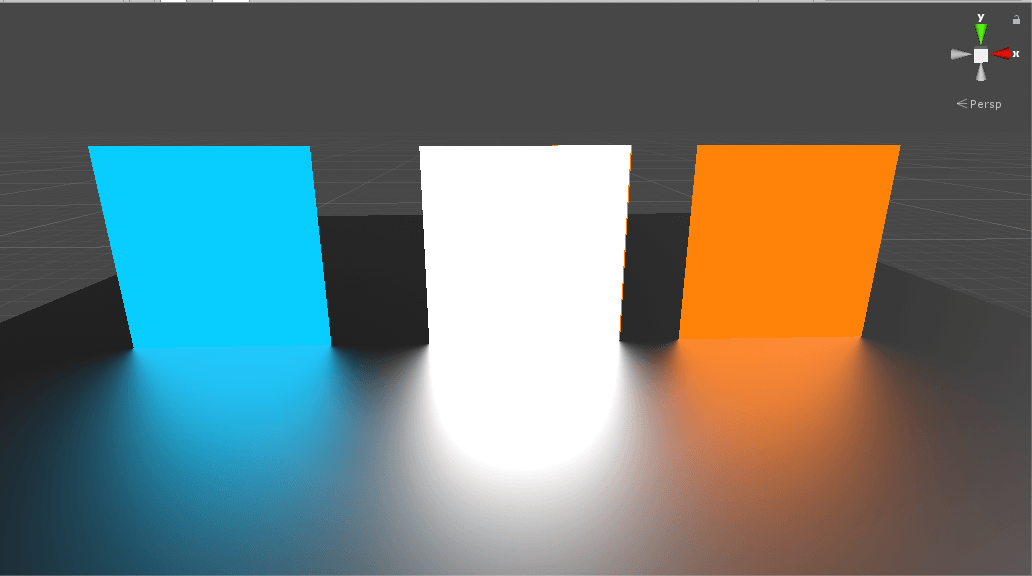
Area Lights illuminate an object from several different directions at once, which means shading tends to be more subtle than with other light types. From a design perspective, Area Lights can be used to create a realistic street light or several banks of light close to the camera, such as multiple skylights or interior house lighting.
3. Creating an Area Light
1. Navigate to the GameObject drop-down menu, and select Light > Area Light.
2. Using the transform gizmo, move and rotate your Area Light into place.
4. Area Light Properties
In rendering pipelines other than HDRP, Area Lights are used for lightmapping purposes. They are always baked and never rendered in real-time. HDRP renders them in real-time without shadows. This change is significant, as now you can see immediate results instead of having to first bake your lightmaps. This makes it easier to develop your Scene lighting.
With your Area Light selected, in the Inspector window, you’ll notice several categories of properties that you can modify (Figure 03).
The General category should remain untouched, as this defines the light as an Area Light. The Shape category changes the shape of your light. For Area Lights, you can only change the width (Size X) and height (Size Y) of the light. Emission changes the color and intensity of the light. Finally, Shadows enables or disables shadows and shows additional light settings. Normally this allows you to toggle if the light creates shadows, but since Area Lights don’t cast shadows, this category will remain disabled.
5. Conclusion
The HDRP offers many new features for Area Lights, including the ability to render them in real-time to bring a believable look to your Scenes. HDRP also provides you with more control over light behavior.