Hello Cube - your first Magic Leap 2 project
Tutorial
·
Beginner
·
+0XP
·
0 mins
·
Unity Technologies
In this tutorial, you will set up a new project, install all he required packages, set up the publishing settings for your Magic Leap 2 hardware, and create a simple application that will display a floating cube.
Languages available:
1. Overview
In this tutorial, you will set up a new project, install all he required packages, set up the publishing settings for your Magic Leap 2 hardware, and create a simple application that will display a floating cube.
2. Start a new project
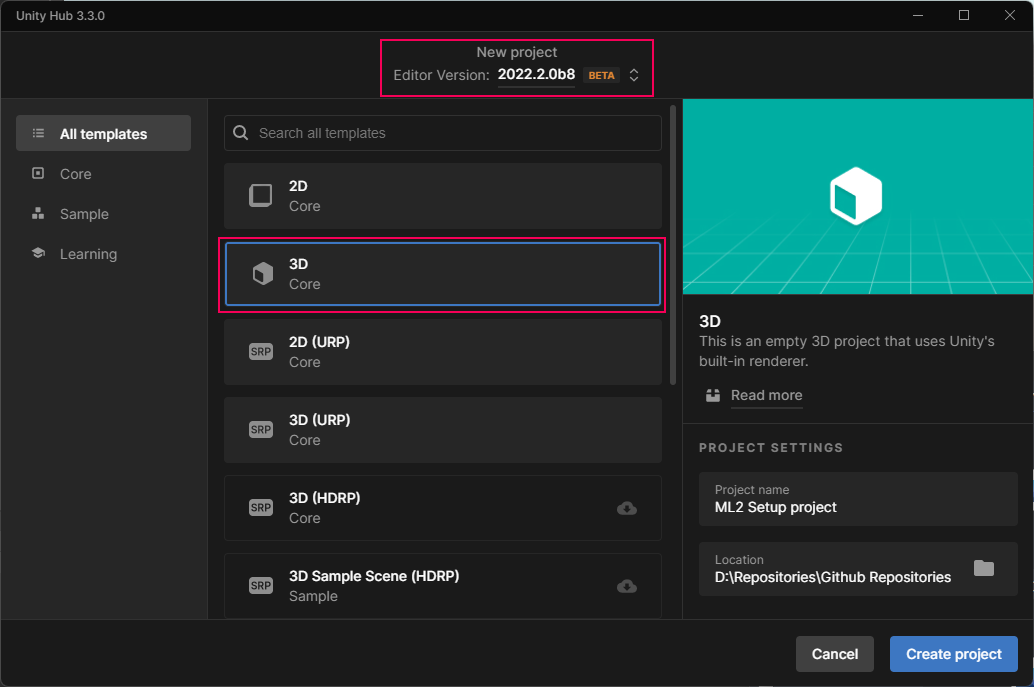
Let’s get started by setting up your project:
1. Start a new project in the Unity hub by selecting the standard 3D template, and set the Unity Editor version to 2022.2.0b8 or later.
2. In the Editor, go to, and select Window -> Package Manager
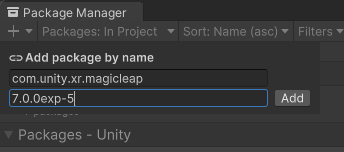
3. Select the Add package by name option.
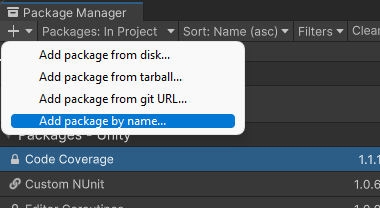
4. Add the following package name details. Name: com.unity.xr.magicleap. Version: 7.0.0exp-5.
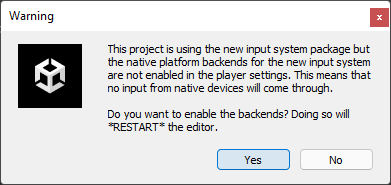
5. Select Yes if you get the warning about the new input system.
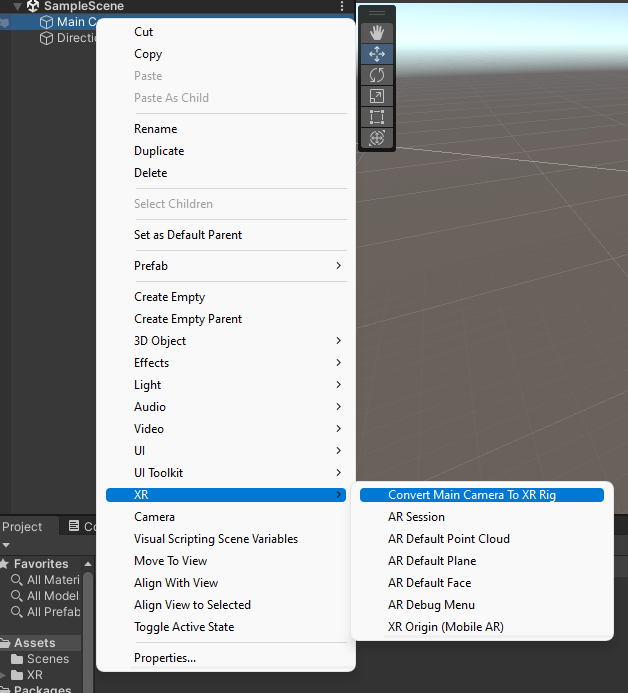
6. Right-click on Main Camera GameObject, and select XR > Convert the camera to XR rig.
7. Right-click in the hierarchy and add a new cube to the scene.
8. Set the position of the cube to x:0, y:0 and z:1.
9. Set the scale of the cube to x:0.5, y:0.5, z:0.5.
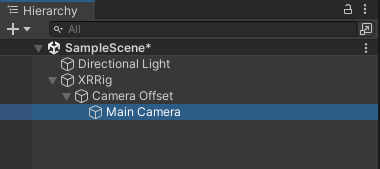
10. Select XRRig ->Camera Offset-> Main Camera in the Hierarchy.
10. In the Inspector, hide the skybox by changing the Clear Flags option to Solid Color, and changing the Background color to black.

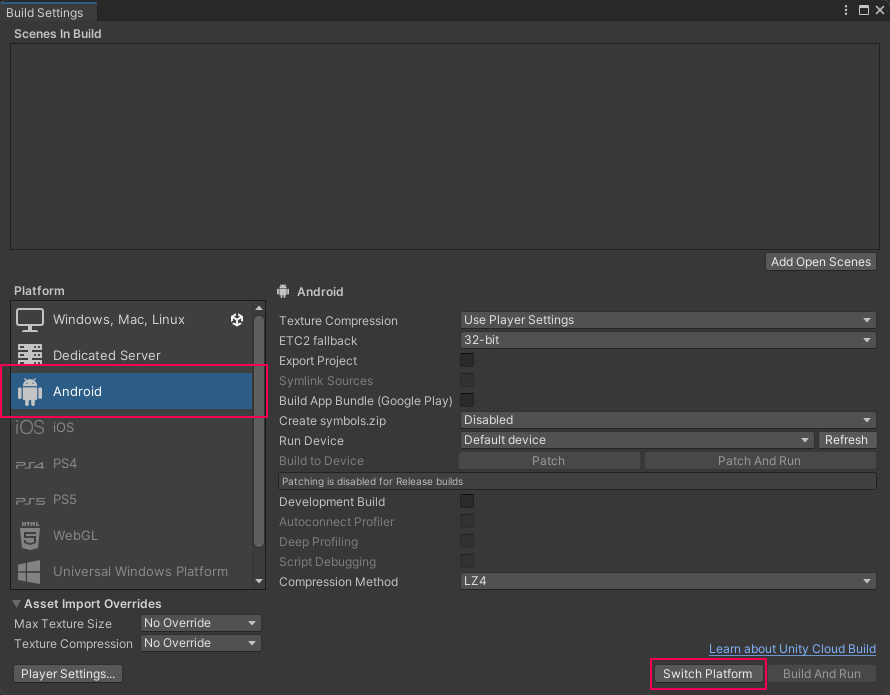
3. Publishing Settings
Let’s set up the publishing options for your project.
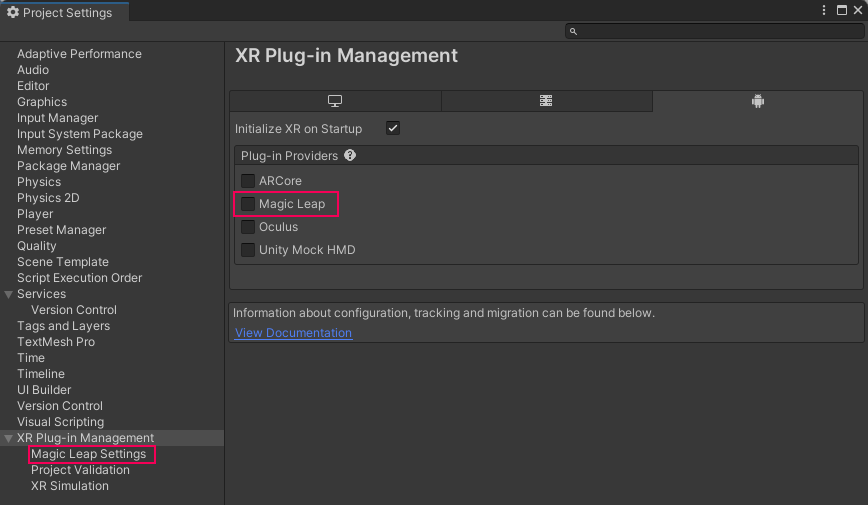
1. Go to project settings and go to XR plugin management and make sure Magic Leap option is selected on PC and on Android.
2. Go to build settings and switch to android and add open scene.