
Implement data persistence between scenes
Tutorial
foundational
+10XP
20 mins
(407)
Unity Technologies
In this tutorial, you’ll learn how to use data persistence to preserve information across different scenes by taking a color that the user selects in the Menu scene and applying it to the transporter units in the Main scene. By the end of this tutorial, you will be able to:
- Ensure data is preserved throughout an application session by using the Unity DontDestroyOnLoad method
- Recognize when to use static classes, singletons, and static variables to implement data persistence
- Modify a GameObject with a script that contains the variables to be saved between Scenes
Languages available:
1. Overview
Now you’ve set up some of the buttons in the app, so that the user can:
- Move between the Menu and Main scenes
- Exit the application (or end Play mode in the Editor).
Next, let’s configure the application so that when the user selects a color using the custom ColorPicker buttons, that color is applied to the forklifts in the warehouse when they launch the scene.
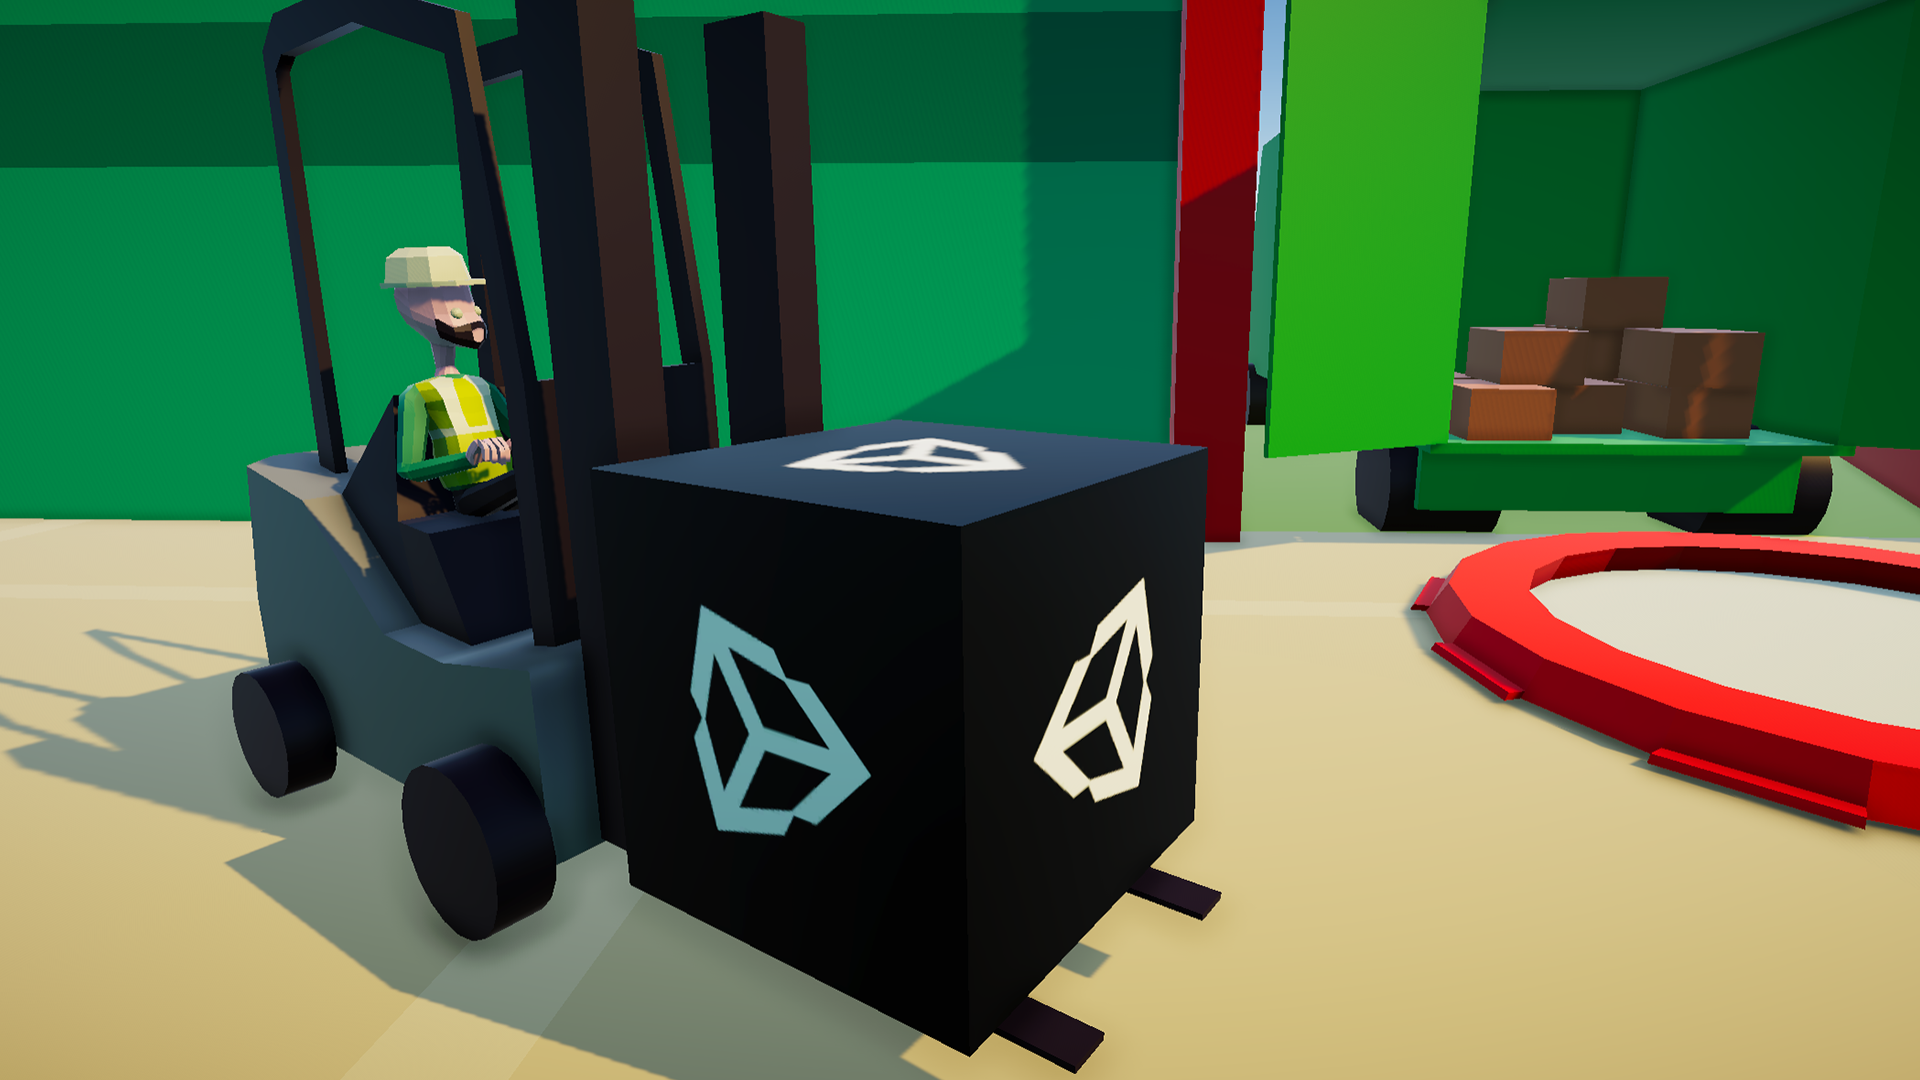
Here’s what that might look like in your project:
To do this, you first need to understand some basics of data persistence.
2. What is data persistence?
Data persistence means making data last longer than the process used to create that data. Some examples of data persistence are:
- The specific player icon you select in a one-off multiplayer game (for example, a quiz party game)
- Your name input at the start of an application and then displayed throughout the session (for example, in a polling tool)
- Your progress in ongoing long-form games (for example, an RPG game on a console)
- Your work in a word processing application
Data persistence between scenes
In Unity, data created within a scene is easily available within that scene. But when a user moves to another scene, what happens? Typically, this data is lost. Data persistence between scenes is the process of transferring data from scene to scene to give the user a consistent experience as they progress through your application. In the first two examples above are examples of data persistence between scenes — they are typically one-session experiences that use multiple scenes.
Data persistence between sessions
The other two examples (ongoing games and a word processing application) are typically multi-session experiences. Users want to save the progress they make during one session, and then restore it to pick up where you left off. These are example of data persistence between sessions.
You will frequently encounter both types of data persistence in more complex applications — data that needs to follow the user as they move between scenes, and that also needs to be saved and restored over multiple sessions.
3. Review your brief
Your brief for the resource management simulation project includes making it possible to select colors in the initial menu (Menu scene) and apply them to the forklifts in the warehouse (Main scene).
At the moment, the buttons exist, because we’ve provided a custom script for this — you reviewed these when you set up other buttons in the previous tutorial. Now let’s implement data persistence between scenes by making the selected color data available in the Main scene.
To achieve this, you will use:
- DontDestroyOnLoad: A method in Unity that marks a GameObject to be saved in memory even when loading or unloading a new scene.
- Static classes and class members: Static class members can be accessed from anywhere without having to reference a specific object. You may already have used some of these, such as Time.deltaTime or Vector3.forward. Those aren’t a specific time object or a specific vector3 — the format for static class members is ClassName.memberName.
Let’s get started!
4. Create a new script
First, you need to create a new script to be the static class where you’ll store the data you want to persist between scenes:
1. In the Project window, go to Assets > Scripts.
2. Create a new script in this folder and name it "MainManager".
3. In the Hierarchy, create a new empty GameObject and name it MainManager. Assign your new script to the GameObject, and then open the script in your chosen IDE.
4. Delete the default Start() and Update() methods, then add the following code to create a static member to the MainManager class:
public class MainManager : MonoBehaviour
{
    // Start() and Update() methods deleted - we don't need them right now

    public static MainManager Instance;

    private void Awake()
    {
        Instance = this;
        DontDestroyOnLoad(gameObject);
    }
}
This code enables you to access the MainManager object from any other script.
5. Review the code
Let’s go through that code line by line:
Class member declaration
public static MainManager Instance;This is the static class member declaration. Note the keyword static after the keyword public. This keyword means that the values stored in this class member will be shared by all the instances of that class.
For example, if there were ten instances of MainManager in your scene, they would all share the same value stored in Instance. If any of those 10 MainManagers changed the value in it, it would also be changed for the other nine.
Awake method code
Next, you added code to the Awake method, which is called as soon as the object is created:
Instance = this;
DontDestroyOnLoad(gameObject);
This first line of code stores “this” in the class member Instance — the current instance of MainManager. You can now call MainManager.Instance from any other script (for example, the Unit script) and get a link to that specific instance of it. You don’t need to have a reference to it, like you do when you assign GameObjects to script properties in the Inspector.
The second line of code marks the MainManager GameObject attached to this script not to be destroyed when the scene changes.
6. Test in Unity Editor
Let’s test those changes in the Editor:
1. Return to Unity Editor, open the Menu scene and enter Play mode.
2. Check the GameObjects in the Hierarchy. The MainManager has been moved from your normal scene to a special scene called DontDestroyOnLoad.
Note: This scene also has a new GameObject called [DebugUpdater]. This is a debug GameObject used by Unity — you can ignore it.
3. Select Start to launch the Main scene. The MainManager GameObject is still there — success!
4. Select Back to menu to return to the previous scene and review the Hierarchy.
Whoops, there are now two MainManager GameObjects! This happens because the MainManager traveled with us from the Main scene back to the Menu, where the original instance of the MainManager is located. This can cause problems later down the road — let’s fix it next.
7. Modify the Awake method
You need a single MainManager GameObject at all times, so let’s modify the Awake method to achieve that:
1. Return to MainManager.cs in your IDE.
2. Update the Awake method with the following code:
private void Awake()
{
    // start of new code
    if (Instance != null)
    {
        Destroy(gameObject);
        return;
    }
    // end of new code

    Instance = this;
    DontDestroyOnLoad(gameObject);
}
3. Save your changes.
4. Return to Unity Editor and find out what happens now when you follow the same test process.
Review the new code
You’ve just added a conditional statement to check whether or not Instance is null. The very first time that you launch the Menu scene, no MainManager will have filled the Instance variable. This means it will be null, so the condition will not be met, and the script will continue as you previously wrote it.
However, if you load the Menu scene again later, there will already be one MainManager in existence, so Instance will not be null. In this case, the condition is met: the extra MainManager is destroyed and the script exits there.
This pattern is called a singleton. You use it to ensure that only a single instance of the MainManager can ever exist, so it acts as a central point of access.
8. Store and pass the selected color
Now you’ve set up a system to pass data between the scenes in your application. Let’s add a new public member on MainManager to pass the color that the user selects:
1. Return to MainManager.cs in your IDE.
2. Add a new public class member called TeamColor above the Awake method:
public class MainManager : MonoBehaviour
{
    public static MainManager Instance;

    public Color TeamColor; // new variable declared

    private void Awake()
    {
        if (Instance != null)
        {
            Destroy(gameObject);
            return;
        }

        Instance = this;
        DontDestroyOnLoad(gameObject);
    }
}
3. Save your changes and return to the Unity Editor. Open the MenuUIHandler.cs script in your IDE.
In this script, there is a method called NewColorSelected, which is called when the user picks a new color. Let’s retrieve that color and store it in MainManager.
4. Update the NewColorSelected method with the following code:
public void NewColorSelected(Color color)
{
    // add code here to handle when a color is selected
    MainManager.Instance.TeamColor = color;
}
That’s it — the color that the user selects is now stored in MainManager, so you can access the TeamColor variable from the Main Manager to retrieve it! Now you just need to apply it to the forklift in the warehouse.
5. Save your changes then return to the Unity Editor. Open the Unit.cs script in your IDE.
6. Add a new Start method with the following code:
private void Start()
{
    if (MainManager.Instance != null)
    {
        SetColor(MainManager.Instance.TeamColor);
    }
}
7. Save your changes.
Review the new code
SetColor is a method we’ve written for you, to set a color to the unit (the forklift).
Note that it checks whether MainManager.Instance is null before setting the color. MainManager will be there as it is created in the initial Menu scene, so why do we need that?
Well, if you want to test quickly then you may want to start the Main scene in the Editor directly, without passing by the Menu scene. In that case, the MainManager won’t exist, and MainManager.Instance will be null. This code prevents an error in case the programmer runs the Main scene by itself without passing by the main menu, making it easier to test things quickly.
Test the outcome
Try testing again in the Unity Editor: select a color from the menu before launching the Main scene and check what happens!
9. Next steps
Now you’ve achieved the first part of implementing data persistence in the application: data persistence between scenes.
In the next tutorial, you’ll extend this further by implementing data persistence between sessions of the application.