
Implement sound effects
Tutorial
Beginner
+10XP
30m
(597)
Unity Technologies
In this tutorial, you’ll:
- Implement a static sound effect
- Implement a contact sound effect
- Add closed captions for these sound effects
Languages available:
1. Overview
Now that you’ve created a basic interactive VR experience, you can use audio to make it more engaging and immersive. In this tutorial, you’ll add static and contact sound effects to objects in your Prototype Room. You’ll also add closed captions to make your VR experience more inclusive.
2. Before you begin
In this tutorial, you’ll use the VR Beginner Unity Project and your VR hardware. Before you begin:
1. Open the VR Beginner Unity Project.
2. Check that your hardware is ready. If you’re using Oculus Link with the Oculus Quest, enable and connect this now through the Oculus app.
3. Implementing basic audio sound effects in VR
You can add sound to VR experiences in Unity just like non-VR experiences. Unity can also spatialize the audio (make it sound like the audio source is coming from within a 3D environment). To use Unity’s audio spatializing features, you need to make sure that:
- The Camera GameObject in your Scene has an Audio Listener component, so that Unity can spatialize the sound properly through headphones, based on the position of your VR headset
- Sounds that are part of your VR experience have their Audio Source Spatial Blend set to 3D, to be more immersive in experience
This is already configured by default in Prototype Scenes created using the custom menu in this Unity Project.
4. Add a static sound effect to an object
First, let’s add a spatialized looping sound to your Prototype Room — a low hum for the fusebox.
To add the sound to the Fusebox GameObject:
1. In the Hierarchy, select the Fusebox GameObject.
2. In the Inspector, select Add Component. Search for “Audio Source”, and add this component to the GameObject.
3. In the Project window, go to Assets > VR Beginner > Audio. Find the SFXDoorHumLoop audio file.
4. Drag SFXDoorHumLoop from the Project window to the Audio Clip property at the top of the Audio Source component.
5. In the Audio Source component, enable Play On Awake and Loop.
6. Set the Spatial Blend slider to 3D (1 in the numerical field).
7. Select the grey arrow to expand the 3D Sound Settings, if it is not already open.
8. Set the following property values:
- Volume Rolloff to Linear Rolloff, which means the further you are from the audio source the quieter it will be
- Min Distance to 0.2, which defines the distance at which maximum volume is reached
- Max Distance to 4, which defines the distance where the sound begins to play
9. Press Ctrl + S to save your changes.
10. You can now test the sound effect. When you are on the teleporter next to the fusebox you will hear the sound loudly. It will be much more faint if you create a teleporter further away. If you move your head, the audio will change as it would in real life.
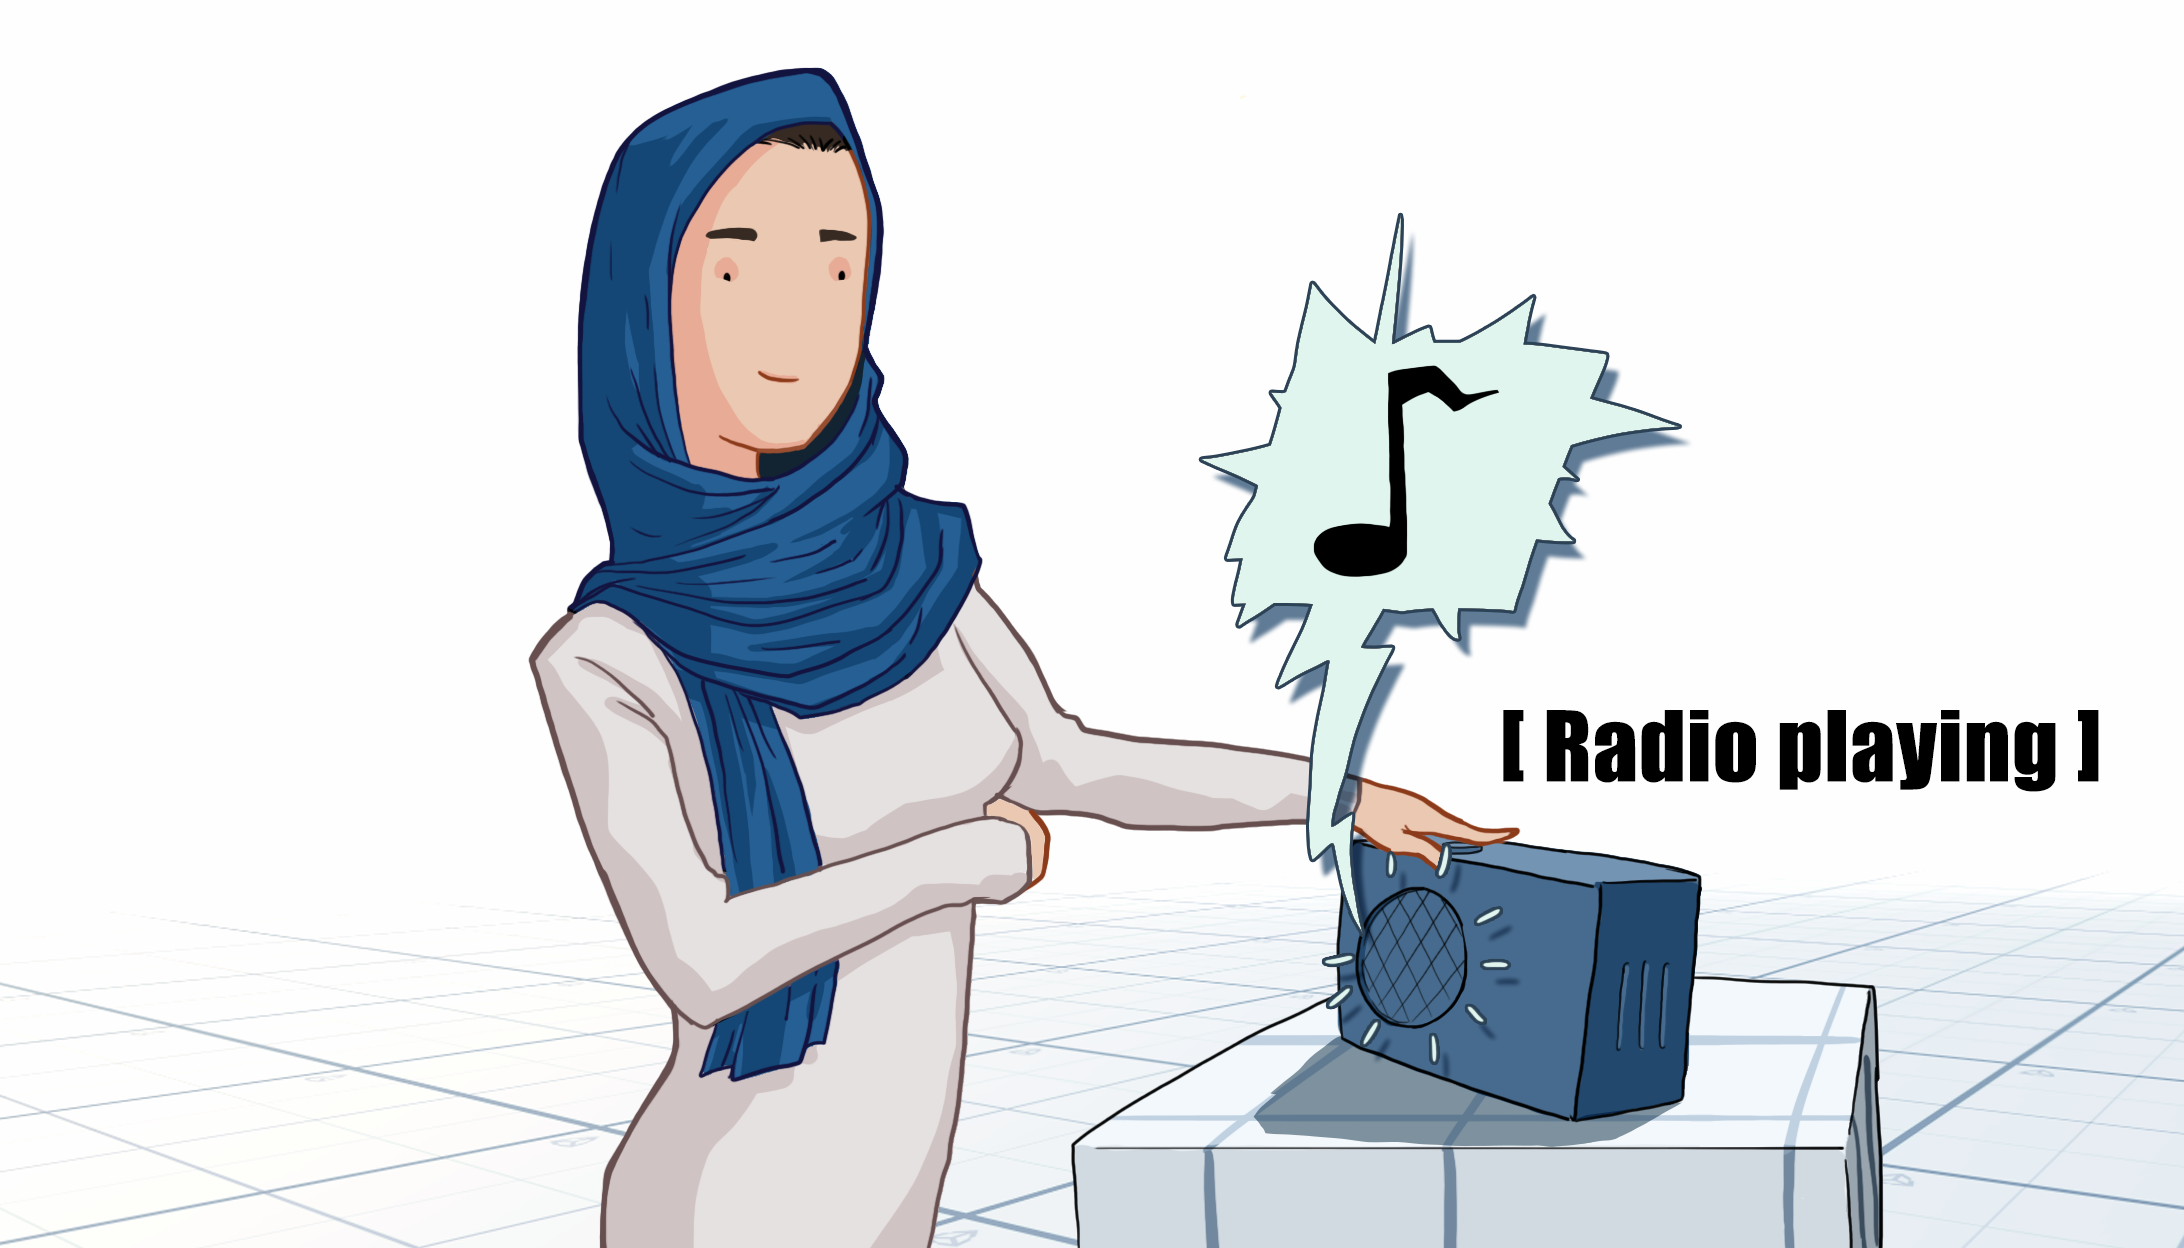
5. Using closed captions in VR
Close captions are a feature which can improve the inclusivity of your VR experience. This learning project includes an example prototype Closed Caption System, as an indication of how you can implement this in a VR experience.
The prototype Closed Caption System is made of three scripts:
- CCDatabase, which associates a given audio clip with one or multiple lines of text and display timings for each line
- CCSource, which can be added to an object that has an Audio Source component (like the Fusebox) and enables closed captions for the object
- CCManager, which checks for audio sources with closed captions enabled in the Scene and displays the text when the user is in front of the object
These scripts are all located in Assets > VR Beginner > Scripts > System.
6. Add closed captions for the sound effect
Let’s add closed captions to the Fusebox sound effect:
1. In the Project window, go to the Assets folder. Right-click and select Create > ClosedCaption > CCDatabase to create a new database Asset.
2. Press F2 and rename the Asset to TutorialCCDatabase.
3. Double-click the Asset icon to open the database editor.
4. In the Project window, go to Assets > VR Beginner > Audio. Drag SFXDoorLoopHum from the Project window into the TutorialCCDatabase window. This is the sound effect you added to the Fusebox.
5. Select the new button which appears with the sound effect name.
6. Select New Line to create a new line of text in the database. Add “[ Humming ]” to the new Line field.
7. As the sound effect is more than three seconds long, let’s create another line of text for the closed captions to see what that looks like in the Unity Project. Select New Line again and set:
- Time to 1.5
- Line to “[ More humming ]”
This means that when the sound has played for 1.5 seconds, the second line of text will be displayed. You can now close the database editor window.
8. In the Hierarchy, select the CCSystem GameObject.
9. In the Inspector, use the selector button to the right of the Database field to select your new TutorialCCDatabase as the database the Closed Captions System reads from.
10. Press Ctrl + S to save your changes.
7. Set the Fusebox as a closed caption source
Now that you’ve added closed captions to the sound effect, you need to set the Fusebox GameObject as a source for closed captions in the Scene:
1. In the Hierarchy, select the Fusebox GameObject.
2. In the Inspector, select Add Component. Search for and add a CC Source component.
3. In the Project window, go to Assets > VR Beginner > Prefabs > System.
4. Drag the CCCanvas Prefab from the Project window to the Canvas Prefab field the CC Source component in the Inspector.
This canvas defines how the closed captions will appear. If you have more experience with UI development for Unity, you can customize this for your VR experience.
5. You can use the following fields in the CC Source component to make basic adjustments to the caption display:
- Enable Always Tracked. This displays an arrow in the center of the user’s view that points to objects with closed captions that are playing. This can indicate critical audio sources for the user, for example those that give gameplay information.
- Set Max Distance to 2. This is the maximum distance at which the caption is displayed. The Fusebox captions will display when you are standing next to it, but will not appear when you’re next to the table.
- Set Scale above 1 to increase the default caption size, or below 1 to decrease it.
6. Press Ctrl + S to save your changes.
7. You can now test the sound effect closed captions. When you stand next to the Fusebox, the caption text should appear, cycling as the sound effect loops. When you move back to the box table, you should not see the closed caption text. If you enabled Always Tracked, you should see an arrow indicating the direction of the sound effect.
8. Add a contact sound effect to your object
VR Beginner includes a custom system called SFXPlayer, which enables scripts to play SFX (special effects) sounds. Prototype Scenes created using the custom menu include this system by default. One feature of this Unity Project is a custom script to set sounds when an interactable object makes contact with another object. For example, this script will play a sound if the grabbable flashlight is dropped onto a table.
To add a contact sound effect to a grabbable object in your Scene:
1. In the Hierarchy, select the interactable item GameObject.
2. In the Inspector, select the Add Component button.
3. Search for and select the Contact Sound Player component. This is a custom component created for this Unity Project.
4. In the Project window, go to Assets > VR Beginner > Audio and select a sound effect file. Try one of the four SFXImpactHeavy audio clips in the folder.
5. Drag the file from the Project window onto the Clips property in the Contact Sound Player component.
If you do this with multiple sound effects, the script will select one use randomly when the object makes contact with another. Try adding all four variant SFXImpactHeavy audio clips.
6. Select Ctrl + S to save your changes.
7. You can now test the sound effect in VR. Pick up the interactable object you selected and drop it onto one of the block tables. You should hear one of the sound effects you added to the Contact Sound Player component.
9. Challenge: Add closed captions for the contact sound effect
Now that you’ve added a contact sound effect for your object, try adding a closed caption for the effect.
Remember you’ll need to:
- Add the sound effect to the database, and set its caption text and timing(s)
- In the Contact Sound Player component, enable the Closed Captioned checkbox
- Test to check that you have implemented the closed caption successfully
If you need more guidance to complete this challenge, review steps six and seven of this tutorial.
10. Summary
In this tutorial, you have implemented audio and closed captions to enhance your VR experience. Next, you will learn how to set up the Unity project for UI development.