Importing Textures and normal maps from Photoshop
Tutorial
Beginner
+10XP
25 mins
63
Unity Technologies
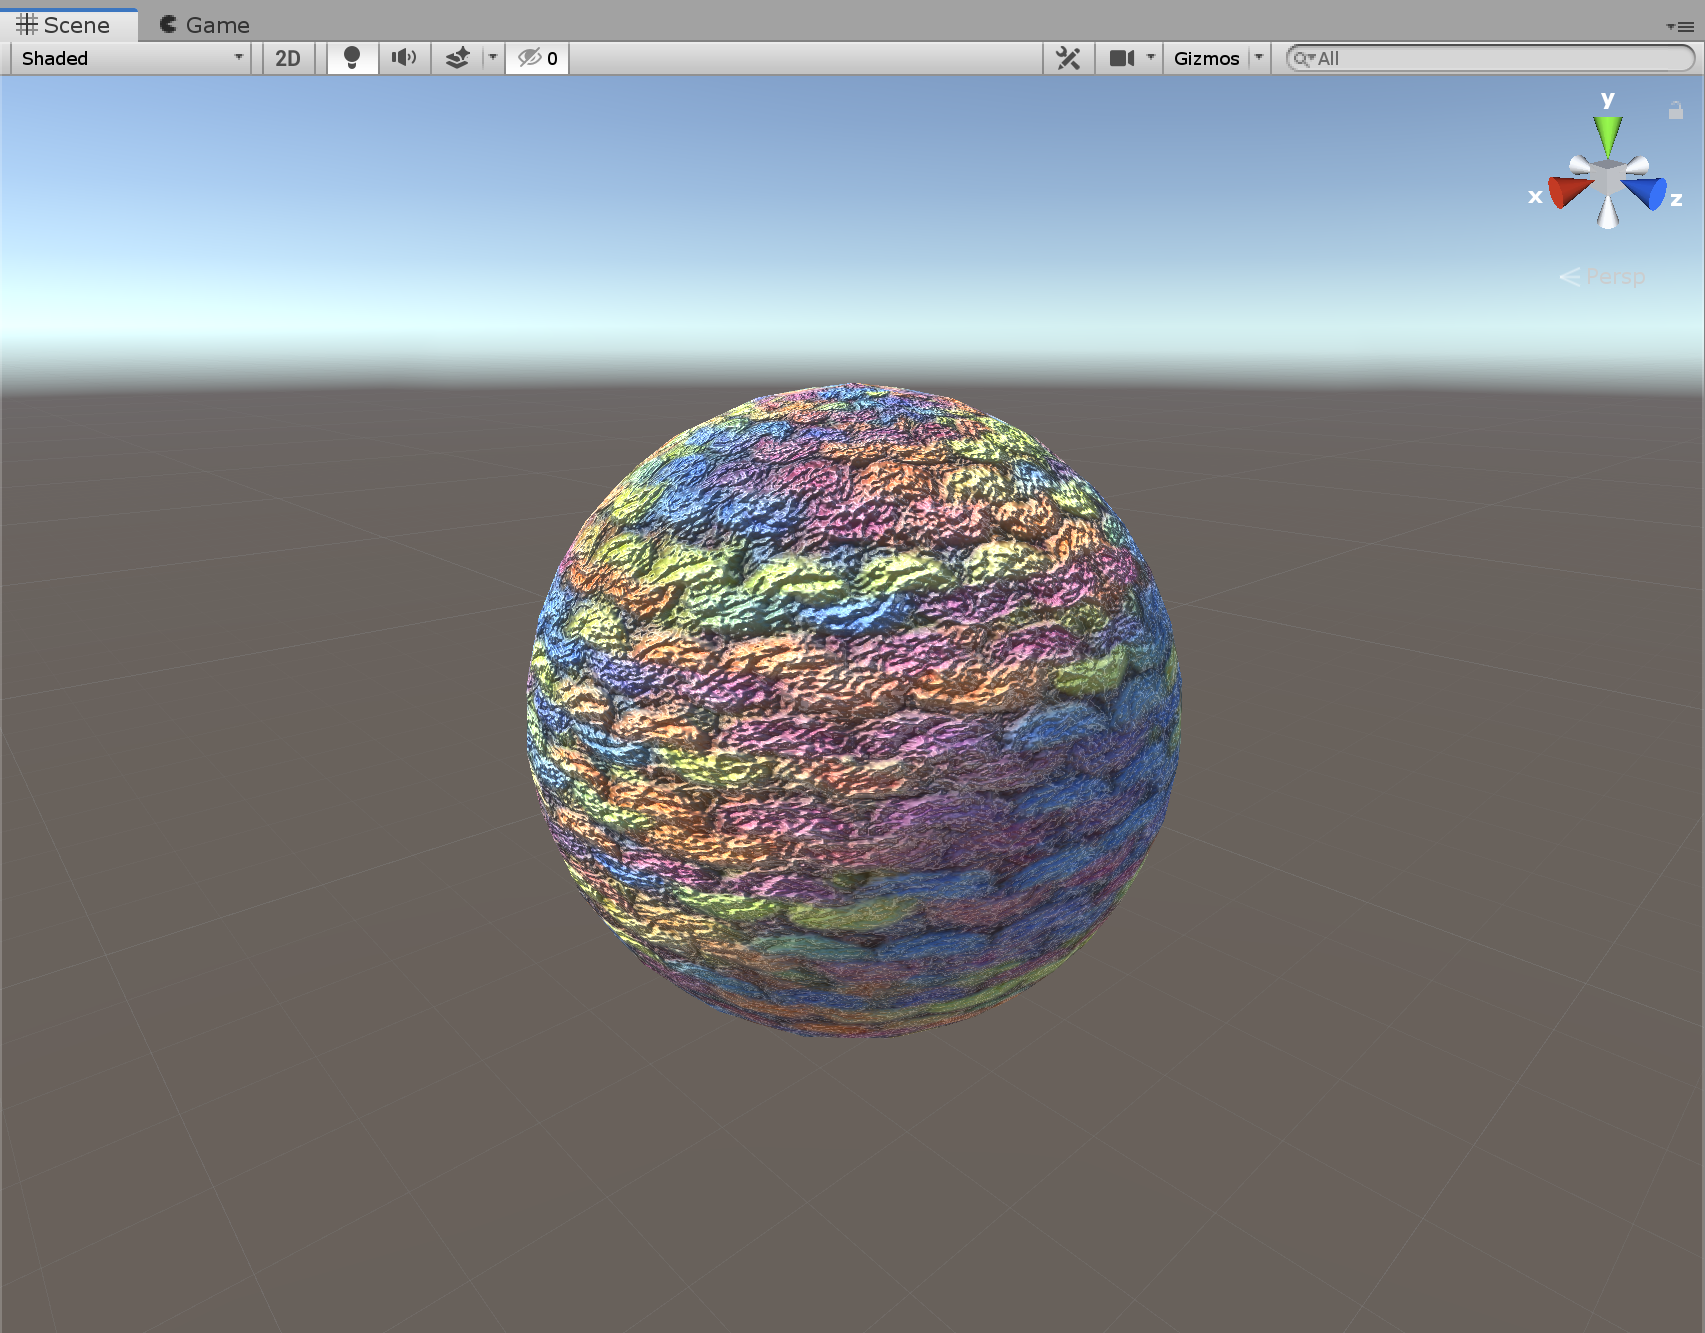
Textures are essentially image files used to provide visual detail to the many GameObjects that comprise your Scene. Whether it’s the sleek mahogany of a coffee table or the rough bark of a tree in the forest, Textures play a crucial role in providing character to your objects. Normal maps are a special kind of Texture that provide a sense of surface detail to these objects.
In this tutorial, we will use Adobe Photoshop to export a Texture, import it into Unity, generate normal maps, create a simple Material, and apply it to a sphere GameObject.
Languages available:
1. Importing Textures and normal maps from Photoshop
This tutorial has been verified using Unity 2019.4 LTS
Textures are essentially image files used to provide visual detail to the many GameObjects that comprise your Scene. Whether it’s the sleek mahogany of a coffee table or the rough bark of a tree in the forest, Textures play a crucial role in providing character to your objects. Normal maps are a special kind of Texture that provide a sense of surface detail to these objects.
In this tutorial, we will use Adobe Photoshop to export a Texture, import it into Unity, generate normal maps, create a simple Material, and apply it to a sphere GameObject.
Textures can either be found online or created in programs such as Photoshop or Substance Designer.
1. After loading your Texture into Photoshop, navigate to File > Export > Export As (Figure 01).
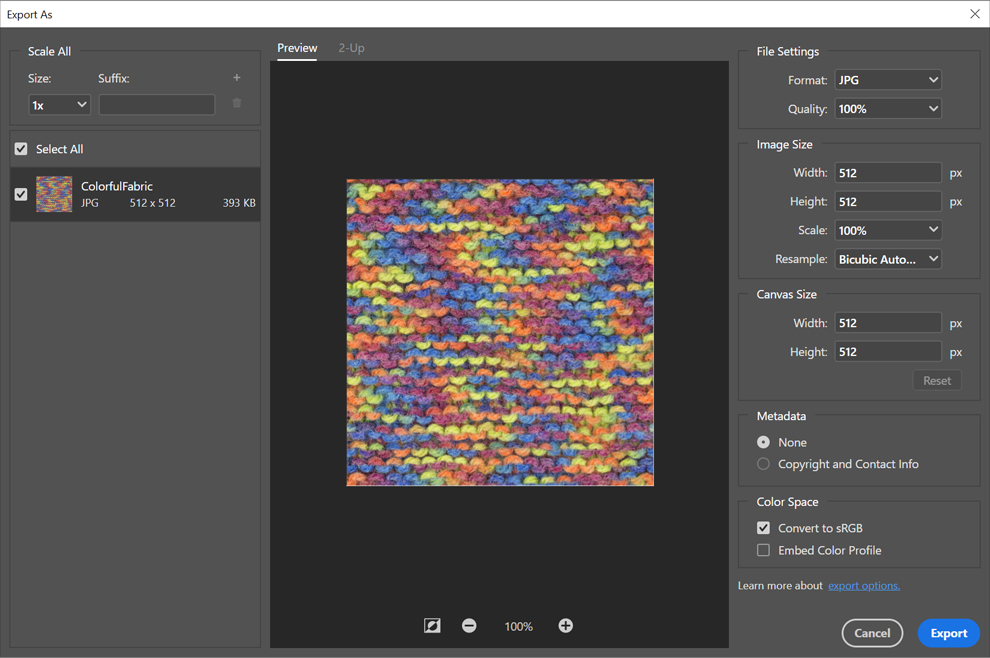
In the Export As dialog window, notice the file is of type .JPG.
Unity supports the following image files:
- BMP
- EXR
- GIF
- HDR
- IFF
- JPG
- PICT
- PNG
- *PSD
- TGA
- *TIFF
Therefore, we can leave the file format as is.
*Images in these formats can be composed of multiple layers (images stacked on top of each other). Unity will automatically create a flattened copy of these files when imported.
2. Click Export and save the file into your Unity project’s Assets folder. For clarity's sake, name the file something along the lines of tex_fabric.
Before we head to Unity, we need to create a grayscale, or black and white, version of the image so Unity can generate a normal map from the original Texture.
3. Navigate to Image > Adjustments > Desaturate. What should result is a grayscale image (Figure 02).
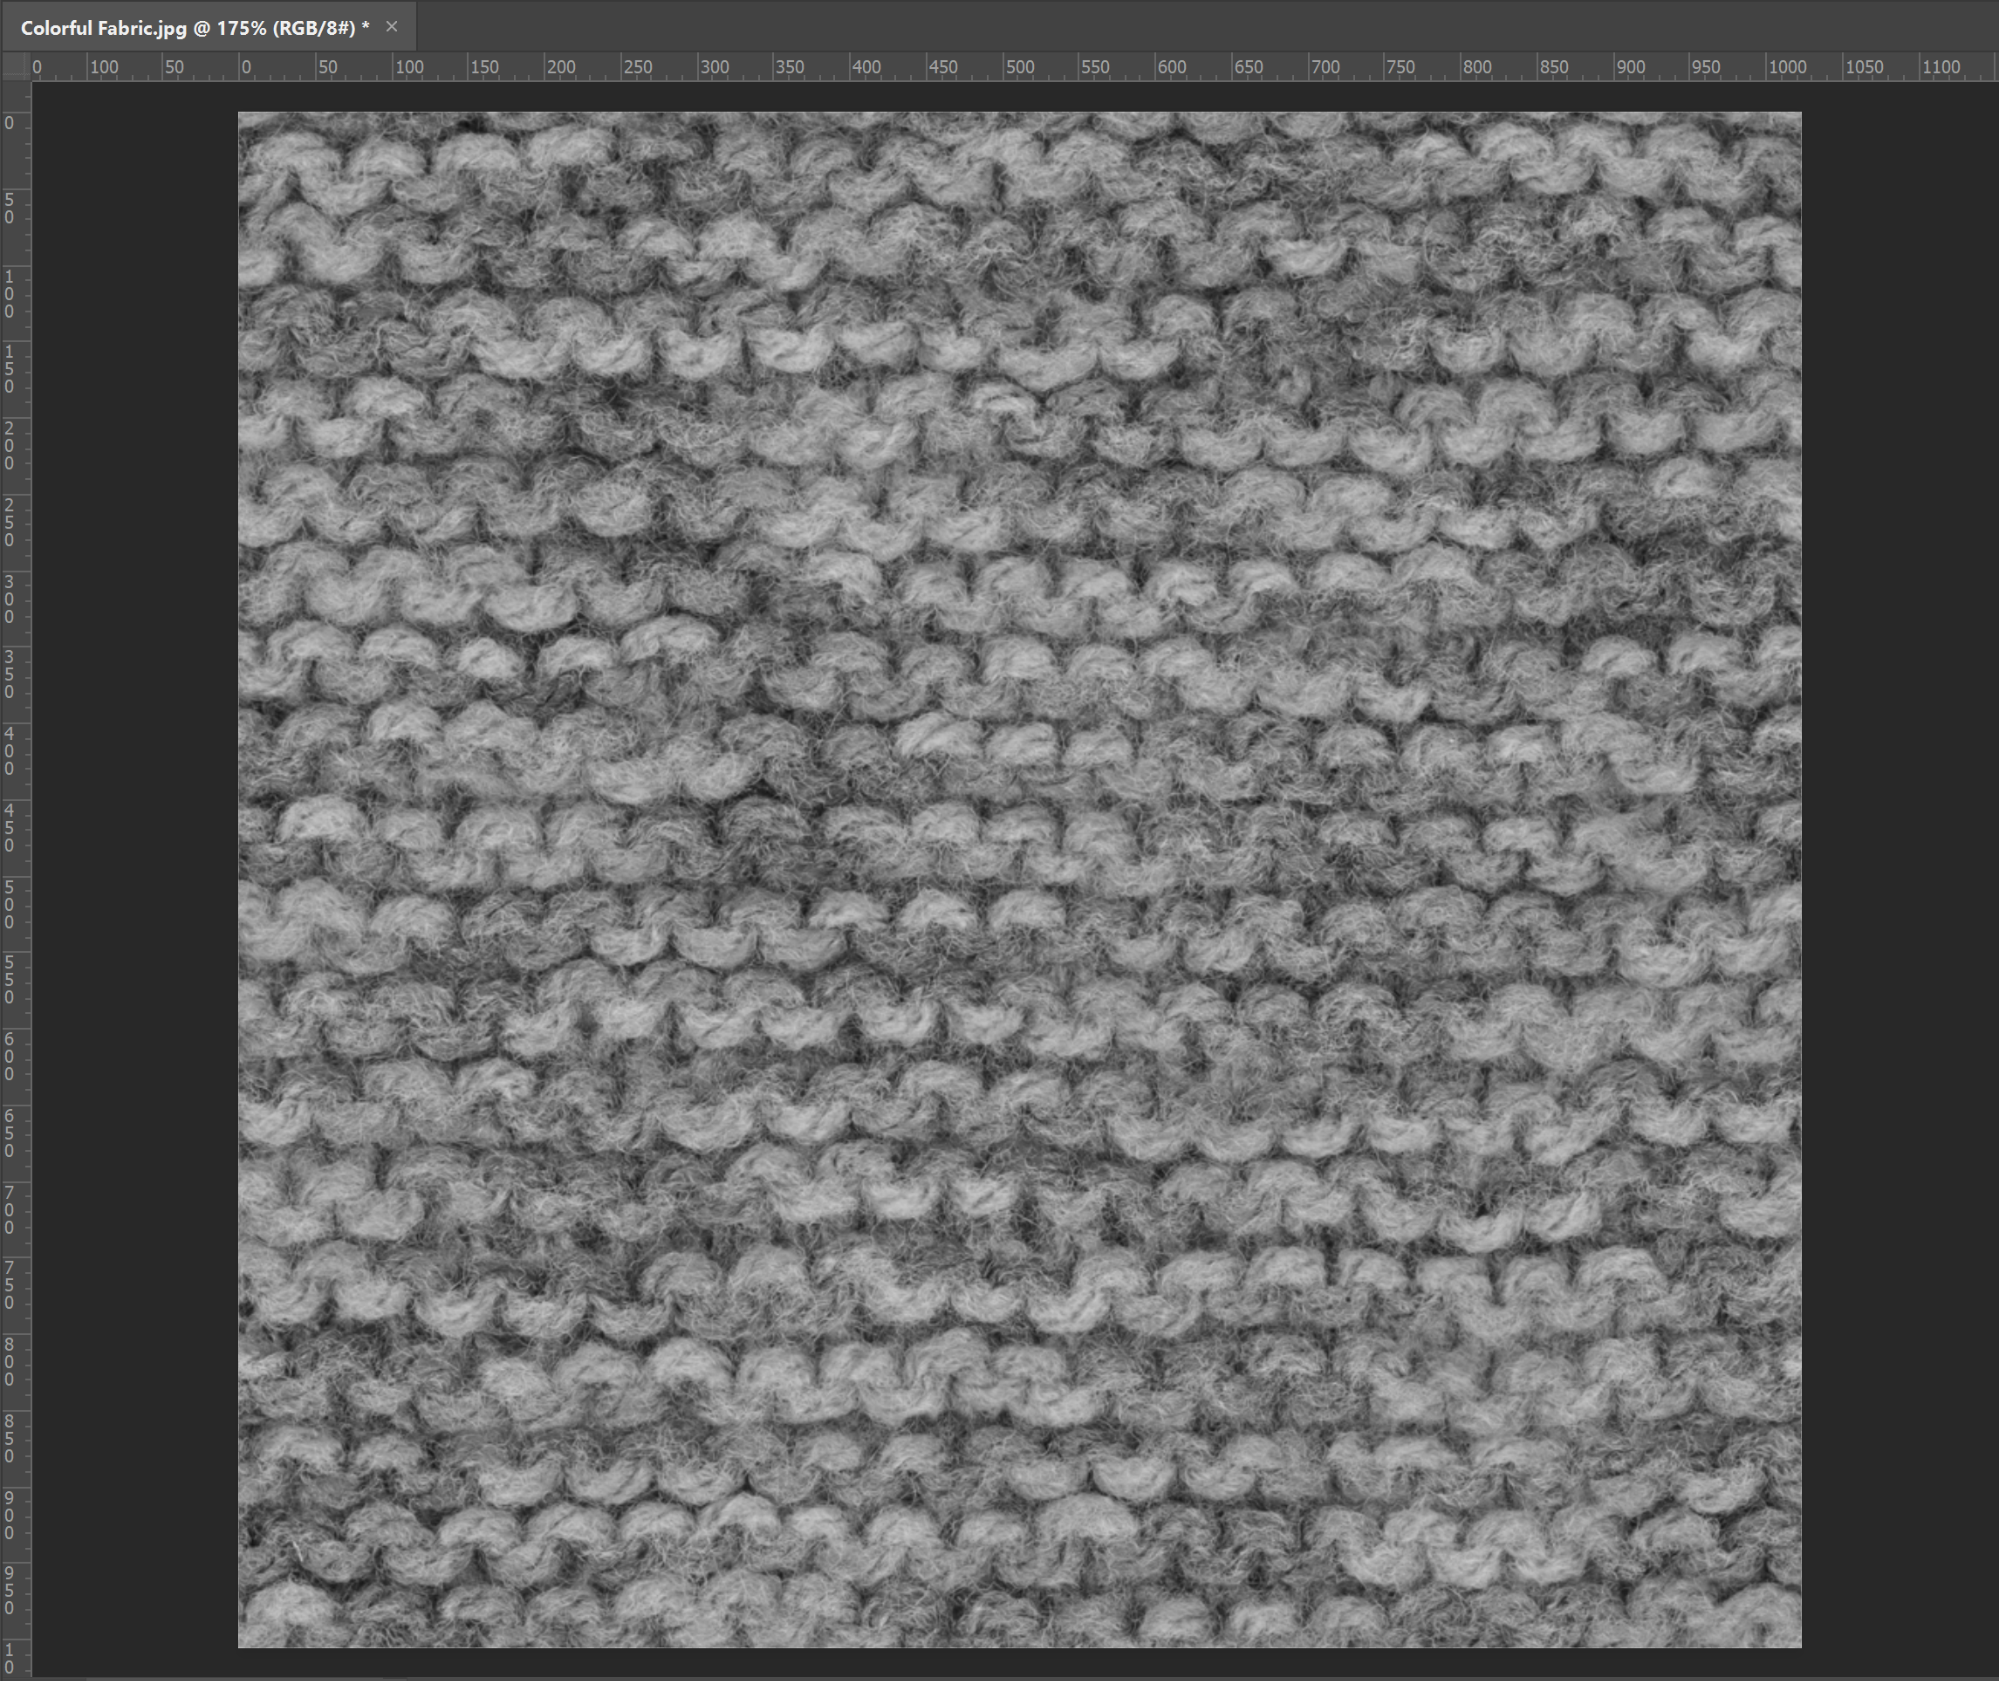
While not necessary, we can create more contrast in our grayscale image to assist Unity in generating a more detailed normal map.
4. Navigate to Image > Adjustments > Levels. Once you see the Levels dialog box appear, adjust the sliders until the grayscale image has more contrast — the darker areas become black and the brighter areas become white.
5. Click OK to apply the changes and repeat Step 2 to export the grayscale image. This file can be named something along the lines of tex_fabric_normal. Close Photoshop after this step; we’re now ready to head into Unity!
6. In a new Scene, navigate to GameObject > 3D Objects > Sphere. A new Sphere object will be created in the Scene view and added to the project Hierarchy (Figure 03).
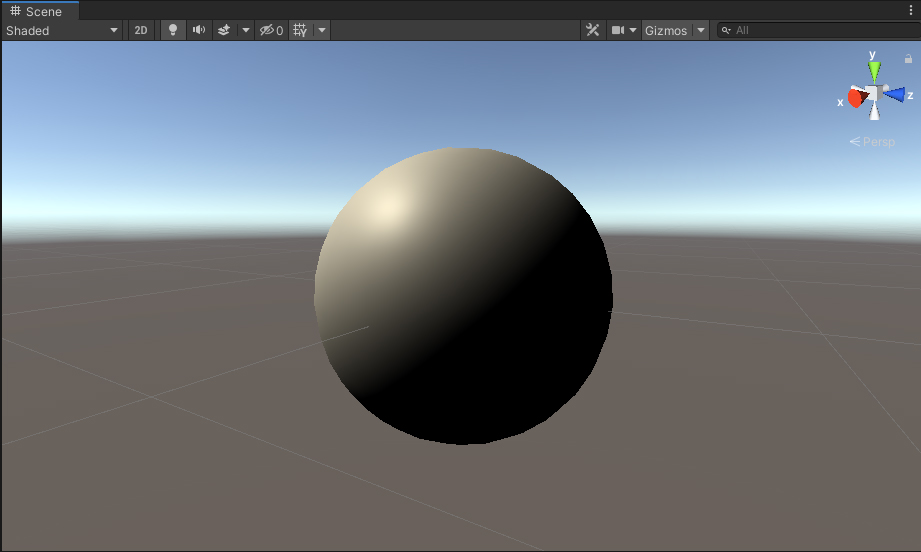
Notice that by saving our Textures into our Assets folder, they are automatically imported into our Unity project. Currently the sphere looks rather dull. This is where the Textures we’ve imported will help.
7. Click on the Texture named tex_fabric under the Project tab and navigate to the Inspector (Figure 04).
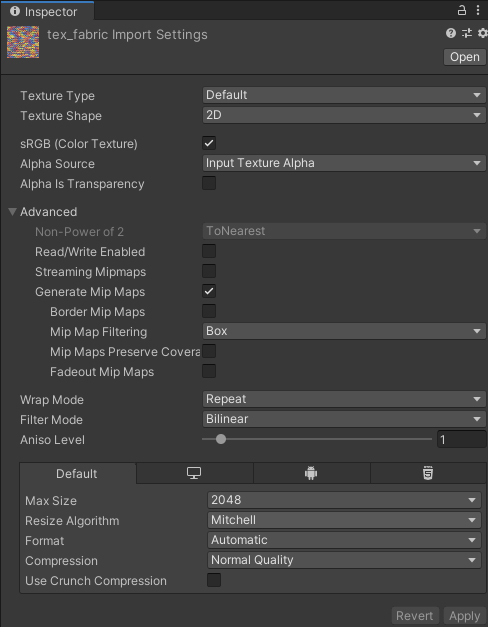
Don’t be overwhelmed by the number of options here. For our purposes, we will leave everything at its default value. Please note the Texture Type option, as it will become important for our grayscale Texture. For more details about the Texture Importer, refer to this Unity Documentation page on Textures.
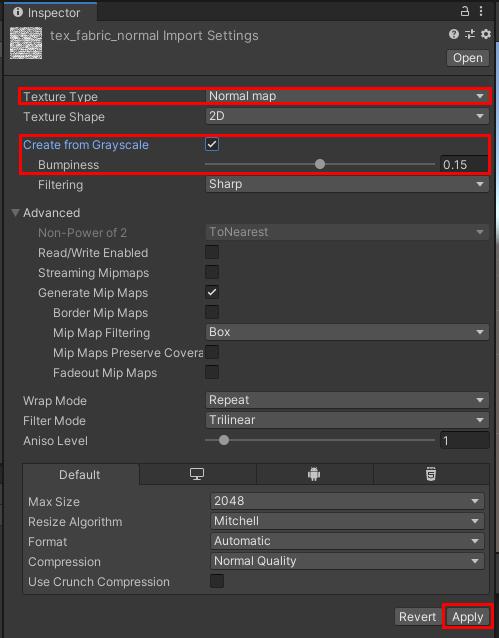
8. Click on the Texture named tex_fabric_normal under the Project tab and navigate to the Inspector.
Here we must pay attention to the Texture Type option.
9. Switch the Texture Type from Default to Normal Map. This presents us with an additional option, Create from Grayscale. Tick the checkbox, and note the slider for Bumpiness. This value will influence the strength of the normal map. A value of 0.15 works well, but any value will do. Once you’ve made these adjustments, click Apply (Figure 05).
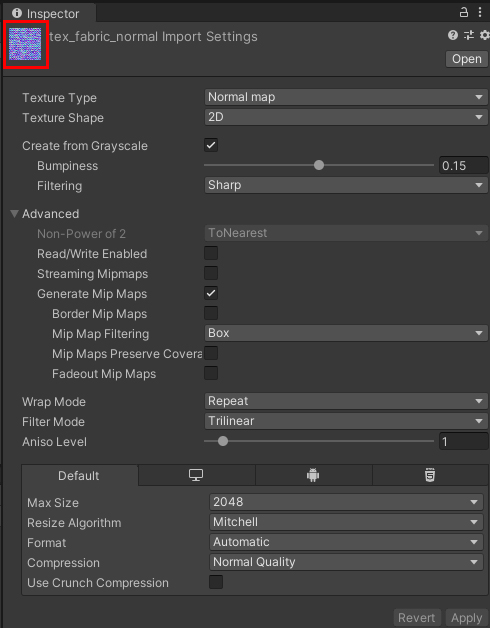
As you may notice, our grayscale image is now blue and purple. Unity has successfully converted it to a normal map (Figure 06).
Now that our Textures are ready, we must create a Material so they can be applied to our sphere. Materials in Unity link Textures to a Shader — a small program that runs on the graphics processing unit (GPU) — to define the complete visual appearance of an object in our Scene. For more on Materials, please refer to this Unity Documentation page on Materials.
10. Right-click anywhere within the project tab and navigate to Create > Material. A new Material should appear within the project tab. Let’s rename it Fabric, or something easy to identify, and take a look at our new Material within the Inspector (Figure 07).
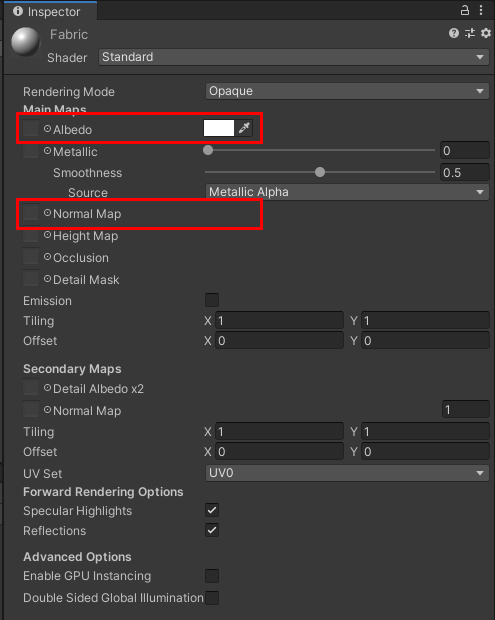
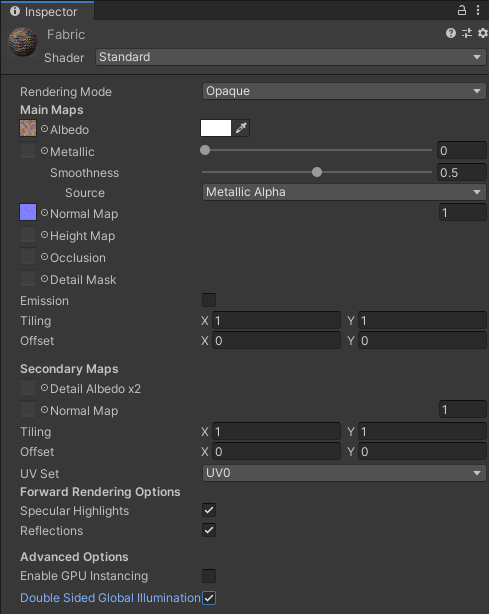
The Material window contains many properties, some of which vary depending on the kind of Shader the Material is using. For our purposes, let’s only focus on the Albedo and Normal Map properties. Albedo defines the Material’s color. It’s currently set to white, but we will soon replace it with our tex_fabric texture.
The Normal Map property defines the Material’s surface detail. Our newly created normal map will be used for this property.
11. Drag the tex_fabric Texture to the box next to Albedo. Then drag the tex_fabric_normal Texture to the box next to Normal Map (Figure 08).
Now all that's left is to add our Material to the sphere.
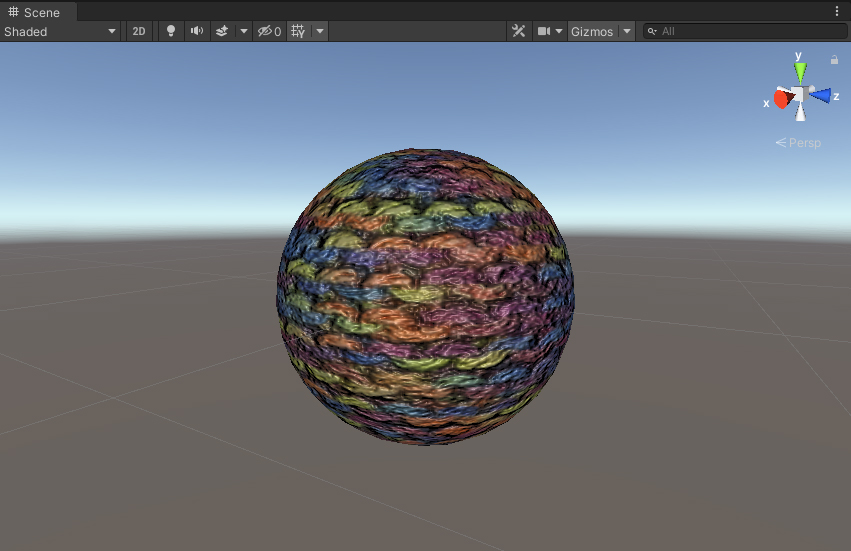
12. Drag the Fabric material from the project tab onto the sphere in the Scene view (Figure 09).
In Unity, most Materials will have at least one normal map. Additional maps, such as those for ambient occlusion and specular roughness, are also an important part of the Material authoring process and vary depending on the Material type (PBR, etc.) being authored.