Intro & Installing VRTK
Tutorial
Beginner
+10XP
45 mins
432
Unity Technologies
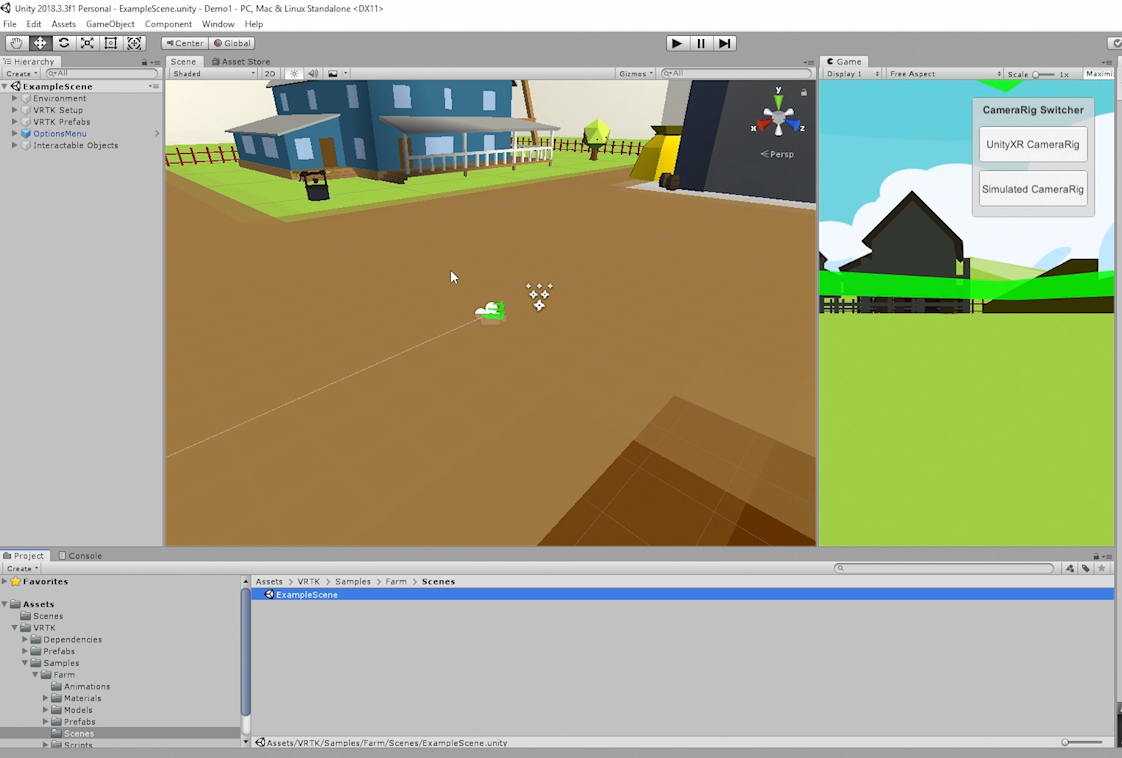
VRTK is a popular way to quickly create virtual reality content in Unity.
In this tutorial, you will learn how to download the VRTK example project.
Languages available:
1. Intro & Downloading the VRTK Unity Project
Intro
Download the VRTK Unity Project & Setup Unity for VR
Note: The below instructions were accurate as of January 2020. If you experience problems, see the latest install instructions on the VRTK Github page here.
- Download the zip file of the Unity project that contains the VRTK plugin here.
- Extract the Zip.
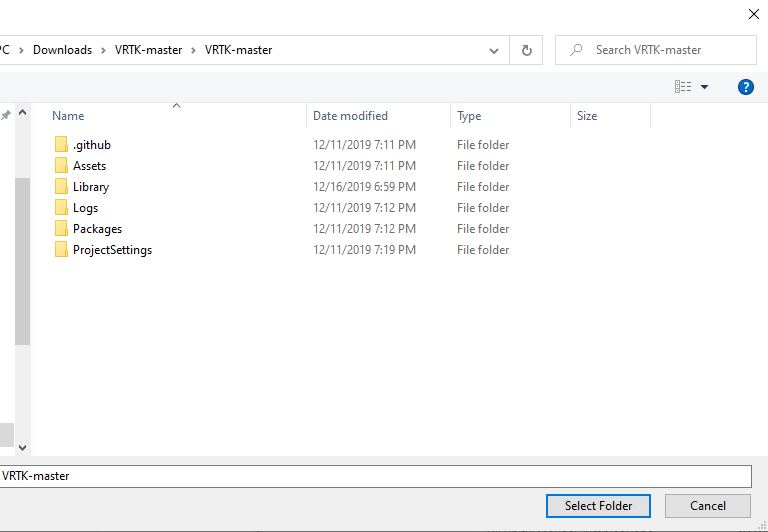
- In Unity Hub, select "Add" to add the project you extracted.

Navigate into the Unity project where you extracted the zip and choose "Select Folder":
With the new project open
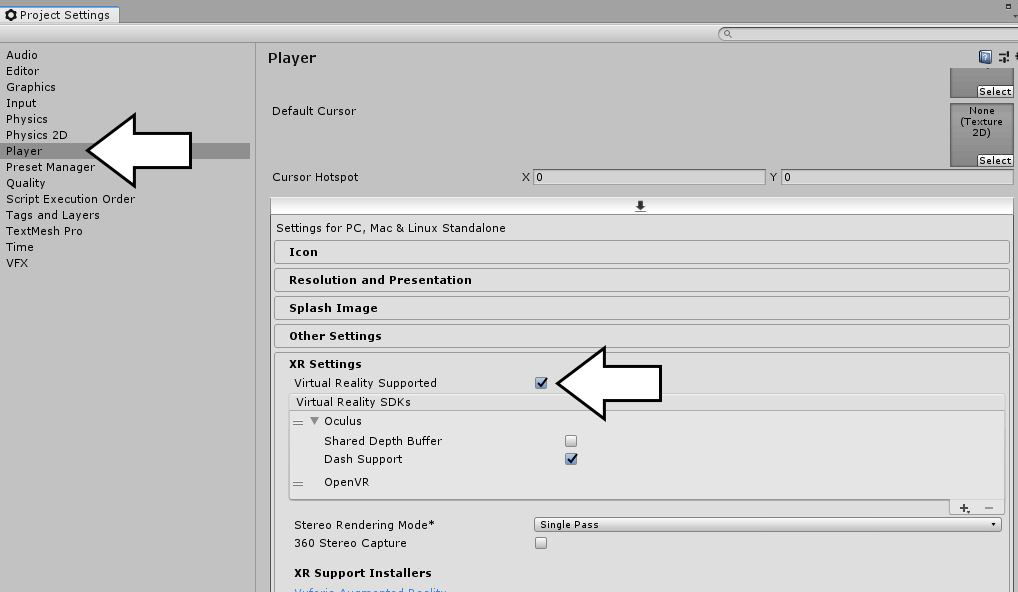
- Ensure Virtual Reality Supported is checked:
- In the Unity software select Main Menu -> Edit -> Project Settings to open the Project Settings window.
- Select Player from the left hand menu in the Project Settings window.
- In the Player settings panel expand XR Settings.
- In XR Settings ensure the Virtual Reality Supported option is checked.
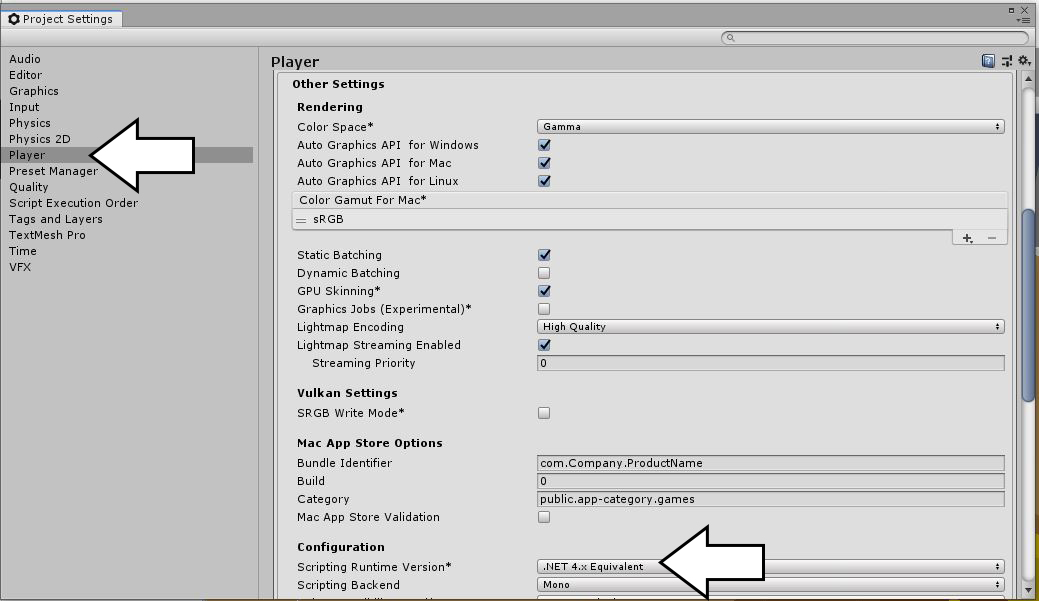
- Ensure the project Scripting Runtime Version is set to .NET 4.x Equivalent:
- In the Unity software select Main Menu -> Edit -> Project Settings to open the Project Settings inspector.
- Select Player from the left hand menu in the Project Settings window.
- In the Player settings panel expand Other Settings.
- Ensure the Scripting Runtime Version is set to .NET 4.x Equivalent.
Open the Example Scene
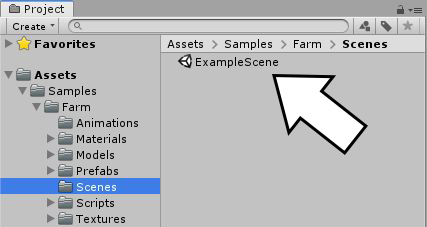
Play!
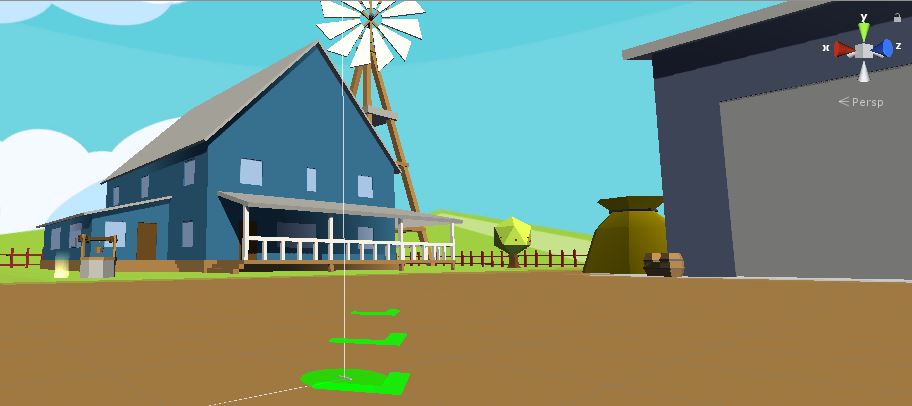
You should now have a playable demo farm scene, compatible with any VR headsets supported by Unity.