
VR Interactable Objects (using VRTK)
Tutorial
Beginner
+10XP
45m
(135)
Unity Technologies
Creating objects we can pick up and move using our VR or simulated VR controllers.
Languages available:
1. Create Materials (Red and Black)
- Right click the Assets folder and choose Create > Folder. Name it "Materials".
- Inside the Materials folder, right click > Create > Material. Name it "Red".
- In the Inspector, click the white color box, and choose a Red color.
- Create a second material, naming it "Black", this time choosing Black from the color picker.
2. Add Interactable Cube
- Inside the Assets folder > VRTK > Prefabs > Interactions > Interactables. Drag the "Interactable.Primary_Grab.Secondary_Swap" prefab object into the scene. It looks like a plain cube.
- Scale the cube down to 0.5, 0.5, 0.5
- From the materials folder, drag the Red material onto the cube, turning it Red.
- Play test to make sure you can pick up the new Red cube.
3. Change Cube into a Clamp
- In the Hierarchy, expand the Interactable.Primary_Grab, then expand the Meshes to reveal the DefaultMesh. Select the DefaultMesh.
- In the Inspector, locate the "Cube (Mesh Filter)" component. Click the tiny target circle on the right, then select the clamp mesh (Probably called "Mesh1_Model").
- The model should now look like a clamp in the scene.
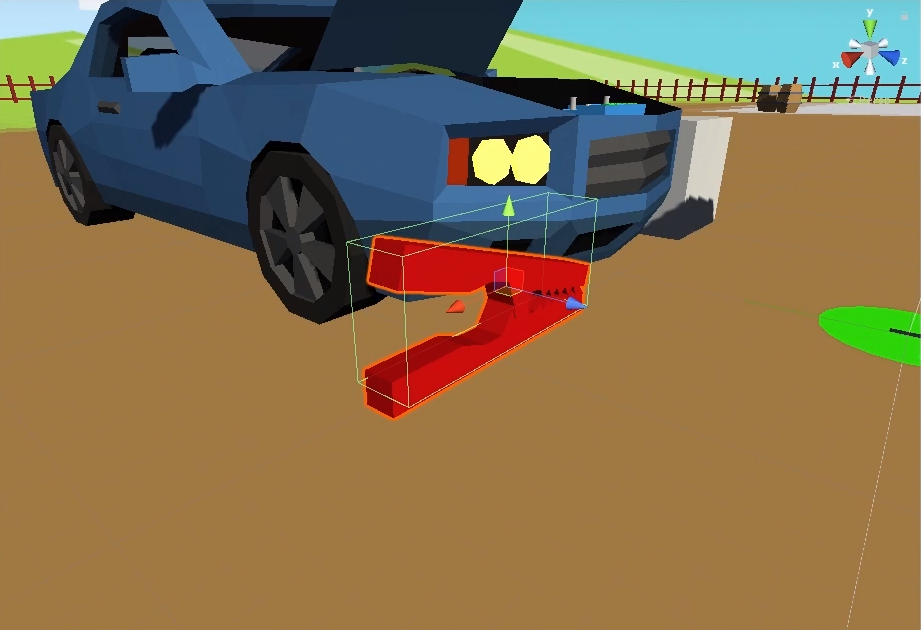
4. Modify Clamp Collider
- With DefaultMesh still selected, locate the Box Collider component. Try "scrubbing" the values by clicking directly on the X and dragging left or right to see how it affects the collider in the scene.
- I used the values for Size of X-0.52, Y-0.22, Z-0.11, and set the Center Y to 0.16.
- Play test to see how the clamp collides with the ground or cube tables.
5. Placing Clamps
IMPORTANT! Do not move the clamp unless you first select the parent object in the Hierarchy. Failing to do so (moving the DefaultMesh for instance) will result in the clamp floating a great distance from your hand when picking it up.
- Select the parent "Interactable" object. Using vertex snapping (hold the V key, grabbing the square icon) move the clamp onto the table cube.
- Rename the Interactable component to "RedClamp".
- Optional: I reordered the RedClamp in the Hierarchy window down to the bottom to stay organized.
- Duplicate the RedClamp, naming it BlackClamp.
- Expand the BlackClamp in the Hierarchy, and expand the Meshes. Drag the Black Material (from the Materials folder) onto the DefaultMesh.
- Select both the RedClamp and BlackClamp (Shift click) and right click > duplicate.
- Move the new set of clamps to the other table cube, and rotate them -90 degrees on the Y axis.