Introduction to Nested Prefabs
Tutorial
·
Beginner
·
+10XP
·
15 mins
·
(190)
Unity Technologies
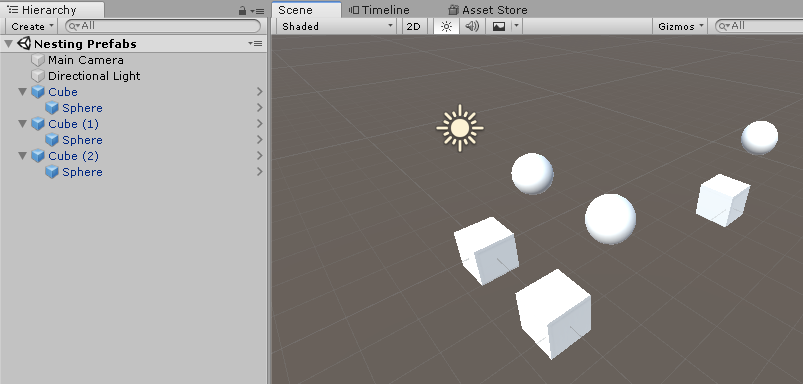
Nested Prefabs allow you to maintain a reference to a Prefab inside another Prefab. In this tutorial, you'll learn how to efficiently build and update Nested Prefabs, eliminating wasted time, resources, and unnecessary repetition.
Languages available:
1. Introduction to Nested Prefabs
This tutorial has been verified using Unity 2019 LTS
In Unity, a Prefab is any GameObject or collection of GameObjects that’s been prepared for reuse. New in Unity 2018.3 are Nested Prefabs. Nested Prefabs allow you to maintain a reference to a Prefab inside another Prefab. Any changes to the referenced Prefab are reflected as soon as those changes are saved, except in the case of a Prefab Variant. Changes to Prefabs are made in Prefab Mode, a new feature of Unity. Changes made in Prefab Mode can be reverted, as well as applied to the base Prefab. Applying changes made in Prefab Mode to the base Prefab will affect all non-variant instances of that base Prefab.
2. Benefits of Nested Prefabs
Let’s say you’re designing a line of cars. You’re assembling these cars from pre-built elements. You decide to change the styling of a spoiler used across several models, all already assembled. If you had assembled the cars the traditional way, grouping the pieces into one Prefab for each model, you’d have to manually update the spoiler in each one. By nesting the spoiler Prefab, you need only change the base spoiler. All non-Variant Prefabs that reference the spoiler are updated automatically to use the new styling.
3. Prefab Variants
A Prefab Variant is a Nested Prefab where the referenced Prefab has been changed in some way to override the base referenced Prefab. At any time, a Variant can be reverted to take on the properties of the base Prefab.
4. Nesting Prefabs
We’ll create a simple example of Nested Prefabs, but the principles are universal. We change only Transform information in this workflow, but the same rules apply for adding/removing scripting components to/from a Prefab. If you don’t have a folder for Prefabs, create one now in the Assets folder using the Project pane.
1. In the Unity Editor, from the GameObject dropdown, select 3D Object > Sphere.
2. Drag Sphere from the Hierarchy pane into the Prefabs folder in the Project pane.
3. From the GameObject dropdown, select 3D Object > Cube.
4. In the Hierarchy view, drag and drop Sphere onto Cube.
5. Still, in the Hierarchy view, click Sphere to highlight it.
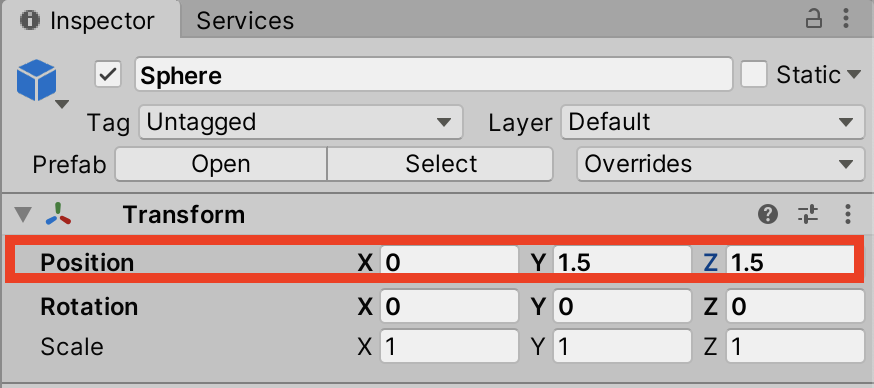
6. In the Inspector, set the Sphere’s position to 1.5 in Y and Z (Figure 01).
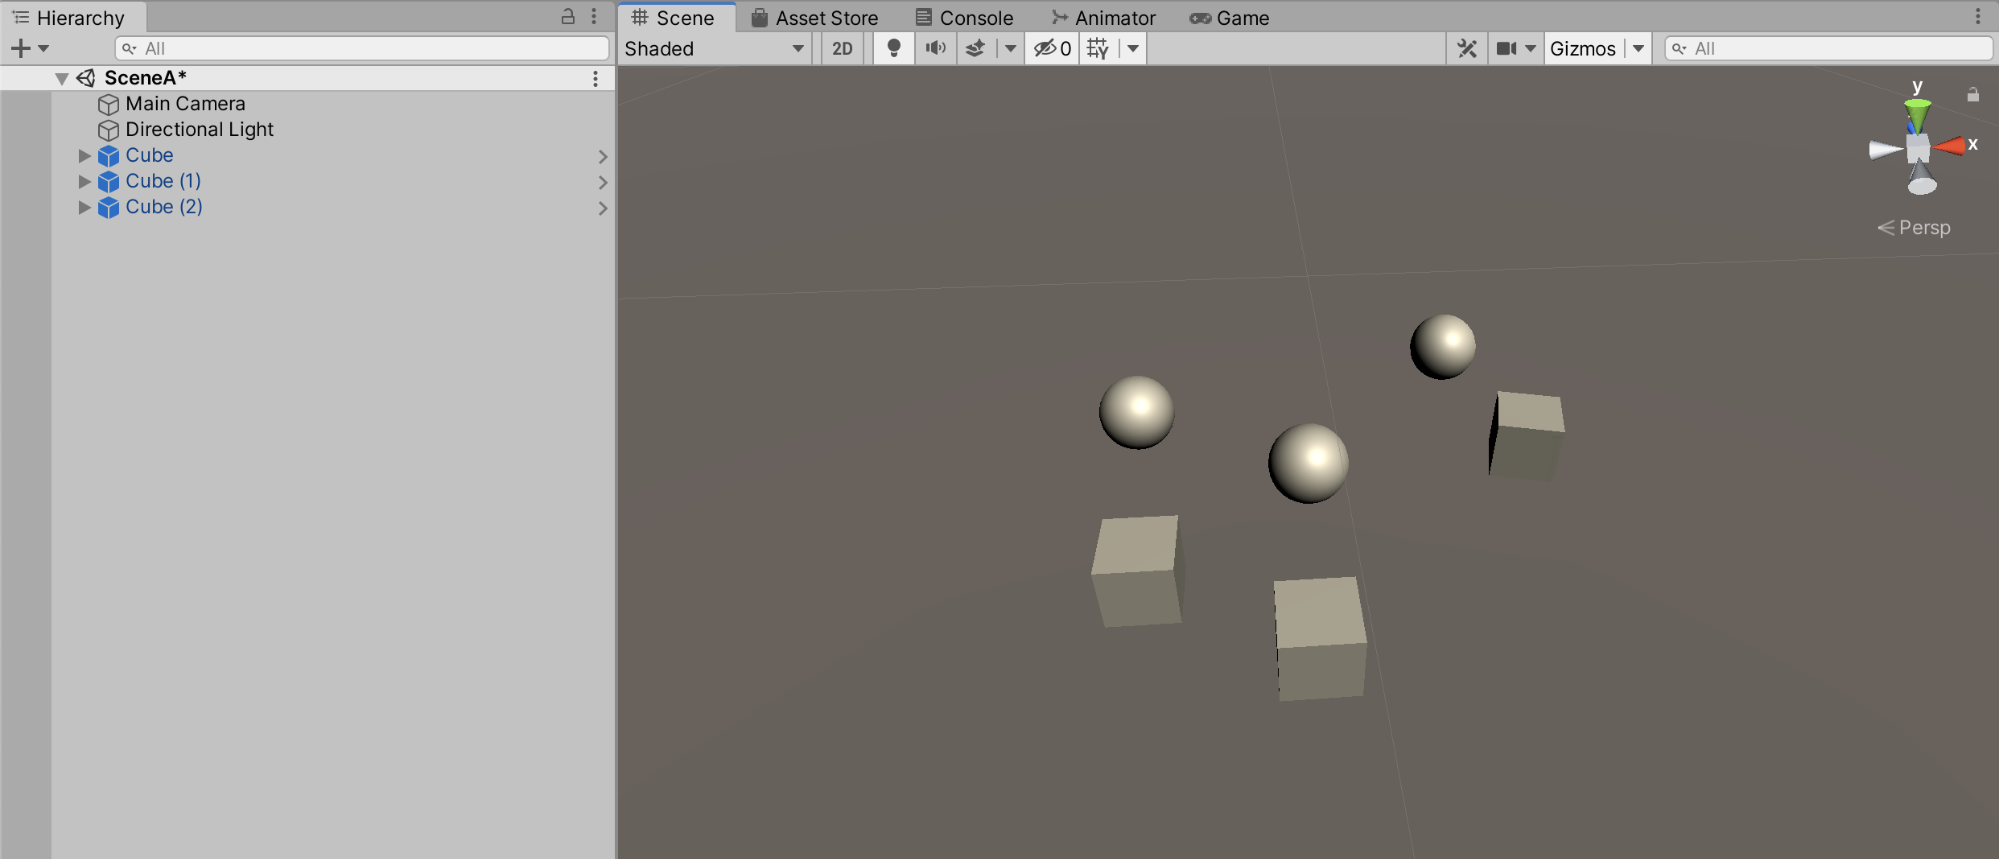
7. Drag the Cube into the Assets folder. Your scene’s Hierarchy should now look like this (Figure 02).

We now have two Prefabs. The Sphere Prefab is nested in the other Prefab, the Cube-Sphere combination. Next, we’ll duplicate the Cube Prefab a few times before creating and duplicating a new Nested Prefab that also makes use of the Sphere Prefab. This will help illustrate the different options for applying changes made to Nested Prefabs.
1. In the Hierarchy view, right-click Cube and select Duplicate.
2. Either using the Move tool (W), or changing the Position values in the Inspector, move this duplicated Cube.
3. Duplicate and move the Cube Prefab a few times (Figure 03).
4. From the GameObject dropdown, select 3D Object > Capsule.
5. From the Assets folder drag and drop the Sphere onto the Capsule
6. Move the child Sphere in Y and Z, as in step 6 in the previous section, so that both the Sphere and Capsule are visible.
7. Drag the Capsule from the Hierarchy view into the Prefabs folder. We now have two Nested Prefab types that both use the Sphere Prefab.
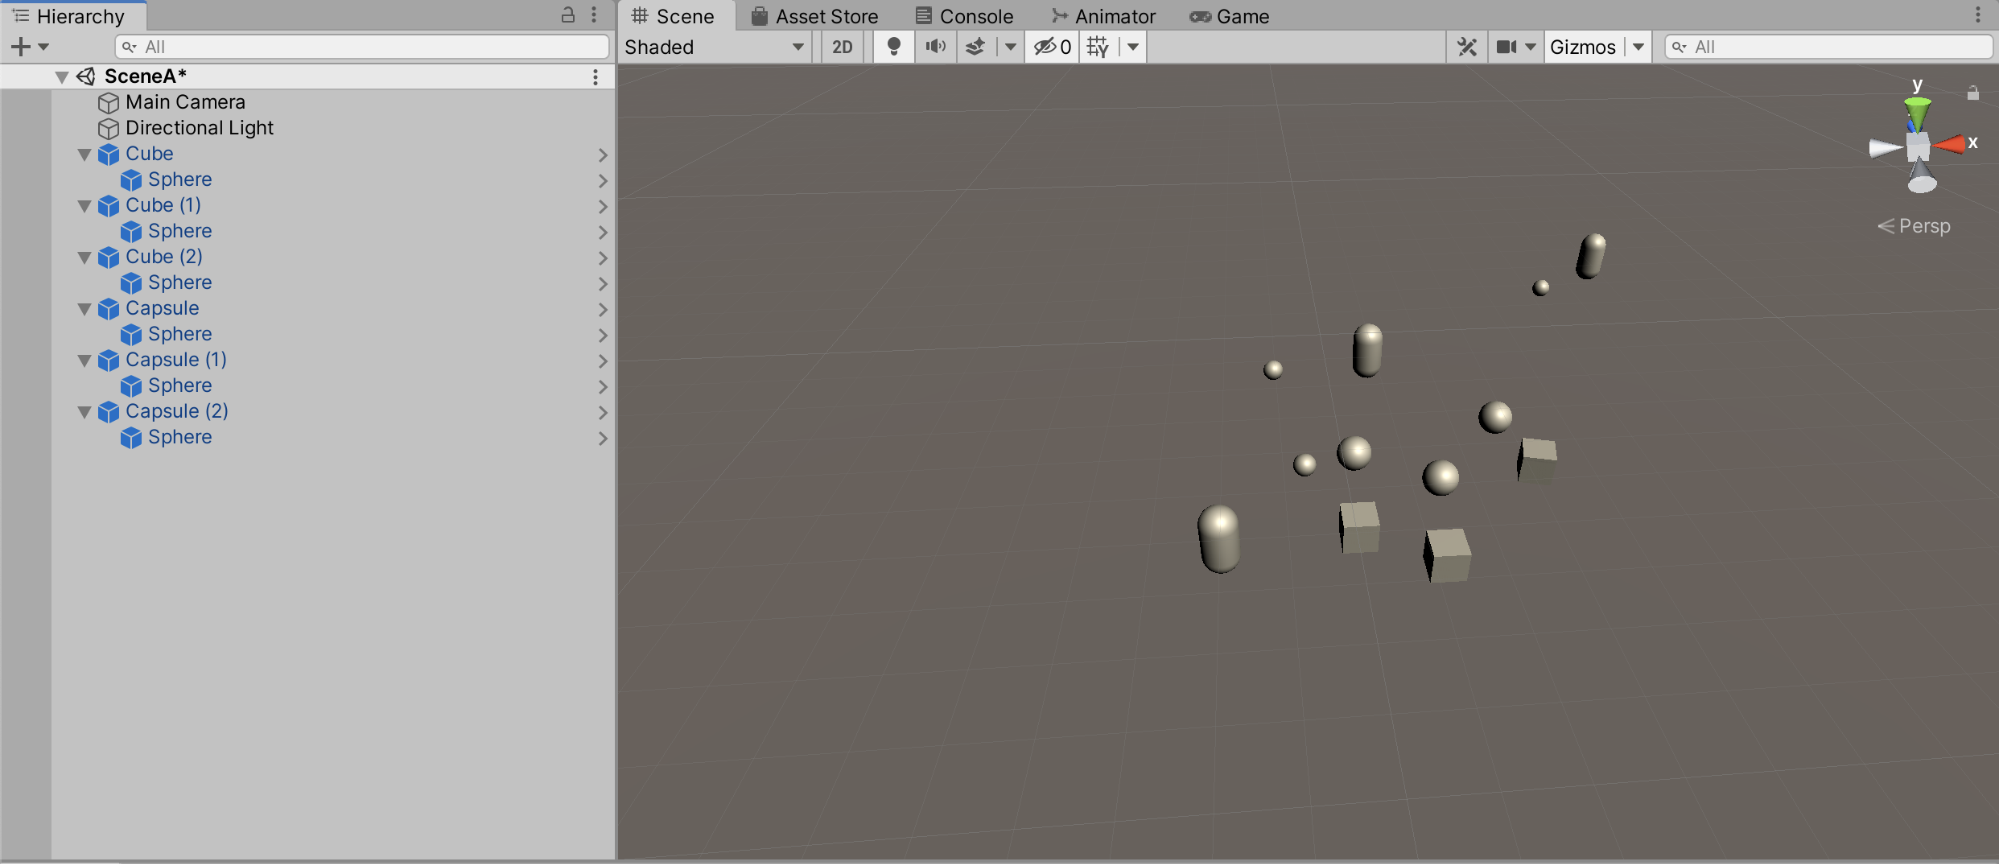
8. Duplicate and move the Capsule Prefab a few times (Figure 04).
9. Save your Scene now, so that you can easily return to this state later.
Let’s explore the relationship between Nested Prefabs as changes are made, saved, updated, and reverted.
1. There are a few ways to open a base Prefab for editing, all beginning in the Hierarchy view. Choose one:
- Click to select any instance of Sphere. At the top of the Inspector, on the line labeled Prefab, click Open (Figure 05).

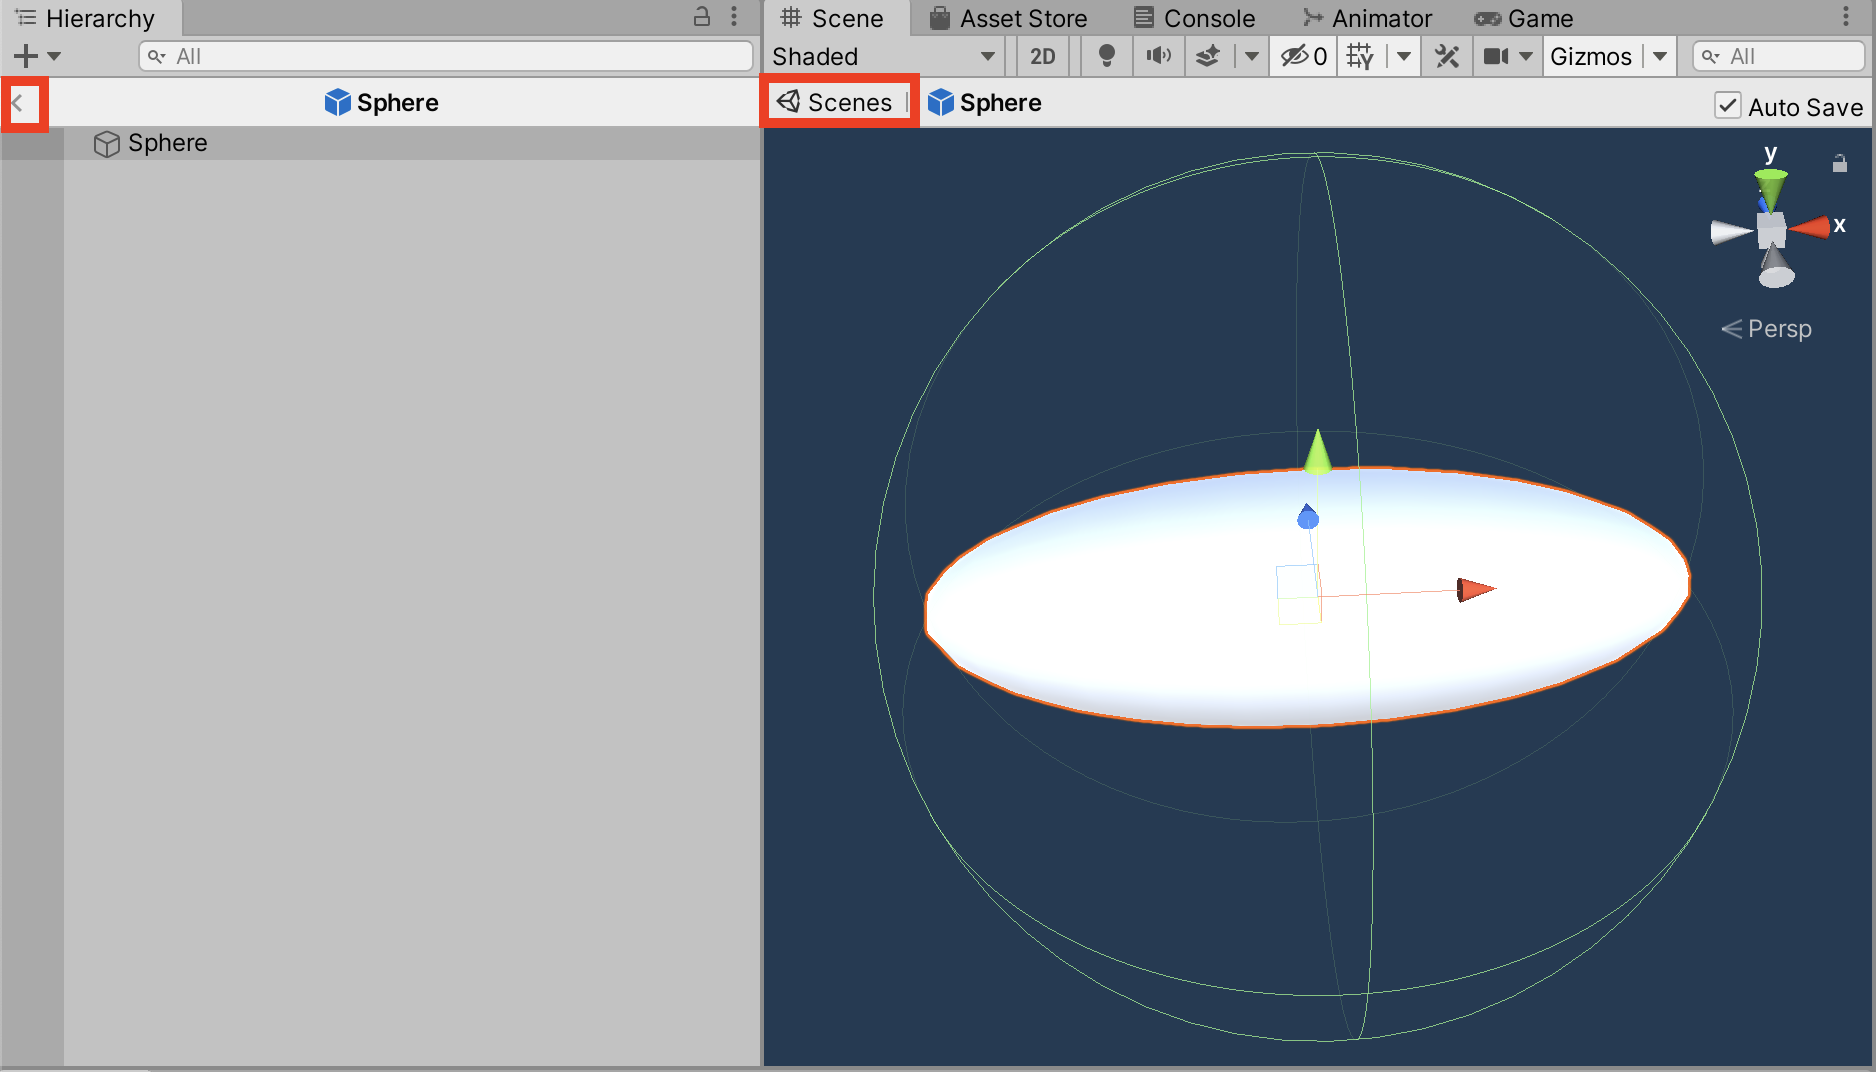
- Click the > to the right of any Sphere to enter Prefab Mode (Figure 06).

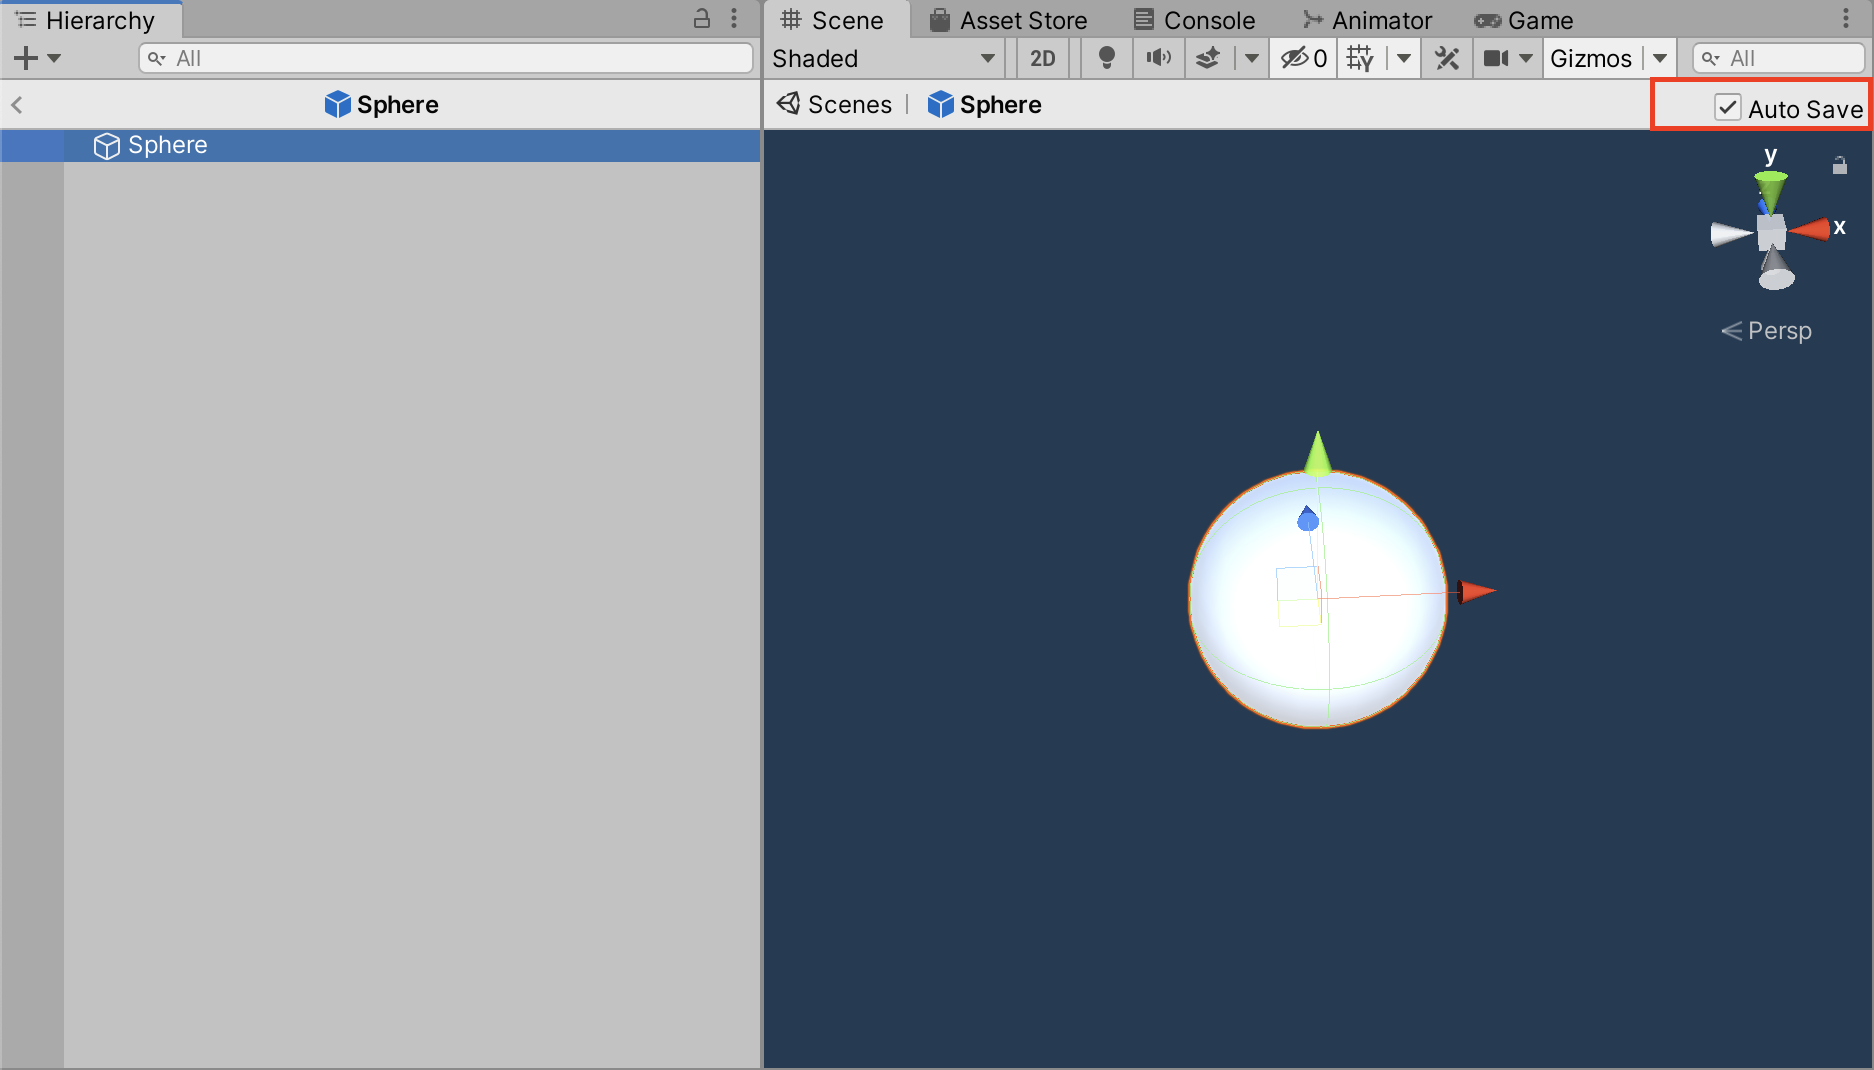
2. Though what’s in the Scene view will change, you are actually editing the base Sphere Prefab rather than the Scene. In the upper right of the Scene view, you’ll see a checkbox labeled Auto Save (Figure 07). If the box is not checked, you’ll see a button to the left labeled Save. Once saved, any changes made here will be propagated to all Spheres in the Scene.
3. Using the Inspector or Scale tool, change the scale of the Sphere in X to 3.
4. If Auto Save is not checked, click the Save button now.
5. Click the < arrow or Scenes button (Figure 08) to return to the main Hierarchy view.
6. Note that the change has been applied to all instances of Sphere.
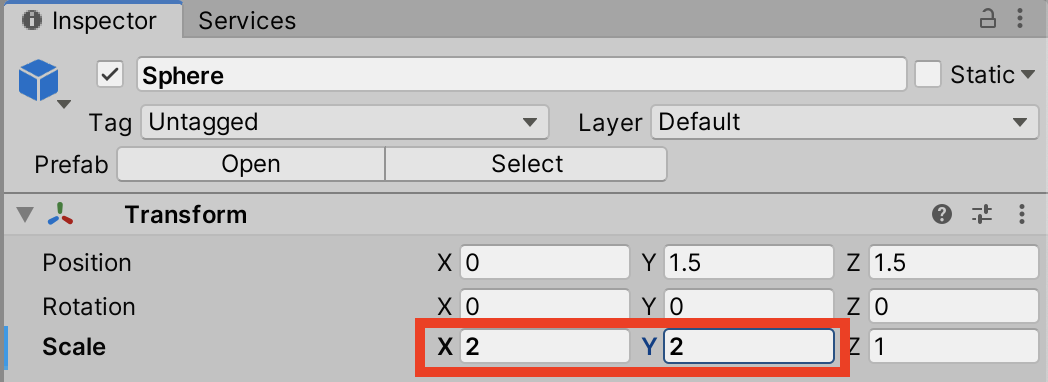
7. Rather than modifying the base Prefab directly, we can also modify an instance of the Prefab and apply changes to the base. In the Hierarchy view, click to select any instance of Sphere, paying special attention to whether this is the child of a Capsule or a Cube. In the Sphere’s Inspector, change its scale in X, Y, and/or Z. Notice that where the scale has been changed from the base Sphere, the override value is in bold type, and the line is highlighted at the left edge of the Inspector (Figure 09). This Sphere Prefab is now a Prefab Variant. Until changes are applied, only this Sphere will have a different scale
8. In the Inspector, right-click the dimension of the changed scale in the Sphere’s Inspector. For example, if you have changed the scale in X, right-click the letter X (Figure 10).
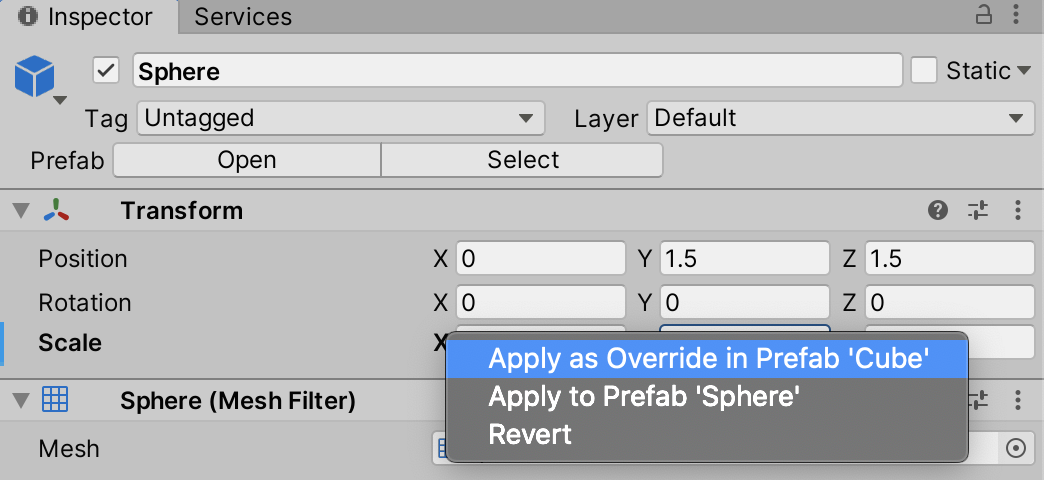
We have three options:
Apply as Override in Prefab ‘Cube’ (or ‘Capsule’ if you chose differently)
The Spheres in either the Capsule or Cube Prefabs will change, but not both. This is because the change in the Sphere’s scale is stored as an override to the parent Prefab base, rather than the Sphere itself. To continue our car design use case from earlier, you would choose this option if you wanted to change all instances of a part on a certain model (Cube or Capsule, in this instance) of a vehicle.
Apply to Prefab ‘Sphere’
This applies the change in scale to the base Sphere Prefab, which will be reflected in the Sphere in both Capsule and Cube Prefabs. You would choose this option if you wanted to change the part itself, changing every non-Variant reference to reflect the sphere in its current configuration.
Revert
This reverts the scale of the Sphere to that of the base Sphere Prefab. You would choose this if you wanted to go back to the standard part.
9. Try applying the change as an override and to the base Sphere Prefab, using Ctrl-Z (Command-Z on a Mac) or reloading the Scene as necessary to return to our clean state.
In our previous example, we changed the child in a Nested Prefab. Now, we’ll change the parent.
1. In the Hierarchy, select a Cube and change the Scale.
2. Even though you didn’t change the scale of the Sphere directly, notice that its own scale is relative to that of its parent Transform.
3. Right click the changed Scale in the Inspector, and notice that you can only apply this change to the parent Prefab type, which in this case is the Cube, or revert the change (Figure 11).
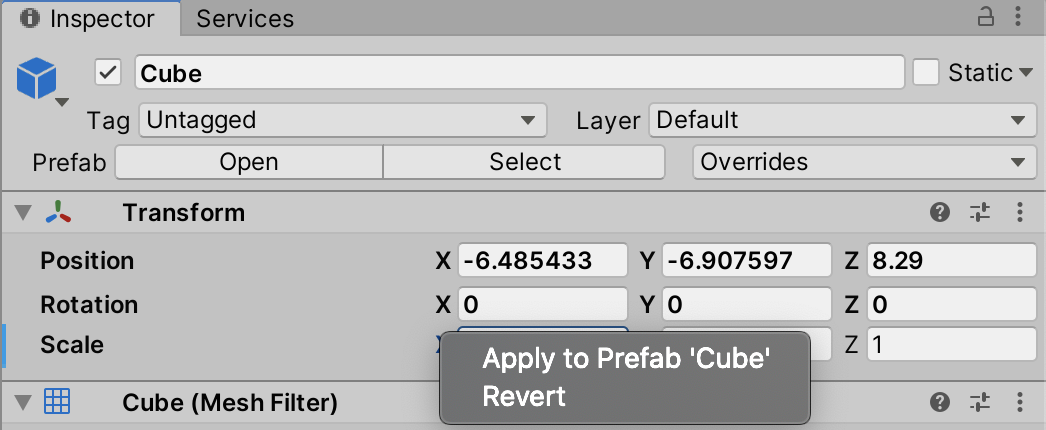
This is because we haven’t actually changed the Sphere. We’ve only changed its scale relative to the parent Prefab. We might choose to apply the change if we want to change the relative position of the spoiler to all cars of model Cube or Capsule.
4. Click Revert.
5. Conclusion
Though this introduction to Nested Prefabs and Prefab Mode has been relatively basic, they shine in projects where there is heavy reuse of objects. As you work with Unity, you’re sure to find many uses unique to your needs.