Inviting Other Users to Reflect Viewer
Tutorial
·
Beginner
·
+0XP
·
15 mins
·
Unity Technologies
In this tutorial, you will learn how to invite other users to your Reflect project.
Languages available:
1. Introduction
Unity provides project managers with a way to share Reflect projects with other users without needing to assign them a license. This enables you to make a project available to clients so they can open it on their own devices using the free Reflect Viewer. A client opening a project without a Reflect license assigned to their username will be able to view the project in any version of Reflect Viewer, but will not be able to edit the BIM model.
Inviting other users to your Reflect project is done via the Organization Management section of your Unity account.
For this tutorial:
- You will need administrator-level access to your organization in your Unity account
- The user you wish to invite needs to have a Unity account
- A Reflect license must be active on your organization’s account
2. Adding Users on the Unity Project Management Page
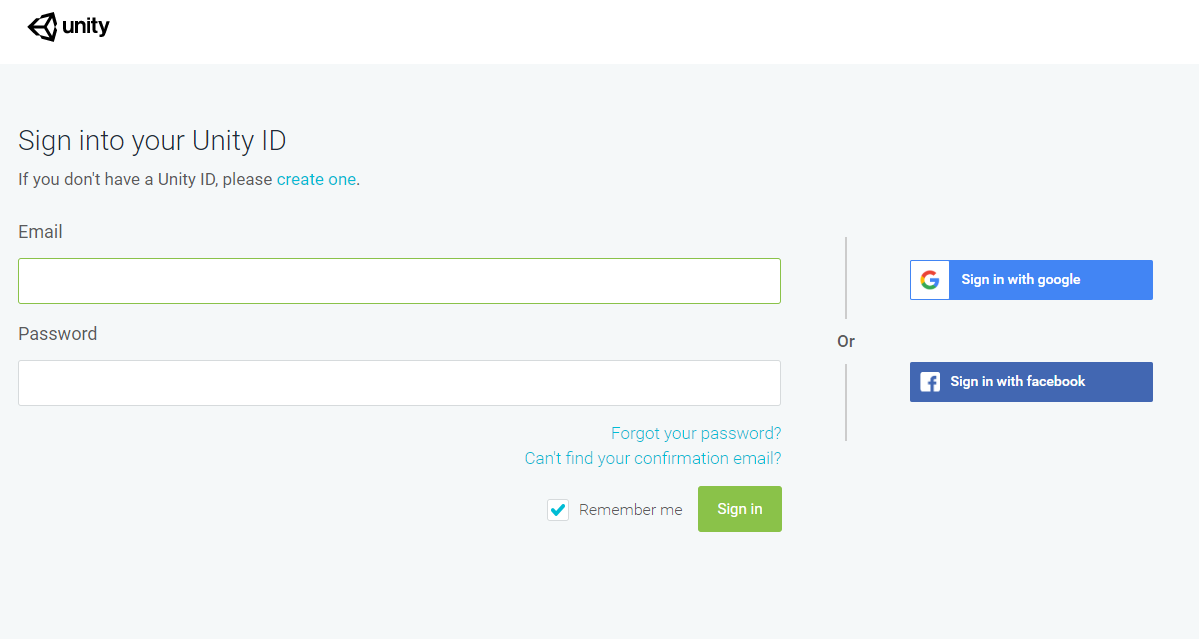
1. Log in to your Unity Account (Figure 01).
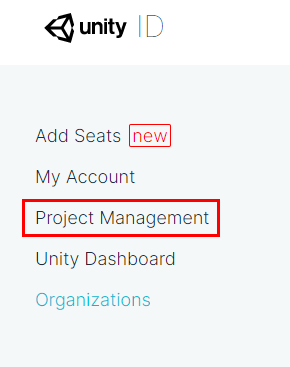
2. At the account dashboard screen, select the Project Management option on the left (Figure 02).
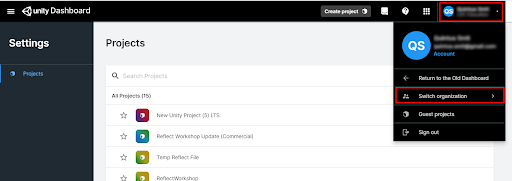
3. Make sure the correct organization is selected by going to the Account option at the top right of the screen. From the drop-down menu, select Switch Organization (Figure 03). From the fly-out, you can select the organization that the Reflect project was created on.
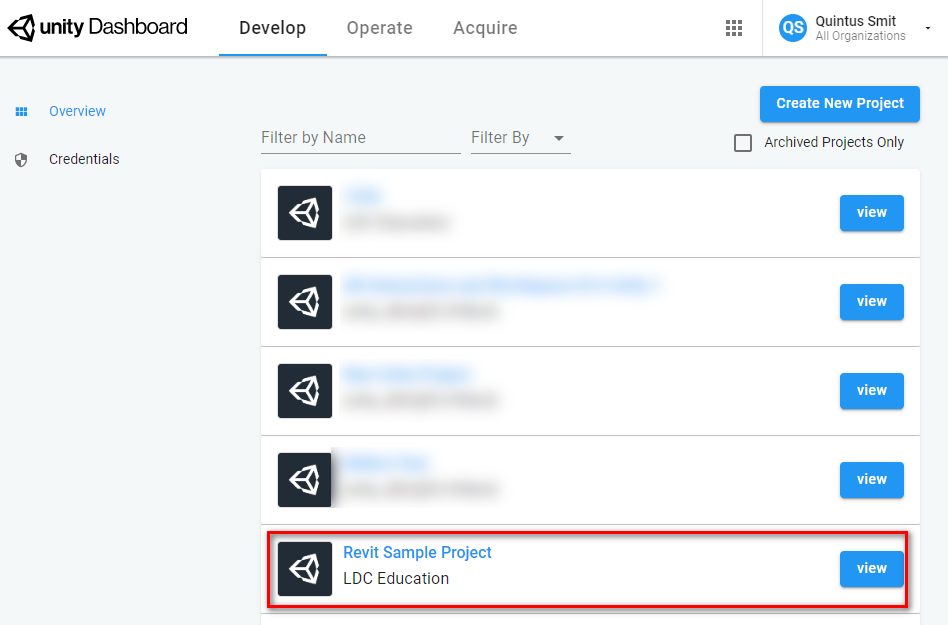
4. Your list of projects will now be displayed. Choose the project you wish to share by selecting the project name or the View button (Figure 04).
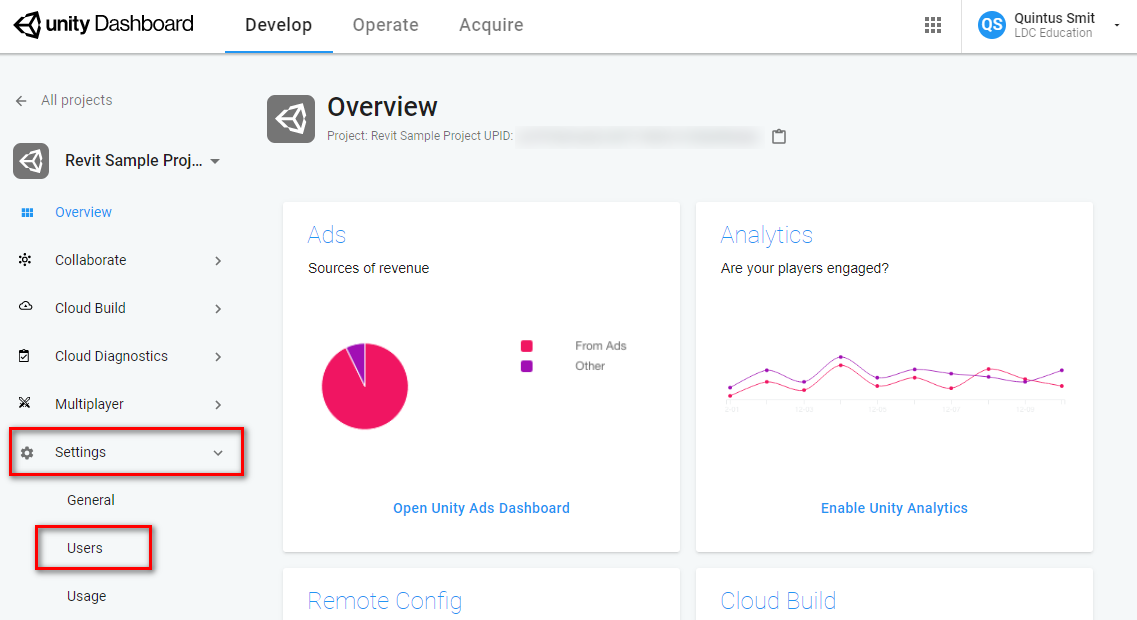
5. On the Project Management page, select Settings from the left menu and then select Users (Figure 05).
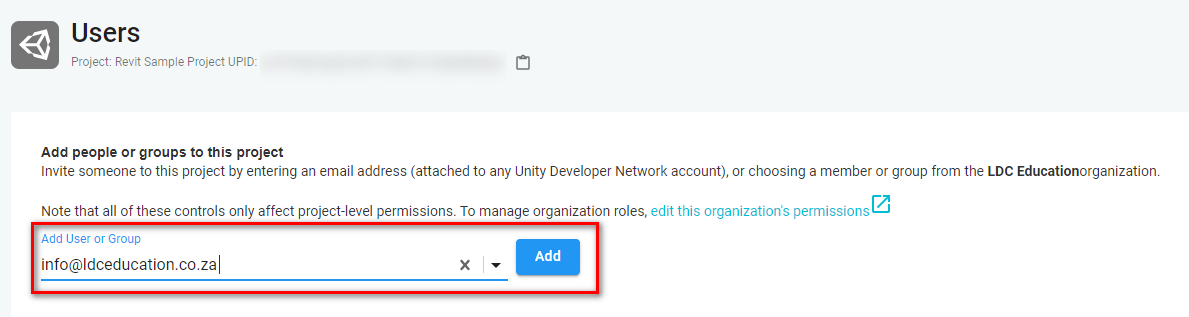
6. On the User Management page, add a new user by entering their email address in the Add User or Group box and clicking Add (Figure 06). Note that the user must have a Unity account created with the email address you are adding to the project.
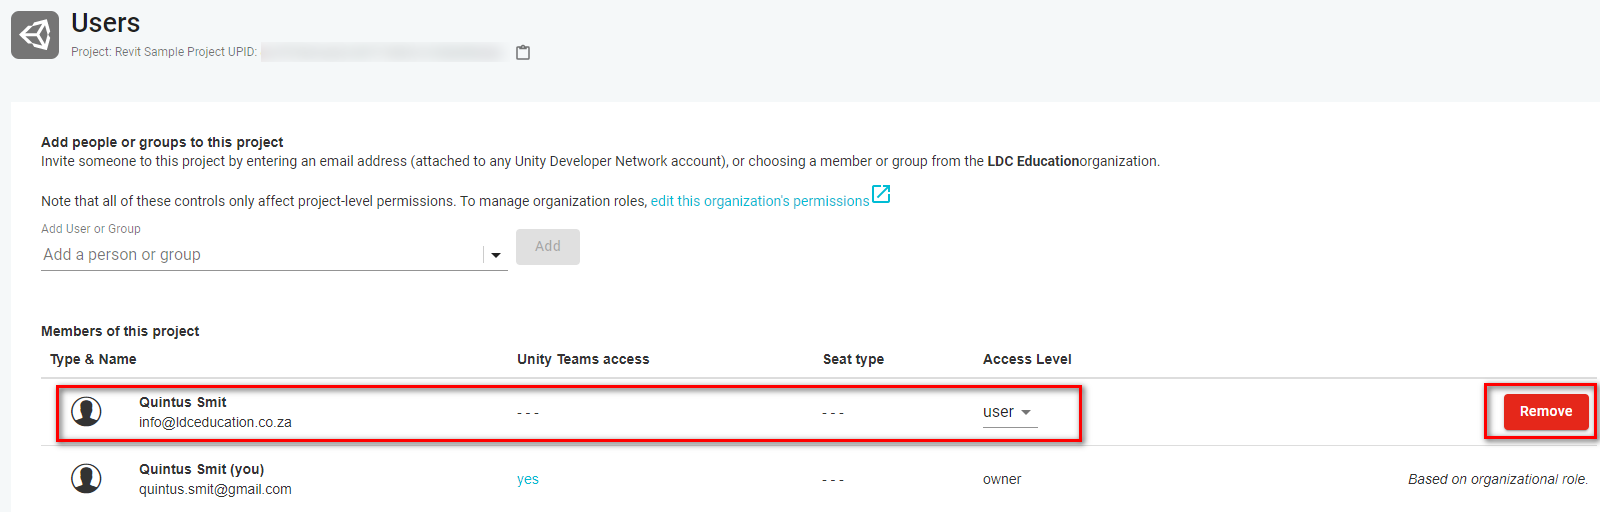
7. The list of users in the project will now include the new user (Figure 07). The users you wish to give access to only need to have User-level access, which is the default setting. Users can also be removed from the project by clicking the Remove button.
8. The user you invited will receive an email letting them know they were invited to the project (Figure 08).

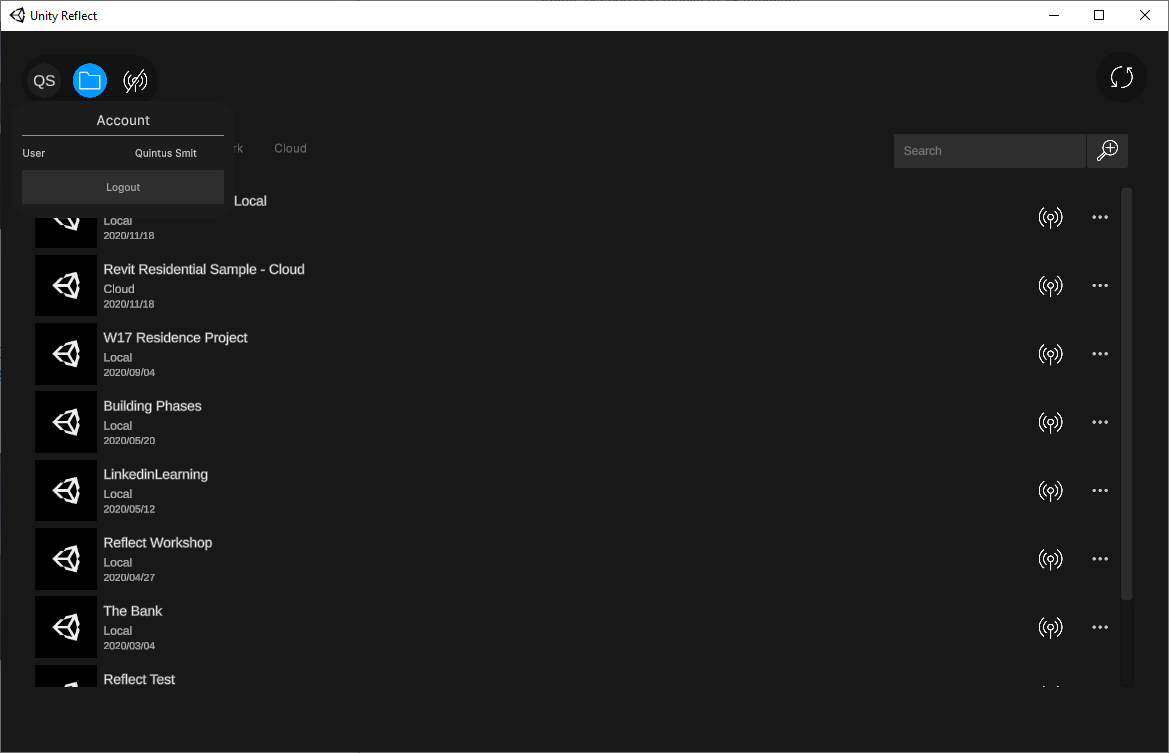
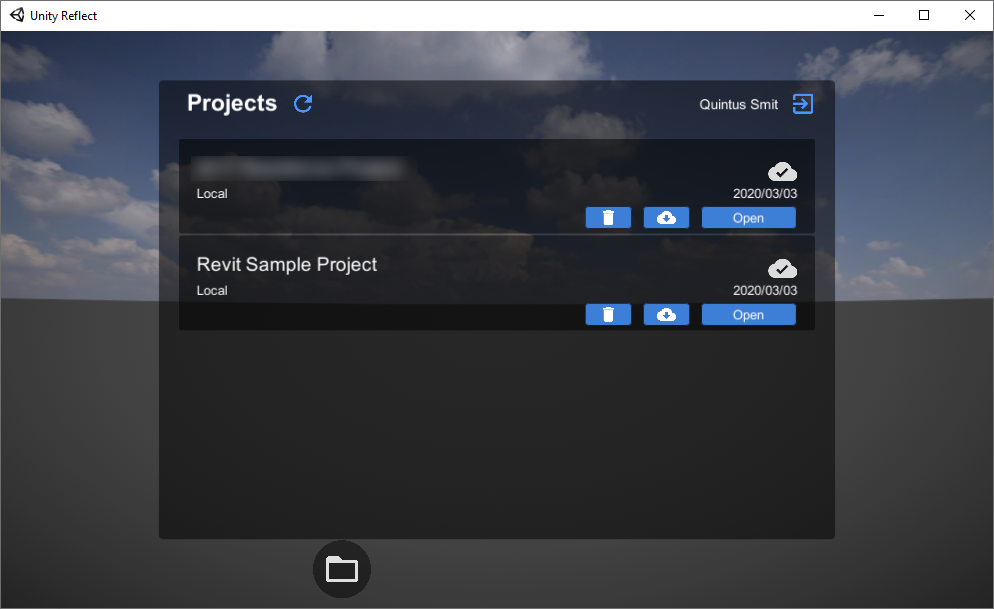
9. The invited user can now log in to Reflect Viewer using the email address that was assigned to the project and will see the projects assigned to that address (Figure 09).
3. Next Steps
You have now learned how to add users to your Reflect project. Doing so enables you to work collaboratively with people on your Reflect Project.