
Lab 2 - Create a New Project with Primitives
Tutorial
Beginner
+10XP
60 mins
(35)
Unity Technologies
Overview:
You will create and set up the project that will soon transform into your very own Personal Project. For now, you will use “primitive” shapes (such as spheres, cubes, and planes) as placeholders for your objects so that you can add functionality as efficiently as possible without getting bogged down by graphics. To make it clear which object is which, you will also give each object a unique colored material.
Project Outcome:
All key objects are in the scene as primitive objects with the camera positioned properly for your project type.
Languages available:
1. Introduction
2. Create a new Project and rename your scene
Just like we did with the Prototype, the first thing we need to do is create a new blank project
- Open Unity Hub and click New
- Name the project “[Your Name] - Personal Project”, select the correct version of Unity, make sure the location is set to the new “Create with Code” folder, and that you are using the 3D template
- Click Create Project, wait for Unity to open, then select your custom Layout
- In the Project window, Assets > Scenes, rename “SampleScene” to “My Game”
3. Create a background plane
To orient yourself in the scene and not feel like you’re floating around in mid-air, it’s always good to start by adding a background / ground object
- In the Hierarchy, Right-click > 3D Object > Plane to add a plane to your scene
- In the Plane’s Inspector, in the top-right of the Transform component, click on the Gear icon > Reset
- Increase the XYZ scale of the plane to (5, 1, 5)
- Adjust your position in Scene view so you have a good view of the Plane
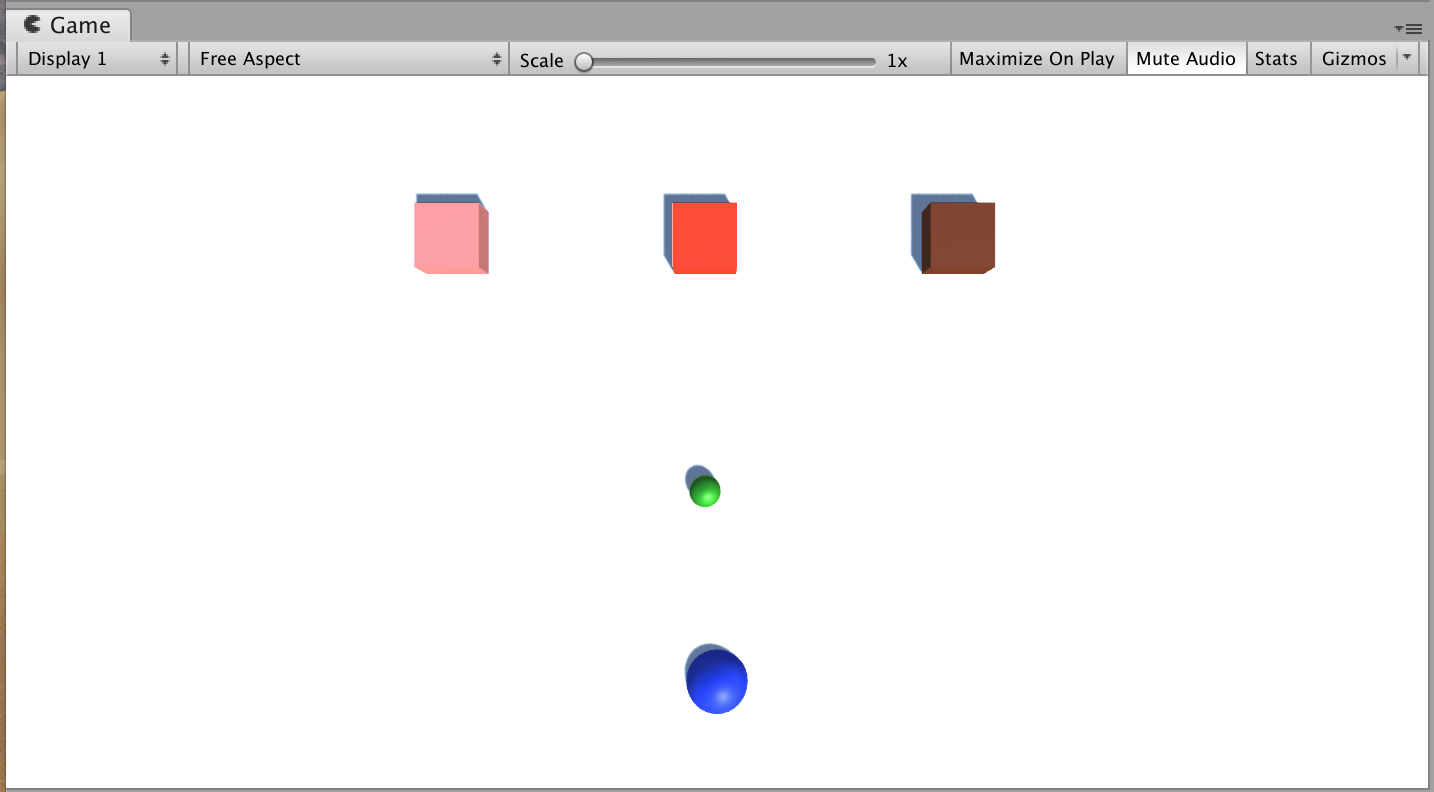
4. Create primitive Player with a new material
Now that we have the empty plane object set up, we can add the star of the show: the player object
- In the Hierarchy, Right-click > 3D Object > Sphere, then rename it “Player”
- In Assets, Right-click > Create > Folder named “Materials”
- Inside “Materials”, Right-click > Create > Material and rename it “Blue”
- In Blue’s Inspector, click on the Albedo color box and change it to a blue
- Drag the material from your Assets onto the Player object
5. Position camera based on project type
Now that we have the player in there, we need the best view of it, depending on our type of project
- For a top-down game, position the camera at (0, 10, 0) directly over the player and rotate it 90 degrees on the X axis
- For a side-view game, rotate the Plane by -90 degrees on the X axis
- For an third-person view game, move the camera up on the Y and Z axes and increase its rotation on the X axis
6. Enemies, obstacles, projectiles & materials
Now that we know how to make primitives, let’s go ahead and make one for each object in our project
- In the Hierarchy, create new Cubes, Spheres, and Capsules for all other main objects, renaming them, repositioning them, and scaling them
- In your Materials folder, create new materials for as many colors as you have unique objects, editing their color to match their name, then apply those materials to your objects
- Position all of your objects in locations relative to each other that make sense
7. Export a Unity Package backup file
Since we’re going to be putting our hearts and souls into this project, it’s always good to make backups
- Save your Scene
- In the Project window, Right-click on the “Assets” folder > Export Package, then click Export
- Create a new “Backups” folder in your Personal Project folder, then save it with your name and the version number (e.g. Carl_V0.1.unitypackage”)
8. Continue building your database
Using the database you created, continue to populate it with features and mechanics of your project that you will need to test as you build. As the developer of your project, begin to draft some test scripts of what you would want a QA tester to test if you were to hand it off for external testing.
9. Lesson Recap
New progress
- New project for your Personal Project
- Camera positioned and rotated based on project type
- All key objects in scene with unique materials
- Test scripts and database build out
New concepts & skills:
- Primitives
- Create new materials
- Export Unity packages