
Lab 3 - Player Control
Tutorial
Beginner
+10XP
60 mins
(1219)
Unity Technologies
Overview:
In this lesson, you program the player’s basic movement, including the code that limits that movement. Since there are a lot of different ways a player can move, depending on the type of project you’re working on, you will not be given step-by-step instructions on how to do it. In order to do this, you will need to do research, reference other code, and problem-solve when things go wrong.
Project Outcome:
The player will be able to move around based on user input, but not be able to move where they shouldn’t.
Languages available:
Overview Video
1. Configure project settings for the Input System
The code you’ll add in the following steps uses the Input System to handle player controls. To ensure the code works correctly, verify that your project is configured to allow both input systems to run side by side.
Follow the video and instructions below.
Instructions
1. Open the Player Settings:
- From the main menu, select Edit > Project Settings, then select the Player category from the leftmost menu.
2. Enable support for both input systems:
- Find the Configuration section.
- From the Active Input Handling dropdown, select Both.
- Select the Apply button to confirm the change.
The Unity Editor will automatically restart to apply this setting. After restarting, your project will be correctly configured to handle input from both the original Input Manager and the newer Input System.
2. Create PlayerController and plan your code
Regardless of what type of movement your player has, it’ll definitely need a PlayerController script
- Select your Player and add a Rigidbody component (with or without gravity enabled)
- In your Assets folder, create a new “Scripts” folder
- Inside the new “Scripts” folder, create a new “PlayerController” script
- Attach it to the player, then open it
- Determine what type of programming will be required for your Player
By the end of this step, you should have a new Script open and a solid plan for what will go in it.
3. Basic movement from user input
The first thing we’ll program is the player’s very basic movement based on user input
- Declare a new private float speed variable
- If using physics, declare a new Rigidbody playerRb variable for it and initialize it in Start()
- If using arrow keys, declare new verticalInput and/or horizontalInput variables
- If basing your movement off a key press, create the if-statement to test for the input action
- Use either the Translate method or AddForce method (if using physics) to move your character
By the end of this step, the player should be able to move the way that you want based on user input.
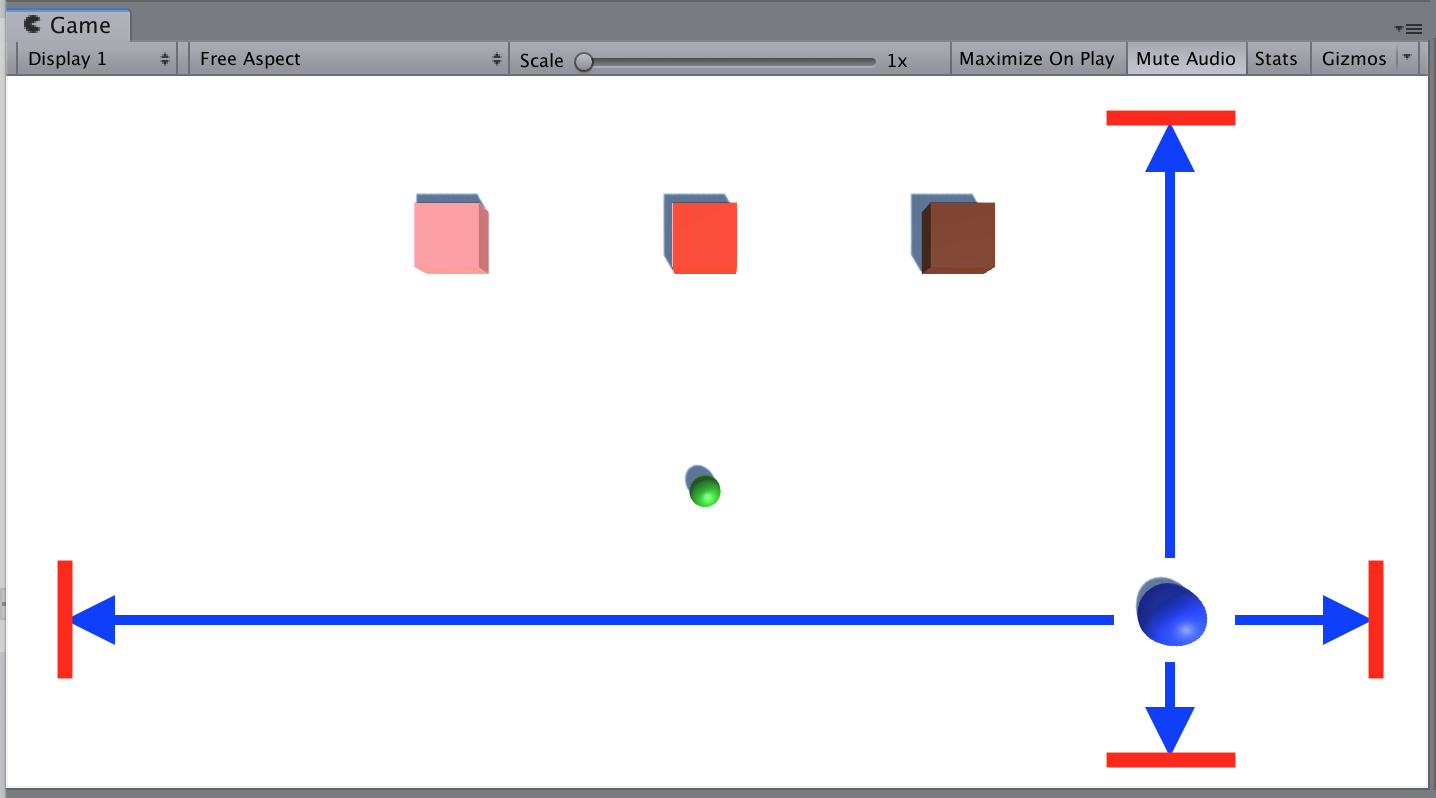
4. Constrain the Player’s movement
No matter what kind of movement your player has, it needs to be limited for gameplay.
- If your player is colliding with objects they shouldn’t (including the ground), check the “Is trigger” box in the Collider component.
- If your player’s position or rotation should be constrained, expand the constraints in the Rigidbody component and constrain certain axes.
- If your Player GameObject can go off the screen, write an if-statement checking and resetting the position and velocity.
- If the Player can double-jump or fly off-screen, create a boolean variable that limits the user’s ability to do so.
- If your player should be constrained by physical barriers along the outside of the play area, create more primitive Planes or Cubes and scale them to form walls .
By the end of this step, the player’s movement should be constrained in such a way that makes your game playable.
5. Code Cleanup and Export Backup
Now that we have the basic functionality working, let’s clean up our code and make a backup.
- Create new Empty game objects and nest objects inside them to organize your hierarchy
- Clean up your Update methods by moving the blocks of code into new void functions (e.g. “MovePlayer()” or “ConstrainPlayerPosition()”)
- Add comments to make your code more readable
- Test to make sure everything still works, then save your scene
- Right-click on your Assets folder > Export Package then save a new version in your Backups folder
By the end of this step, your code should be commented, organized, and backed up.
6. Lesson Recap
New progress:
- Player can move based on user input
- Player movement is constrained to suit the requirements of the game
New concepts & skills:
- Program in C# independently
- Troubleshoot issues independently