Lab 4 - Basic Gameplay
Tutorial
Beginner
+10XP
0 mins
729
Unity Technologies

Overview:
In this lab, you will work with all of your non-player objects in order to bring your project to life with its basic gameplay. You will give your projectiles, pickups, or enemies their basic movement and collision detection, make them into prefabs, and have them spawned randomly by a spawn manager. By the end of this lab, you should have a glimpse into the core functionality of your game.
Project Outcome:
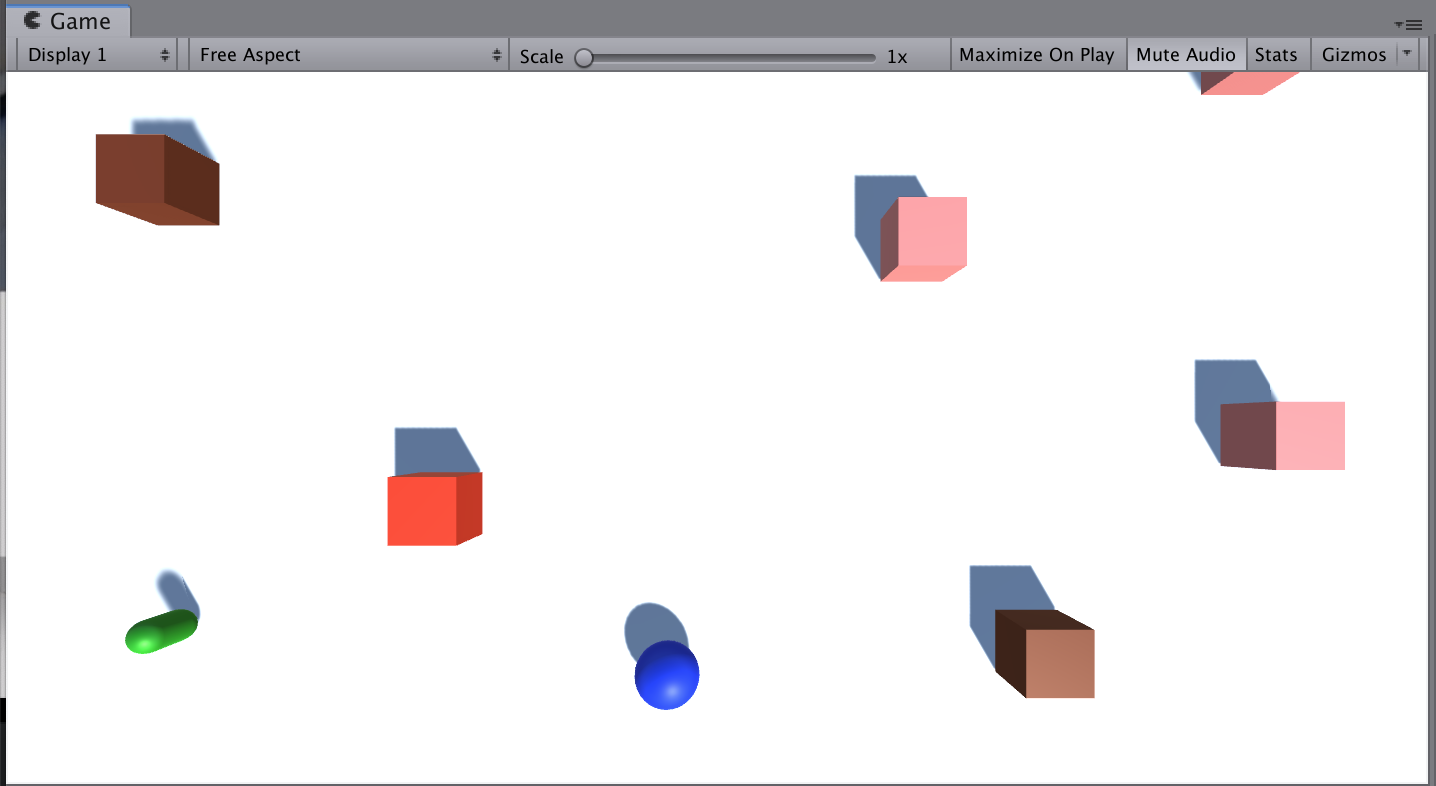
Non-player objects are spawned at appropriate locations in the scene with basic movement. When objects collide with each other, they react as intended, by either bouncing or being destroyed.
Languages available:
Overview Video
1. Give objects basic movement
Before you spawn objects into your scene, they should move the way you want.
- If relevant, add Rigidbody components to your non-player objects
- Create a new script(s) for the objects that will be instantiated during gameplay and attach them to their respective objects (including projectiles or pickups)
- Program the basic movement for your objects and test that they work
By the end of this step, all objects should basically move the way they should in the game.
2. Destroy objects off-screen
To make sure our hierarchy doesn’t get too cluttered, let’s make sure these objects get destroyed when they leave the screen.
- Either create a new script or add code to your existing script to make sure objects are destroyed when they leave the screen
By the end of this step, objects should be removed from the hierarchy when they are no longer in play.
3. Handle object collisions
Now that you have all these moving objects, they’re bound to start colliding with each other - we need to program what should happen when everything collides.
- If relevant, edit the Rigidbody mass of your objects
- If relevant, to change the way your objects collide, create a new Physics material for your objects
- Add tags to your objects so you can accurately test for which objects are colliding with which
- Use OnCollisionEnter() (for Rigidbody collisions) or OnTriggerEnter() (for trigger-based collisions) to Destroy or Log messages to the console what should happen when certain collisions occur
By the end of this step, objects should destroy, bounce, or do nothing based on collisions.
4. Make objects into prefabs
Now that the objects are basically behaving the way they should, if they’re going to be instantiated during gameplay, they need to be prefabs
- In the Assets directory, create a new Folder called “Prefabs”
- Drag in each object to create a new prefab for it
- After all objects have been turned into prefabs, delete them from the scene
- Test the objects’ behavior by dragging them from the Prefabs folder into the scene while the game is running
By the end of this step, all objects that will be spawned during gameplay should be prefabs and should no longer be in your scene.
5. Make SpawnManager spawn Prefabs
Now that we have all of our prefabs set up, we can create a spawn manager to spawn them at intervals and, if we want, in random locations.
- Create an Empty “Spawn Manager” object and attach a new SpawnManager.cs script to it
- Create individual GameObject or GameObject array variables for your prefabs, then assign them in the inspector
- Use the Instantiate(), Random.Range(), and the InvokeRepeating() methods to spawn objects at intervals (random objects, random locations, or both)
- Right-click on your Assets folder > Export Package then save a new version in your Backups folder
By the end of this step, objects should be spawned automatically from the appropriate location.
6. Recap
New functionality
- Non-player objects prefabs have basic movement
- Objects are destroyed when they leave the screen
- Collisions between objects are handled appropriately
- Objects are spawned at the appropriate locations on time-based intervals
New concepts & skills:
- Creating basic gameplay for a project independently