
Lesson 2.2 - Creating Primitive Objects and Arranging Them
Tutorial
Beginner
+10XP
45 mins
(780)
Unity Technologies
In this lesson, you will begin bringing a two-dimensional sketch to life in 3D by placing a few 2D background images and then laying out the surrounding city buildings using primitives.
Often, in pre-vis, a layout artist will be provided with a sketch or storyboard of a Scene. Here, these artists can begin interpreting the appropriate depth and scale of their Scenes through the creation of simple geometry. This first iteration of a Scene sets the foundation for downstream departments (departments that traditionally come after pre-vis, such as sets, characters, lighting, etc.) to work from and expand upon.
Resources
Languages available:
1. Lesson Overview
2. Creating our Visual Anchors: The Plane and Background
Pre-vis is the first stage in translating a two-dimensional reference to 3D. Adding a new dimension to a flat image can be daunting. To ease into this process, let’s try to roughly approximate the sketch of a cityscape using Unity’s built-in set of primitives.
We can divide the sketch into four discrete chunks: the ground plane, the buildings in the far background, the large highrises in the midground, and the more unique, defined buildings in the foreground (Figure 01).
Let's begin by blocking out the ground plane and the buildings in the background. They’re the largest elements of the sketch and will serve as anchors for the relative placement of the smaller buildings. When provided with a two-dimensional reference, it's best to start blocking out larger shapes then work toward smaller, more detailed objects. Let’s start with the basics.
1. In the Menu Bar in the upper-left corner, navigate to GameObject > 3D Object > Plane. A new Plane GameObject will be added to the Hierarchy and placed in your Scene (Figure 02).
2. In the Inspector, set the Transform Scale to X:20, Y: 1, Z:20.
GameObjects are the fundamental objects in Unity that represent characters, props, and scenery.
3. You may notice that the Plane GameObject has a brown tint. In the Hierarchy, select the Directional Light. In the Inspector, in the Light component, select the Color Picker and change the color to white (Figure 03).
4. With the Directional Light still selected, change the Rotation to X:60, Y:90, Z:90 in the Inspector Transform component. We will discuss the Directional Light in more detail later in this unit.
By default, all GameObjects (such as Cubes) automatically have a Transform component. The Transform dictates where the GameObject is located and how it’s rotated and scaled.
5. Download CityBackground.zip here and unzip the folder.
6. Go to the Project window in Unity and right click on Assets > Import Package > Custom Package. Select CityBackground.assetpackage and select Import.
7. From the Project window, navigate to Assets > Prefabs and drag the CityBackground Prefab from the Project window into the Scene view.
8. Select CityBackground in the Hierarchy and set its Position in the Inspector to X:45, Y:25, Z:0.
9. Use the Move, Orbit, and Zoom tools to make your Scene view similar to ours (Figure 04). Read this quick guide to Moving, orbiting and zooming in the Scene view if you have no prior experience with Unity or if you need a refresher.
3. Creating our Midground Elements: The Highrises
Next we're going to build the highrises. Due to their simple shape, we can block them out using several Cube primitives. Primitives are objects that can be created directly inside of Unity. There are several primitive shapes in Unity; in this lesson, we will primarily be working with Cubes, but other options include Sphere, Capsule, and Cylinder.
1. Navigate to GameObject > 3D Object > Cube. A new Cube GameObject will be added to the Hierarchy and placed in your Scene.
2. With your mouse cursor over the Scene view and the Cube selected, press the “F” key on your keyboard and view will refocus on the Cube (Figure 05).
We can now manipulate the cube freely within the Scene view. For those familiar with DCC (Digital Content Creation) packages such as Autodesk Maya, Unity’s Scene view functions similarly to the viewport in Maya.
We can translate and rotate the Cube using the same hotkeys as in Maya. For reference, the hotkeys are as follows:
W: The Move tool: Transforms the Cube around the Scene
E: The Rotate tool: Rotates the Cube along its axis
R: The Scale tool: Scales the Cube either uniformly or along an individual axis
3. With the Cube selected, try transforming, rotating, and scaling it using the W, E, and R hotkeys. Getting familiar with these keys will be very useful throughout this course.
4. Begin by positioning the Cube to the left side of the plane. Try to align the top of the Cube with the top of one of the background elements in the Scene using the Transform, Rotate, and Scale tools. Don’t worry about being precise, because we are going to give you exact scale in the next step, but do take a moment to familiarize yourself with how each of these tools work. (Figure 06).
5. With the Cube still selected, set its Scale to X:8, Y:42, Z:8.
We can duplicate this Cube for the four other highrises that comprise our cityscape by using another shortcut that will be familiar to you if you’ve used Maya.
6. With the Cube selected in either the Scene view or Hierarchy, press Ctrl/Cmd + D to duplicate it four more times. For added control, transform these new Cubes while pressing and holding the Ctrl/Cmd key to keep each cube snapped to the plane created earlier. After they've been duplicated, alternate their height and width by scaling them vertically and horizontally (Figure 07).
7. Position each of the buildings in a staggered manner, similar to (Figure 08).
As you’re developing your Scene and creating more objects in the Hierarchy, it’s very important to keep it organized — as you will soon see.
8. In the Hierarchy, select Create (it’s a plus symbol) and create an Empty GameObject, then rename the GameObject to Highrises. Next, nest the five highrises you just created underneath the new GameObject by dragging and dropping each on top of the Highrises Gameobject (Figure 09).
In Unity, the Highrises GameObject is now considered the parent GameObject and the Cubes underneath are considered child GameObjects. (You can learn more about the Hierarchy here.) You’ve now learned two ways to create objects in Unity — one is by going to the top menu > GameObject. The other is by using the Create button (+ symbol) in the Hierarchy.
4. Creating the Multi-Level Highrises
Notice in the reference that there seems to be buildings with multiple stories in between each of the highrises. Let's refer to them as multi-level highrises (Figure 10).
1. Create another Cube, set the Scale to X:4, Y:30, Z:4, and duplicate it four times. Make the Y height of each Cube vary in value between 10 and 30. Scale and position each Cube until we end up with a shape similar to the one below (Figure 11).
2. In the Hierarchy, create Empty and rename it Multi-Highrise. Next, nest the five new Cubes that comprise Multi-Highrise under it (Figure 12).
3. Now duplicate this parent GameObject in the Hierarchy four times so the structure can be scaled and positioned as a group instead of the Cubes needing to be modified individually.
4. Position each Multi-Highrise structure roughly as shown (Figure 13).
5. Notice how the buildings in the Scene are spread far apart. Move your buildings closer together to form a more dense-looking city.
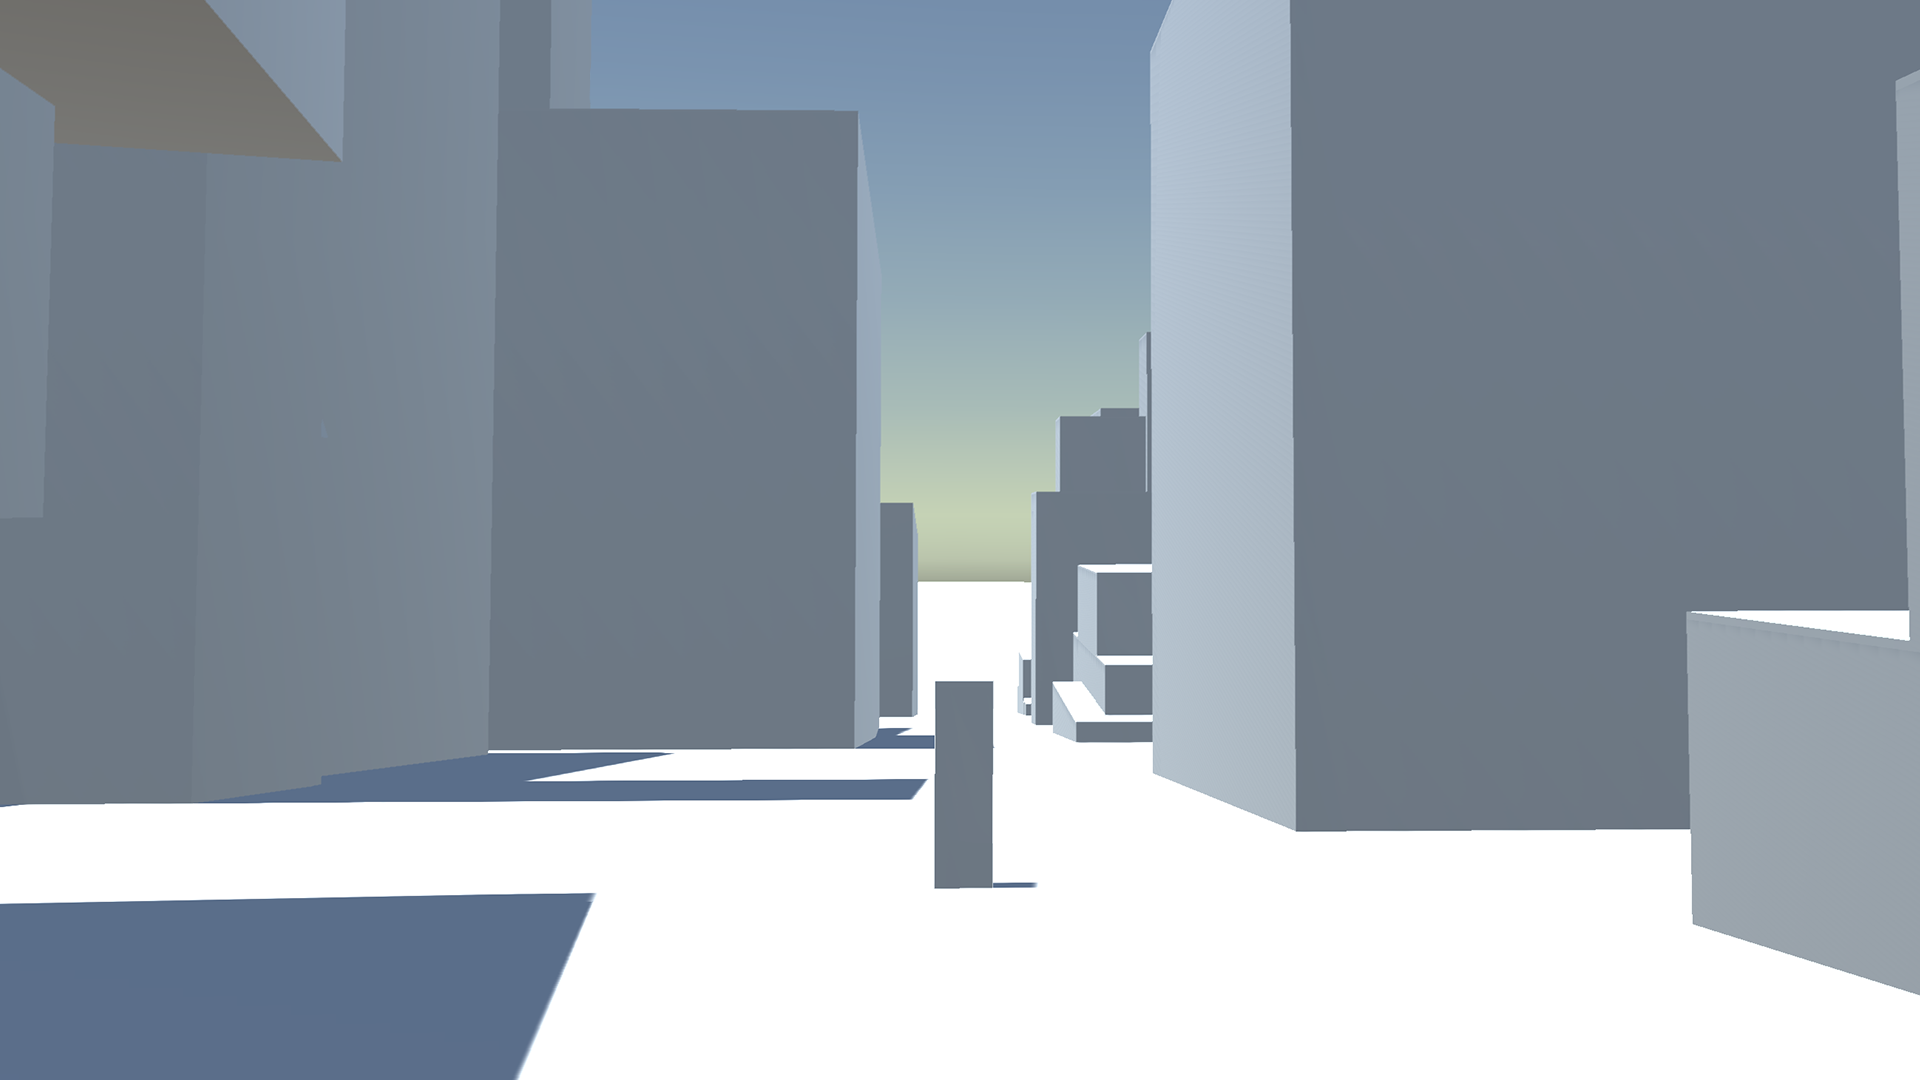
6. Now, scale and rotate the Multi-Highrises. By scaling and rotating these new buildings, we can quickly compose a skyline that has a variety of levels and shapes like a real city (Figure 14).
7. Save your work. Go to File > Save.
5. Identifying and Blocking Out Unique Buildings
With our highrises and background in place, we can prepare to block out the remaining buildings that comprise the foreground. Creating the foreground buildings will put your organizational skills to the test. Keep in mind that the position of your objects doesn’t need to be exactly the same as ours, but try to stick to the scale of our Cubes.
1. Because there are so many foreground buildings, we are going to organize them by size. Create six empty GameObjects and name them: LargeForegroundBlds, LargeForegroundBlds2, MediumForegroundBlds, MediumForegroundBlds2, SmallForegroundBlds, SmallForegroundBlds2.
2. Create your largest Cube at Scale X:15, Y:16, Z:15. Duplicate it three times and position it approximately as shown (Figure 16). Nest the three Cubes in their parent GameObject LargeForegroundBlds.
3. Create your next largest Cube at Scale X:7, Y:15, Z:10. Duplicate it three times and position it approximately as shown (Figure17). Nest the three Cubes in their parent LargeForegroundBlds2.
4. Create your medium Cube at Scale X:7, Y:7, Z:14. Duplicate it three times and position it approximately as shown (Figure18). Nest the three Cubes in their parent MediumForegroundBlds.
5. Create your next medium Cube at Scale X:10 Y:4 Z:17. Duplicate it three times and position it approximately as shown (Figure 19). Nest the three Cubes in their parent MediumForegroundBlds2.
6. Create your small Cube at Scale X:6 Y:8 Z:6. Duplicate it four times and position it approximately as shown (Figure 20). Nest the five Cubes in their parent SmallForegroundBlds.
7. Create your next small Cube at Scale X:7 Y:5 Z:8. Duplicate it twice and position it approximately as shown (Figure 21). Nest the two Cubes in their parent SmallForegroundBlds2.
8. Last but not least, check to make sure your Hierarchy is organized (Figure 22).
6. Recap
Primitive objects serve as a foundation for more complex geometry. We've learned how we can begin interpreting a 2D sketch in 3D by using primitive objects — but they won't take us very far on their own. In the next lesson, we'll learn how to modify these objects to create more interesting shapes.