Lesson 5.1 - Clicky Mouse
Tutorial
·
Beginner
·
+10XP
·
60 mins
·
(1034)
Unity Technologies

Overview:
It’s time for the final unit! We will start off by creating a new project and importing the starter files, then switching the game’s view to 2D. Next we will make a list of target objects for the player to click on: Three “good” objects and one “bad”. The targets will launch spinning into the air after spawning at a random position at the bottom of the map. Lastly, we will allow the player to destroy them with a click!
Project Outcome:
A list of three good target objects and one bad target object will spawn in a random position at the bottom of the screen, thrusting themselves into the air with random force and torque. These targets will be destroyed when the player clicks on them or they fall out of bounds.
Languages available:
Overview Video
1. Create project and switch to 2D view
One last time… we need to create a new project and download the starter files to get things up and running.
- Open Unity Hub and create an empty “Prototype 5” project in your course directory on the correct Unity version.
If you forget how to do this, refer to the instructions in Lesson 1.1 - Step 1. - Click to download the Prototype 5 Starter Files, extract the compressed folder, and then import the .unitypackage into your project.
For a reminder on how to import packages, see the referenced documentation. - Open the Prototype 5 scene, then delete the sample scene without saving
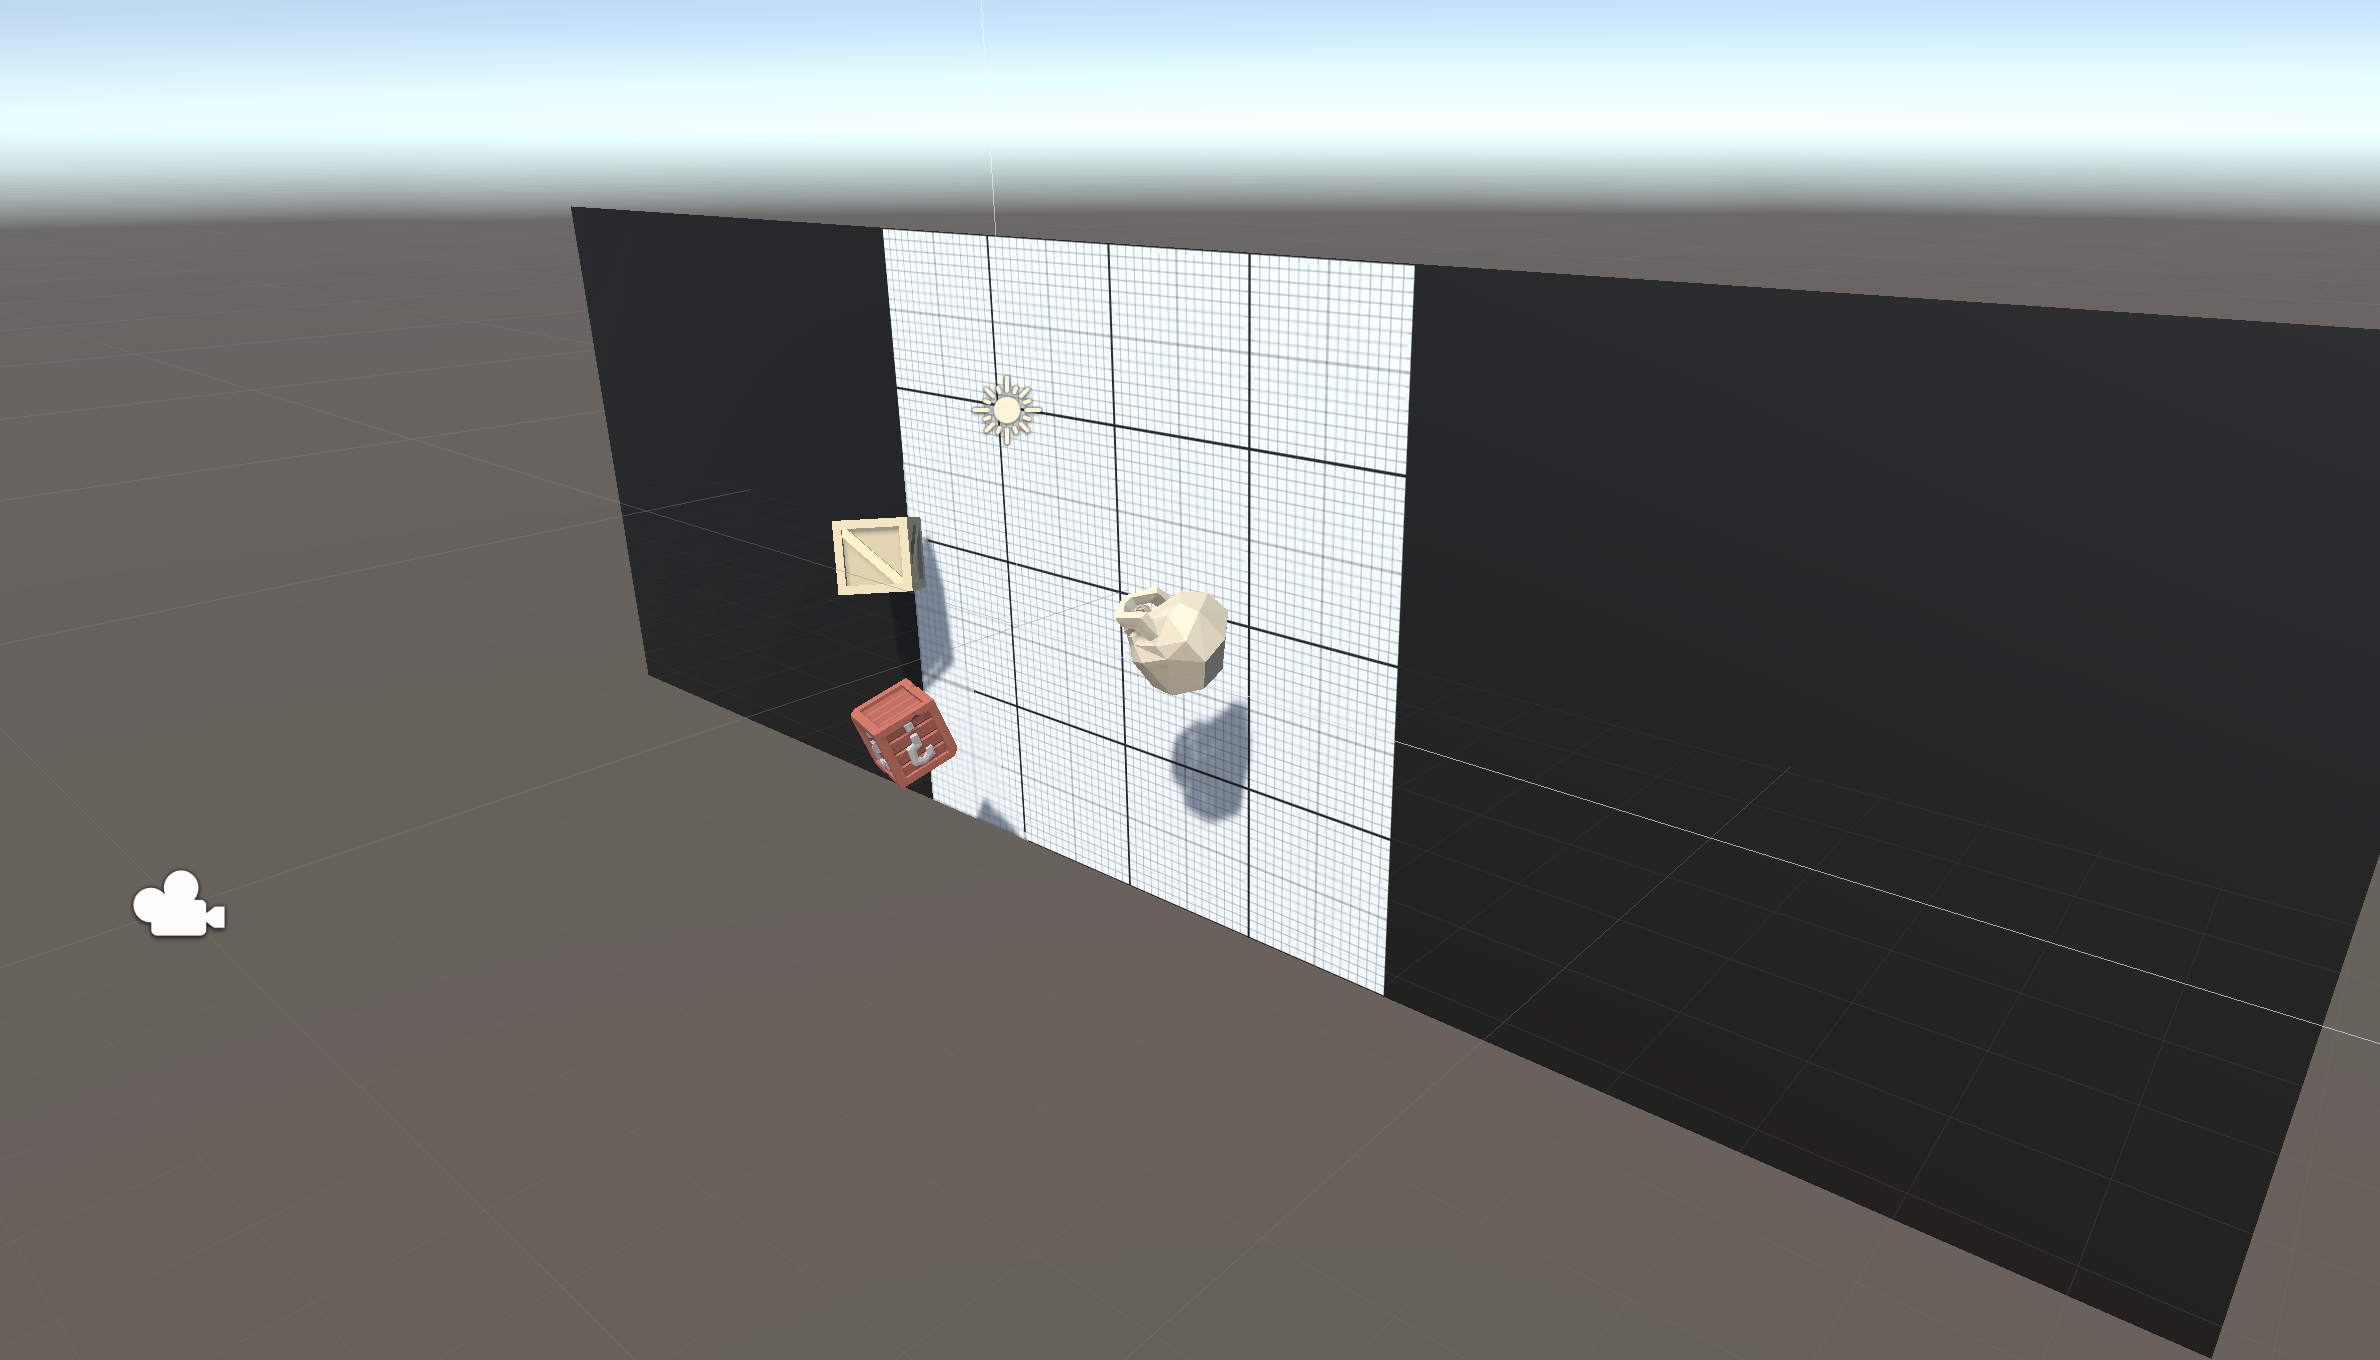
- Click on the 2D icon in Scene view to put Scene view in 2D.
- (optional) Change the texture and color of the background and the color of the borders
2. Create good and bad targets
The first thing we need in our game are three good objects to collect, and one bad object to avoid. It’ll be up to you to decide what’s good and what’s bad.
- From the Library, drag 3 “good” objects and 1 “bad” object into the Scene, rename them “Good 1”, “Good 2”, “Good 3”, and “Bad 1”
- Add Rigid Body and Box Collider components
- Create a new Scripts folder, a new “Target.cs” script inside it, attach it to the Target objects
- Drag all 4 targets into the Prefabs folder to create “original prefabs”, then delete them from the scene
3. Toss objects randomly in the air
Now that we have 4 target prefabs with the same script, we need to toss them into the air with a random force, torque, and position.
- In Target.cs, declare a new private Rigidbody targetRb; and initialize it in Start()
- In Start(), add an upward force multiplied by a randomized speed
- Add a torque with randomized xyz values
- Set the position with a randomized X value

4. Replace messy code with new methods
Instead of leaving the random force, torque, and position making our Start() function messy and unreadable, we’re going to store each of them in brand new clearly named custom methods.
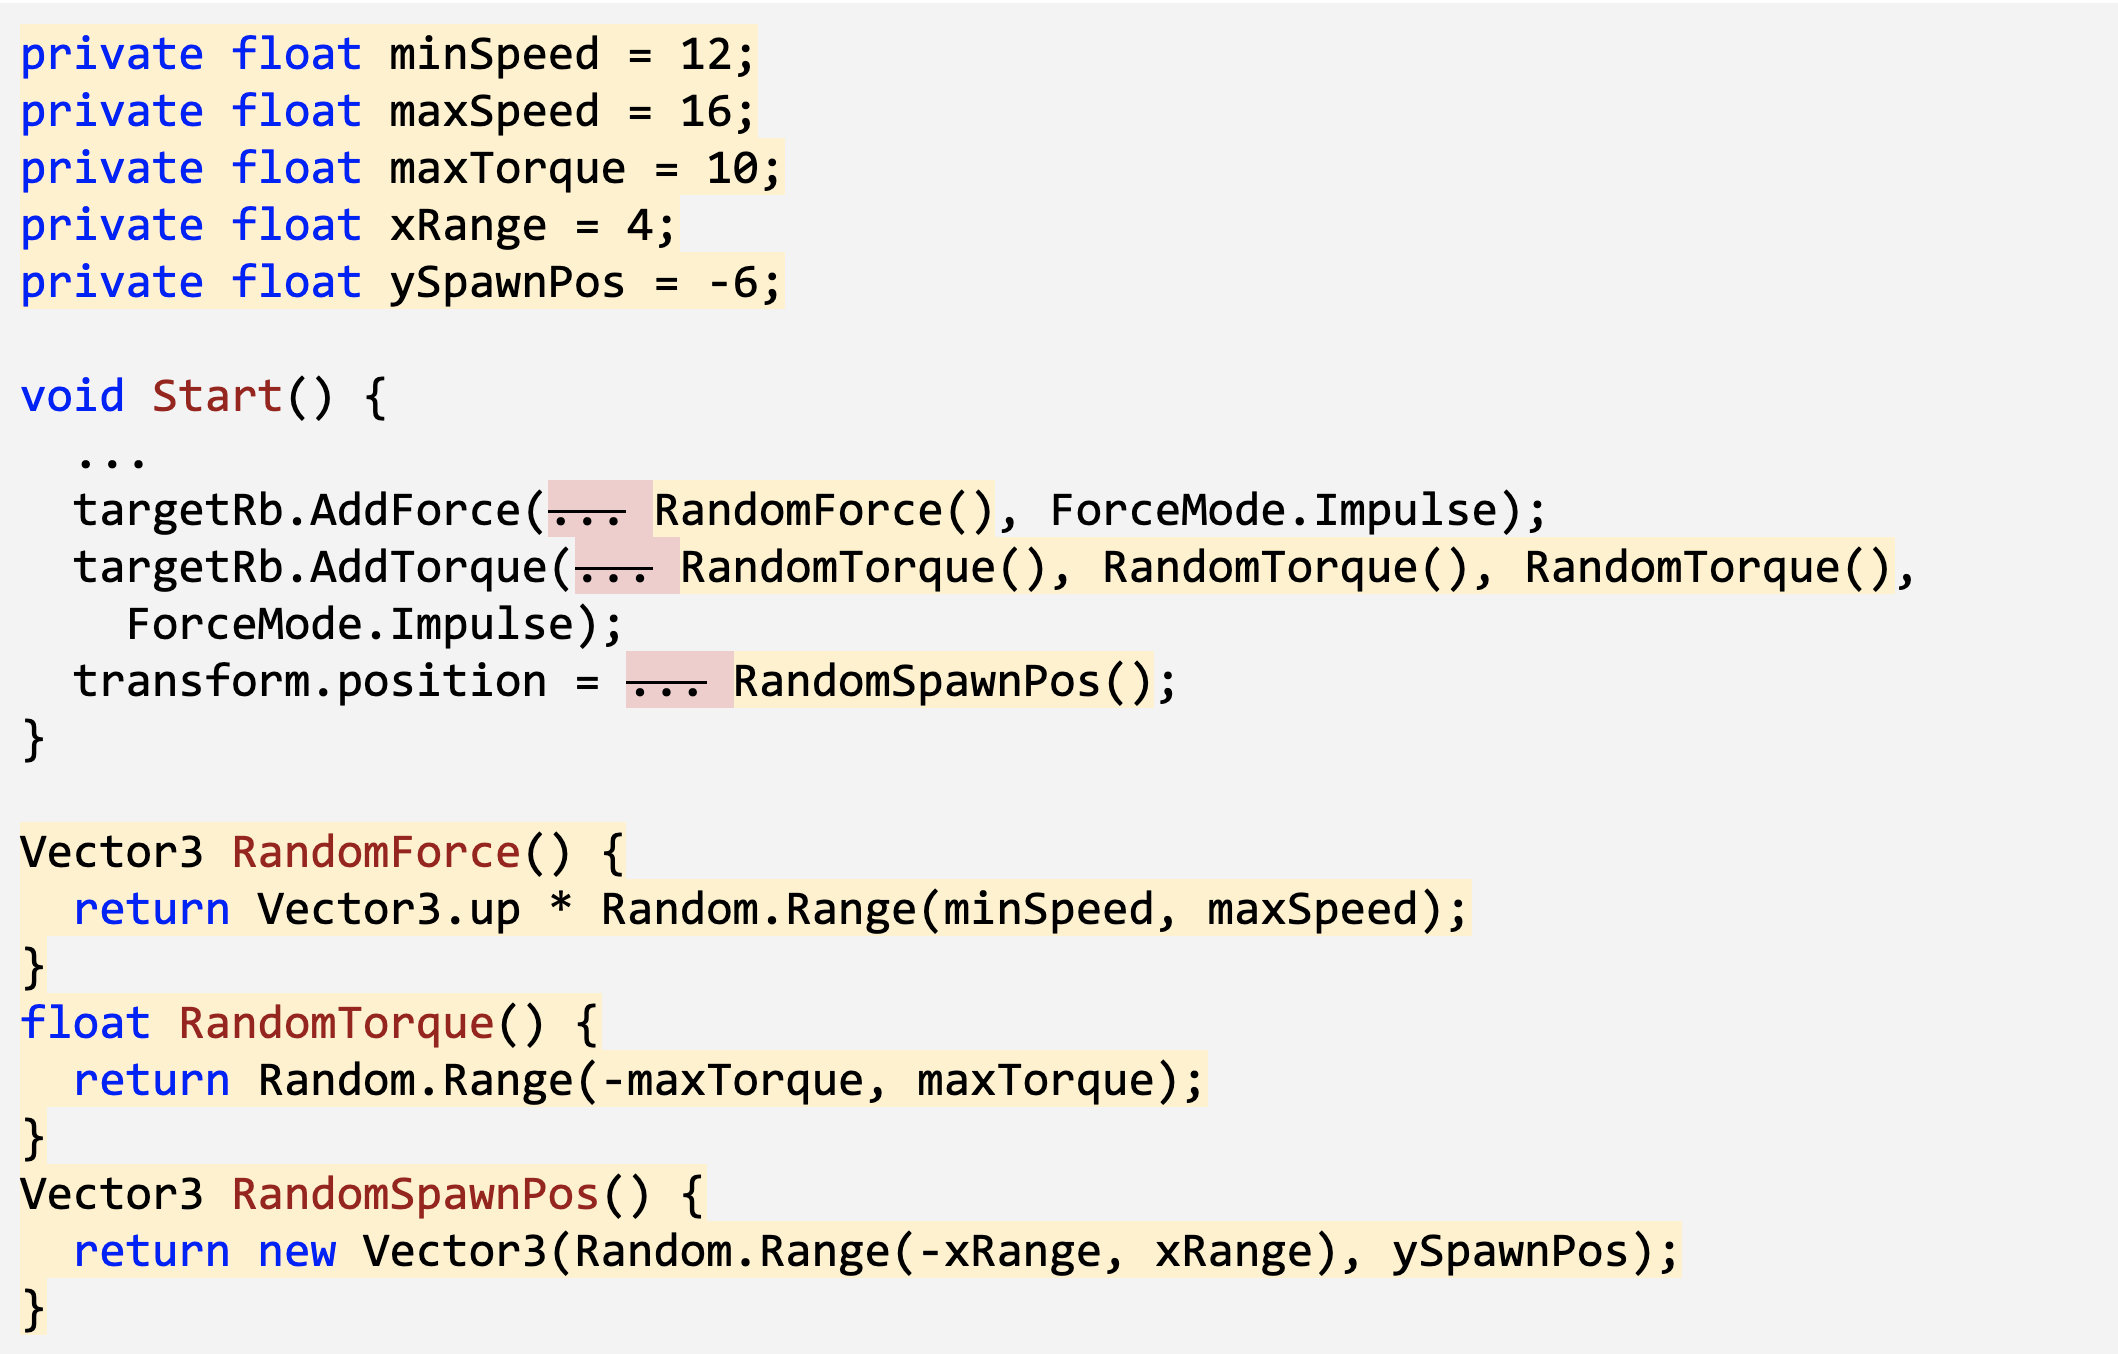
- Declare and initialize new private float variables for minSpeed, maxSpeed, maxTorque, xRange, and ySpawnPos;
- Create a new function for Vector3 RandomForce() and call it in Start()
- Create a new function for float RandomTorque(), and call it in Start()
- Create a new function for RandomSpawnPos(), have it return a new Vector3 and call it in Start()

5. Create object list in Game Manager
The next thing we should do is create a list for these objects to spawn from. Instead of making a Spawn Manager for these spawn functions, we’re going to make a Game Manager that will also control game states later on.
- Create a new “Game Manager” Empty object.
- Create a new GameManager.cs script, attach it to the Game Manager GameObject in the Hierarchy window, then open it.
- Add a new using Directive to the list of namespaces at the top of your script:
using System.Collections.Generic; - Declare a new public List<GameObject> targets;, then in the Game Manager inspector, change the list Size to 4 and assign your prefabs.
Important: Make sure that you spell the GameObject as “Game Manager” with a space, but the script as “GameManager” with no space. You’ll need to reference that GameObject name later.

6. Create a coroutine to spawn objects
Now that we have a list of object prefabs, we should instantiate them in the game using coroutines and a new type of loop.
- Declare and initialize a new private float spawnRate variable.
- Create a new IEnumerator SpawnTarget () method
- Inside the new method, while(true), wait 1 second, generate a random index, and spawn a random target.
- In Start(), use the StartCoroutine method to begin spawning objects.
- To fix the error under IEnumerator, add the following using directive to the top of your code:
using System.Collections;

7. Destroy target with click and sensor
Now that our targets are spawning and getting tossed into the air, we need a way for the player to destroy them with a click. We also need to destroy any targets that fall below the screen.
- In Target.cs, add a new method for private void OnMouseDown() { } , and inside that method, destroy the gameObject
- Add a new method for private void OnTriggerEnter(Collider other) and inside that function, destroy the gameObject

8. Lesson Recap
New Functionality:
- Random objects are tossed into the air on intervals
- Objects are given random speed, position, and torque
- If you click on an object, it is destroyed
New Concepts and Skills:
- 2D View
- AddTorque
- Game Manager
- Lists
- While Loops
- Mouse Events
Next Lesson:
- We’ll add some effects and keep track of score!