
Lesson 5.3 - Using Cinemachine to Create Multi-Camera Shots
Tutorial
Beginner
+10XP
45 mins
(207)
Unity Technologies
In this lesson you’ll learn to add additional virtual cameras to your scene, animate them to create a pan and push in effect, and blend between virtual camera shots.
Languages available:
1. Lesson Overview
2. Animating the Second Shot
Let's begin by creating our second Virtual Camera:
1. From the top menu dropdown, select: Cinemachine > Create Virtual Camera. Another Virtual Camera named “CM vcam2” will be added to your Scene.
2. Set the Virtual Camera's Focal Length to 35mm if it is not already.
3. Set the Playhead on the Timeline to Frame 80. Next, drag the second Virtual Camera onto the Main Camera (CinemachineBrain) Track in the Timeline. Lastly, let's extend the Virtual Camera's length to Frame 357 (Figure 01).

When you scrub along the Timeline, notice that the Main Camera’s track will show the cuts from CM vcam1 to CM vcam2 in the Game Window.
4. With the Playhead at Frame 80, using the navigation techniques we learned in Lesson 5.2, place the camera in horizontal alignment with the 'Unity Corp' sign adjust your Scene view so that we're angled onto the gate and the cat is positioned in the left third of the frame (Figure 02).
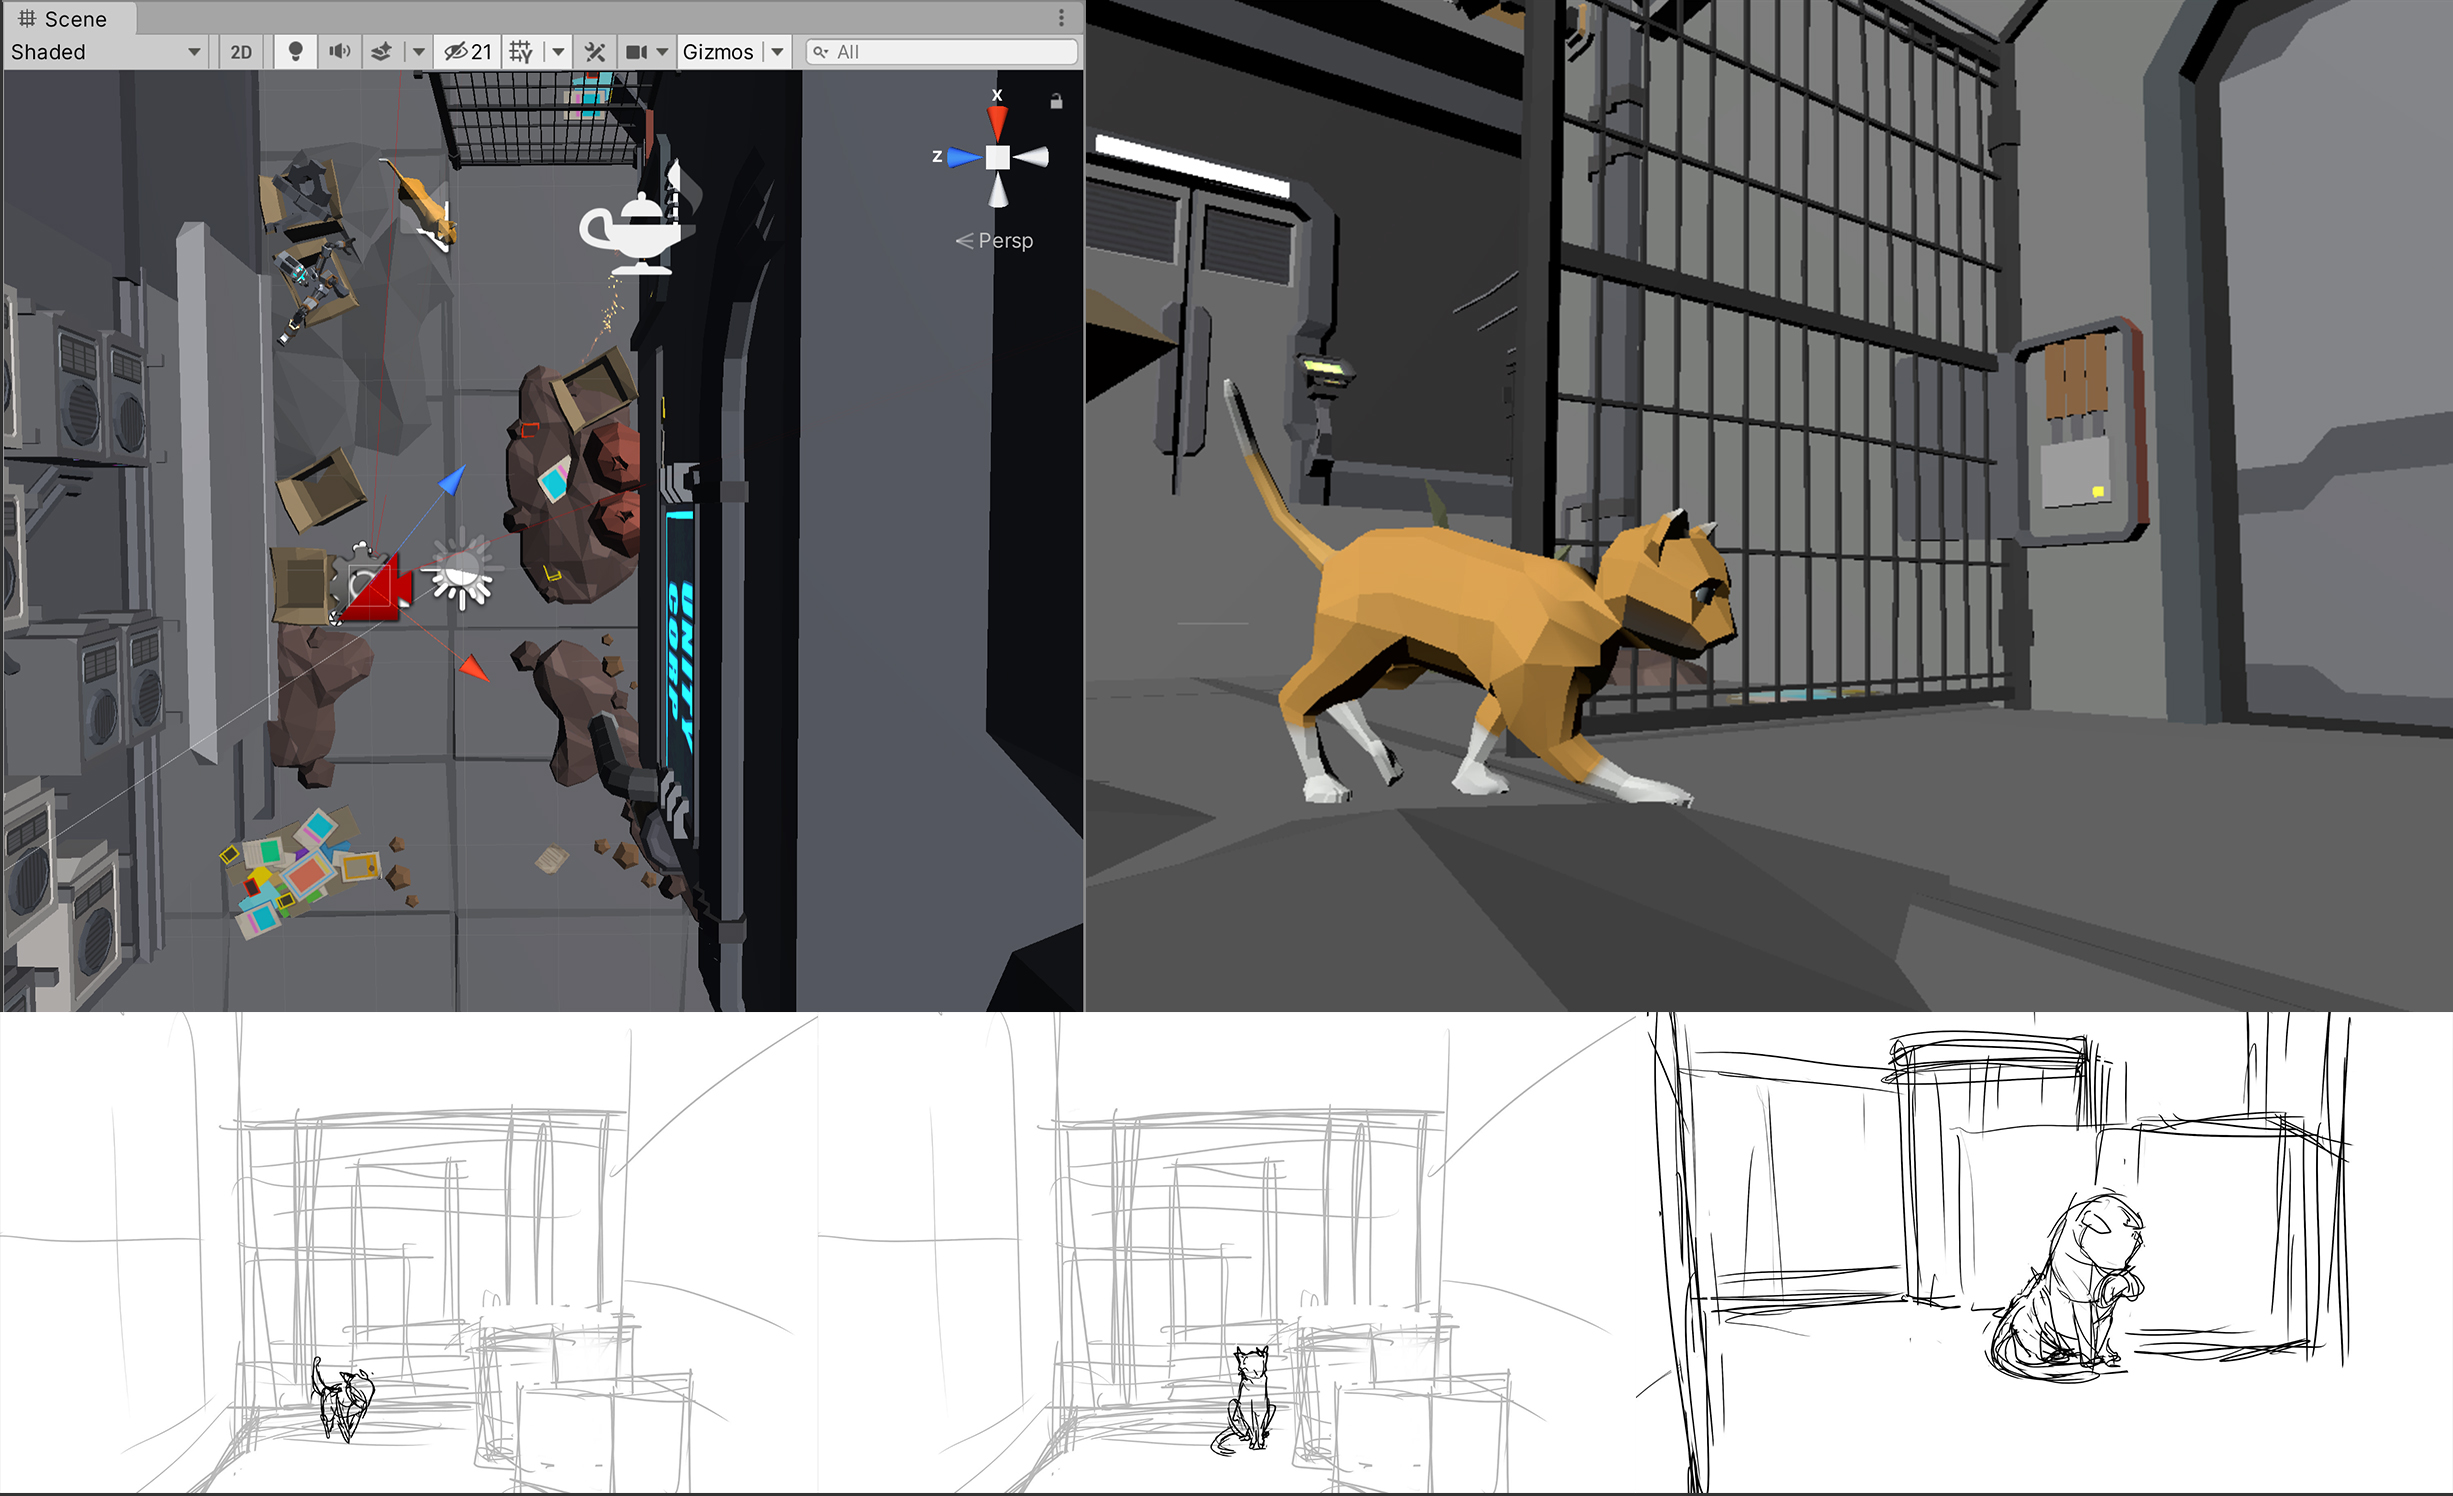
With the Virtual Camera CM vcam2 selected, press the "framing" hotkey (Ctrl/Cmd + Shift + F) to frame the Virtual Camera to that view.
5. Ensure that the Timeline Window’s view is still locked from the previous lesson. If not, with the Master Timeline selected in the Hierarchy Window, select the Lock icon in the upper-right corner of the Timeline Window, to keep the Master Timeline in view (Figure 03).

6. Select the Virtual Camera CM vcam2 in the Hierarchy Window. Next, drag and drop the CM vcam2 Virtual Camera onto the left panel of the Timeline, just below the CM vcam1 Track. When prompted, select 'Add Animation Track' from the context menu (Figure 04).

7. Set the Timeline's playhead to Frame 80, then select the red Record button on the Virtual Camera Animation Track. In the Inspector, Right Click under the Transform component and select 'Add Key' to create our first keyframe (Figure 05).
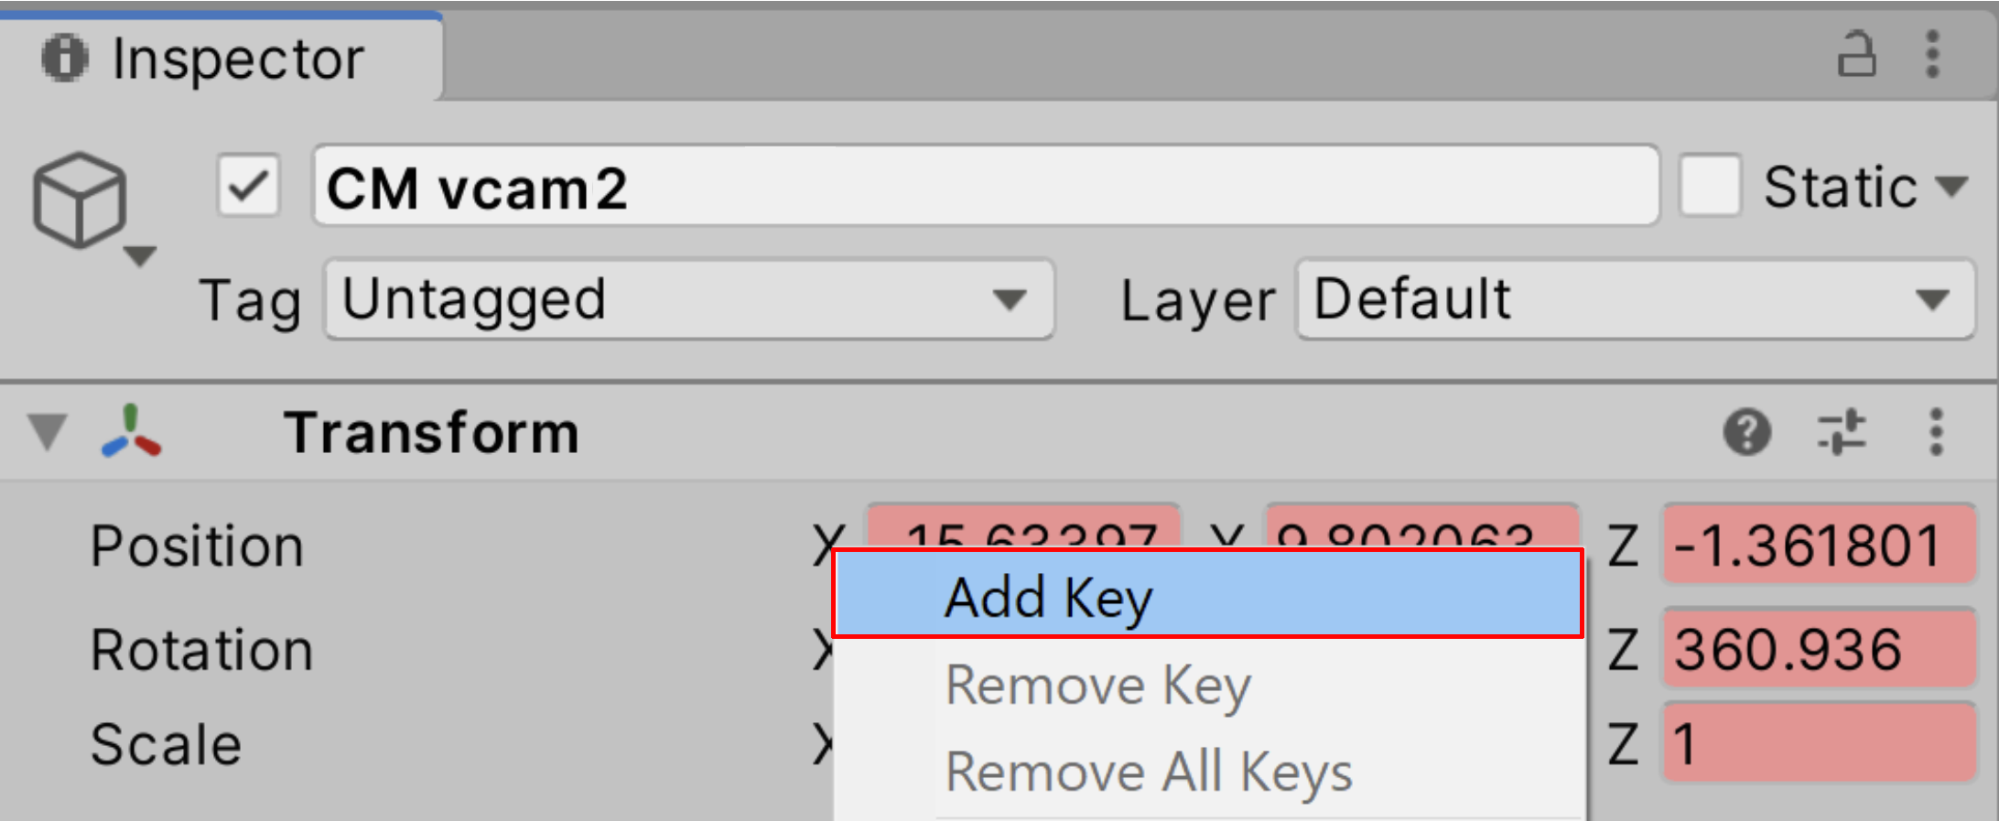
8. With the Virtual Camera Track still recording, navigate to Frame 206. Make sure the Transform Gizmo is set to Local. In the Scene view, select the Virtual Camera and drag it forward in the z-axis (blue arrow) until the cat is neatly in the center of the frame (Figure 06).
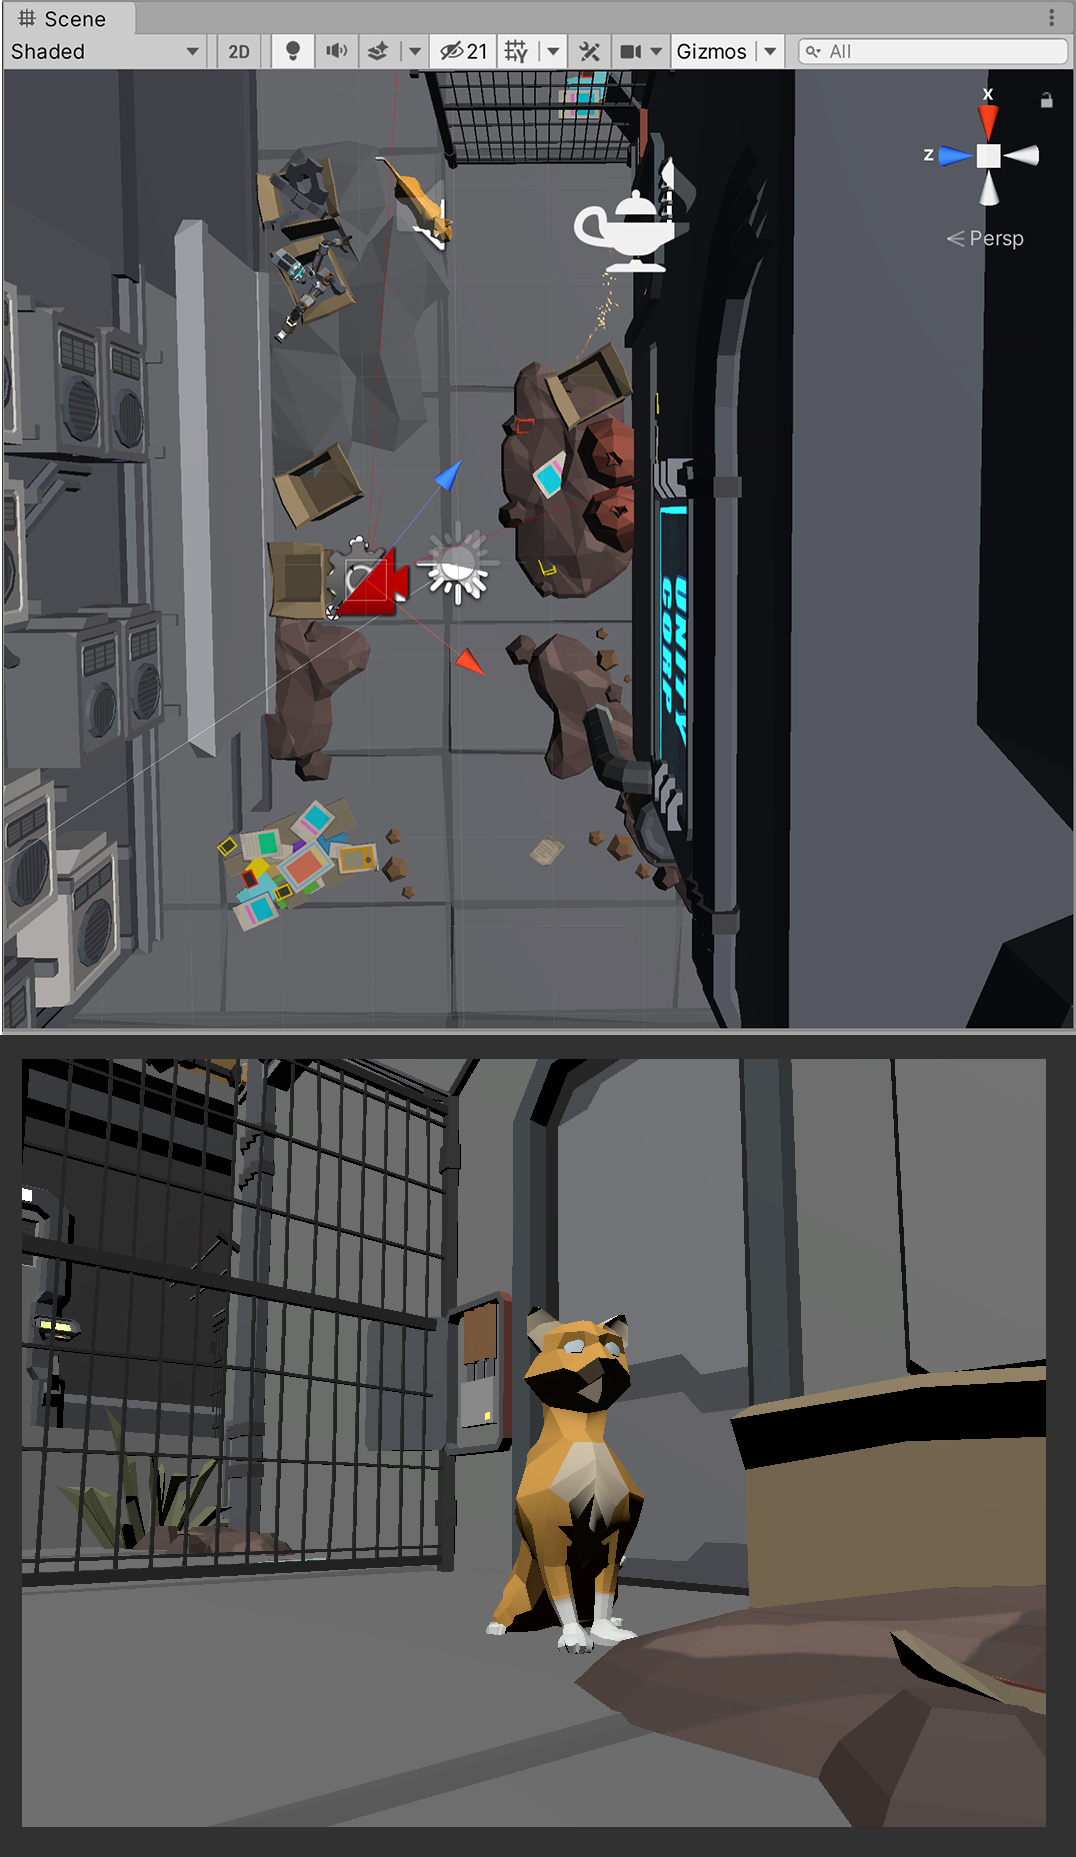
We want to hold this framing for a while.
9. Double Click on the CM vcam2 Animation Track in the Master Timeline.
This will open the Animation Window where you can see and modify keyframes.
10. In this Window, go to Frame 206 by typing "206" in the field in the upper left corner. The playhead will select the keys we just created on the frame (Figure 07).

11. Left Click and drag over these keys to select them, then press Ctrl/Cmd + C to copy them.
12. Go to Frame 276, Left Click anywhere beneath the playhead at that position, and press Ctrl/Cmd + V to paste these keys into Frame 276, this will ensure that the framing between 206 and 276 is exactly the same (Figure 08).
13. Close the Animation Window and return to the Main Timeline.

Notice how the cat is turning its head to the left at this point in the Timeline. This indicates that something will get the audience's attention just off to the left of the screen.
This wouldn't be a chase scene without a second character, enter: the dog!
We will animate a "whip pan" to quickly and suddenly move the camera to the left so we can introduce and frame the dog in the center of the screen.
We hold the current framing until Frame 276 as we want to animate the camera after the cat has suggested that there is something to the left of the screen. This is an example of having action dictate the camera's movement, which is more naturalistic and believable.
14. Move the playhead to Frame 286, then orbit the Virtual Camera to the left until the dog is in the center of the frame. The best way to do this is by selecting the camera, selecting GameObject > Align View to Selected, orbiting the view in the Scene view, then pressing the 'framing' hotkey to match the Virtual Camera's view to the Scene view (Figure 09).
Another new key will be created. We also want to hold this framing for a few frames as well.
As a quick tip, you can press Ctrl + ./Cmd + Shift + . to advance to the next key in the Timeline, and Ctrl + ,/Cmd + Shift + , while in the Timeline window to advance to the previous key in the Timeline.
15. With the Virtual Camera selected, move the Playhead to Frame 296, then in the Transform component in the Inspector, Right Click and select 'Add Key.'
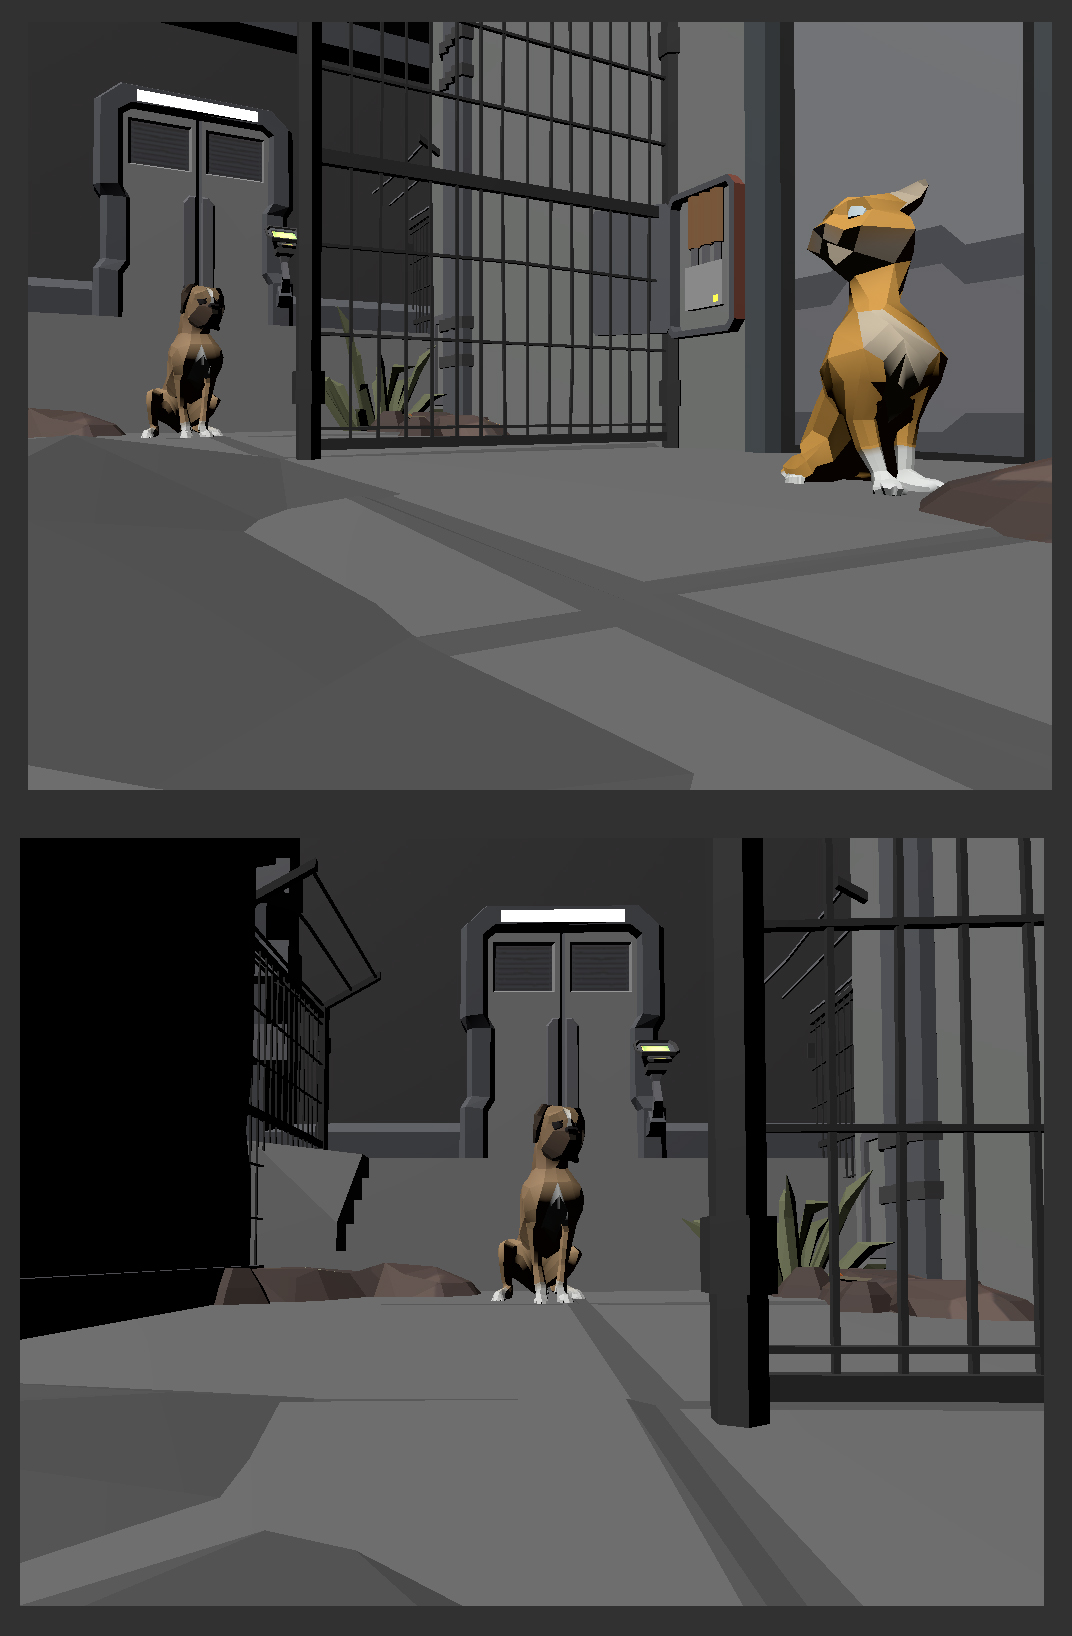
With the dog now alerted, it leaps before proceeding to chase the poor cat down the alley. Let's punctuate this animation by punching the camera in - think of a punch in as similar to the whip pan, but accomplished by moving the camera closer to a subject along a single axis.
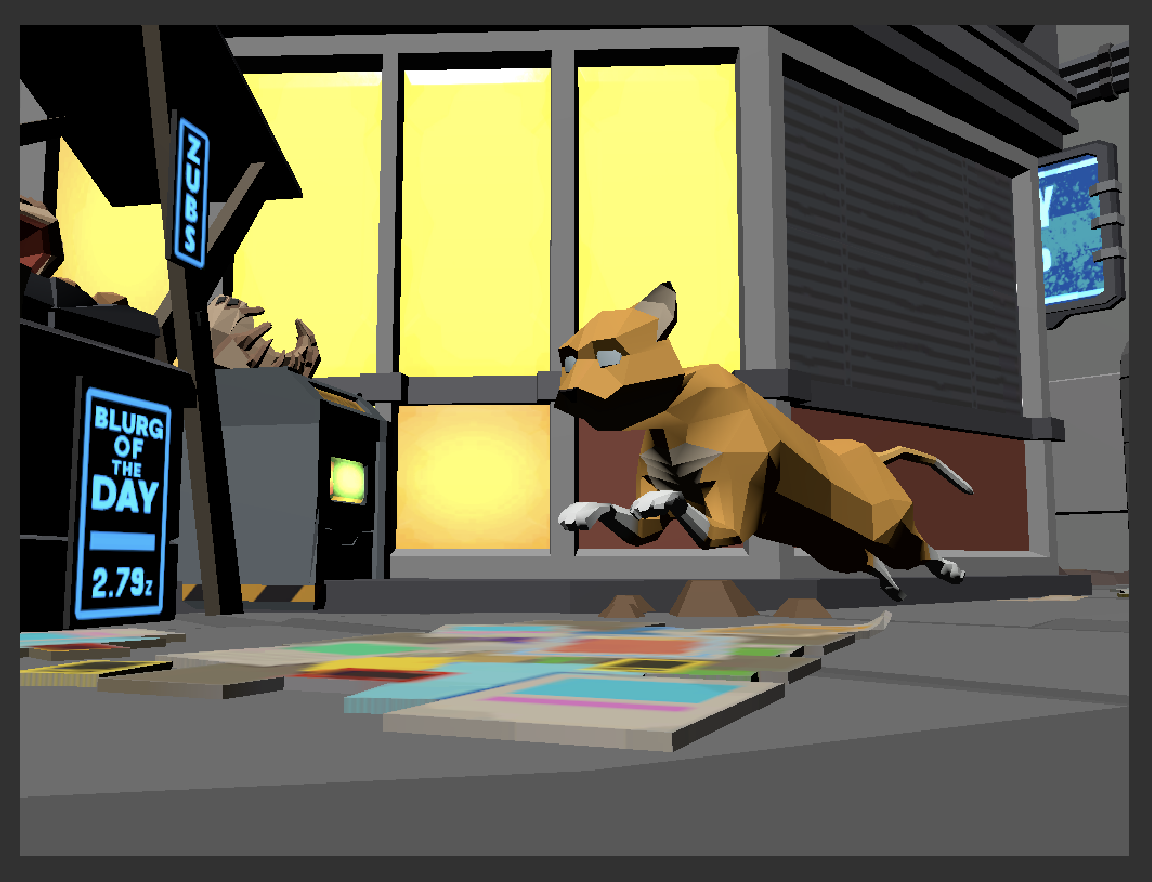
16. Move the playhead to Frame 303, then move the Virtual Camera along the Z-axis so the dog dominates the frame as it jumps into the air (Figure 10).
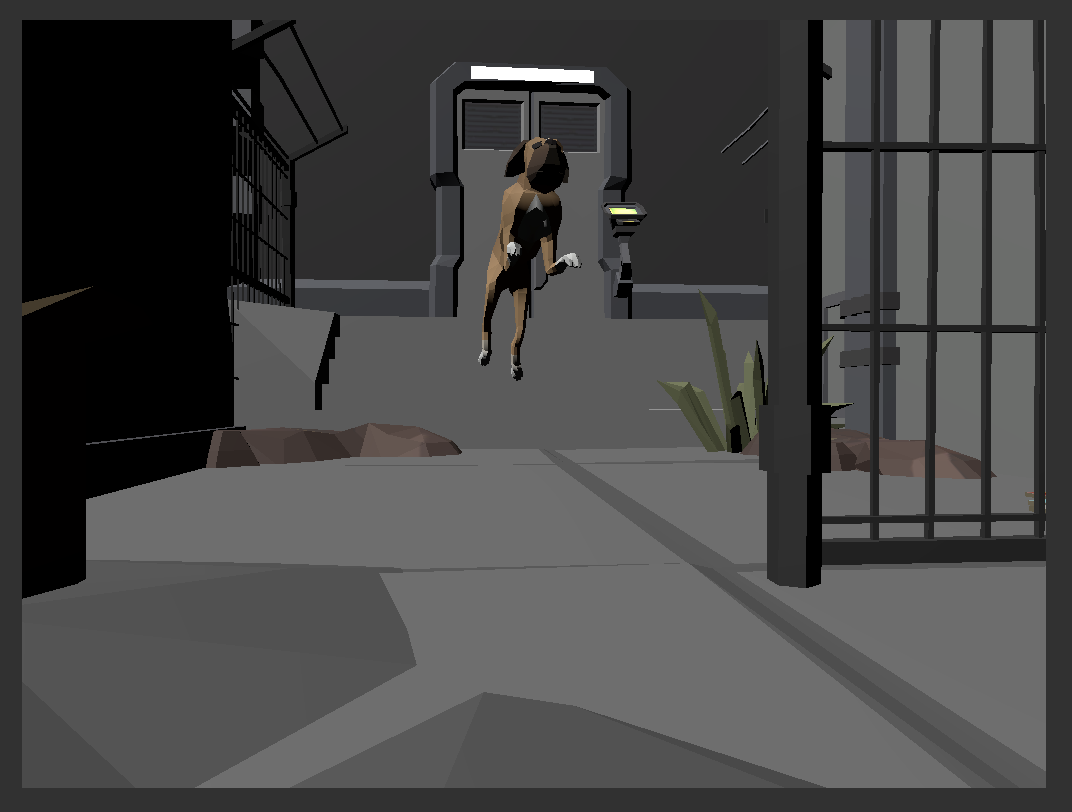
We want to hold this framing until Frame 333 - right as the dog begins to start running after the cat.
17. With the Virtual Camera selected, move the Playhead to Frame 333, then in the Inspector, Right Click and select ‘Add Key.’
Now the dog begins to chase the cat out of the alleyway. The action commences!
We want to pan the camera back so that we can capture the action. This final move will lead us out the current shot and into the next, so there is no need to hold any frames.
18. Move the playhead to Frame 356 - the end of the Virtual Camera clip, and drag the Virtual Camera backward along the z-axis until the camera exits the alley (Figure 11). Select the Record Button again to turn off the recording.
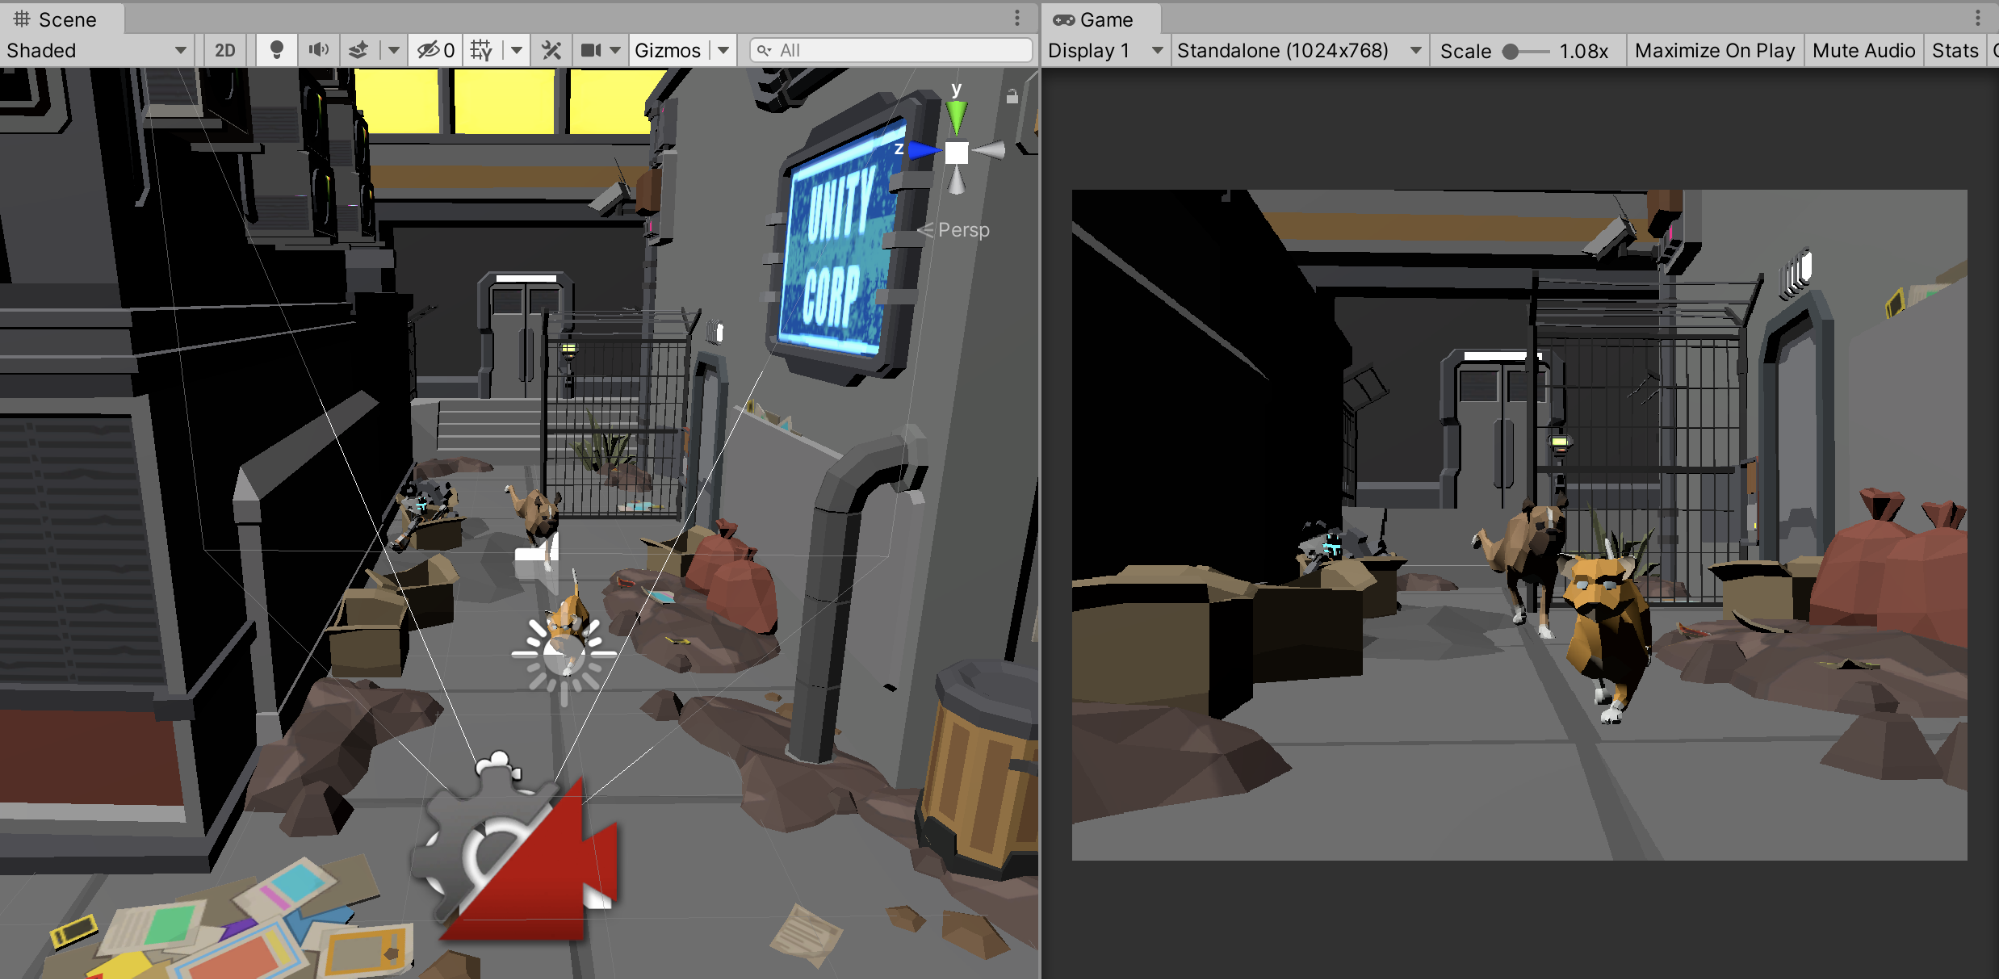
3. Animating the Third Shot
Our third Virtual Camera will be a direct continuation of the action from the second shot, but will cut away from the alley that the first two shots covered and onto the sidewalk.
1. From the top menu dropdown, navigate to Cinemachine > Create Virtual Camera. A third Virtual Camera named CM vcam3 will be added to your Scene.
2. Set the Virtual Camera's Focal Length to 35mm if it is not already.
3. Set the Playhead on the Timeline to Frame 357, then drag the CM vcam3 Virtual Camera onto the Main Camera (CinemachineBrain) Track in the Timeline. Next, let's shorten the Virtual Camera's length to Frame 420 (Figure 12).

When you now scrub through the Timeline, be aware that the Main Camera’s track will show the cuts from CM vcam1, to CM vcam2, to CM vcam3 in the Game Window.
4. Using the navigation techniques we learned in Lesson 5.2, adjust your Scene view so that we are just outside the alley and the 'Unity Corp' sign is visible in the upper left of the frame to re-orient viewers as to where we are (Figure 13).
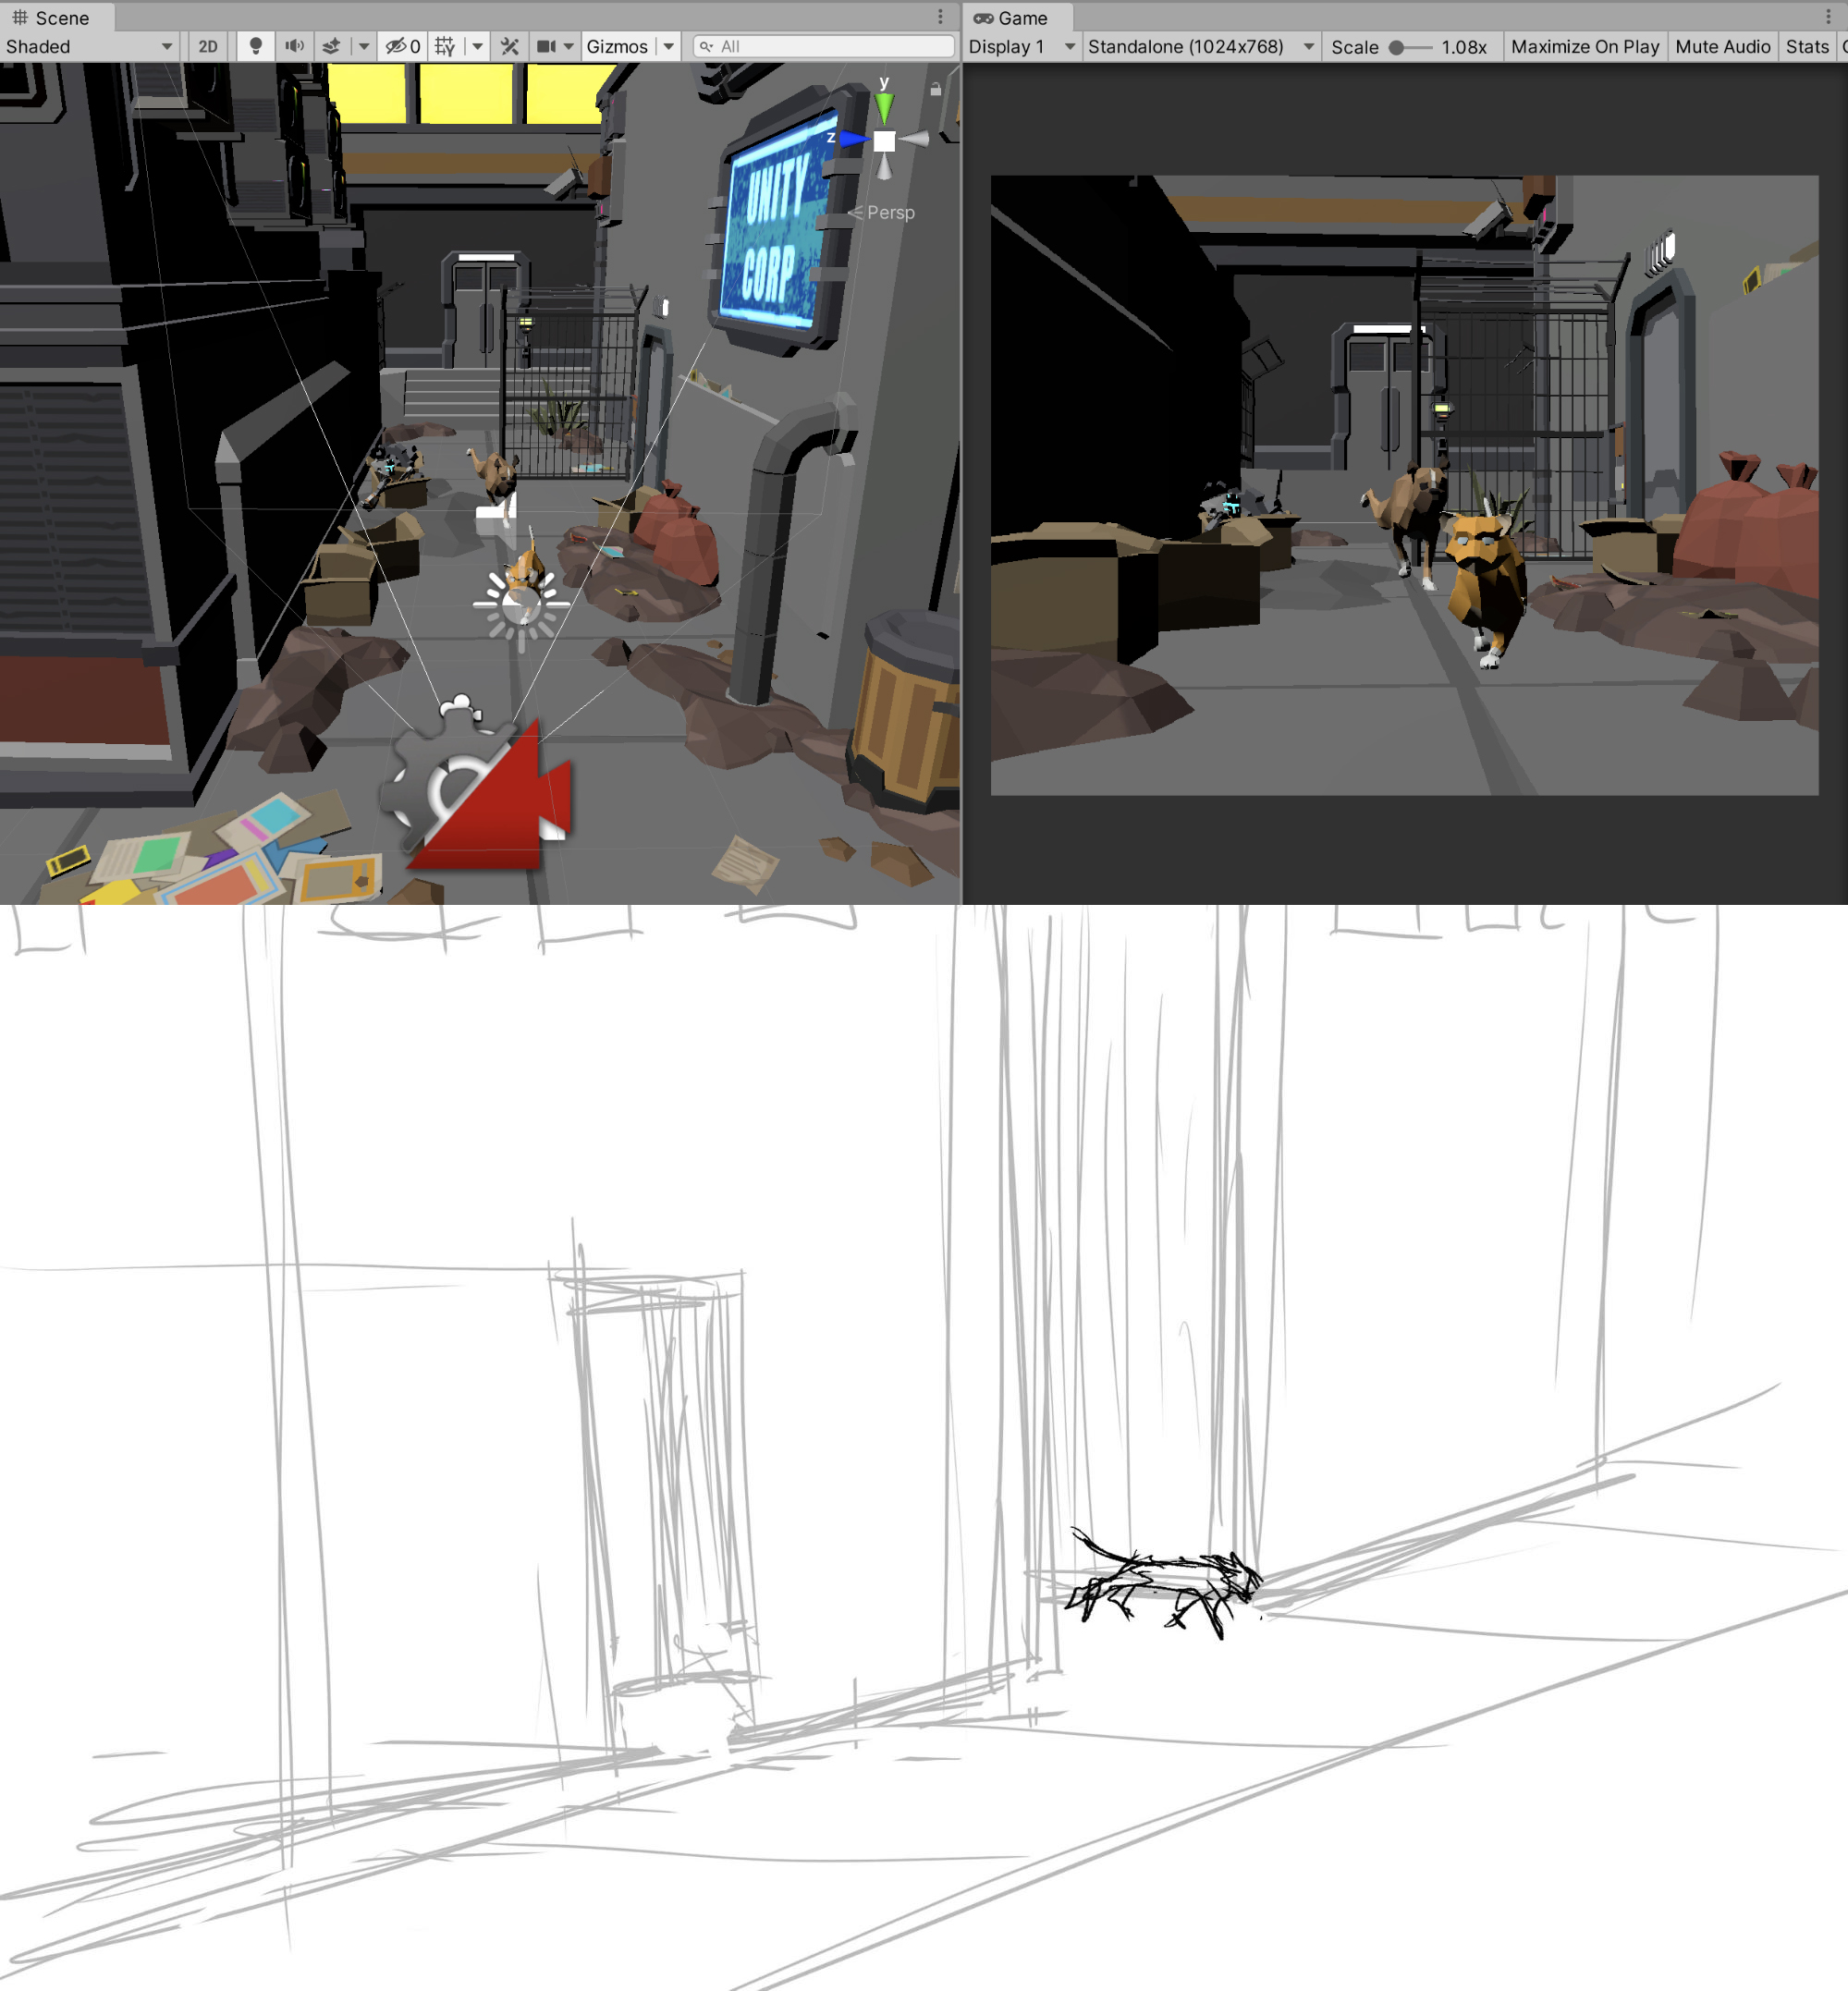
5. With the Virtual Camera selected, press the "framing" hotkey (Ctrl/Cmd + Shift + F) to frame the Virtual Camera to that view.
6. Select the Virtual Camera we just created in the Hierarchy Window.
7. Drag and Drop the Virtual Camera onto the left panel of the Timeline below the CM vcam2 Virtual Camera’s Track. When prompted, select 'Add Animation Track' from the context menu (Figure 14).

8. Set the Timeline's playhead to Frame 357, then press the red Record button on the Virtual Camera's Animation Track. In the Inspector, Right Click under the Transform component and select 'Add Key' to create our first keyframe.
Let's hold this framing until both the cat and the dog are in frame.
9. Move the playhead to Frame 376, then, with the Virtual Camera still selected, add a key in the Inspector.
The action in this shot is relatively simple, we just want to move the camera down the side of the sidewalk while keeping both characters in frame. To do this, we'll only need to add one additional key to the end of the Virtual Camera's Animation Clip.
10. In the Timeline, set the playhead to Frame 412. Drag the Virtual Camera backwards along the Global z-axis towards the orange windows until the 'Zubs' concession stand is visible on the left side of the frame
Be sure to switch the Transform Gizmo from Local to Global (Figure 15).
Notice how while the Virtual Camera's Animation Clip ends at Frame 420, we are placing the final keyframe at Frame 412. This will be explained when we learn about blending Virtual Camera's together.
11. Select the Record Button again to turn off the recording.
4. Animating the Fourth Shot
The fourth and final shot will continue on the sidewalk, but this time focuses on one of the pedestrians that we first animated in Unit 4. They'll probably look familiar to you:
1. From the top menu dropdown, navigate to Cinemachine > Create Virtual Camera. A fourth Virtual Camera named CM vcam4 will be added to your Scene.
2. Set the Virtual Camera's Focal Length to 35mm if it is not already.
3. Set the Playhead on the Timeline to Frame 420, then drag the Virtual Camera onto the Main Camera (CinemachineBrain) Track in the Timeline. Next, let's extend the Virtual Camera's length to Frame 540 if it is not already (Figure 16).

4. Using the navigation techniques we learned in Lesson 5.1, adjust your Scene view so that we frame the 'Zubs' concession stand in profile (framed flat on, and not at an angle), and that the cat enters the frame from screen right (Figure 17).
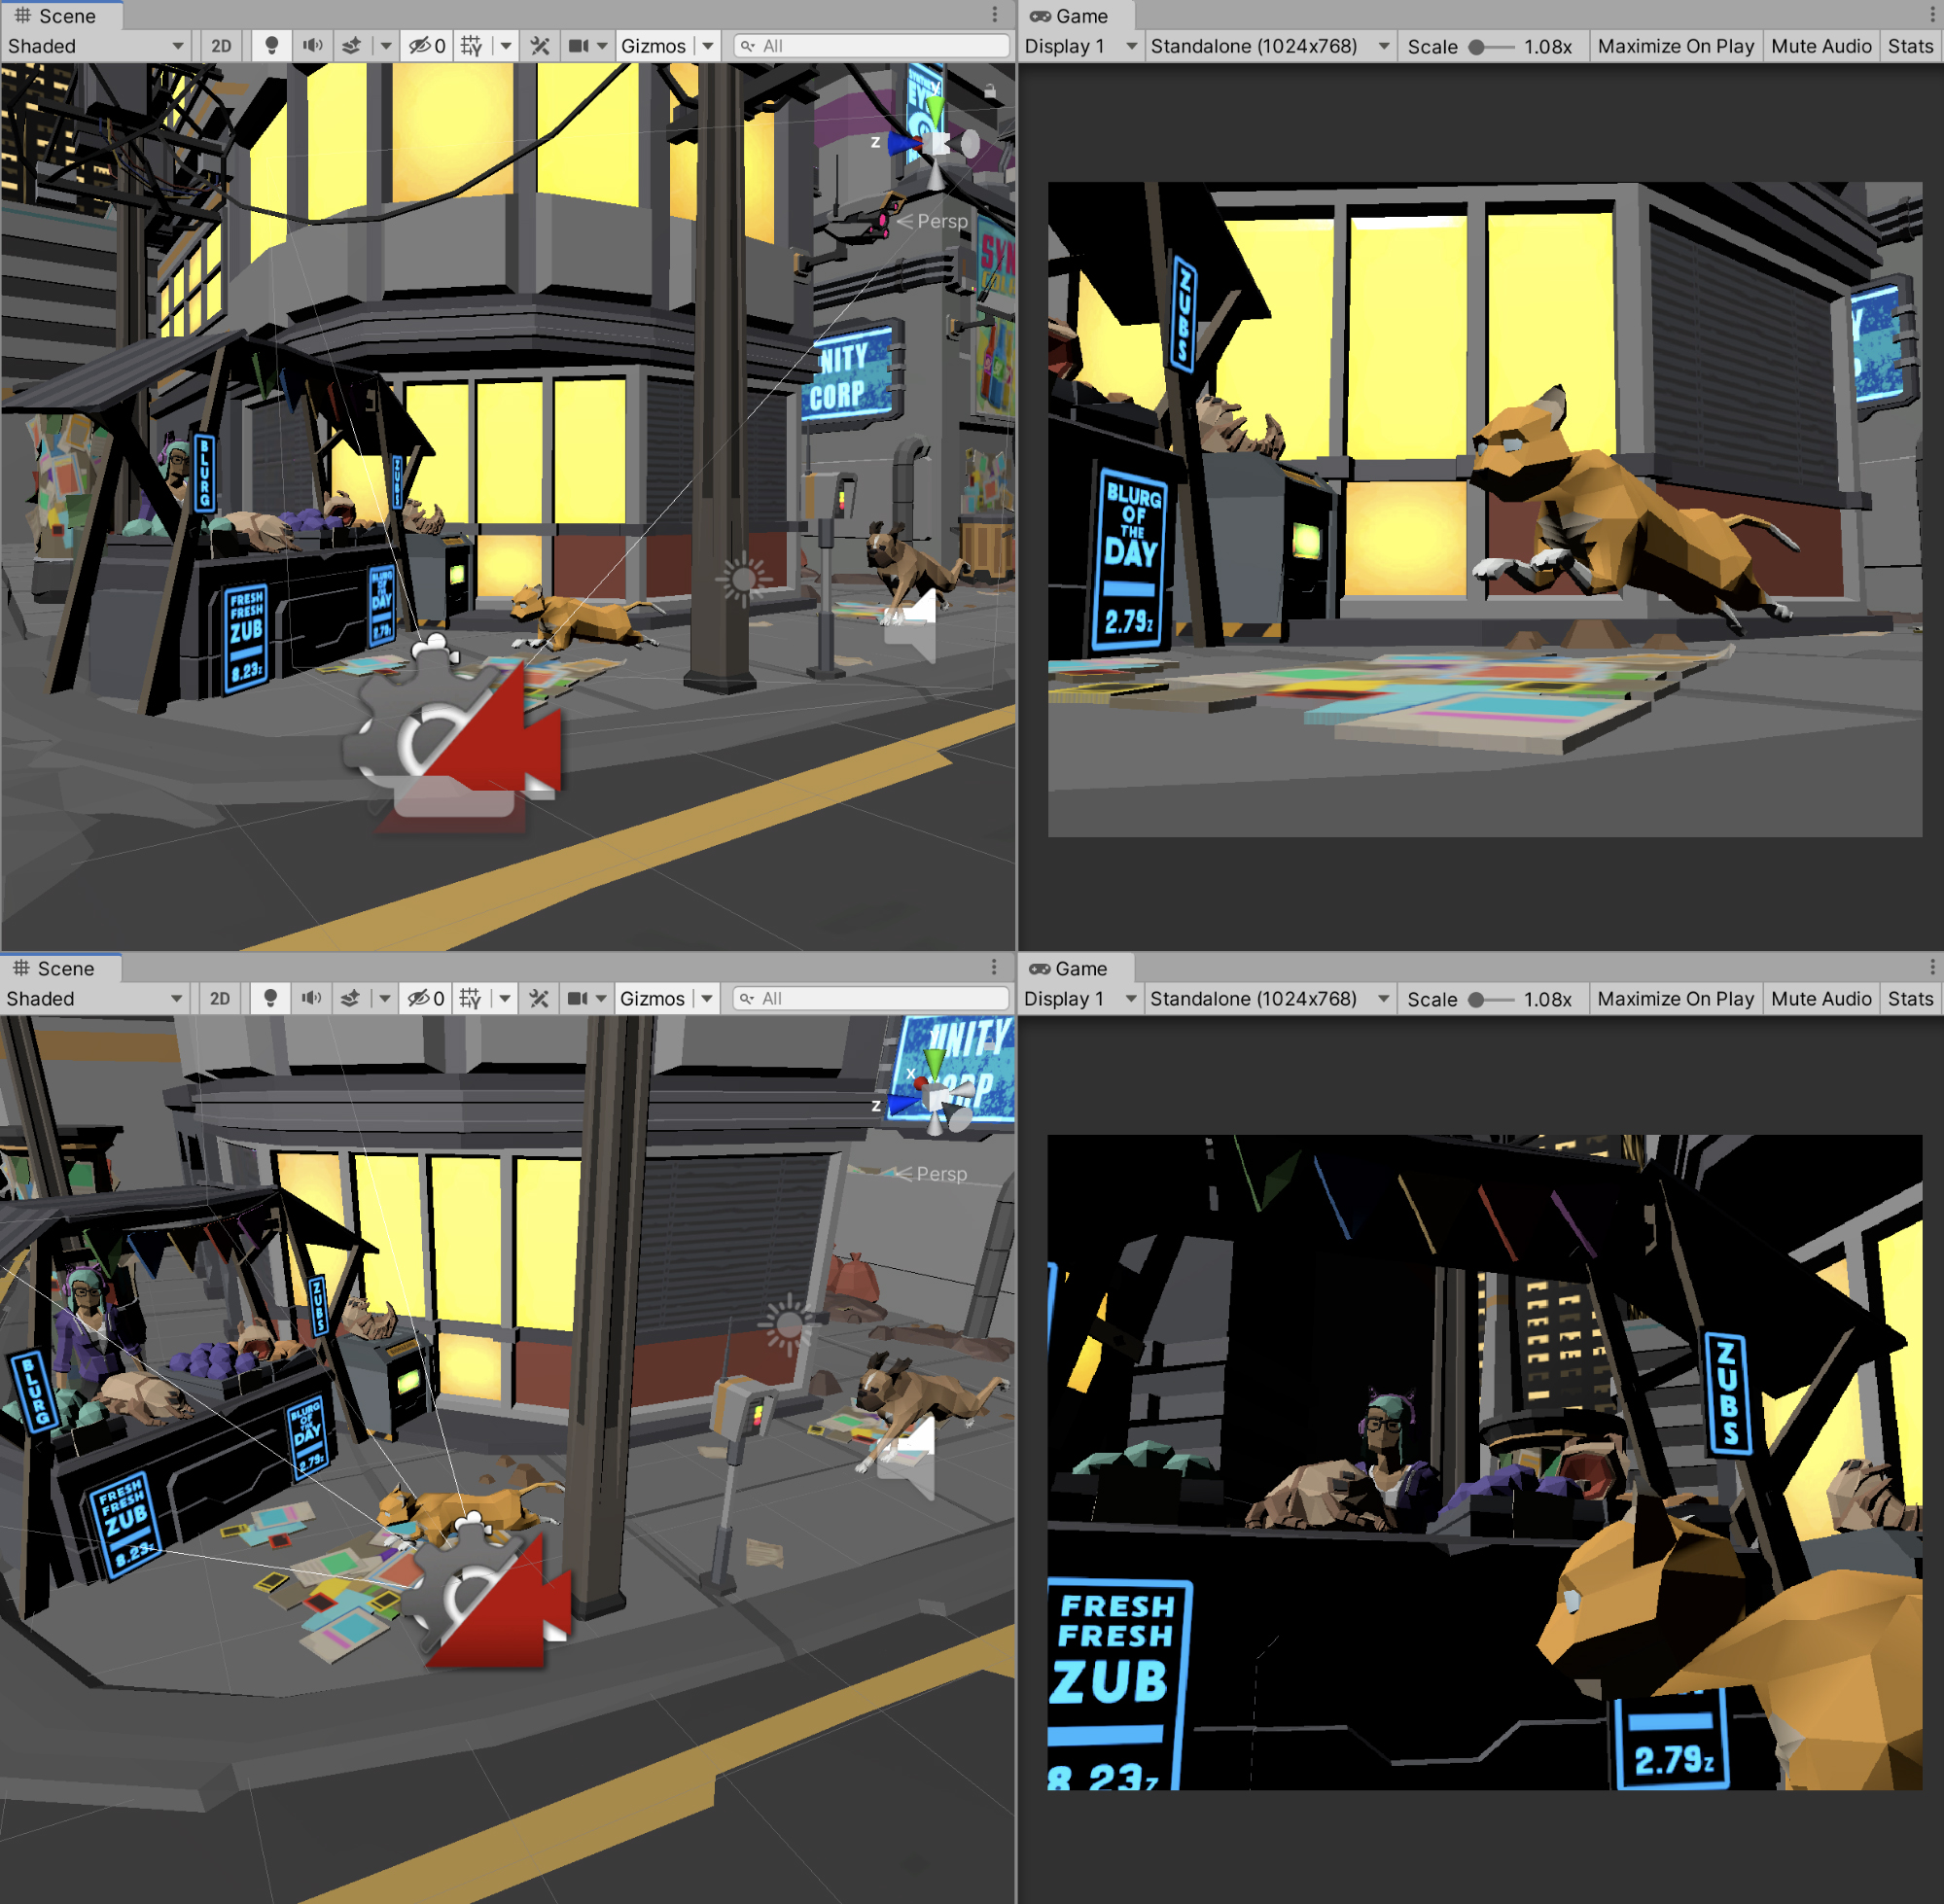
5. With the CM vcam4 Virtual Camera selected, press the "framing" hotkey (Ctrl/Cmd + Shift + F) to frame the Virtual Camera to that view.
6. Select the CM vcam4 Virtual Camera we just created in the Hierarchy Window.
7. Drag and Drop the Virtual Camera onto the left panel of the Timeline below the CM vcam3 Track. When prompted, select 'Add Animation Track' from the context menu (Figure 18).

8. Set the Timeline's playhead to Frame 420, then press the red Record button on the Virtual Camera's Animation Track. In the Inspector, Right Click under the Transform component and select 'Add Key' to create our first keyframe.
As there is no camera movement in this shot, we're done setting up our final Virtual Camera!
9. Select the Record Button to turn off the recording.
5. Blending Between Virtual Cameras
We placed the final keyframe before the Virtual Camera's Animation Clip ended. Usually, we cut to another shot when there is a change in setting, mood or direction of action. Notice how the shots between 3 and 4 are very similar to each other. It is possible to combine the two shots into a single cohesive shot. This is where the concept of blending Virtual Cameras comes in. Thankfully, it is similar to the concept of blending ordinary Animation Clips that we learned in Unit 4.
1. In the Cinemachine Track, zoom into the Timeline (by scaling down the horizontal scrollbar at the bottom of the Timeline) and move the final Virtual Camera clip backwards in the Timeline from Frame 420 to Frame 412 so that it overlaps with the third Virtual Camera (Figure 19).

When you scrub through the Timeline now, notice how Unity interpolates between the two shots, "figuring out" movement between the two separate shots so that they are now stitched together into one seamless shot.
If your goal is to create long continuous shots, it is best to break down the shot into several smaller ones, then blend between them at the right time. This is how many long-shots are actually in live-action sets. The blending however is completed in editing and post-production. How amazing is it that shots can be "filmed" and blended at the same time with Unity?
On the flipside, we should blend shots with caution. While choreographing a long shot is complex and oftentimes visually stunning, making the camera's movement unnecessarily complex can lead to audiences being distracted and confused, so it's best to blend shots sparingly.
6. Recap
With this knowledge you are now equipped with the basics on how to create your own cinematics in Unity. In the following Unit, we will add lighting to our scene and apply post-processing effects in the scene and on the virtual cameras.