Lesson 6.3 - Sharing your Projects (Adapted for Unity EdLab)
Tutorial
·
Beginner
·
+10XP
·
30 mins
·
Unity Technologies
Overview:
In this lesson, you will learn how to build your projects so that they’re playable outside of the Unity interface. First, you will install the necessary export modules to be able to publish your projects. After that, you will build your project as a standalone app to be played on Mac or PC computers. Finally, you will export your project for WebGL and even upload it to a game sharing site so that you can send it to your friends and family.
Project Outcome:
Your project will be exported and playable as a standalone app on Mac/PC or for embedding online.
Languages available:
1. Install export Modules
Before we can export our projects, we need to add the “Export Modules” that will allow us to export for particular platforms:
- Open Unity Hub and navigate to the Installs Tab
- On the Unity version you’ve been using in the course, select Add Modules.
- Select WebGL Build Support, and either Mac or Windows build support, then click Done and wait for the installation to complete.
2. Build your game for Mac or Windows
Now that we have the export modules installed, we can put them to use and export one of our projects:
- Open the project you would like to build (could be a prototype or your personal project)
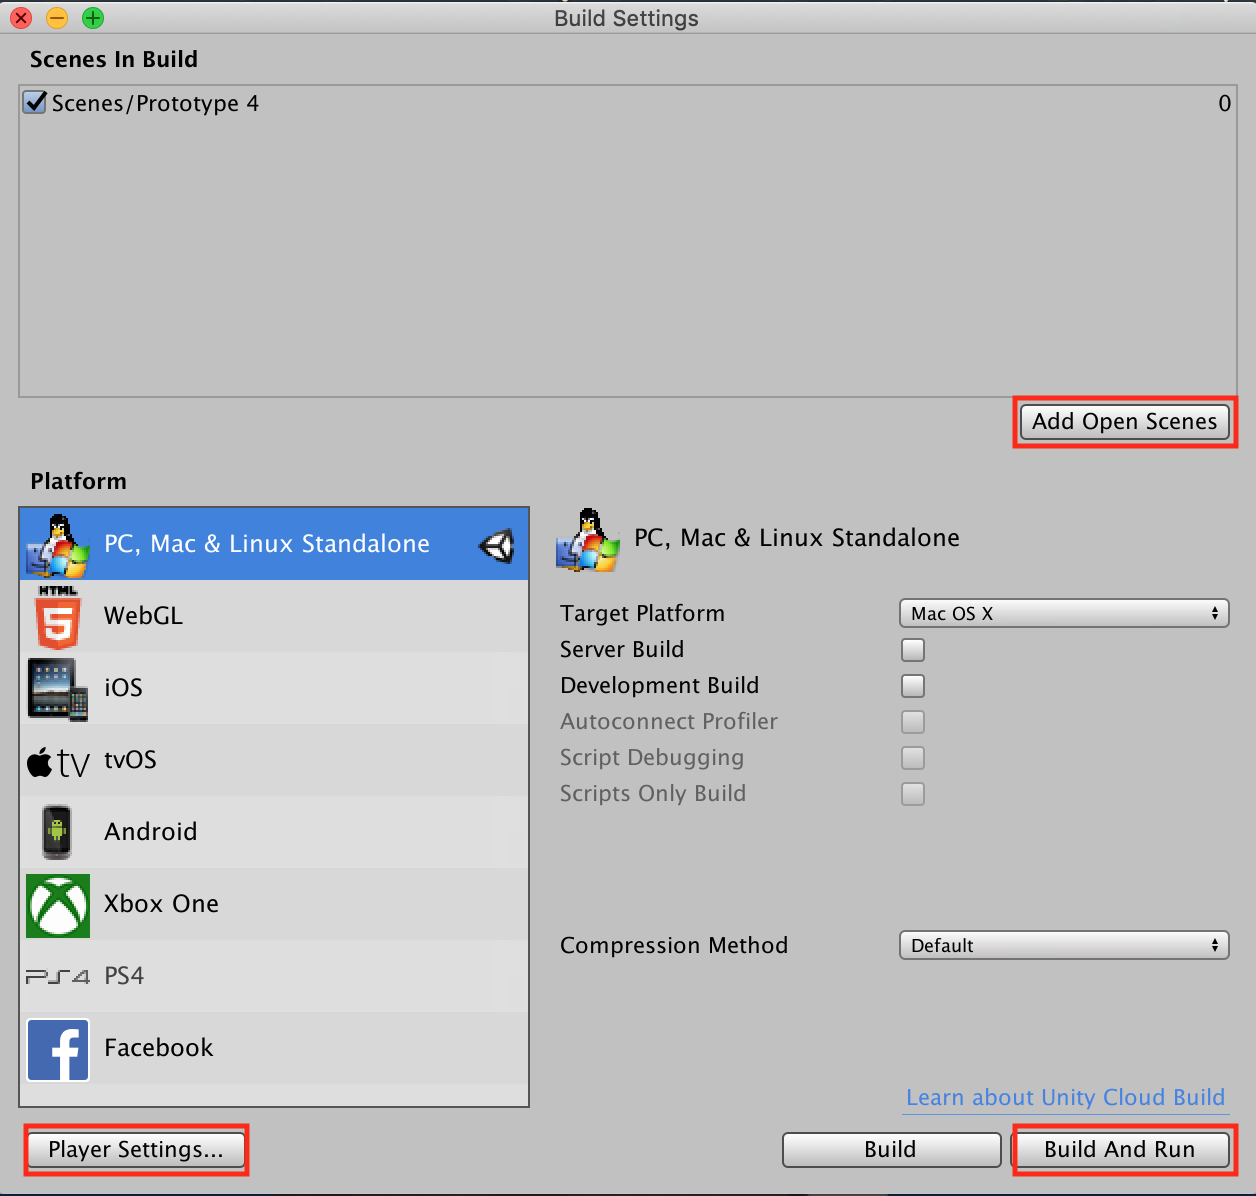
- In Unity, click File > Build Settings, then click Add Open Scenes to add your scene
- Click Player Settings and adjust any settings you want, including making it “Windowed”, “Resizable”, and whether or not you want to enable the “Display Resolution Dialog”.
For more information, check out the documentation on configuring player settings. - Click Build, name your project, and save it inside a new folder inside your Create with Code folder called “Builds”
- Play your game to test it out, then if you want, rebuild it with different settings
3. Build your game for WebGL
Since it is pretty hard to distribute your games on Mac or Windows, it’s a good idea to make your projects available online by building for WebGL:
- Reopen the Build Settings menu, select WebGL, then click Switch Platform.
Note: you will only be able to do this if you have installed the WebGL Build Support export module - Click Build, then save in your “Builds” folder with “ - WebGL” in the name
- Right-click on your WebGL build folder and Compress/Zip it into a .zip file
- Follow the "Sharing your work" tutorial to download the .zip file onto your computer
- Unzip the folder, then try clicking on index.html to run your project (you may have to try opening with different browsers)
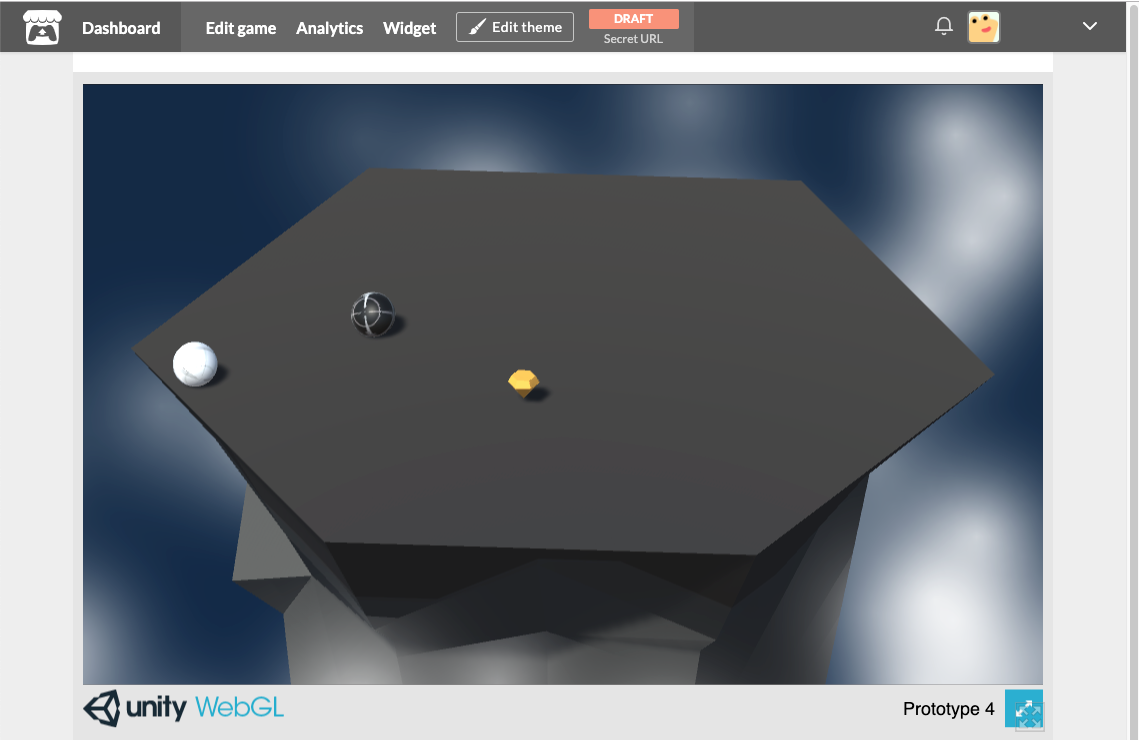
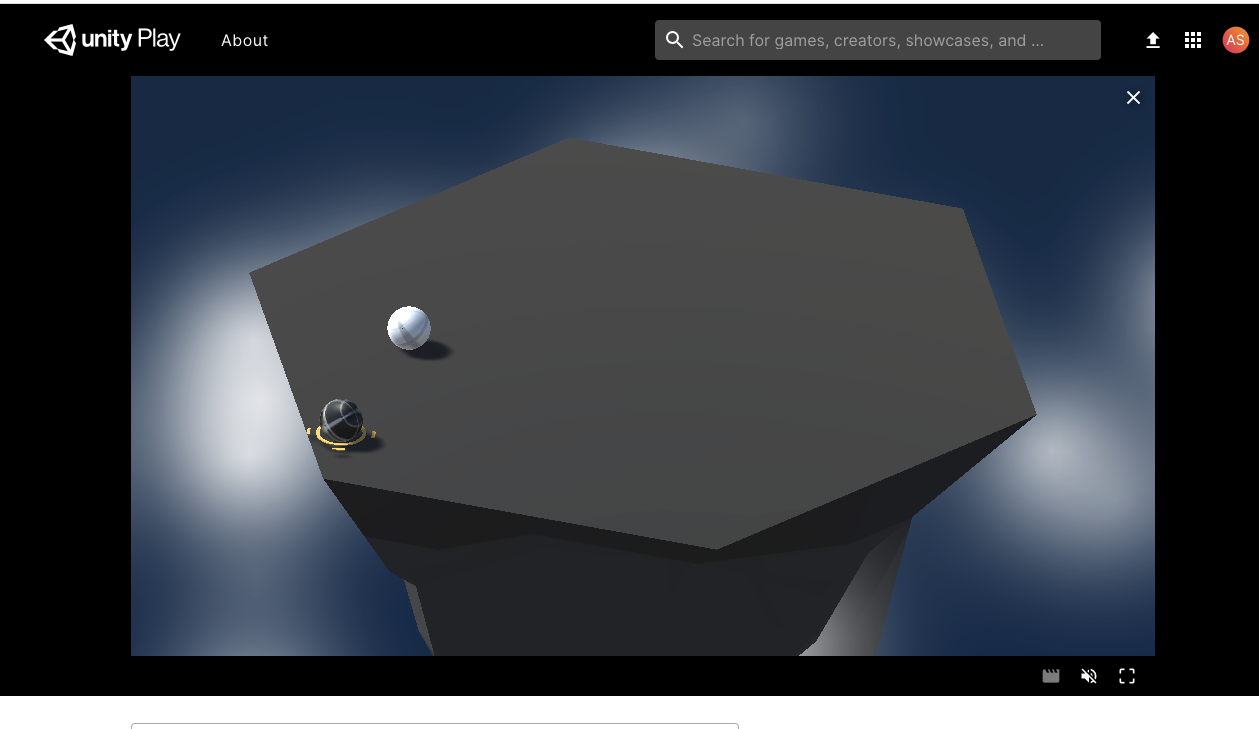
- If you want, upload it to a game sharing site like Unity Play or itch.io.
4. Lesson Recap
New Concepts and Skills
- Installing export modules
- Building for Mac/PC
- Building for WebGL/HTML