
Lesson 7.1 - Creating Visual Effects
Tutorial
Beginner
+10XP
90 mins
(144)
Unity Technologies
In this lesson, you’ll learn how to create a smoke particle effect using the Particle System, then you’ll learn how to create a spark effect using the VFX Graph. These tools have unlimited potential, but we’ll keep things simple.
Languages available:
1. Lesson Overview
2. Creating a Basic Particle Effect
Unity’s Particle System can be configured to create a range of effects, like smoke, sparks, fireflies, fog, fire, and bursts. The effect produces an emission of individual particles, or Sprites, that spawn (appear), repeat (or clone), and exist for a designated period of time. Learning how to use the Particle System will open up unique possibilities, as well as improve the quality of your visual effects.
1. Download Unit_7_StarterFiles here. Unzip the folder and move it to an organized location on your computer. Then add the project in the Unity Hub and open the Editor.
2. Make sure to open the Unit7 Scene from the Assets > Scenes project directory.
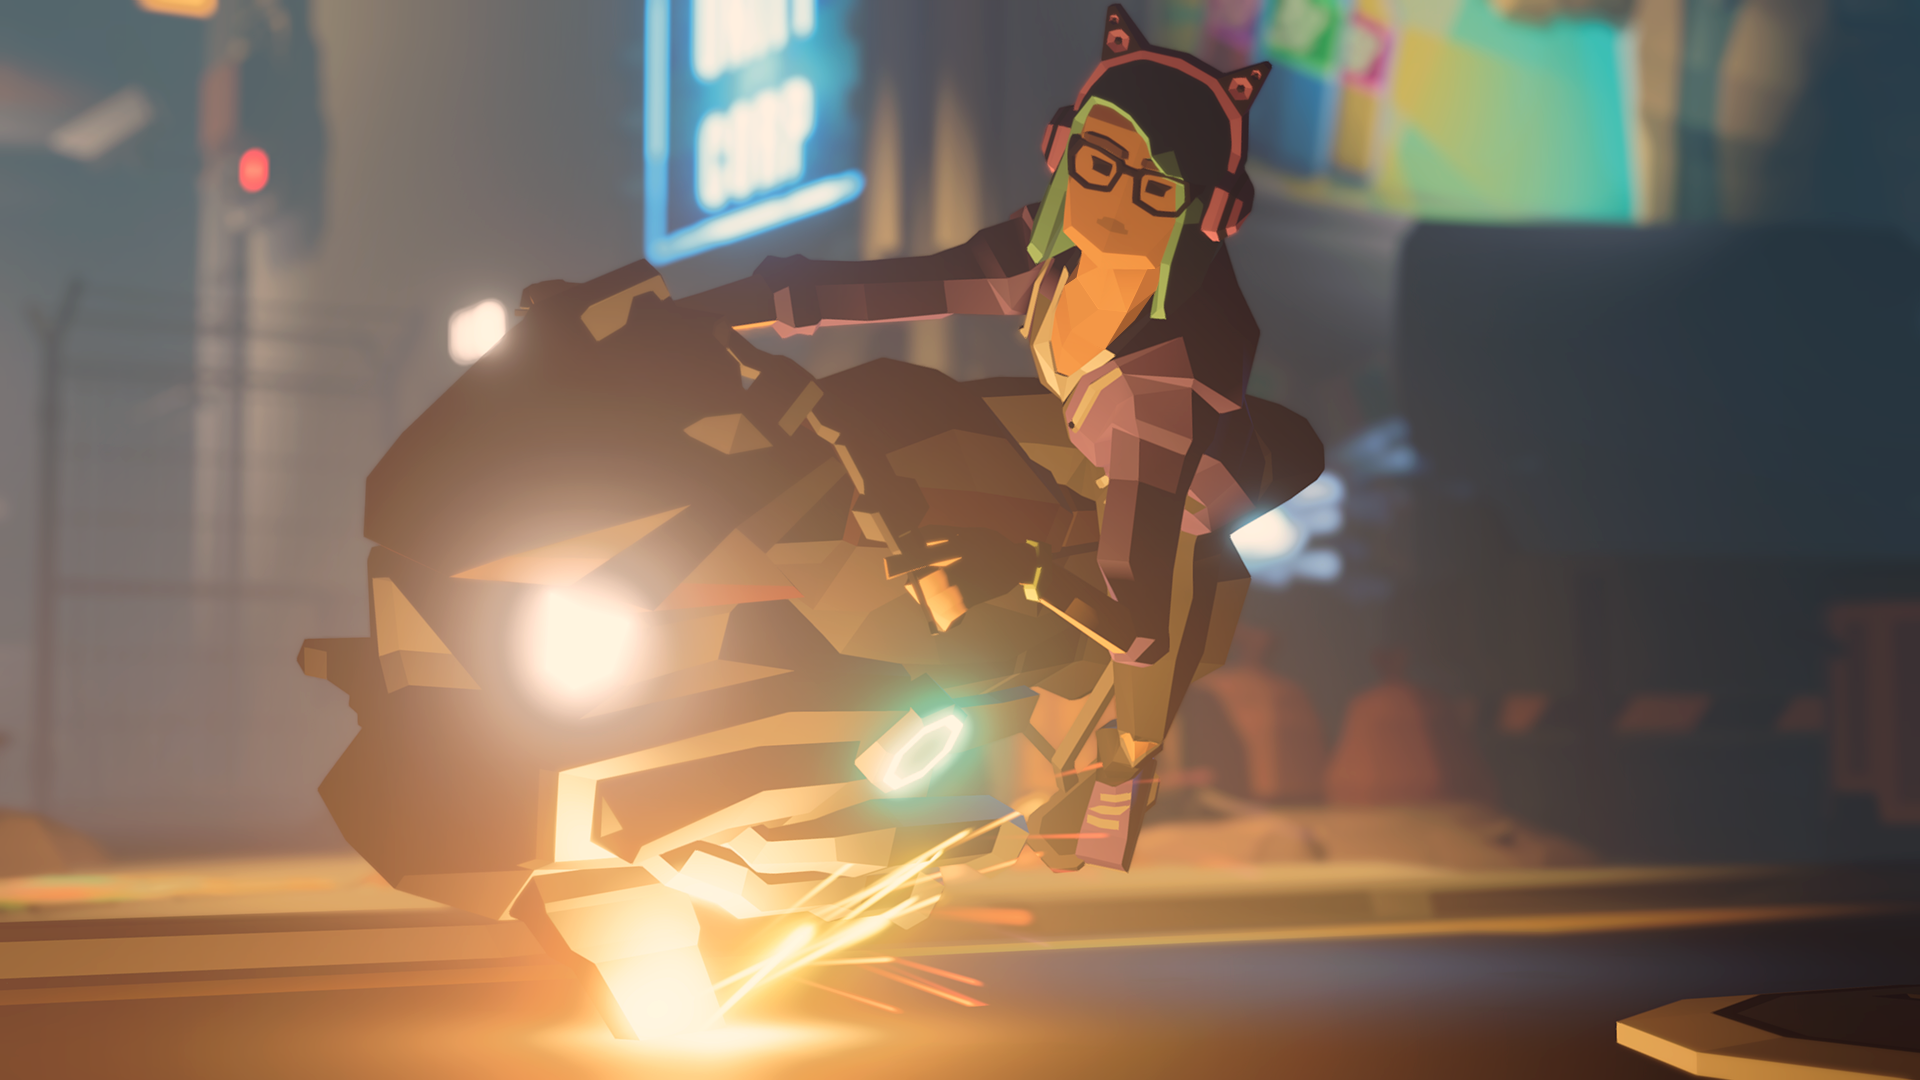
We’ll begin by creating a simple atmospheric smoke effect that features a smoky fog drifting along the ground horizontally.
As is now customary, orient your workspace Layout into tiled Scene and Game windows and establish the general location of where the Particle System will occur in the Scene view.
3. Select the Master Timeline in the Hierarchy, then click the lock icon in the upper-right corner of the Timeline window to lock its view. Position the Frame Playhead Cursor along the Timeline to preview the active camera’s view in the Game window. Place the cursor at Frame 378, when the dog and cat are running from the alley toward the street.
4. Create an empty GameObject by selecting GameObject > Create Empty. Rename it VFX. Select the Transform properties in the Inspector to change the X, Y, and Z Position coordinates to 0.
5. Create a new Particle System effect as a child of the VFX object, by right clicking on the VFX object, and selecting Effects > Particle System. You will now see the Particle System animated in the Scene window and the particles outlined in orange. Rename the newly created Particle System SmokeParticleSystem in the Hierarchy window and ensure the Transform properties of SmokeParticleSystem in the Inspector have the X, Y, and Z Position coordinates set to 0 (Figure 01).
6. You can change the Particle System’s properties by making adjustments in the Inspector window. To make this Particle System look more like smoke, reduce Start Lifetime to 4, Start Speed to 1, and increase Start Size to 10 (Figure 02).
Start Lifetime represents the lifetime of each particle in seconds. The particle will die when the seconds value reaches 0. Start Speed represents the speed of the particles when they start, applied in the starting direction. Start Size sets the size of each particle. Experiment by changing these and other values, as you’ll be able to preview the changes in real time.
7. We’ll continue to fine-tune our smoke effect by changing its color. Select Start Color and then select a light grey from the color picker (Figure 03).
Next, we’ll change the Shape properties. The Particle System enables the Cone shape by default. This produces emissions conforming to the volume of a cone’s geometry, as well as sets the particle’s start velocity. We’ll keep the Cone shape and further modify its properties to create a specialized smoke effect.
8. Click on the Shape checkbox to expand its properties. Reduce the Angle value to 6.6 to narrow the spread of the cone’s geometric shape. Set the Radius to 0.7 to change the size of the cone. To control the thickness of the cone’s volume, set the Radius Thickness to 0.06. Set the Arc to 180, such that the smoke effect appears to broadly spread out. (Figure 04).
9. Next, we’ll control the color of each particle during its lifetime. Select the checkbox to enable Color over Lifetime (Figure 05), click the panel to expand its properties, then select the Color field to open the Gradient Editor.
10. In the Gradient Editor, keep Mode set to Blend and drag the top-left Alpha marker to the right, setting its Location to around 80 percent. This will shorten the length of the gradient. Reduce the marker’s Alpha property, by entering a value, or dragging the slider to the left, lowering its transparency (Alpha) to around 18 (Figure 06).
11. Keeping the top-right Alpha marker’s Location set to 100%, reduce its Alpha property to 0 (Figure 07). Close the Gradient Editor. You will see that the smoke effect now has a transparent quality, and instead of suddenly disappearing at the end of their lifetime, the particles now fade out smoothly.
12. Next, enable Size over Lifetime and click the panel to expand its properties (Figure 08). You could edit the rate at which the size changes over time by clicking on the graph, but the default setting will work well for our smoke.
13. Lastly, we’ll move and rotate the SmokeParticleSystem GameObject to position the smoke effect in the Scene. Let’s place the smoke effect at the entrance to the alley. Set its Position coordinates to: X = -5, Y = -1, and Z = -3. To have the smoke appear to travel horizontally as if drifting downwind, set the Rotation of the GameObject’s X axis to 0, and its Y axis to 32 (Figure 09).
14. With the SmokeParticleSystem GameObject selected in the Hierarchy, the Play Controls window will appear in the lower-right corner of the Scene window. Select to Pause, Restart, Stop, or change the Playback Speed of the Particle System (Figure 10).
3. Installing the Visual Effect Graph Package
The Visual Effect Graph Package is a “node-based” effects editor, which means you can quickly modify Particle System values using a view that resembles a graphical organizer and flowchart. It allows you to create next-generation visual effects that Unity simulates directly to your machine’s graphics processor. This allows you to create, revise, combine, and iterate stunning visual effects in real time.
You’ll need to install the Visual Effect Graph Package for this lesson.
1. From the Editor’s top menu drop-down, select Window > Package Manager.
2. Search for and select Visual Effect Graph, then click Install (Figure 11).
3. Close the Package Manager once the Install button changes to Up to date.
4. Setting Up the Visual Effect Graph
For the Visual Effect Graph to operate, we must first create a VFX Asset. With the Project window open, create a new folder and name it VFX.
1. Select the VFX folder in the Project window and create a new VFX Asset by right-clicking and selecting Create > Visual Effects > Visual Effect Graph.
2. Rename the new VFX Asset Sparks (Figure 12).
5. Creating a Simple Sparks Effect Using the VFX
1. Position the Frame Playhead Cursor to Frame 270 in the Timeline so we can frame the spark effect to occur behind the cat.
2. Open the Sparks VFX Asset by selecting Open in the Inspector with the Sparks asset selected, or by double-clicking the Asset itself in the Project window. This will open up the Visual Effects Graph Editor. Tile this window next to the Scene window in your workspace Layout. Make sure the window is initially set to a large size so you can orient yourself to the interface more easily.
3. Orient yourself to the nodes. They may be obstructed from view, behind the grey box labelled Sparks VFX Graph in the Graph window. If this is the case, first make sure the Graphs window is large enough. Next, zoom out your view within the window by using the mouse wheel. Lastly, hold down the Option on Mac or Alt on Windows keys while dragging an empty area with the left mouse button to reveal the graph’s three default nodes (Figure 13). Alternatively, click and drag the middle mouse button/scroll wheel to move your view. You may also click and drag the grey Sparks box to move it out of the way.
You’re able to see both the Scene and Graph windows, oriented to begin working with the VFX Graphs (Figure 14).
We will delete the default arrangement of nodes and create new nodes.
4. Select all of the nodes by dragging a box around the entire group to highlight them. Right-click in the empty space next to the graph and select Delete.
5. Right-click in an empty space within the VFX Graph window and select Create Node. Next, from the menu, select System > Simple Heads & Sparks System (Figure 15).
You will now see the Simple Heads & Sparks System with a custom node arrangement in the VFX Graph window (Figure 16).
6. Now add the Sparks VFX Asset into your Scene by selecting the Sparks VFX Asset in the Project window and dragging it onto the VFX GameObject in the Hierarchy window (Figure 17).
7. Experiment with the VFX Graph values by making adjustments to the properties and previewing the effect in real time. At your own pace, play around with the values and familiarize yourself with the following nodes:
a. The Spawn node sets how many particles are created and when they begin.
b. The Initialize Particle node allows you to change starting behaviors of a particle, including how many particles will exist, their initial velocities, and how long they will last.
c. The Update Particle node controls behaviors and properties of a particle’s existence over time, including movement and color change.
d. The Output Particle Quad node controls rendering properties, such as the type of particle used, its direction, color, and shader.
In our project, the Sparks VFX Graph settings for the Initialize Particle node is changed to cause the sparks to fall downward and to shorten the life of each particle.
8. In the Initialize Particle node, reduce the Capacity to 2 to turn down the intensity of the effect. In the Set Velocity Random (per Component) section, change the Y values to -1 for A, -2 for B to cause the particles to travel downward. In the Set Lifetime Random (Uniform) node, set A=1 and B=2 to shorten the particle’s lifespan (Figure 18).
9. In the Trigger Event Rate (Over Time) settings of the Update Particle node, reduce the number of drawn particles by setting the Rate to 10 (Figure 19).
10. Modify the color of the sparks by selecting the Color field in the Output Particle Quad node, located at the bottom right of the Graph’s flowchart (Figure 20).
11. Select the second marker (shown below in light blue) (Figure 21). Next, select the HDR Color field (Figure 22) to open the HDR Color window (Figure 23).
12. Select a red shade and close the Color picker. The Gradient Editor will now show the changes for the selected color marker (Figure 24)
13. Continue to change the colors for the first and third markers along the bottom row by selecting them individually, selecting the HDR Color field, and then selecting yellow and orange shades from the color picker. The Gradient Editor will now show the changes for those color markers (Figure 25)
14. Adjust the top row markers to make the gradient more transparent. First, select the second top row marker and lower its Alpha value to 146 (Figure 26). This will cause the spark to start out with a yellow-white transparent color, then change to red and yellow, and then fade being transparent again.
15. Select the Sparks GameObject in the Hierarchy. To make the sparks look like they’re coming out of the light above the alley door, set the Position coordinates to X=3.2, Y=2.9, and Z=-1.9 (Figure 27).
16. With the VFX Sparks GameObject selected in the Hierarchy, the Particle System’s Play Controls window will appear at the lower-right corner of the Scene window. Select to play or pause, increase the Rate, or Stop the Particle System (Figure 28).
6. Recap
You’re now able to create complex, compelling particle effects. VFX Graphs provides an intuitive approach to designing visual special effects via its node-based editor. It also allows you to preview particle behavior in real-time. You now have the ability to produce dynamic, highly configured particle animations.
Make sure you close the Visual Effects Graph window in your Editor for the next lesson as it recompiles the effect every time Play Mode is entered which takes some time to perform.