Manage materials in a project
Tutorial
Beginner
+10XP
25 mins
430
Unity Technologies
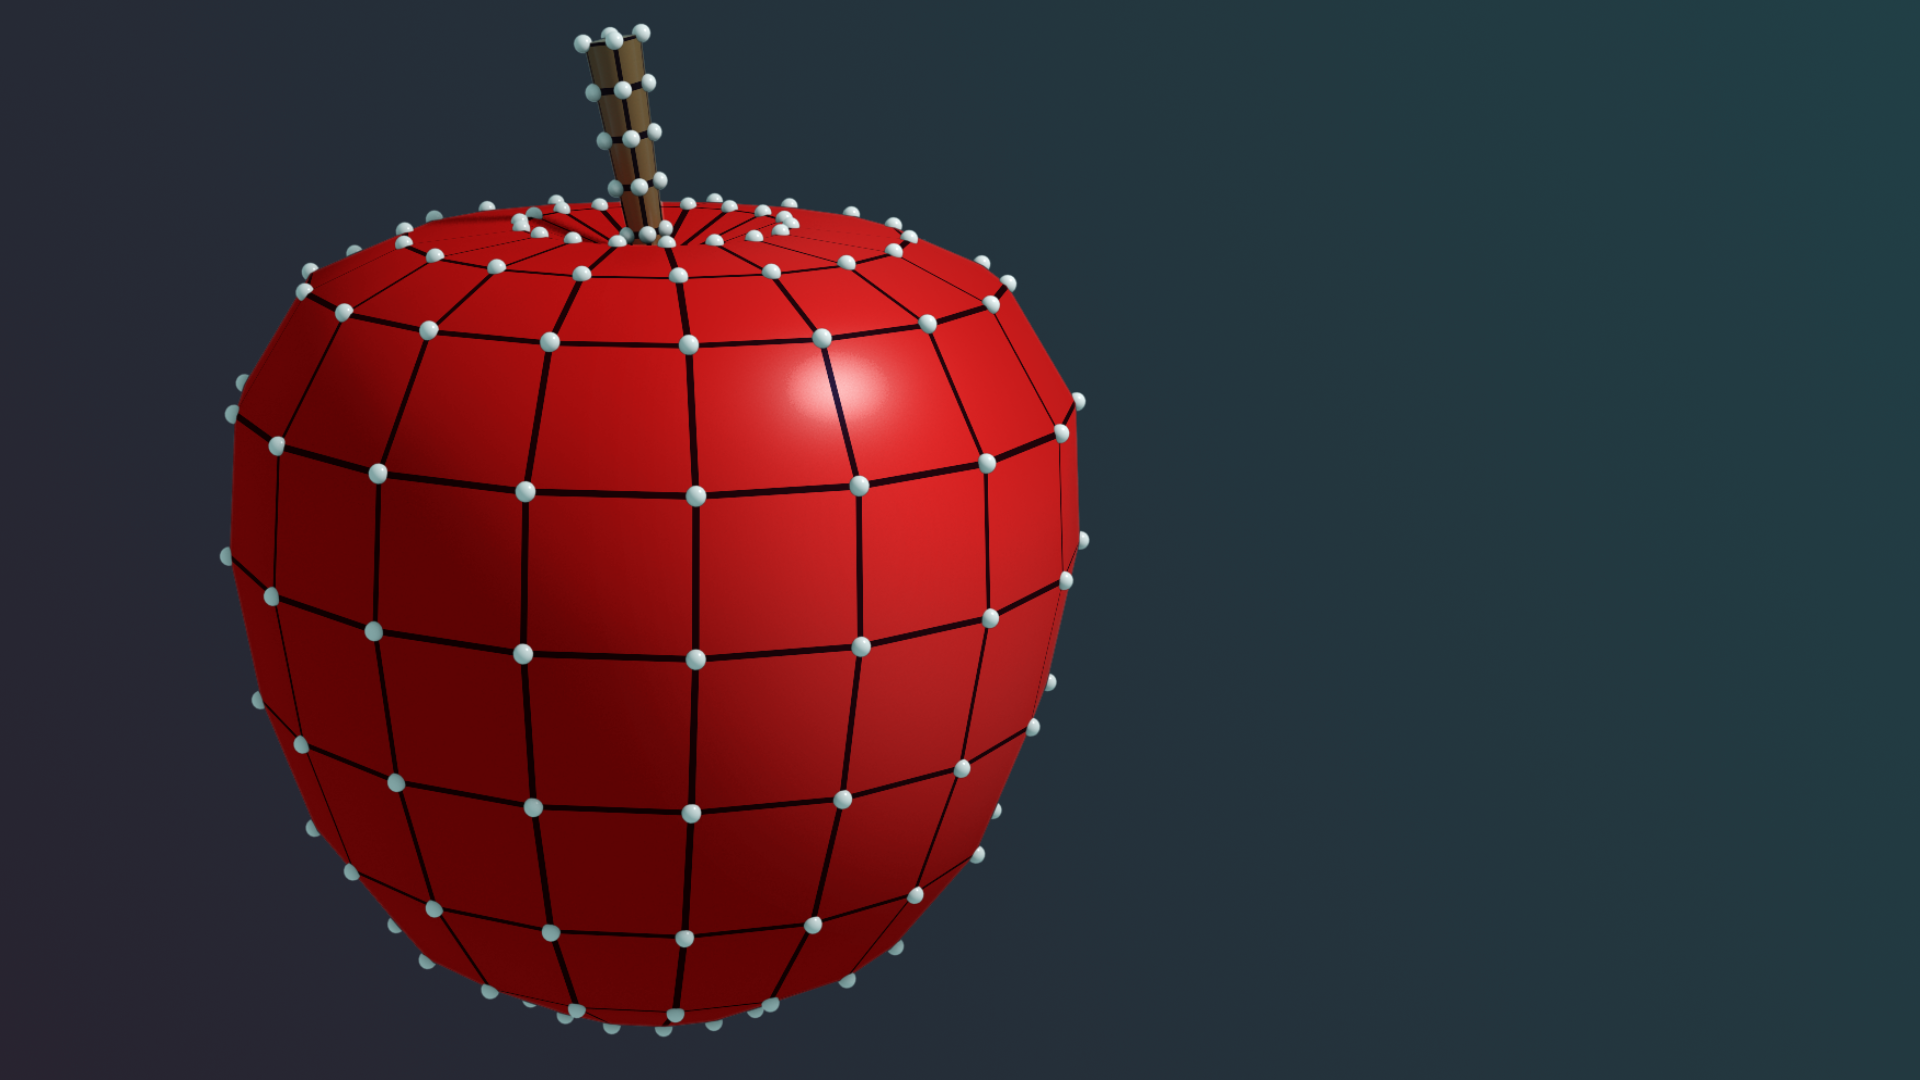
You will do much of your more artistic work using materials to color, texture, and stylize your 3D objects. In this tutorial, you’ll learn how materials work, and how to use, troubleshoot, and organize them in your projects.
By the end of this tutorial, you'll be able to:
- Define material
- Create a new material
- Assign a material to a GameObject
- Manage materials as project assets
- Fix broken (magenta) materials
Materials
Languages available:
1. Overview
Although shaders are a crucial part of the rendering process, you’ll use materials to do much of your creating. Materials are assets (stored with your project and managed in the Project folder) that contain the colors, images, and other properties that define the appearance of a mesh.
In this tutorial, as you begin creating with materials, you’ll learn how to manage them in your projects. Good management of your material assets will ensure that you always get the results you expect and your project stays organized. Along the way, you’ll begin creating your still life composition.
2. What is the relationship between shaders and materials?
Shaders can be very specific or quite versatile. A shader can set the color of GameObjects or it can allow color to be configurable by materials. In fact, one shader can make many objects look like entirely different substances, while still giving a scene a unified look.
In our gallery, everything you see uses the URP/Lit shader! What makes each of these GameObjects look different are the properties provided by the materials to the shader, including color and smoothness.
Shaders and materials work together as a team — the shader defines what a surface can look like, while the material defines what it does look like.
3. Fix magenta materials
There is a problem on your workbench that needs attention: some bright magenta objects. These objects weren’t designed to be this color — the magenta (pink) color indicates an error that needs fixing.
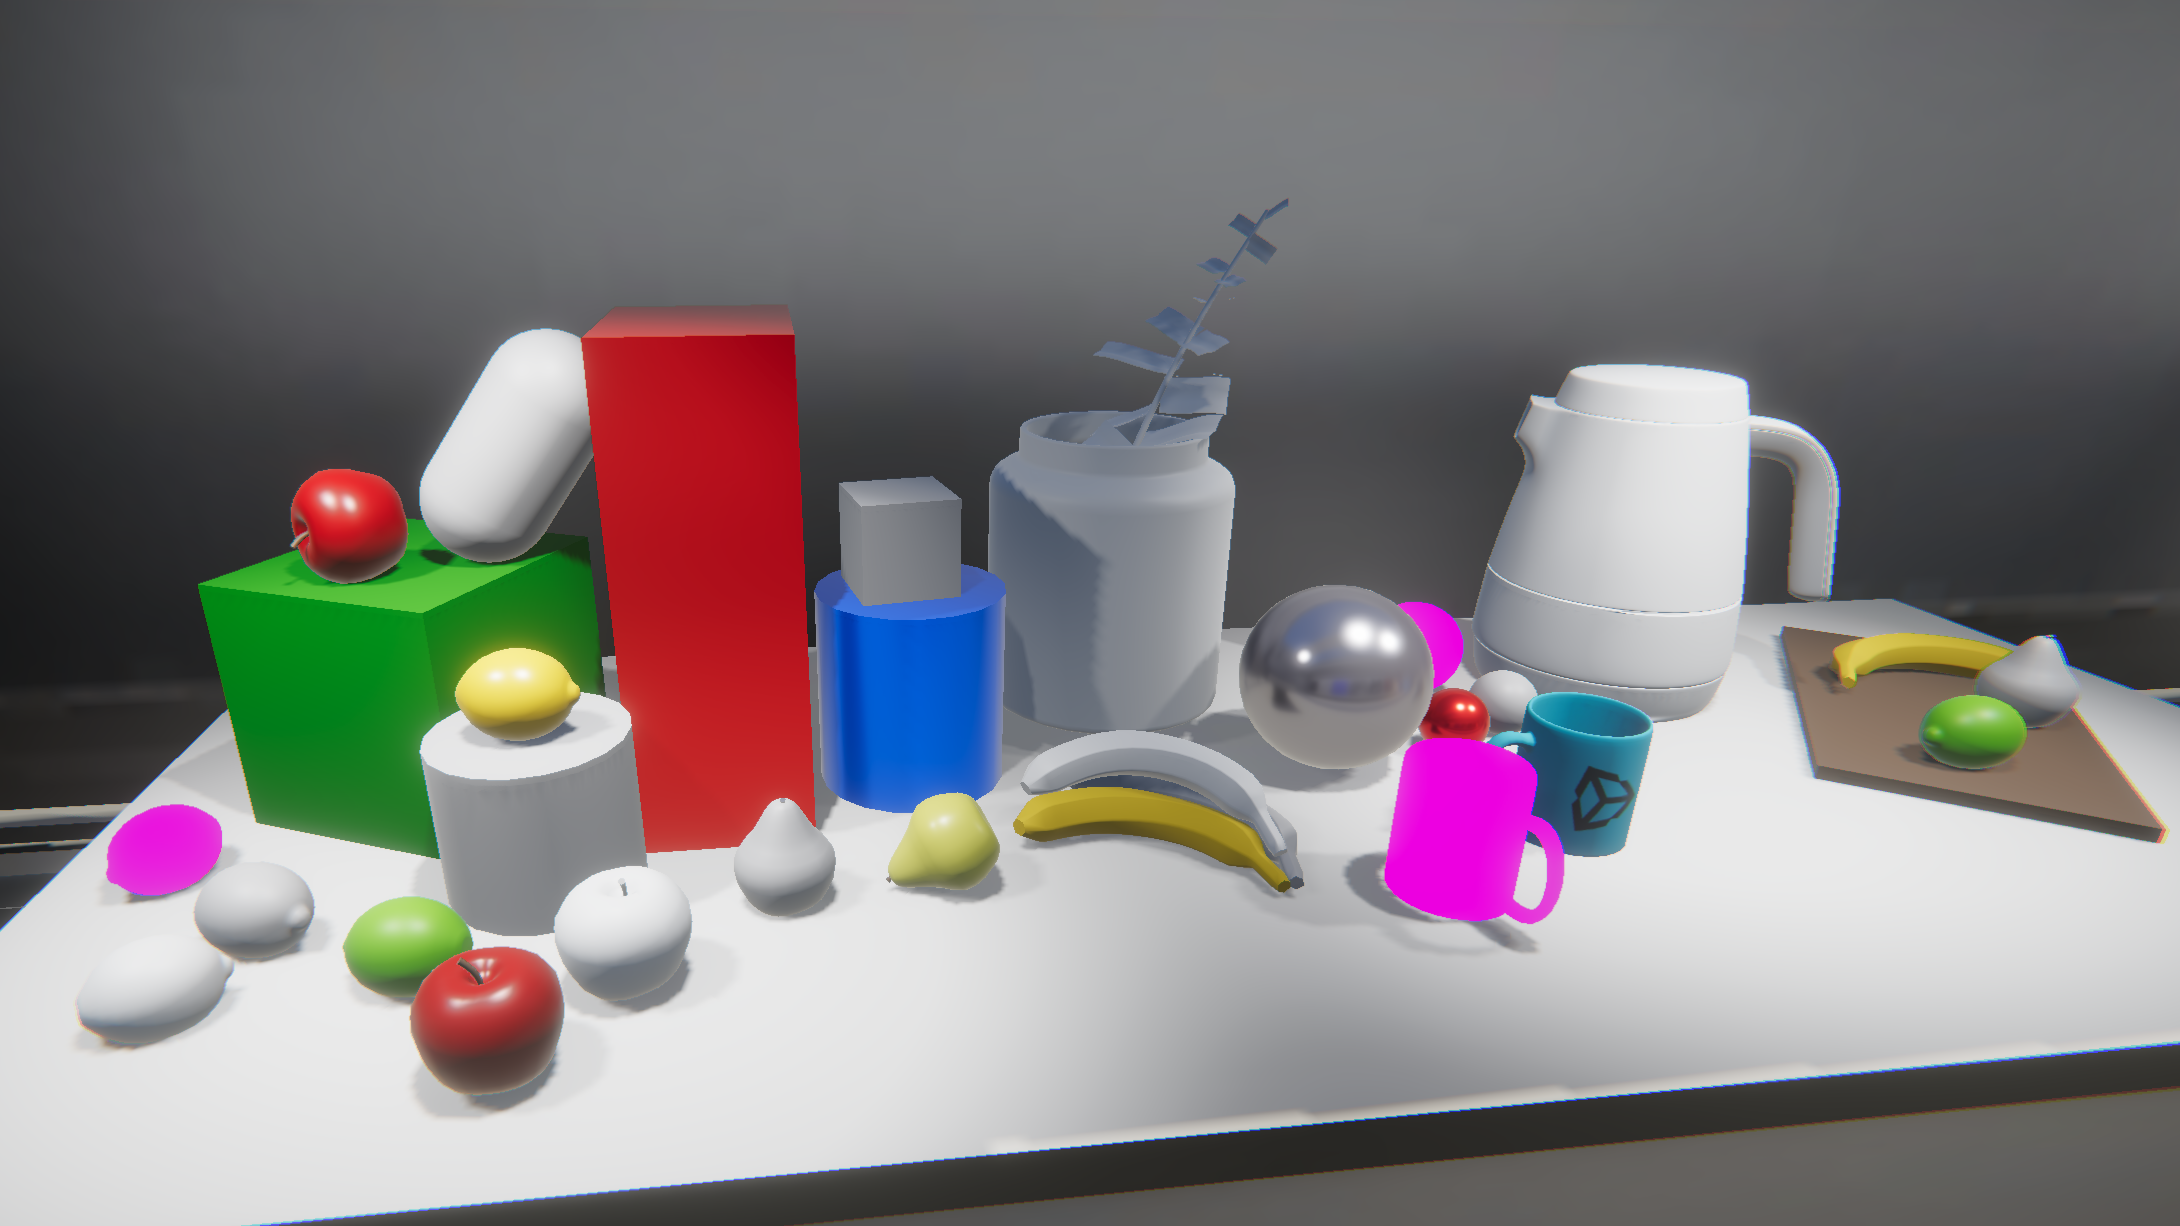
Each material is written specifically for a certain shader. It’s common practice to import assets from one project into another, but sometimes the render pipelines of those projects don’t match and therefore neither do the shaders. When a material has a shader that is mismatched to the current render pipeline, it is bright magenta (pink) to alert you.
Fix the lemon:
1. In the Scene view, select the bright magenta lemon.
2. In the Inspector, examine its material. Its shader is set to Standard. When you see Standard as the name of a shader in Unity, it is likely to be the Standard Shader for the Built-in Render Pipeline, which won’t work in the Universal Render Pipeline. We need to change this to a URP shader.
3. From the Shader dropdown, select Universal Render Pipeline > Lit. The lemon looks right!
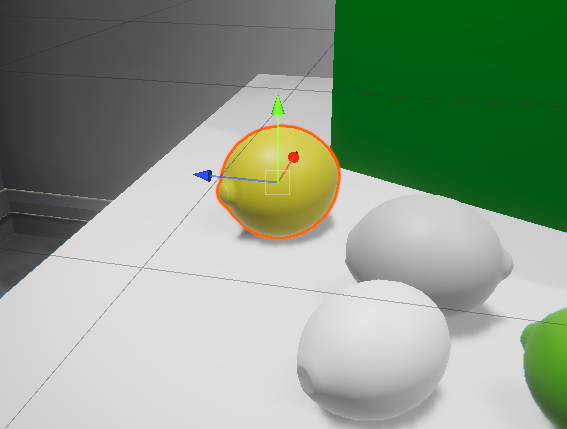
The broken material is now fixed — but not all broken materials are this easy to fix. In this case, the material was easy to convert because the material properties of the two shaders are similar. In other cases, you might encounter material properties with very different names, or different properties altogether, and you will have to reset them manually.
Automatic material upgrade for URP
A few other materials in this project are also broken so that we can demonstrate URP’s built-in tool to convert broken materials. You can view these materials in the Project window, in the Assets > CreativeCore_Shaders > Materials > Standard folder.
Follow these instructions to upgrade all materials in a project:
1. From the main menu, navigate to Window > Rendering > Render Pipeline Converter to open the Render Pipeline Converter window. This window allows you to update several types of assets to the latest URP standards.
2. Near the top of the window is a dropdown menu that reads Built-in to URP by default. Make sure it is set to this option.
3. Scroll down to find the Material Upgrade section of the window, and enable that section.
4. Select Initialize Converters at the bottom of the window. The list of materials to be upgraded will appear in the Material Upgrade section.
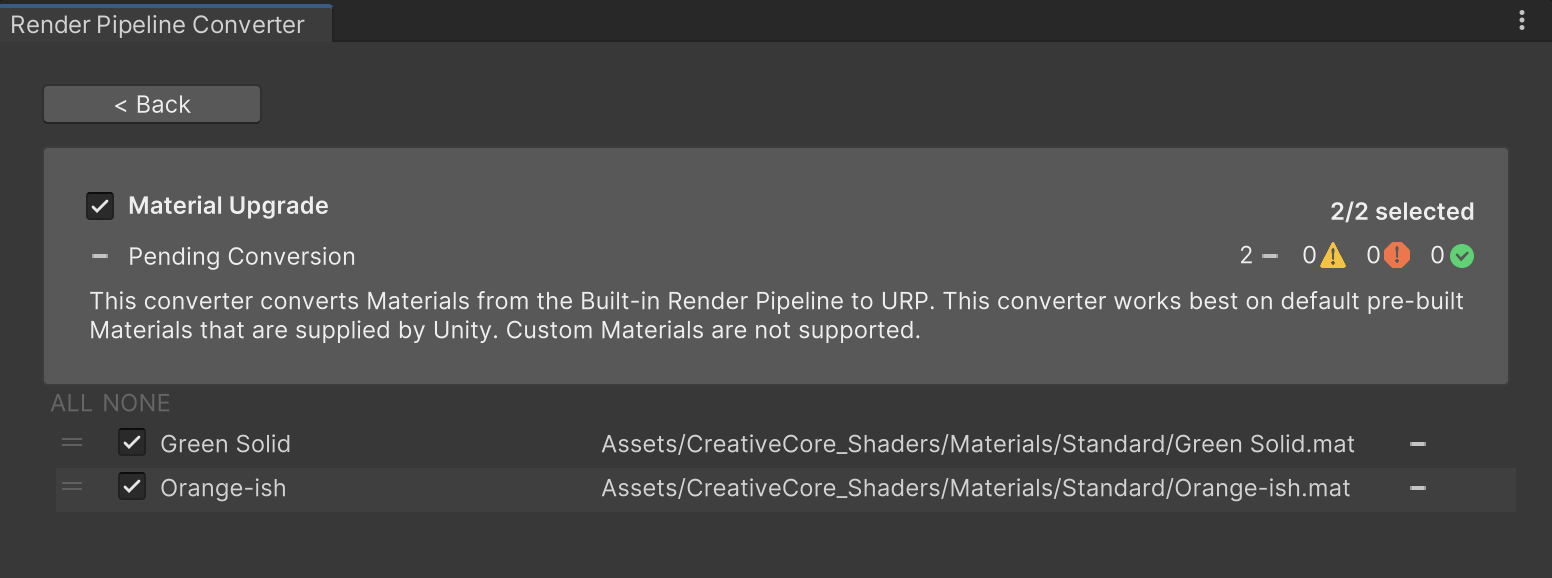
5. Select Convert Assets button at the bottom of the window to update the materials to URP. The materials will turn from magenta to their intended colors and textures.
This feature is available in Unity projects that use the Universal Render Pipeline. Remember this trick when you are importing packages of assets that were developed in another render pipeline or when you are converting a project from a different render pipeline to URP.
Tip: You can also upgrade a single material. Select the material in the Project window, and then go to the main menu and select Edit > Rendering > Materials > Convert Selected Built-in Materials to URP.
4. Observe the default material
Now let’s get to work creating a work of art. Next, you’ll create a new 3D object to work on at your workbench so that you can apply a material to it. As a brand new GameObject, it will have the default material.
Take a look at the material on a new GameObject:
1. Position your Scene view in such a way that you have uncluttered space to work at the workbench.
2. In the Hierarchy, use the plus (+) button at the top and select 3D Object > Sphere (or another primitive shape).
3. In the Scene view, select your new primitive GameObject and adjust its position so that you can see it clearly.
4. In the Inspector window, expand the Material Inspector. You’ll see that the material applied to your new primitive is named Lit, and it is using the Universal Render Pipeline/Lit Shader. This is the default material for the Universal Render Pipeline.
Note: Everything here is grayed out because this Lit material is the shader’s default material. You can’t edit it (except through code). Whenever you create a new GameObject, you’ll see this default material.
Next, let’s replace the default material with a different material.
5. Find materials in the Project window
Traditionally, Unity projects include a Materials folder that you can access through the Project window. However, as you import assets from the Asset Store or other sources, you might also import additional Materials folders elsewhere. There are a few things you can do to find any material in your project. You’ll need these tips and techniques to find the materials you need for your art pieces.
Favorites
In the Project window, using the Two Column layout, select Favorites > All Materials to view all the materials in your project.

When you select this, t:Material appears in the search box of the Project window. The search using t: denotes the type of asset. (You could use this to search for all scripts in your project by typing in t:Script.) Leave it as is for now.
You can select the options at the top of the Project window to narrow your search to materials In Packages, In Assets (your Assets folder), or in a selected folder. To see only the materials in the project, select In Assets.

Search
In the search bar of the Project window, add “red” to your search, making the query t:Material red, to find all materials with “red” in their names.
Locate AppleRed.

6. Apply a material to a GameObject
Although you have applied a material to a GameObject already, you might be interested in learning more ways to do it. They are listed below in case you haven’t yet discovered the one you prefer.
Try applying a material in each of the following ways:
1. Drag a material from the Project window to an object in the Scene view.
2. Drag a material from the Project window to the Materials property of the Mesh Renderer component in the Inspector window.
3. In the Inspector window, use the object selector (⊙) to open a dialog window in which you can scroll or search for a material and select the desired material.
4. Select a GameObject that has the desired material applied to it and drag the thumbnail of that material from the Inspector window to the GameObject in Scene view.
Apply the AppleRed material to your new GameObject and also apply it to the white apple. Apply it to other objects if you like!
Note: The apple GameObjects are parent objects with a child named AppleBody. The AppleBody child object will get the material.
One material, many GameObjects
It’s convenient to use one material on many GameObjects. You can save time and give GameObjects a consistent appearance. However, it’s important to remember that materials are assets stored in your project. When you change a material on one GameObject, it will change on every GameObject where it’s used!
What’s more, you can use one material on multiple GameObjects across multiple scenes — and a change to a material in one scene will show up in every scene!
This can be troublesome if you’re not aware of how you’re using and organizing your materials. In the next step, you’ll see this in action and learn how to manage it.
7. Change a material
Change the color of the AppleRed material:
1. Make sure you have applied the AppleRed material to more than one object on your workbench.
2. Select the AppleBody (the child object of Apple) and view the Material Inspector in the Inspector window.
3. Locate the Base Map property, which has a color picker. Use this color picker to change the color of the AppleRed material. The other objects with this material will also change!
It is important to remember that when you select a GameObject and use the Material Inspector, you are changing the material everywhere it is used, not only for the GameObject selected!
For now, select a new apple color — make it a green Granny Smith or a yellow Golden Delicious apple.
8. Locate a material applied to a GameObject
Now that you have changed the color, the name AppleRed no longer fits this material. Next, you’ll find the material among your project assets and change its name.
You can use the Scene view to find a material in your project:
1. Select your primitive object.
2. In the Inspector, locate the Materials subsection of the Mesh Renderer component.
3. Locate the element where the material AppleRed is applied and select it. In the Project window, you will see that the folder containing that material will open and the material name will be highlighted.
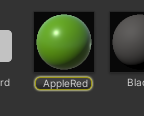
4. In the Project window, right-click the AppleRed material, select Rename, and give the material a name that describes its new color.
9. Create a new material
Now you have at least two (maybe more) objects that are the same color, but a good composition will have a variety of colors.
Next, duplicate an apple and create a new material for it:
1. In Scene view, select one of the apples and press Ctrl+D (Windows) or Cmd+D (macOS) to duplicate it.
2. Reposition your new apple in an empty space on your workbench.
3. In the Project window, open the Assets > CreativeCore_Shaders > Materials folder to create your new material in this location.
4. In the Materials folder, right-click and select Create > Material.
5. Name this material “AppleRed 2”.
6. Using the color picker at the Base Map property, select a shade of red that looks good on an apple.
7. Apply this material to your new apple.
10. Duplicate a material
Another way to change the appearance of one object instead of many is to duplicate an existing material, apply it to an object, and change the duplicate.
Create a new material to add even more variety to the scene by duplicating the new AppleRed 2 material:
1. In the Scene view, select your new red apple (make sure to have the parent object selected).
2. Duplicate the red apple using Ctrl/Cmd+D .
3. Move the new apple so you can see both red apples side by side. Now you have two identical red apples using the same material.
4. In the Project window, return to the Materials folder, select the AppleRed 2 material and duplicate it using Ctrl/Cmd+D.
5. Rename the new material “AppleRed Light” or choose another name to describe any color you like.
6. Apply this new material to the duplicated apple. For now, it still looks the same.
7. Change the Base Map color of your new material. Notice that now your change only affects the new apple.
Now you have several apples that you can use in your still life composition. Whenever you are inspired to add new objects to your composition, go ahead and move them to the empty plinth.
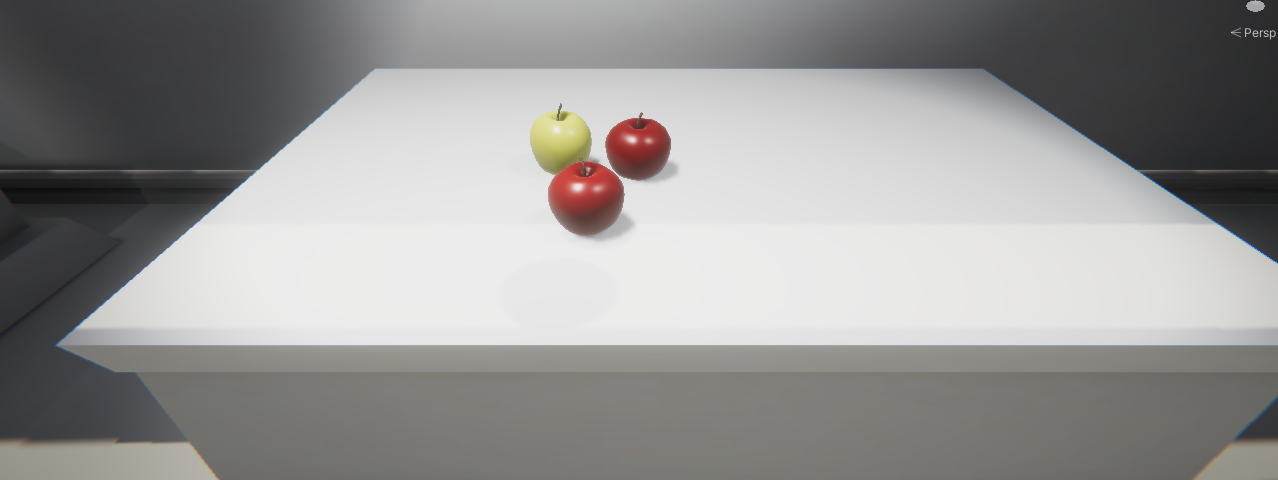
11. Explore materials and begin creating
At your workbench, try applying other materials in this project that look interesting to you (without changing their properties, please). Notice the various properties for each material. You might get some odd results as you apply various materials to different objects, but by the time you complete these tutorials, you will understand how and why each material changes the look of a GameObject.
12. Next steps
As you created the apples for your composition, you learned how to find, apply, change, create, and duplicate materials. With these skills, you’ll be able to work adeptly with materials as you learn more about them, and create with them, in the tutorials that follow.