
Meshing and occlusion
Tutorial
intermediate
+10XP
30m
Unity Technologies
Meshing refers to the process of creating a 3D mesh or model of the physical environment, including surfaces, edges, and corners. Unlike plane detection, which only detects flat surfaces, meshing detects all kinds of geometry.
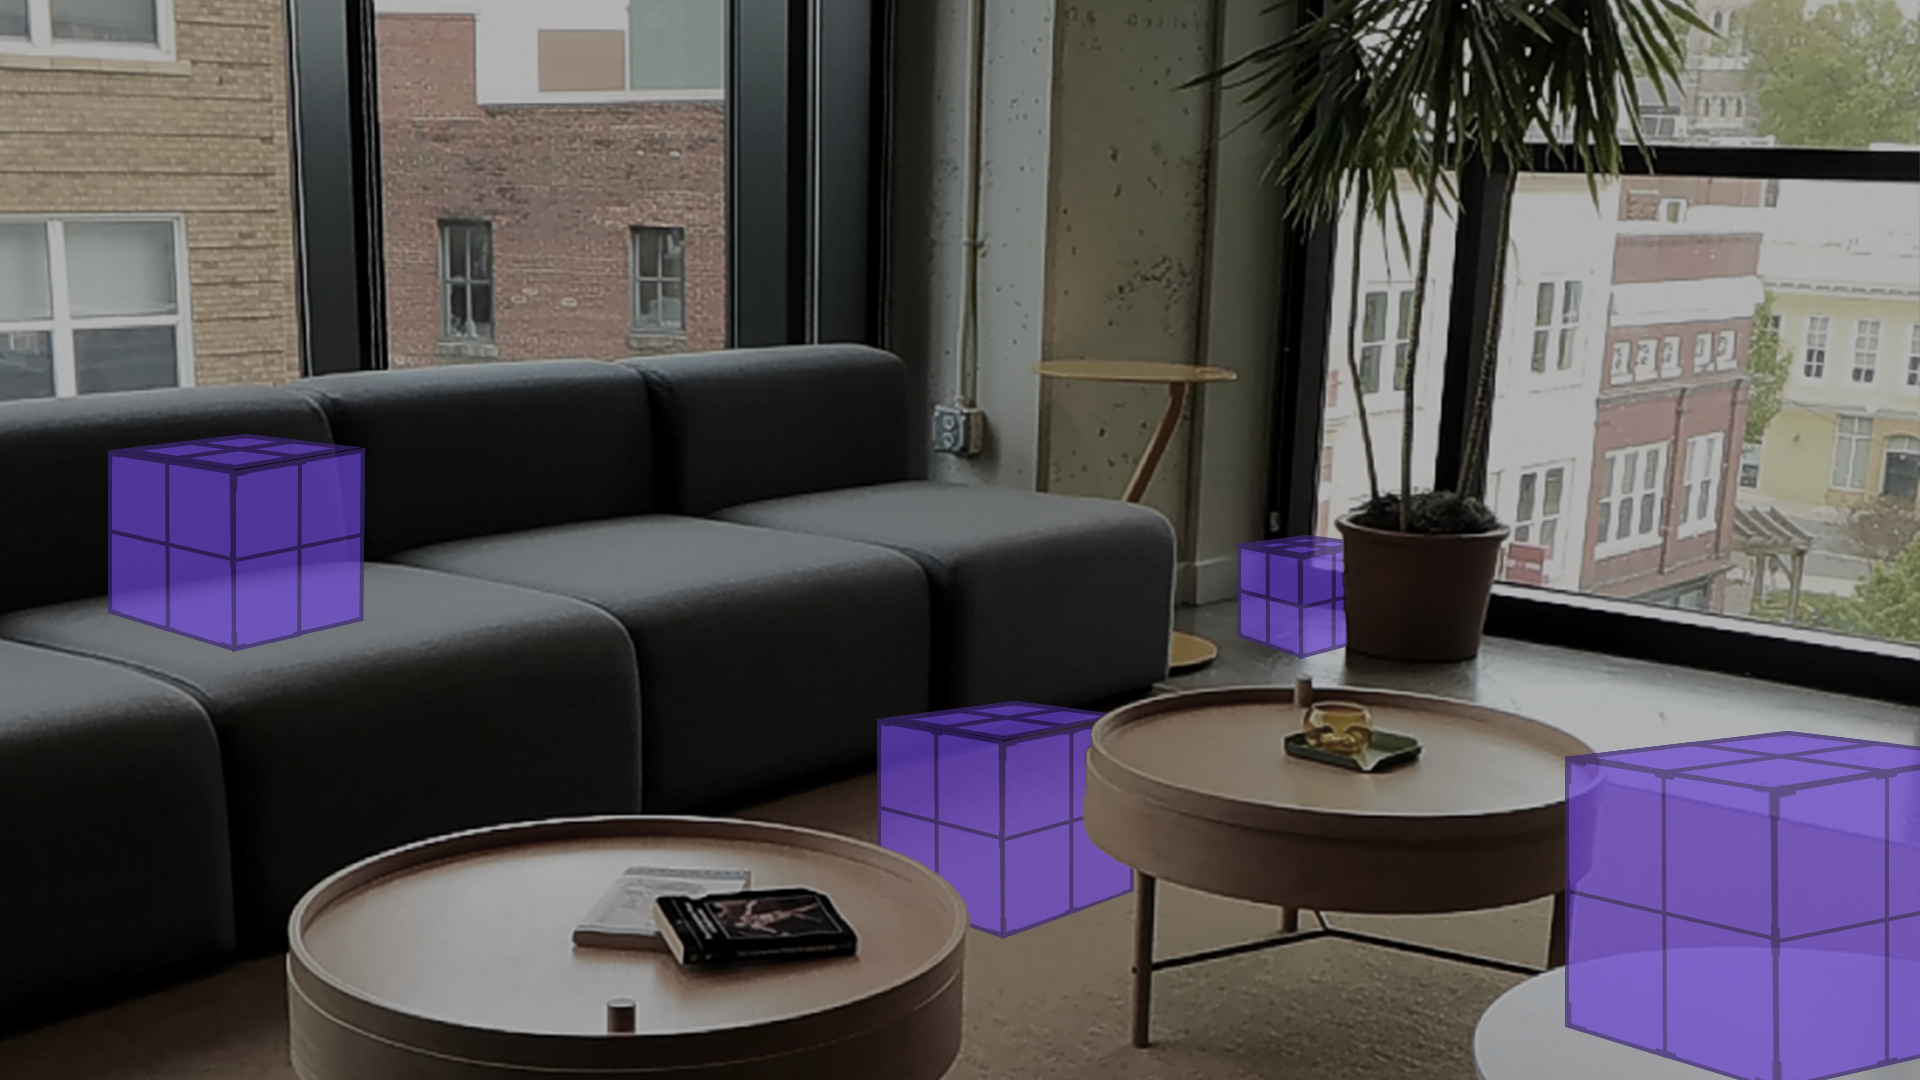
In this tutorial, you will learn how to implement meshing in an application, including an example where meshing is used to allow 3D cubes to interact realistically with the physical environment.
Languages available:
1. Overview
What is meshing?
Meshing refers to the process of creating a 3D mesh or model of the physical environment, including surfaces, edges, and corners. Unlike plane detection, which only detects flat surfaces, meshing detects all kinds of geometry.
What is occlusion?
In XR applications, occlusion usually refers to hiding, or occluding, virtual objects behind real-world objects, such as walls or furniture, just like they would be in the real world. Without occlusion, virtual objects would appear to float on top of real-world objects, which can break the illusion of being in a mixed-reality environment. Notice how the balls in the example below realistically disappear from view when they roll off the edge of the table. This is what is meant by occlusion.
Meshing is one way to achieve the effect of occlusion in XR, and it is what we will use in this demo. However, you can also use depth sensing to achieve occlusion, where hardware on the device detects the relative distances of objects in the scene and implements occlusion using that data.
Why use meshing and occlusion?
Meshing and occlusion go hand in hand when it comes to creating realistic, immersive XR experiences. Having a detailed, accurate mapping of the surrounding physical environment allows users to anchor digital objects to real ones. If those digital objects are occluded by real-world objects, the illusion of digital and real-world interaction is enhanced.
Check out the example below — which does not include occlusion — to see the effect its absence has on immersion.
A solid connection between digital and physical objects might be the most important ingredient for immersion in XR.
What you’ll learn in this tutorial
In this tutorial, you’ll learn how to implement basic meshing and occlusion in your Magic Leap 2 applications so that objects interact with detected meshes and hide behind them.
You’ll also see an example of these features being used in context with other interactivity, where the user can pin objects to detected meshes, save those locations as spatial anchors, and reload the objects in the same detected space.
2. Before you begin
Before you begin working through this tutorial, you should make sure your development environment is set up for Magic Leap 2 development and download the example prototype project.
Set up your development environment
If this is your first time developing in Unity for the Magic Leap 2, make sure you have your development environment configured properly using one of the following guided options:
- Follow the Unity: Getting started guide from the Magic Leap 2 developer documentation.
- Follow the Magic Leap 2 in-Editor tutorial project in the Unity Editor.
Download and open the example prototype
This tutorial will guide you through the implementation of this feature in your own application using an example prototype. If you want to explore the code of the prototype yourself, download the accompanying prototype project and open it in Unity.
3. Basic meshing setup
Add an XR Rig to the Unity scene
Just like with any Magic Leap 2 project, the first step is to add the XR Rig prefab to the scene from the Magic Leap SDK package (Packages > Magic Leap SDK > Runtime > Tools > Prefabs) and then delete the Main Camera GameObject.
Set up the MeshParent and MeshController GameObjects
For meshing to be successful, it is recommended that you follow a particular parent-child GameObject setup in the Hierarchy setup. To set up the required GameObjects and components for meshing, follow these instructions:
1. Create an empty parent GameObject for your meshing functionality that will instantiate your meshes and name it something like “MeshParent”.
2. Create a new, empty child GameObject of MeshParent, name it something like “MeshController”, and add a Meshing Subsystem component to it.
The scale of the GameObject that contains the Meshing Subsystem component also determines the area the device will scan for possible meshes. In this example, the MeshController is set to the scale 5x5x5, which means the device will search a 5m x 5m x 5m area for meshes.
3. In the Meshing Subsystem component, set the Mesh Parent property to your MeshParent GameObject.
You can read much more about each of the properties of the Meshing Subsystem component in the Magic Leap 2 guide.
Assign a Mesh prefab
You’ll notice that there’s a Mesh Prefab property in the Meshing Subsystem component. This is the visual representation of the detected meshes. Magic Leaps’ meshing example scene includes highly customized materials that display the meshes as point clouds or wireframes, but all that is required to see your meshes is a simple Mesh Renderer component and material.
To create and assign your Mesh prefab, follow these instructions:
1. Create a new, simple, semi-transparent material.
2. Create a new Plane GameObject. In the Mesh Filter component, set the Mesh to None. In the Mesh Collider component, set the Mesh to None. In the Materials section, select your desired material. The Plane GameObject is basically an empty GameObject with a material and a collider.
3. Drag the Plane GameObject into the Project window to make it into a prefab, then delete it from your Hierarchy.
4. In the Meshing Subsystem component, assign your prefab to the Mesh Prefab property.
If you run the project through the Application Simulator at this point, you can actually see meshes generated in the Scene view under the MeshParent GameObject.
However, if you run this application on the device right now, nothing will happen ,since meshing requires the user to explicitly grant permission for spatial mapping first. We’ll handle those permissions in the next step.
4. Handle permissions
Which permissions are required?
Meshing requires the user to explicitly grant permission for spatial mapping at runtime since it is one of the device’s Dangerous (Runtime) permissions. Without this permission granted, the Meshing Subsystem will not run on your device.
To determine which permission is required for which feature, you can refer to the documentation on the Magic Leap 2 Developer Portal.
Request and respond to permissions
In order to deal with this permission requirement, all you have to do is add a new script that requests permission for spatial mapping and only enables the Meshing Subsystem component if permission is granted.
The code below performs the following actions:
- Subscribes and unsubscribes from the permission events.
- Requests permission for spatial mapping at start.
- If permission is granted, the Meshing Subsystem component is enabled.
- If permission is denied, the Meshing Subsystem component is disabled.
using UnityEngine;
using UnityEngine.XR.MagicLeap;

public class Meshing : MonoBehaviour
{

    [SerializeField] MeshingSubsystemComponent meshingSubsystemComponent;
    private readonly MLPermissions.Callbacks mlPermissionsCallbacks = new MLPermissions.Callbacks();


    private void Awake()
    {
        // subscribe to permission events
        mlPermissionsCallbacks.OnPermissionGranted += MlPermissionsCallbacks_OnPermissionGranted;
        mlPermissionsCallbacks.OnPermissionDenied += MlPermissionsCallbacks_OnPermissionDenied;
        mlPermissionsCallbacks.OnPermissionDeniedAndDontAskAgain += MlPermissionsCallbacks_OnPermissionDenied;

    }

    void Start()
    {
        // request permission at start
        MLPermissions.RequestPermission(MLPermission.SpatialMapping, mlPermissionsCallbacks);

        // get meshing subsystem
        meshingSubsystemComponent = FindObjectOfType<MeshingSubsystemComponent>();
    }


    // if permission denied, disable meshing subsystem
    private void MlPermissionsCallbacks_OnPermissionDenied(string permission)
    {
        meshingSubsystemComponent.enabled = false;
    }

    // if permission granted, enable meshing subsystem
    private void MlPermissionsCallbacks_OnPermissionGranted(string permission)
    {
        meshingSubsystemComponent.enabled = true;

    }

    private void OnDestroy()
    {
        // unsubscribe from permission events
        mlPermissionsCallbacks.OnPermissionGranted -= MlPermissionsCallbacks_OnPermissionGranted;
        mlPermissionsCallbacks.OnPermissionDenied -= MlPermissionsCallbacks_OnPermissionDenied;
        mlPermissionsCallbacks.OnPermissionDeniedAndDontAskAgain -= MlPermissionsCallbacks_OnPermissionDenied;
    }

}
Demo
With the permission code above included in your project, the app should now request permission for spatial mapping on startup. If permission is denied, meshing will not occur. If permission is granted, meshes will begin to appear with your material.
5. Test collisions with meshes
To experience the power of meshing, try and throw some digital physics objects around and see how they interact with the mesh of the physical environment.
To throw physics-based objects around the scene, follow these instructions:
1. Make sure there’s a Collider component on your Mesh prefab. Without a collider, objects won’t collide with the mesh.
2. Create a new, simple prefab you’d want to throw around the scene (like a cube with an XR Grab Interactable component on it, for example).
3. Create an empty GameObject with a new script on it called something like “SpawnObjects”, then copy and paste the code below into the script. This script subscribes to the bumper event, and when the bumper is pressed, the script instantiates the objectToSpawn at the spawnLocation.
using UnityEngine;
using UnityEngine.InputSystem;

public class SpawnObjects : MonoBehaviour
{
    private MagicLeapInputs mlInputs;
    private MagicLeapInputs.ControllerActions controllerActions;

    public GameObject spawnLocation;
    public GameObject objectToSpawn;


    void Start()
    {
        // set up controller inputs
        mlInputs = new MagicLeapInputs();
        mlInputs.Enable();
        controllerActions = new MagicLeapInputs.ControllerActions(mlInputs);

        // subscribe to bumper event
        controllerActions.Bumper.performed += HandleOnBumper;

    }

    private void HandleOnBumper(InputAction.CallbackContext obj)
    {
        GameObject spawnedObject = Instantiate(objectToSpawn, spawnLocation.transform.position, spawnLocation.transform.rotation);

    }
}
4. Assign the Game Controller to the Spawn Location variable and assign your chosen prefab to the Object To Spawn variable.
Now when you test the application and spawn your prefabs, the objects will collide and interact with the mesh environment.
At this point, you can also set your Mesh prefab material to be transparent for a more immersive object-throwing experience.
6. Basic occlusion setup
Now that you have meshing set up and objects to test with, setting up occlusion is very simple! Magic Leap provides a custom Occlusion shader that makes the material transparent, but occludes any digital objects behind it.
All you have to do is create a new material, then open the Shader dropdown and select VR > SpatialMapping > Occlusion.
Then, just make sure this material is assigned to your Mesh prefab and test your app! The mesh will now be invisible, but occlude all digital objects behind it.
7. Meshing and occlusion in context
Now that you know how to set up basic meshing and occlusion, let’s check out an example of how this feature can be combined with other interactive functionality.
In this example, the user can use the Spaces app on the Magic Leap 2 to localize into a particular space. The user can then place sticky notes around the room, which can be stuck to meshes in the environment - and which are occluded by real objects. If the user leaves and reenters that space, the sticky notes will be reloaded in the environment, just as the user left them!
8. Next steps and additional resources
In this tutorial, you learned about meshing and occlusion on the Magic Leap 2. You can learn more about these features with the following resources:
- Magic Leap’s guide on meshing.
- Magic Leap’s meshing example scene from the samples project, which includes an example of occlusion.
You may also want to learn more about out the other features highlighted in the example prototype:
Otherwise, feel free to go back to the overview page, where you can explore other tutorials and resources.