Module: Add Colors and Textures
Tutorial
·
Beginner
·
+0XP
·
30 mins
·
Unity Technologies

By the end of this module, you’ll be able to:
- Create custom materials in Unity.
- Apply materials to GameObjects.
- Create and apply materials to a colorless vehicle model.
Languages available:
1. Why Colors and Textures (Materials)?
Materials are responsible for the colors of everything you see in a Unity scene. They all work together to bring color and flare to your models, and thus can be thought of as the skin of your assets. Models typically come with their own materials, but you can also make your own materials to customize these models.

Each 3D model is initially made with a standard grey color. Once the object has the right structure and shape, modelers add materials to these models to make them photorealistic and increase the level of realism/immersion in the scene.
2. Overview
Time to create your first materials! In this Sandbox Lab, you will learn and practice the fundamentals of how to change the aesthetics of your models and environments.


3. What Will You Do?
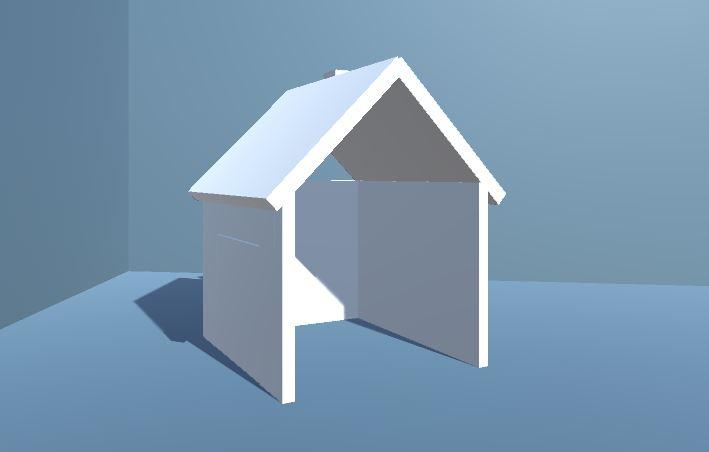
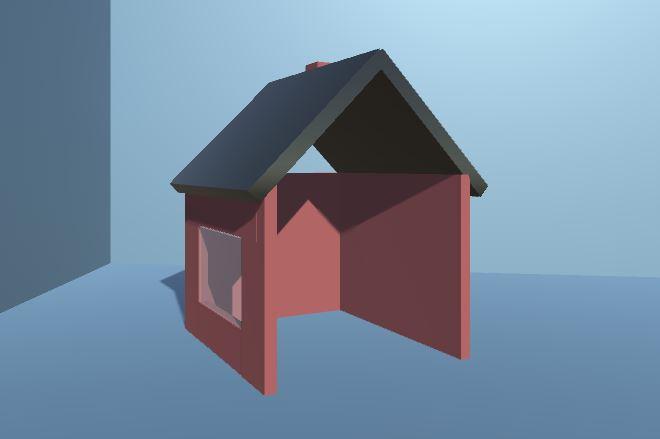
In this Sandbox Lab, you will improve the aesthetics of a plain white shed structure. To do so, you will need to:
- Create three new colors (materials).
- Rename each material and change its Albedo.
- Apply each material to change the color of the shed’s walls, roof, and window.
- Alter the metallic and smoothness parameters of the roof.
- Change the render mode of the window to transparent.