Moving the Camera
Tutorial
Beginner
+10XP
10 mins
9034
Unity Technologies

In this third Roll-a-ball tutorial, you’ll:
- Set the Camera position
- Write a script to make the Camera follow the Player sphere with a fixed offset
Materials
Languages available:
1. Overview
In this tutorial, you’ll:
- Set the Camera position
- Write a script to make the Camera follow the Player sphere with a fixed offset
By the end of this tutorial, your game will look something like this:
2. Set the Camera position
Follow the video or text instructions below to raise and rotate the camera, then experiment with the Player GameObject as a parent GameObject:
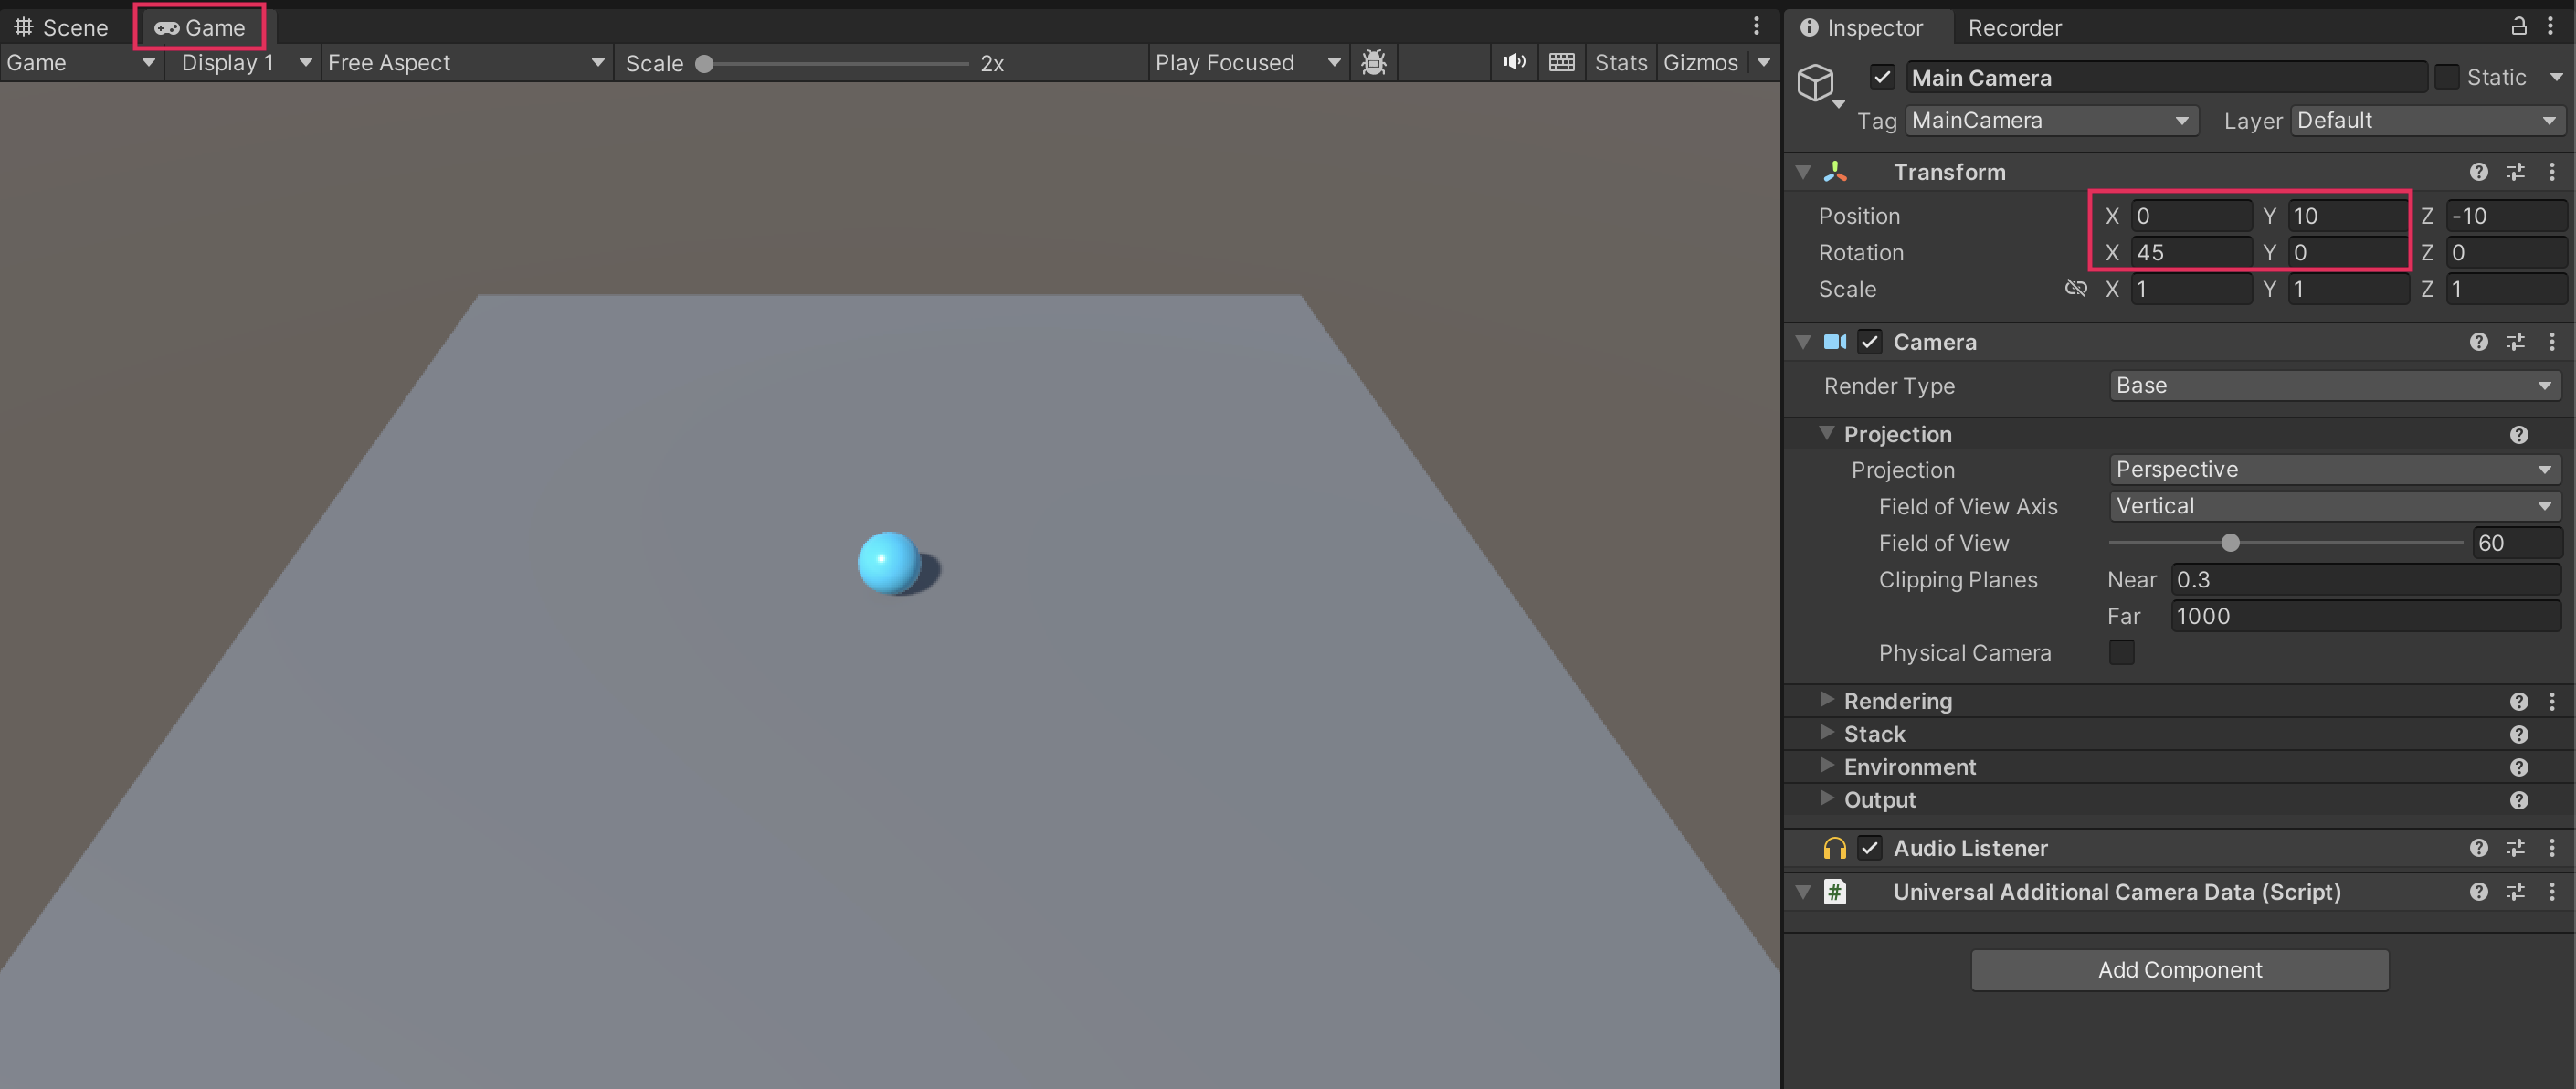
1. Raise and rotate the camera.
- Select the Main Camera in the Hierarchy window.
- Set the Y position value to around 10.
- Set the X rotation value to around 45.
- Preview the camera angle in the Game view.
2. Experiment with the Player as a parent GameObject.
- If you want, drag the Main Camera onto the Player GameObject in the Hierarchy window to set the camera as a child GameObject of the Player GameObject.
- Test the game and notice how the camera rotates with the movement of the Player GameObject.
- Undo the parent-child relationship by dragging the Main Camera above the Player GameObject.

3. Write a CameraController script
Follow the video or text instructions below to create the CameraController script, declare player and offset variables, define the offset variable, then set the camera position in LateUpdate:
1. Create the CameraController script.
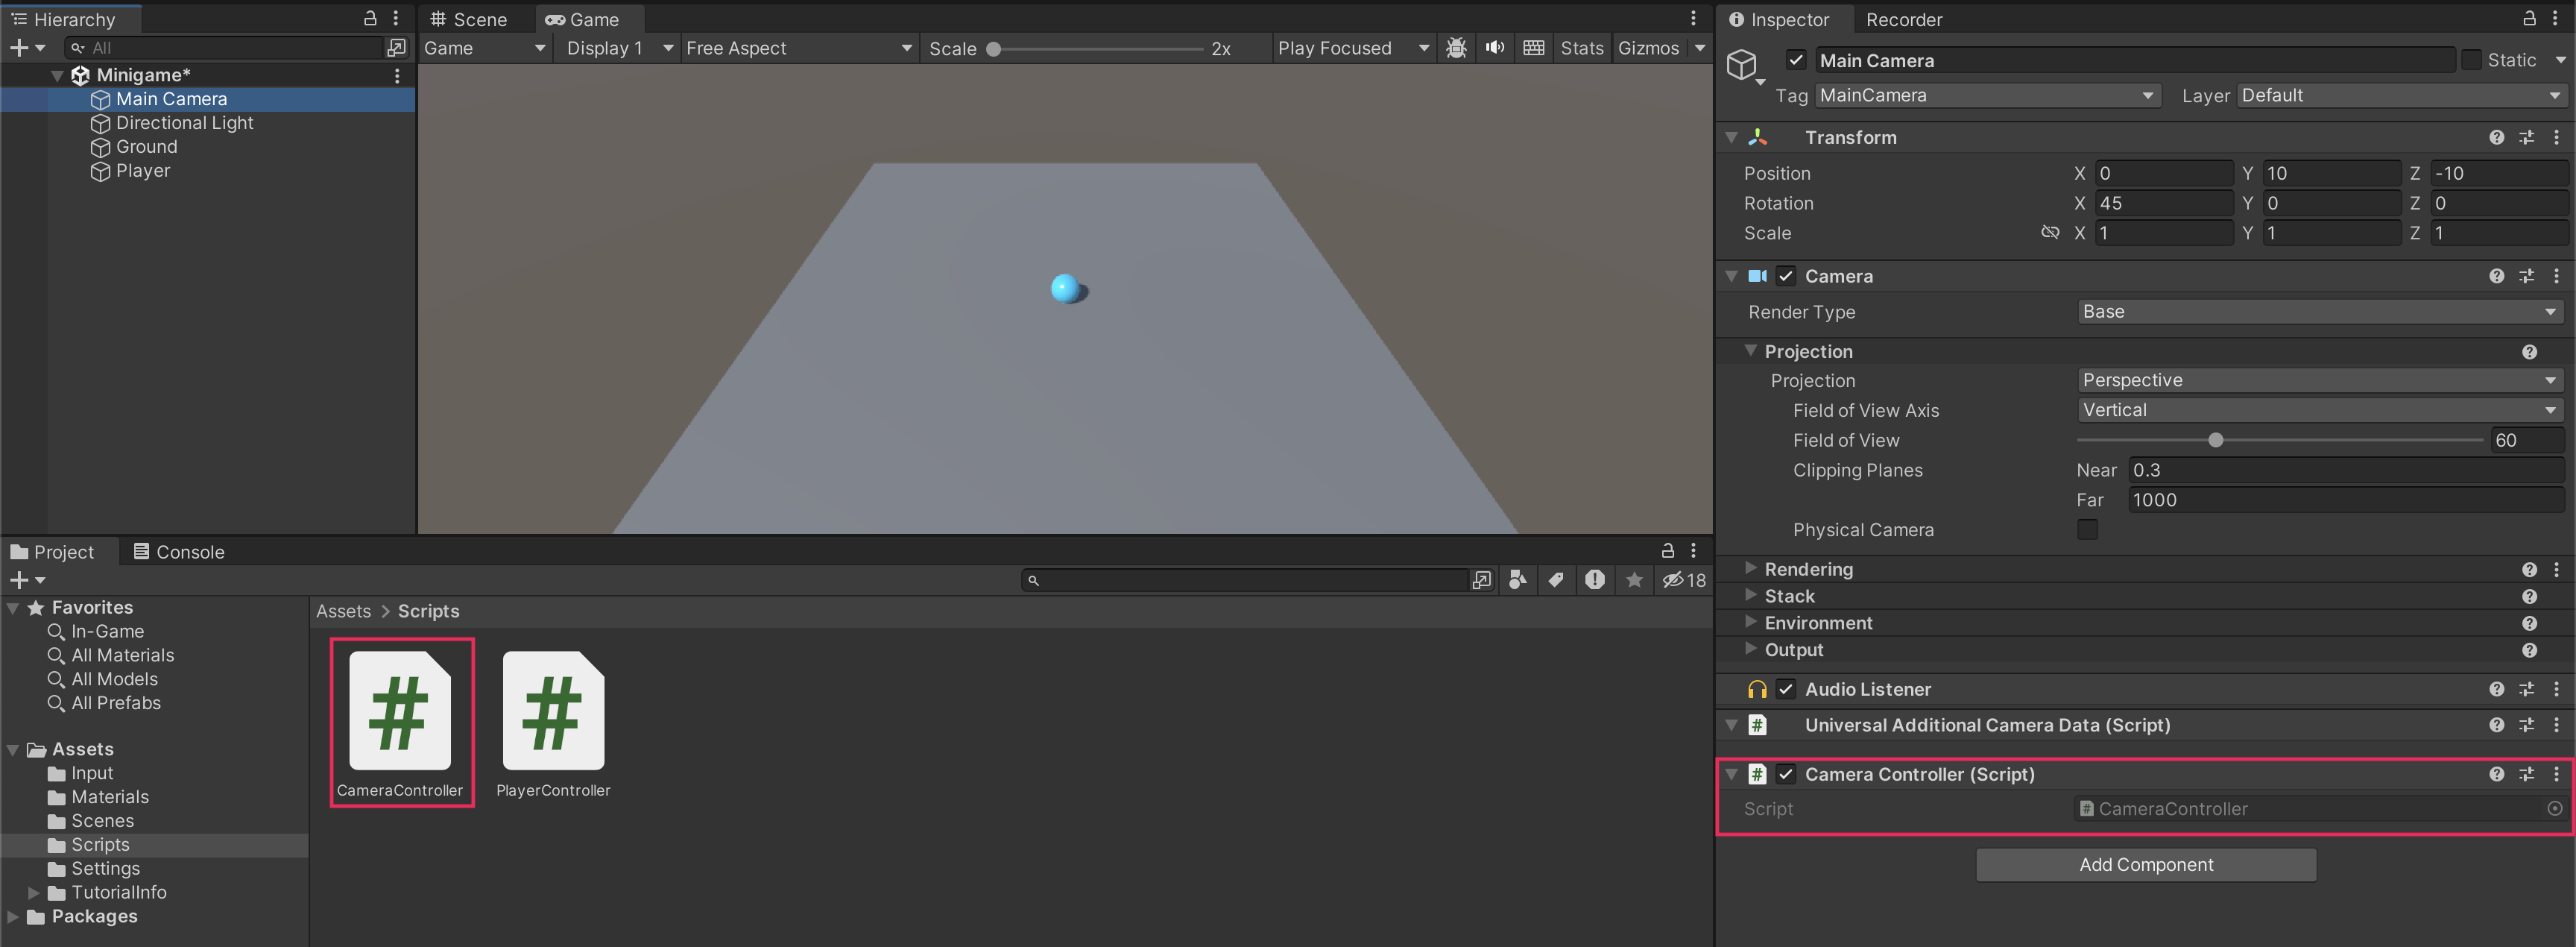
- With the Main Camera GameObject selected in the Hierarchy window, select Add Component > New script in the Inspector window.
- Name your new script “CameraController”.
- In the Project window, move the script from the root Assets folder into the Scripts folder.
- Open the new script for editing.
2. Declare player and offset variables.
- Inside the first curly brace, add the following lines of code to declare two new variables:
public GameObject player;
private Vector3 offset;
3. Define the offset variable.
- In the Start function, on a new line after the first curly brace, add the following line of code:
offset = transform.position - player.transform.position; 4. Set the camera position in LateUpdate.
- In the Update function, inside the first curly brace, add the following line of code:
transform.position = player.transform.position + offset; - Add “Late” in front of the Update method to change it to a LateUpdate function:
void LateUpdate()
4. Reference the Player GameObject
Follow the video or text instructions below to assign the Player GameObject variable in the Inspector window, then test the game:
1. Assign the Player GameObject variable in the Inspector window.
- Make sure you have saved the CameraController script, then return to Unity.
- Drag the Player GameObject from the Hierarchy window into the Player slot in the CameraController component.

2. Test the game.
- The camera should now follow the player at the appropriate offset.
5. Final script sample
If your script is not working as expected, below is an example of what your code should look like at this point. The comments have been added to make the code more readable.
CameraController.cs
using System.Collections;
using System.Collections.Generic;
using UnityEngine;

public class CameraController : MonoBehaviour
{
 // Reference to the player GameObject.
 public GameObject player;

 // The distance between the camera and the player.
 private Vector3 offset;

 // Start is called before the first frame update.
 void Start()
    {
 // Calculate the initial offset between the camera's position and the player's position.
        offset = transform.position - player.transform.position;
    }

 // LateUpdate is called once per frame after all Update functions have been completed.
 void LateUpdate()
    {
 // Maintain the same offset between the camera and player throughout the game.
        transform.position = player.transform.position + offset;
    }
}