Moving with Waypoint Teleportation for a Site Tour
Tutorial
Beginner
+10XP
30 mins
6
Unity Technologies
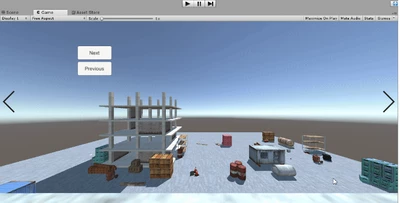
This tutorial will teach you how to add teleportation to your VR site tour. Specifically, you will create a set of pre-identified locations that you want your user to be able to teleport to and view.
Materials
Languages available:
1. Why Teleportation
The concept of moving around in a virtual space is called locomotion. One type of locomotion is teleportation, which refers to a common form of in-VR movement that allows the user to move from one position in a Unity Scene to another instantaneously. With teleportation, users point with their controller and press a button to move to that location.
Teleportation is commonly used throughout VR applications, as it solves some key challenges inherent to virtual movement: limited real-world play space and motion sickness.
In this tutorial, you will add teleportation movement functionality to the VR site tour. Specifically, you will create a set of pre-identified locations that you want your user to be able to teleport to and view. Presenting your project as a curated walkthrough with strategic teleportation locations gives your client a highly specialized experience that shows off the features you want them to focus on.
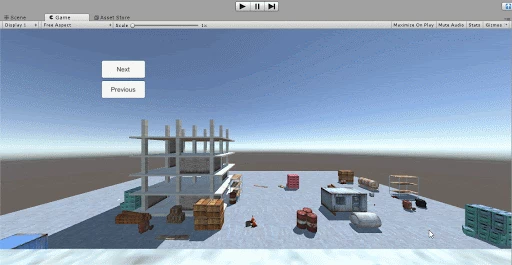
What you will learn:
The goal of the basic and intermediate teleportation tutorials is to teach you how to integrate two types of teleportation into your project: Waypoint Teleportation and “blink” or “free” teleportation.
By the end of the project, you will be able to define key locations throughout the Scene and teleport to those locations based on controller input. To reinforce these lessons, you will implement this Waypoint system again in the challenge in order to move around the construction site.
--------------------
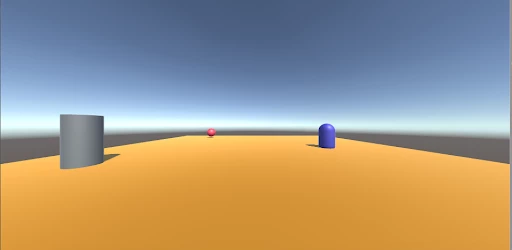
In this tutorial, you will create a guided experience for the VR user, allowing them to visit four pre-set locations (or Waypoints): the starting location plus the locations next to the objects in the Scene:
To accomplish this, you will:
- Add and configure the Waypoint Teleport component
- Create new Waypoint Locations
- Connect existing Waypoint Locations to navigation movement
- Adjust the user's view to see the object at each location by modifying its rotation
- Test the Teleport component in the Unity Editor
2. Add the Waypoint Teleport Component
Add the Waypoint Teleport component to the OVRCameraRig GameObject so you can configure the Waypoint Teleportation.
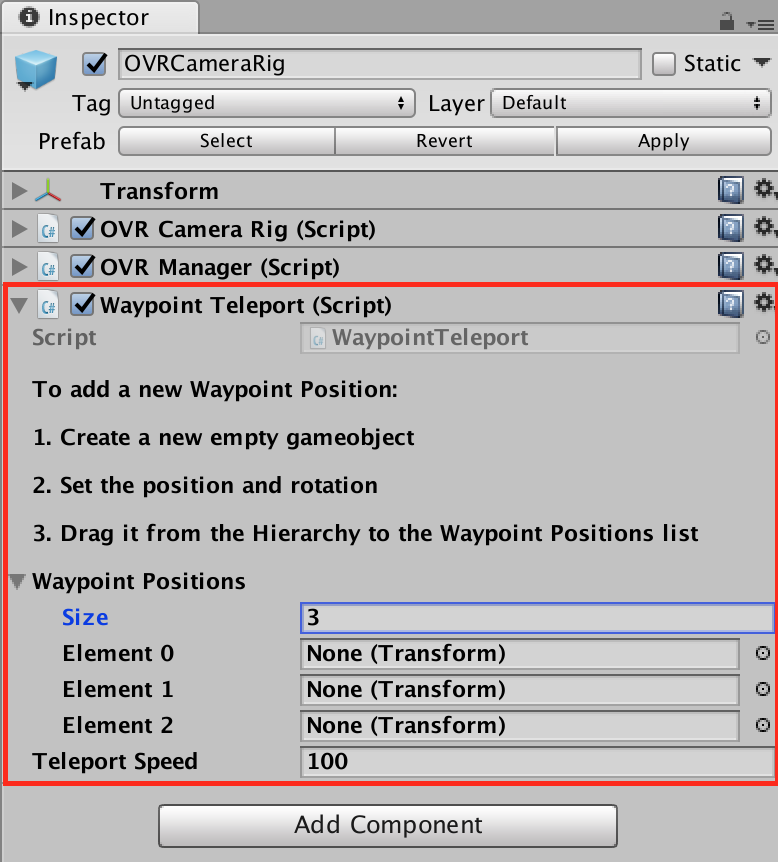
- Select the OVRCameraRig GameObject in the Hierarchy.
- In the Inspector, click Add Component.
- Search for and select the Waypoint Teleport component.
--------------------
What is the OVRCameraRig?
The OVRCameraRig is the Oculus Camera GameObject designed for use with Oculus hardware. It replaces the native Unity Camera in a Scene. It contains two Unity Cameras, one for each eye, as well as head and hand tracking. Generally speaking, any GameObject that ends with “Rig” represents the main player.
What is the Waypoint Teleport Component?
The Waypoint Teleport Component allows the user to move to predetermined locations (i.e., Waypoints). On the Oculus Go, this component uses swipe left and swipe right on the touchpad to control teleportation. In the Editor, the component uses a simple UI to allow you to quickly test the Waypoint Positions.
3. Configure the Waypoint Teleport Component
Add additional Waypoint Positions to determine where the user can teleport in the Scene.
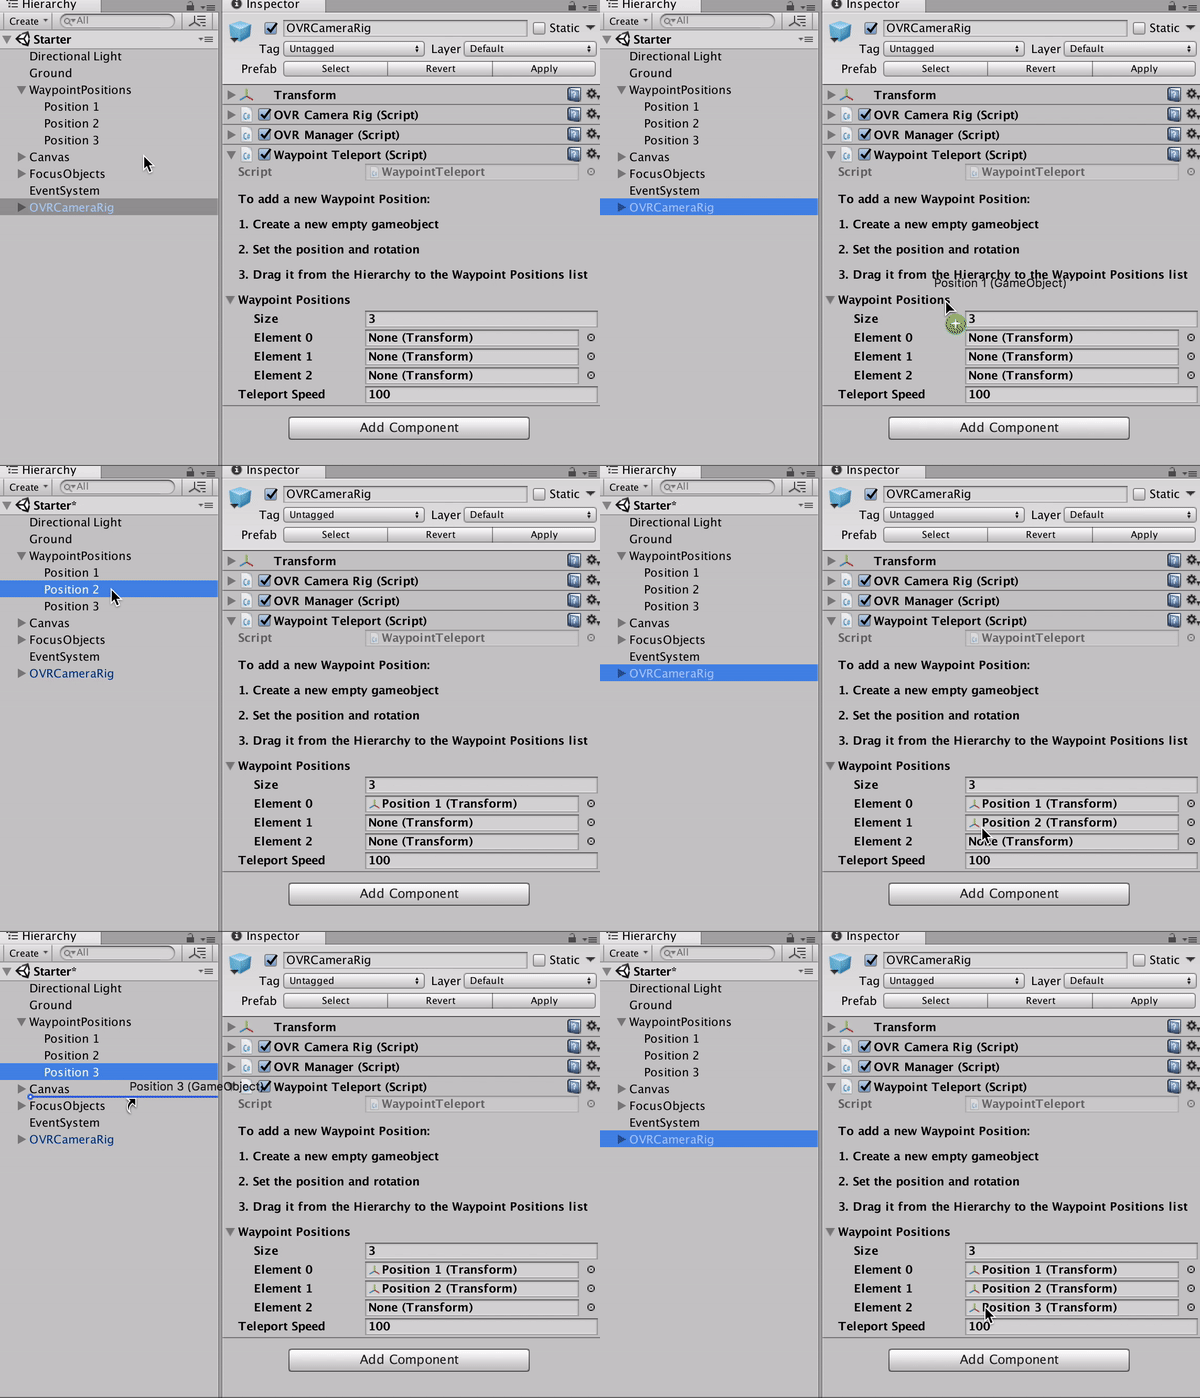
- Change the size of the Waypoint Positions list to accommodate additional positions. For this example, set the size to 3.
- Locate three GameObjects in the Hierarchy: Waypoint Position 1, Waypoint Position 2, and Waypoint Position 3.
- With the Waypoint Teleport component visible in the Inspector, drag each of the three gameobjects into the Element 0, Element 1, Element 2 fields respectively
--------------------
What are Waypoint Positions?
Waypoint Positions refer to the specific locations to which the user can move using the Waypoint Teleport component. Each Waypoint is a unique GameObject that can be positioned in the Scene. The Waypoint Teleport script takes these GameObjects’ positions and applies it to the user, which causes the user to “teleport” to that spot.
What is Teleportation Speed?
The Teleportation Speed determines the speed at which a user will teleport from one point to another. The transition uses smoothing functions to avoid jerkiness. With that said, it's best to keep a speed of 100 or greater to reduce the chance of motion sickness while in VR.
4. Create an Additional Waypoint Position
Create and position an empty GameObject in the Scene so we can teleport the user to that position.
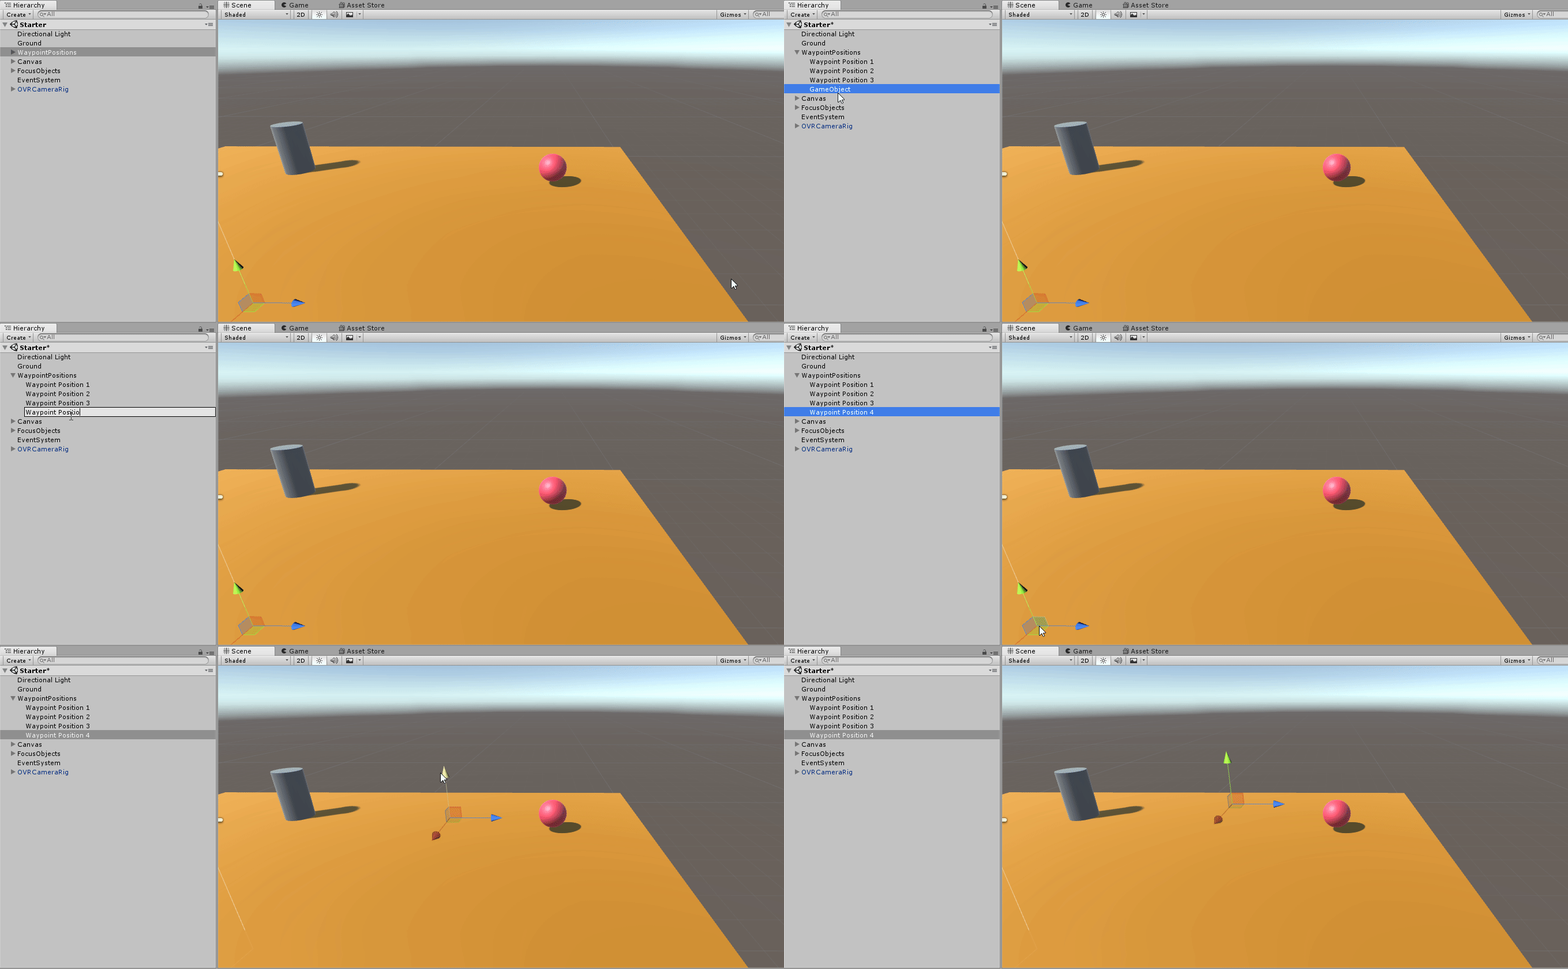
- Create a new empty GameObject (Create > Empty GameObject).
- Rename the GameObject to Waypoint Position 4.
- Move Waypoint Position 4 close to the Red Ball.
- Use the Rotation tool to rotate the Waypoint Position 4 GameObject so that the blue Z axis (forward direction) is pointing towards the Red Ball.
5. Add Your New Waypoint Position to the Waypoint Teleportation Component
Add your new position to the Waypoint Positions list on the Waypoint Teleport component so the component knows to teleport the user to that object’s position.
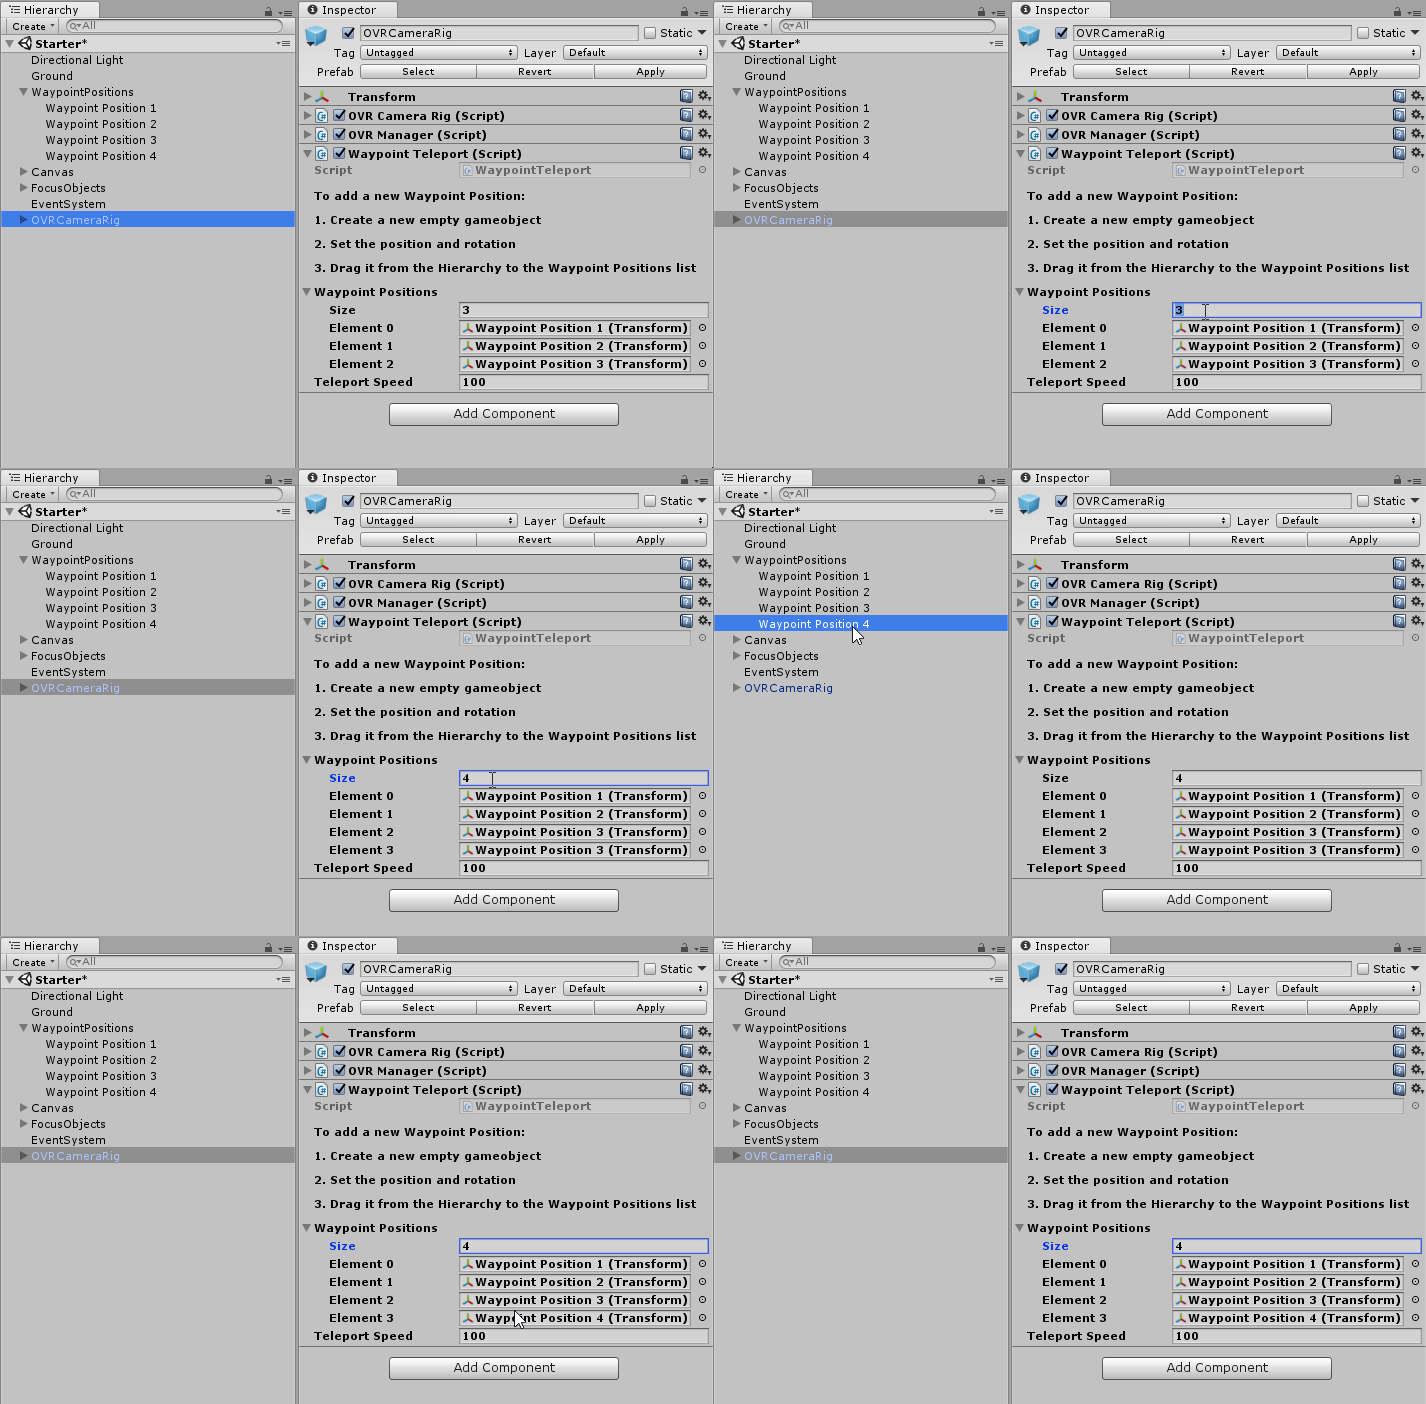
- Select the OVR Camera Rig in the Hierarchy.
- In the Inspector window, change the Waypoint Positions List count to 4.
- Drag the newly created Position 4 GameObject into the Element 3 location.
6. Test the Functionality in the Unity Editor
Press play and use the UI buttons to teleport the player to each Waypoint, navigating the Scene.
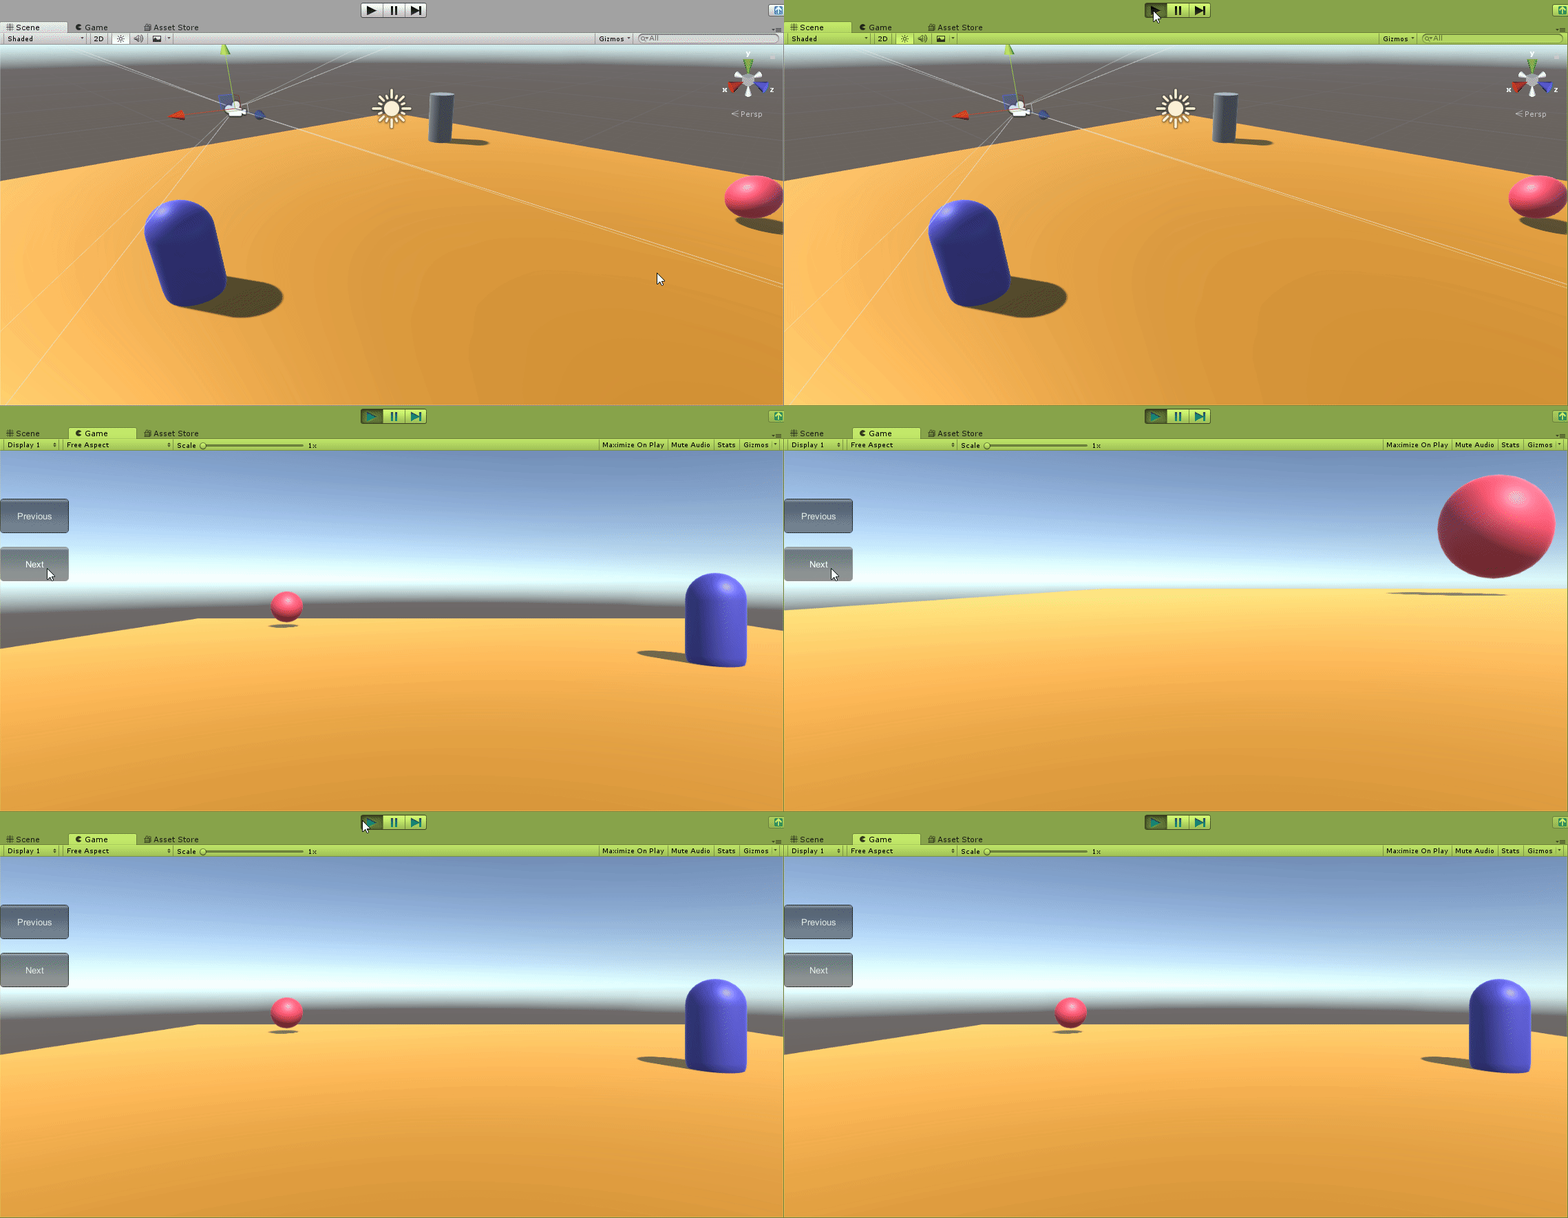
- Press the Play button.
- Use your mouse to click the buttons to move to the Waypoint Positions.
Explore — Buttons
Check out the UI tutorial to learn how buttons are set up and configured. After completing that tutorial, dive into the buttons in this Unity project to see how they work and the specific method that's called from each.
7. Key Takeaways
You've now configured Waypoint Teleportation so that your user can navigate to predetermined locations.
By completing this module, you’re now able to:
- Set up and configure the Waypoint Teleport component to be able to navigate to Waypoints in the Scene
- Add additional Waypoints in your Scene to allow users to teleport to specific locations
- Test the functionality in the Unity Editor as well as on the Oculus Go
When this project is deployed to Oculus Go, you can swipe left and swipe right to teleport to the different locations.