Overview of Cinemachine
Tutorial
Beginner
+10XP
10 mins
1733
Unity Technologies

Cinemachine is a camera system that gives cinematographers, designers, artists, and anyone else working with cameras a way to create complex behaviors without writing any code. In this tutorial, you'll explore the features and uses for Cinemachine to see if it's right for your projects.
Languages available:
1. Video Overview
2. What is Cinemachine?
This tutorial has been verified using Unity 2019 LTS
Cinemachine is a camera system that gives cinematographers, designers, artists, and anyone else working with cameras a way to create complex behaviors without writing any code. Cinemachine contains numerous modules that can be combined to create everything from cinematics to fully automatic in-game camera systems.
Before Cinemachine, camera movement either had to be directly keyframed or scripted through code to create specific follow movements. It was slow to create, tune, and iterate. With Cinemachine's suite of “smart” camera modules, it's easy to set up relationships between the subject and the camera and to work much like how a director does by looking through the lens, composing shots, and following the action. Cinemachine is like an army of camera operators who’ll follow your direction and get the shots even when things change.

3. How does Cinemachine work?
Cinemachine doesn’t create any new Unity Cameras in a Scene. It works with virtual cameras, or vcams, which are managed by the Cinemachine Brain that’s affixed to the main Unity camera. You can animate the vcams with keyframes, blend them together, and do a combination of the two. All that animation will be processed by the Cinemachine Brain and applied to the main camera. Whatever you have on your main camera works with Cinemachine; think of it as a powerful animation system that drives your main camera.
Because it’s such a unified system, you can blend from one camera type to another. You can go from a fixed camera on the Scene to a keyframed camera to follow a character and back seamlessly. Any combination is possible and the options are limitless.
4. Some Features of Cinemachine
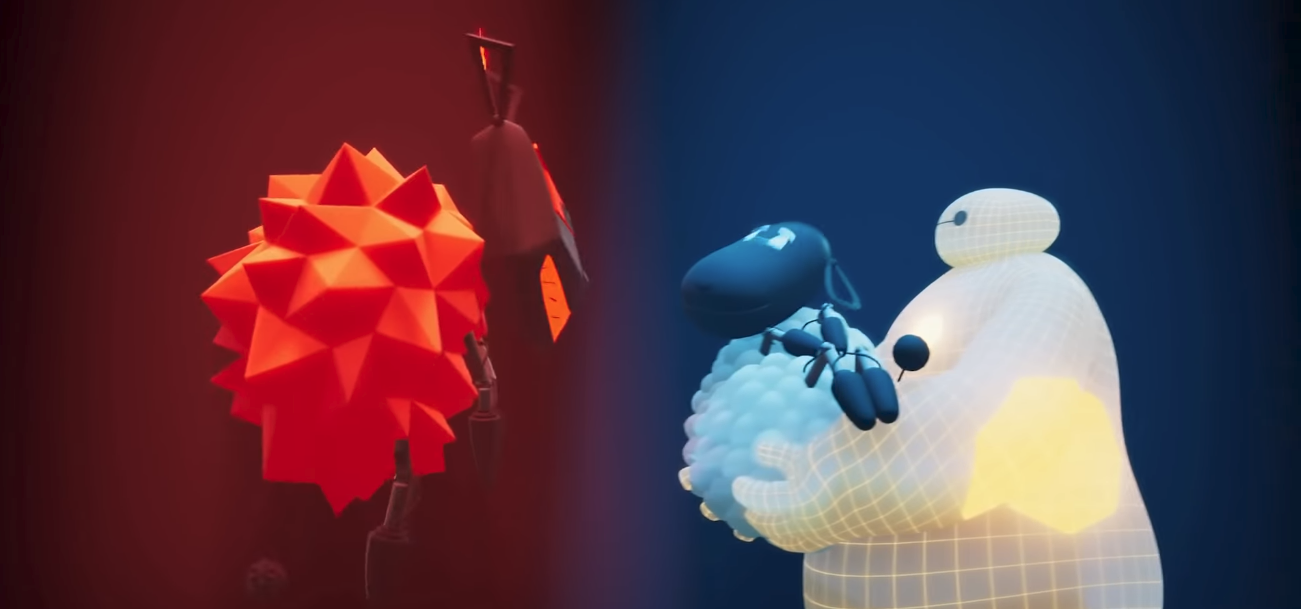
Cinemachine comes with features that give you the ability to produce film-like motion and Scene transitioning. One example is from Baymax Dreams of Evil Sheep. (Figure 02)

Cinemachine is designed to be as unobtrusive as possible; it won’t bloat your projects because you don’t have to replace the camera system. Cinemachine is designed to be used in real-time, meaning your project is live as soon as you start production. This allows you to make changes to things like characters, lighting, and camera positions as you work. It cuts out rendering wait time and allows you to see what your content looks like during production.
Cinemachine allows you to make custom virtual cameras and turn them on when needed. You can blend or cut to a new camera easily and script cameras to work in a specific way when a condition is met — for example, imagine a character entering a giant room and having the camera shift immediately to a different perspective to provide a better shot.
5. Why Make the Upgrade to Cinemachine?
The Cinemachine plugin is easy to install and offers an easy to use flexible system for controlling your cameras from set-up to animation. It unlocks the potential of the Unity cameras while providing no additional workload. Cinemachine makes it easy to improve upon what’s already set up in your project because it’s a non-destructive workflow, meaning all components and behaviors are retained automatically. Cinemachine stores your cinematography data instead of it being hard-coded to the Unity Camera. If optimization or processing power is a concern, the plugin doesn’t weigh down your project with unnecessary components or cameras; it operates in a virtual environment where it streamlines all your cameras into a seamless experience.
6. Productivity and Creativity Gains from Cinemachine
Cinemachine not only boosts productivity but inspires creativity. Even after you set up shots using Cinemachine, you still have the flexibility to change elements of the shot without consequence. For example, if you want to change an animation or speed up a character after the cameras are done, the cameras will still frame the action as you’ve directed them to.
Cinemachine gives you the flexibility to try out new ideas. You’re no longer required to follow strict animation and layout workflows because animation tweaks can come after camera — and cameras can be introduced before final animations. Pre-production can move more quickly, as animation and camera work can be done together — there’s no need to re-keyframe cameras to experiment with different creative ideas.
Creatively, Cinemachine allows for the types of happy accidents that occur on film sets. It’s fast and easy to try out “what if?” shots and blocking when you can tell the camera what type of composition you want and then drag it, or your characters, anywhere.

Cameras can be a big part of your project and good cameras can mean the difference between a decent project and an amazing one. Cinemachine delivers high-fidelity results without bloating the controls or adding work to your production. Cinemachine will raise your project to a new level of visual quality and ease production with real-time workflows. It’s designed to be the go-to solution for anything camera-related. Regardless of your project, if it uses cameras, then it will benefit from Cinemachine.