Physics Interactions: Colliders and Triggers - 2019.3
Tutorial
·
Beginner
·
+10XP
·
5 mins
·
(45)
Unity Technologies

In most Unity projects, there will be a need to create physics interactions. Situations in which physics are needed would include any use of gravity, or where objects collide and react to one and other. In this tutorial, you will learn to work with Colliders and Triggers to control physical interactions.
Languages available:
1. Introduction
If you are using Unity 2019.2 or below, click here.
In most Unity projects, there will be a need to create physics interactions. Situations in which physics are needed would include any use of gravity, or where objects collide and react to one another. Colliders are applied to GameObjects to represent their physical form in the physics simulation. By default, GameObjects with a Rigidbody component applied will be blocked (collided) by the Collider. While Colliders can block Rigidbodies, they can also be used as Triggers. When a collider is set as a Trigger, it detects external interactions from other game objects and executes code that is within a OnTriggerEnter, OnTriggerExit, or OnTriggerStay function within a script.
2. Adding Colliders
1. Select any 3D GameObject within the Scene
2. In the Inspector, click the Add Component button
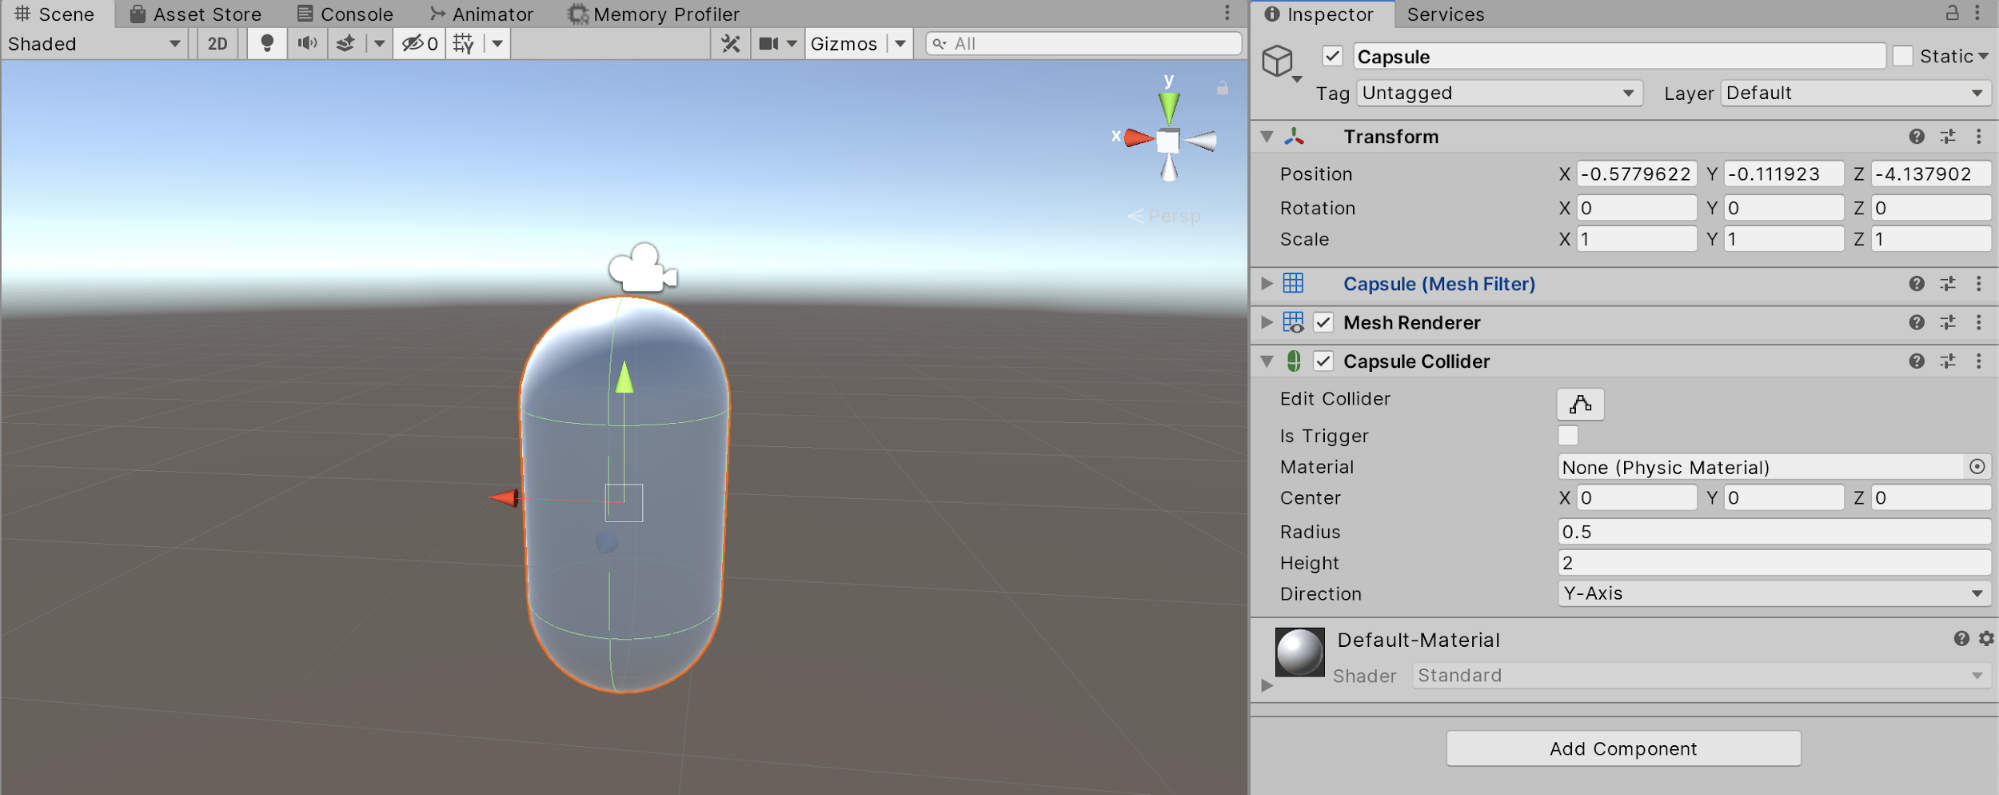
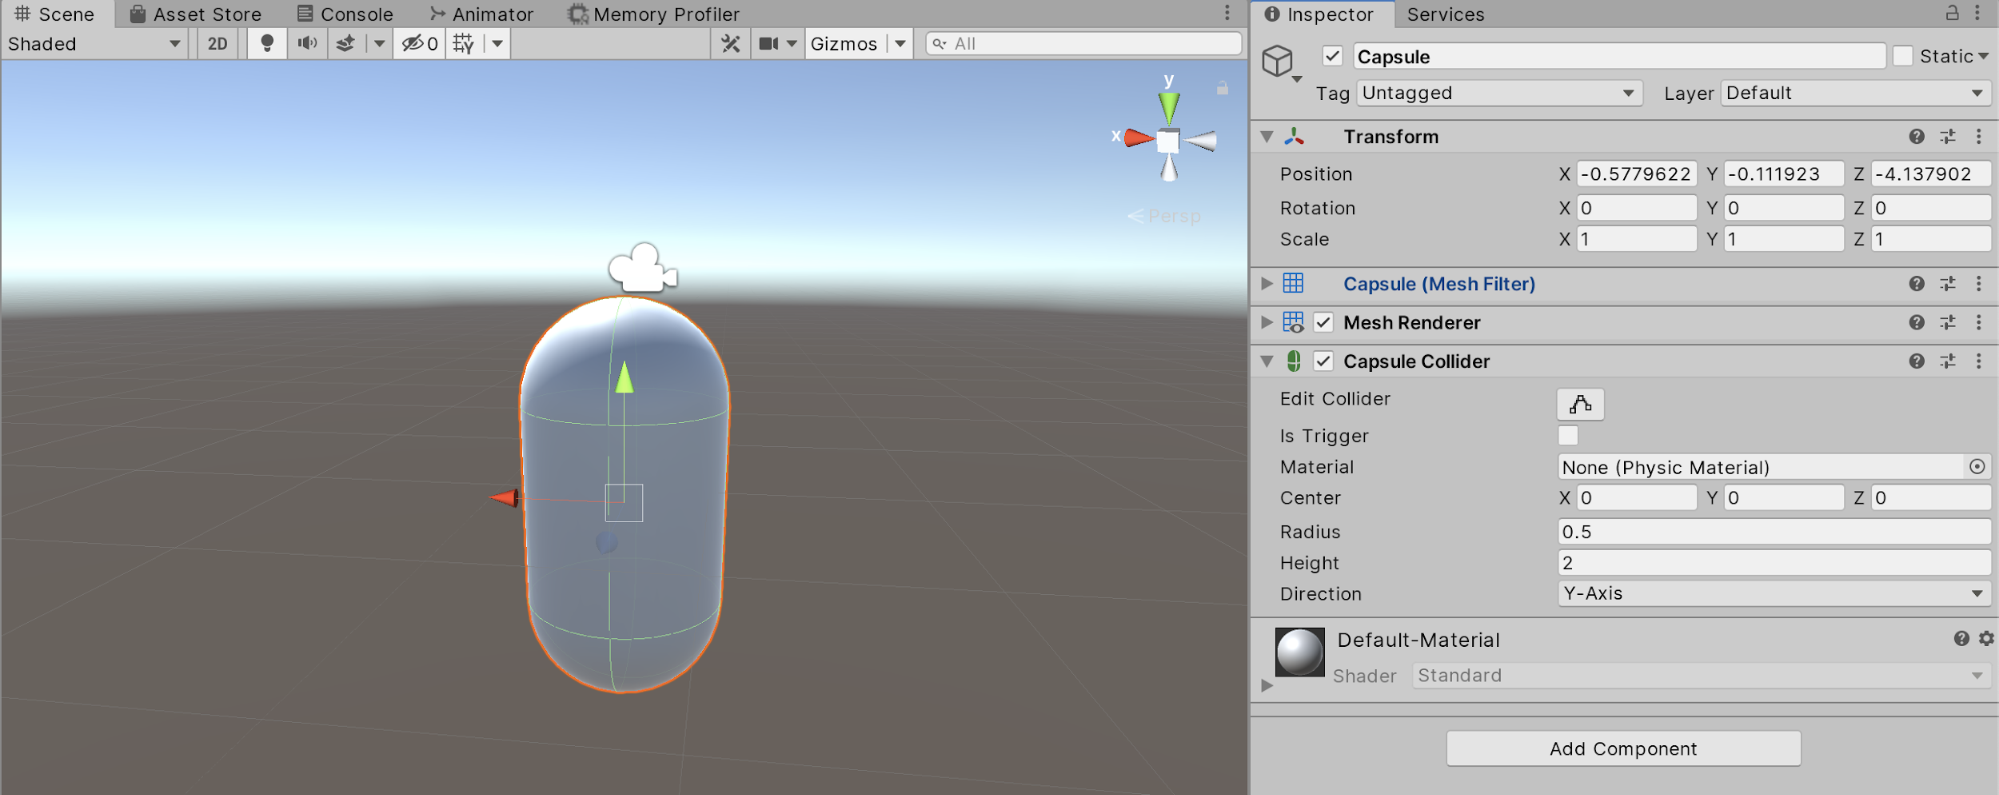
3. Select the Physics category and choose the Collider that best represents the physical shape of the 3D GameObject (Figure 01).

It’s important to remember that while Colliders are meant to represent the GameObjects physical properties, the preciseness of that representation can vary depending on the needs of the project. For example, avatars or characters may use a Capsule Collider. It is only meant to keep the avatar from falling through the floor or walking through a wall.
3. Using Triggers
Triggers will not block Rigidbodies. They are meant to allow Rigidbodies to pass through them and execute code within OnTrigger events.
1. In the Hierarchy, click on Create > Create Empty to create an Empty GameObject
2. With Empty GameObject selected, click Add Component in the Inspector
3. Select Physics > Box Collider
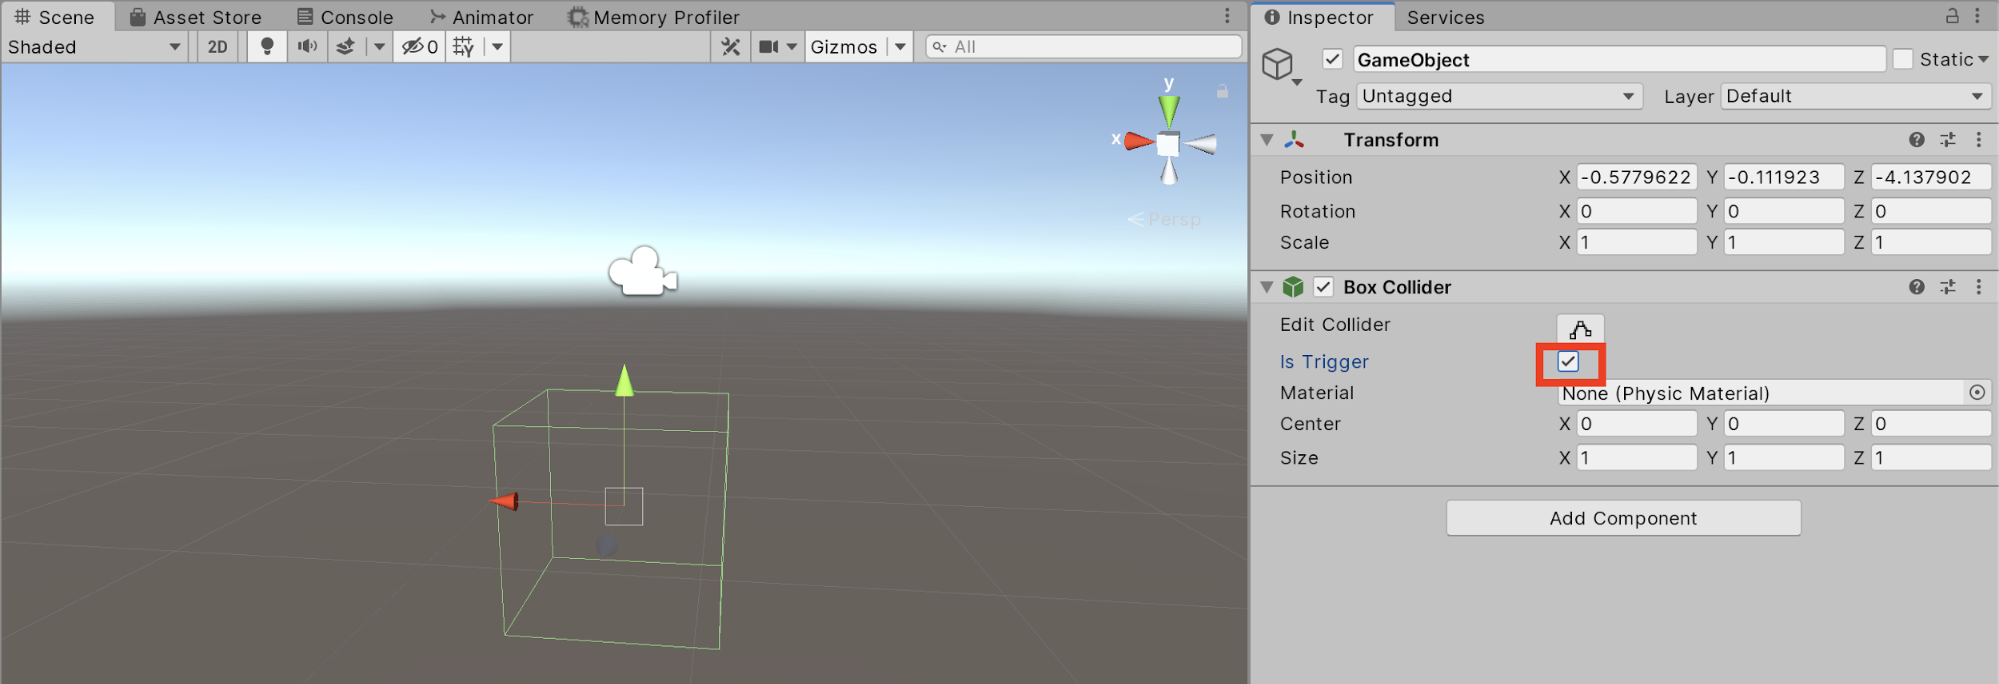
4. Enable Is Trigger in the Box Collider component (Figure 02).

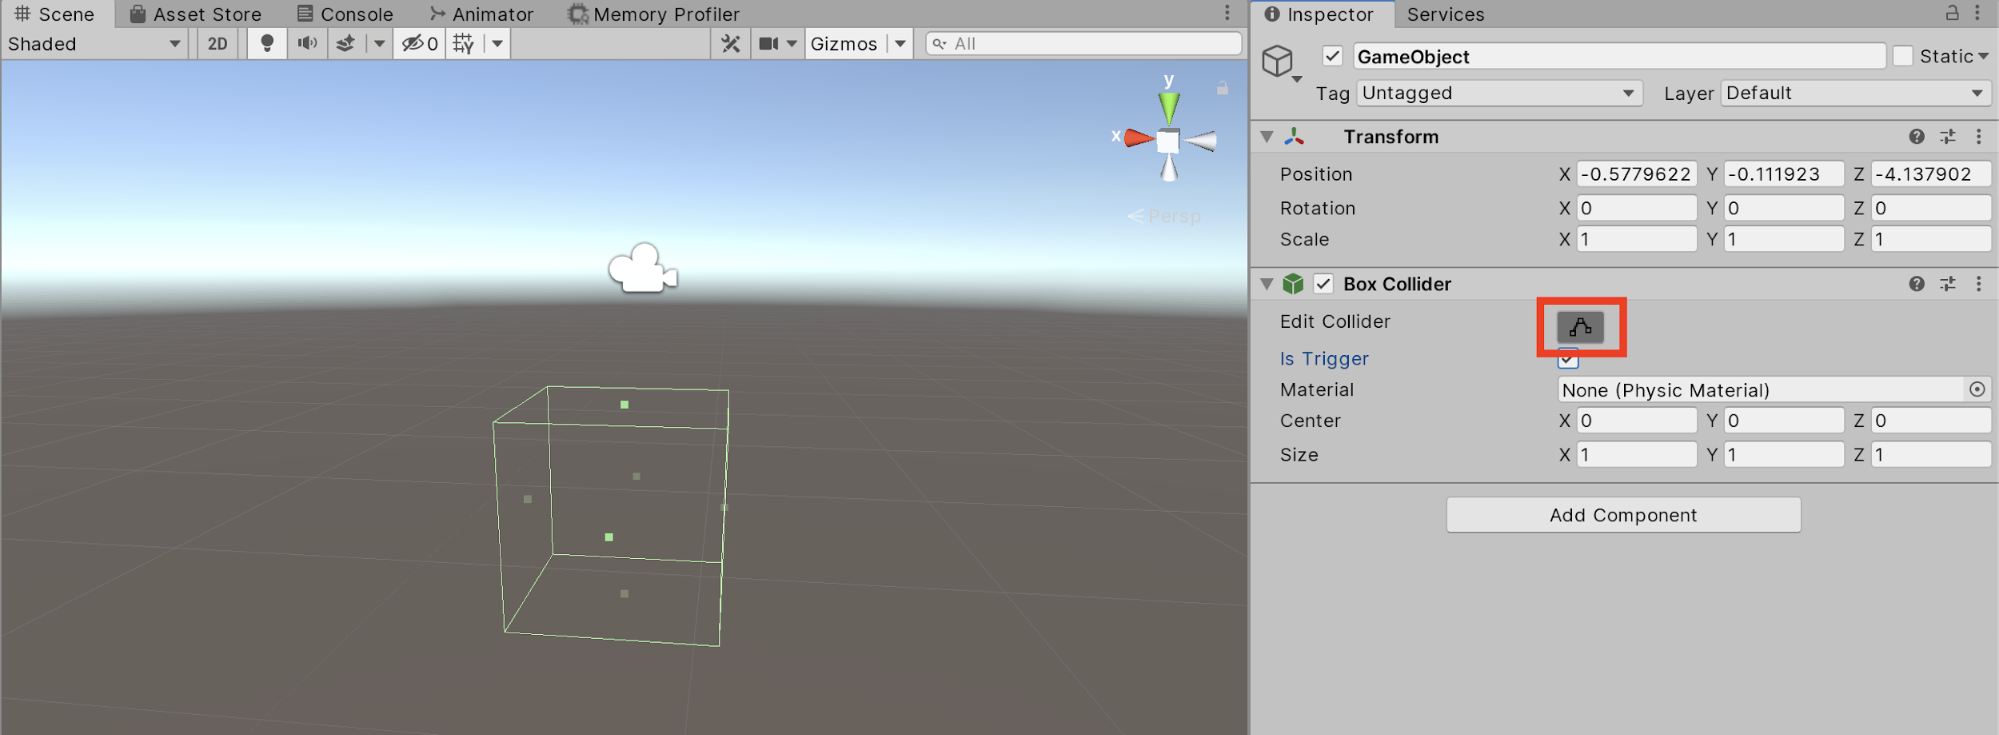
5. Enable Edit Collider to modify the shape of the Trigger (Figure 03).
6. Drag the various handles on each side of the Trigger to interactively modify its shape

Remember, Colliders will block other rigidbodies in the scene, but they can also be used to trigger events using scripts. When creating your levels, use a trigger to open doors, create environmental hazards, or whatever you can think of.
4. Next Steps
You have now learned how to add colliders and edit them to fit the needs of your gameobject. You also learned how to turn a collider into a trigger and how they are best used for things like opening doors or environmental hazards. Lastly, you learned that colliders are best used to interact with other rigidbodies in the scene. Now that you have learned all about colliders and triggers, the next step would be to figure out how to work with them in a script to create logic between a gameobject and a collider or trigger.