
VR Placing Assets (using VRTK)
Tutorial
Beginner
+10XP
45 mins
(197)
Unity Technologies
After downloading & importing assets such as the car, the jumper cables, and the car batteries, we'll create a rough layout of the scene.
Languages available:
1. Paper Prototyping & Setting the Scene
Paper Prototyping
Though it may look ridiculous to some, creating a physical representation of what you plan to build for VR, then acting out what the player will experience actually SAVES time by eliminating unnecessary development time on elements that may end up getting cut from the final product.
Duplicate the Example Scene
To start quickly, we'll start by utilizing a fully functioning VR scene. It's always a good idea to not work on the "original", but rather a copy of it.
- Navigate into VRTK > Samples > Farm > Scenes
- Hold the Control key + drag a copy into the Scenes folder at the top level of Assets (There are TWO scenes folders, one at the top level, and one inside of VRTK)
- Rename the copied scene to "JumpStart" (Right click > rename)
- Double-click the new JumpStart scene to open it. It will look the same, so ensure you're in the new Jumpstart scene by looking at the very top left of your screen.
- OPTIONAL: In the Hierarchy > Environment you can delete the Buildings, Orchard, and Wheat Field if you want to cut your play testing time down so it doesn't have to load so much every time.
2. Downloading & Importing Assets
Import the Car 3D model from the Asset Store
- Visit The link below
- For the car model, It’s actually easier if you open your Unity Project, then:
- Go to Window > Asset Store (you must sign in to your Unity account!)
- Search “low poly car” and set the search options to only find FREE assets
- Find the car shown and click “Download”
- The button becomes an “Import” button, click it.
- In the resulting window, click “Import”
Download/Rename the Clamp and 2 Batteries
- Visit the project page here: https://learn.unity.com/project/vr-in-unity-a-beginner-s-guide?preview=true
- Click the link to each of the fbx files:
- Clamp.fbx
- GoodBattery.fbx
- DeadBattery.fbx
- If the files become odd file names, be sure to rename them correctly!
- In your Unity project, right click Assets > Import Asset, and select all three fbx files
Step 3: Organize into a “Models” folder
Keeping an organized project makes life easier.
- Right click Assets > Create > Folder, call it “Models”
- Drag the 3 fbx files, and the “car_v1” into the Models folder
3. Add Cars to the Scene
- Inside Assets > Models > Car V1 drag the "car_v1" into the scene, placing it near the yellow arrows (you're starting point)
- In the Inspector panel, rotate the car 180 degrees on the Y Axis
- In the Hierarchy panel, expand the car_v1 to reveal the parts.
- Select the hood and using the Inspector panel, rotate the hood up roughly 37 degrees on the X axis
- Duplicate the car in the Hierarchy (right click > duplicate). Rename one "Good Car" and one "Dead Car".
- With the Dead Car selected in the Hierarchy, use the blue movement arrow to slide the Dead Car in front of the Good Car, and rotate it 180 on the Y Axis (so the two cars are facing each other, on opposite sides of the yellow starting arrows)
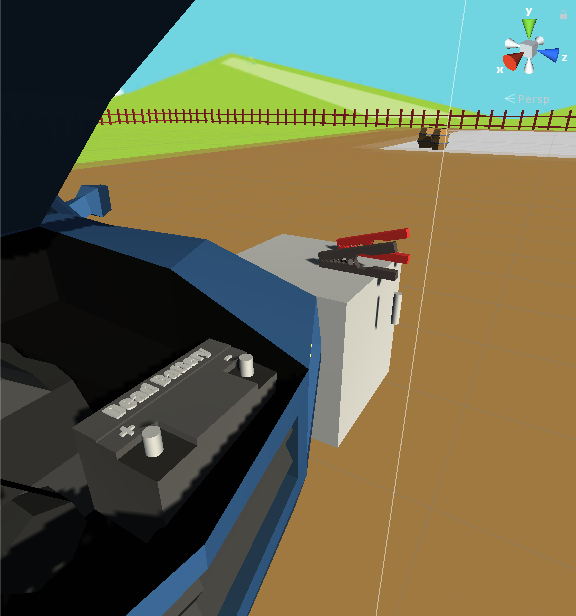
4. Add Car Batteries
- In the Project panel, under Assets > Models drag the good battery and dead battery into the scene.
- Be sure to select objects in the Hierarchy before moving them, or you may only be moving pieces of the object.
- Use the move tool and the Red, Yellow, and Blue arrows to place the Good Battery under the hood of the Good Car and the Dead Battery under the hood of the Dead Car.
- In the Hierarchy, drop the Good Battery onto the Good Car, making it a child object. Do the same for the Dead Battery on the Dead Car.
- Under the GameObject menu, add a cube (to act as a table for setting jumper cables on) and place it beside the Good Car
- Duplicate the first cube and place the duplicate beside the Dead Car.
5. Resizing Objects for VR Realism
- Play testing reveals that the cars are much to large. Select the Good Car in the Hierarchy and use the Inspector to change the scale of X, Y, and Z to 0.6, 0.6, 0.6
- Similarly scale the Dead car to the same values.
- Slide the cars closer together (near the yellow arrows.
- Scale one cube by the same values, 0.6, 0.6, 0.6.
- User "vertex snapping" to perfectly place the cube on the ground by holding the V key and grabbing the square icon at the bottom of the cube.
- To save time, simply duplicate the newly resized cube and slide it into position by the dead car (deleting the old Dead Car cube).