Post Processing Effects: Auto Exposure
Tutorial
Beginner
+0XP
15 mins
28
Unity Technologies

Auto Exposure allows the Camera to adjust for changes in brightness in a Scene in much the same way as a human eye or a digital camera. Auto Exposure uses Compute Shaders, and requires Shader Model 5.
Languages available:
1. Post Processing Effects: Auto Exposure
This tutorial has been verified using Unity 2019 LTS and Post-Processing 2.3.0
Auto Exposure allows the Camera to adjust for changes in brightness in a Scene in much the same way as a human eye or a digital camera. Auto Exposure uses Compute Shaders, and requires Shader Model 5.
2. Enabling Auto Exposure
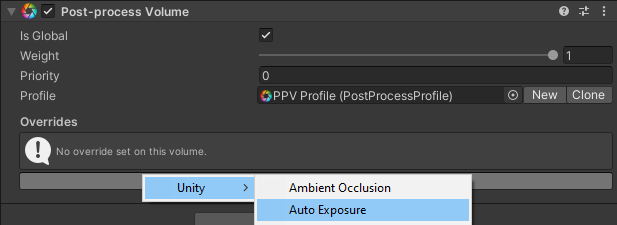
Auto Exposure is added as an Effect Override to a Post-process Volume (Figure 01).

3. Auto Exposure Properties

Exposure
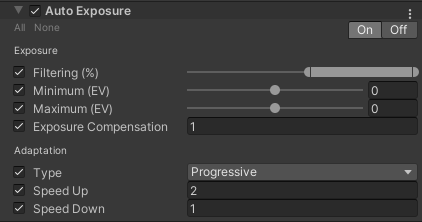
Exposure settings give greater control over your image’s dynamic range.
Filtering prevents pixels that are significantly darker or lighter than the average from skewing the calculated exposure. Percentage values outside the slider’s range are not considered.
Minimum and Maximum set the lowest and highest average brightness values (in EV) to be considered in the calculation of Auto Exposure.
Exposure Compensation sets the middle grey value, which influences the exposure of the entire scene.
Adaptation
Adaptation settings determine the speed at which exposure is adjusted to compensate for changes in brightness.
Type determines the mode of adaptation: Progressive or Fixed. Progressive adjusts exposure at a specified rate. Fixed updates and applies the calculation instantly. Progressive only works in Play Mode and builds. In Edit Mode, Fixed mode is used regardless of this setting.
Speed Up controls the speed of transitioning from a dark to light environment.
Speed Down controls the speed of transitioning from a light to dark environment.

4. Next Steps
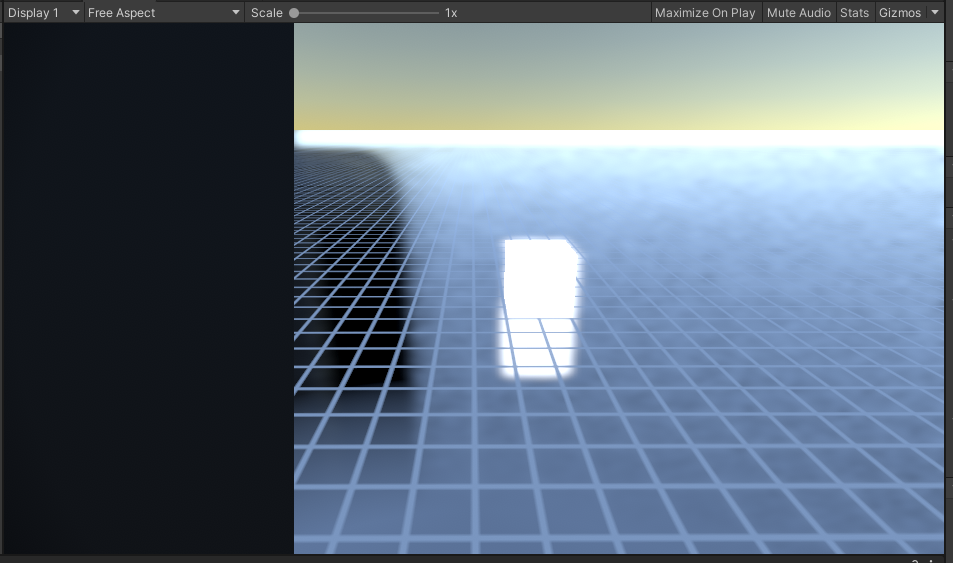
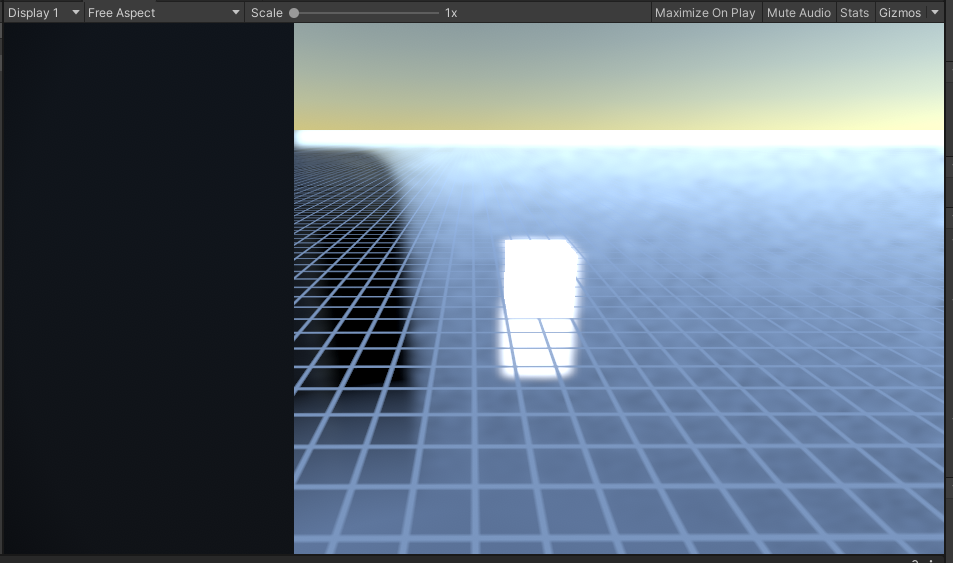
In this tutorial, you learned how to use the Auto Exposure Effect Override. It can be used to temporarily “blind” a player entering a dark cave or bright clearing, as well as to emulate video technology. To test it out, parent a matte black quad to the Camera, and set its local position to 0,0,1. Scale it so that it covers the lens, and move it in and out of view along the X or Y axis, paying special attention to the glow at the horizon (or any particularly bright areas in your Scene). Try setting the Exposure Compensation to .18, a common value used in photography and videography.