Post Processing Effects: Color Grading
Tutorial
intermediate
+10XP
25 mins
47
Unity Technologies
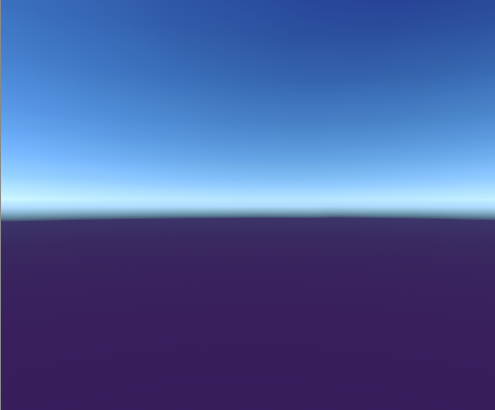
Color Grading is a term borrowed from the film industry, meaning to use color to create or enhance moods in video. The Color Grading Effects is a highly versatile tool that can affect the final look and feel of your visuals in subtle or extreme ways. Here, we’ll explore a few of the effects.
Languages available:
1. Post Processing Effects: Color Grading
If you are using Unity 2019.2 or lower, click here.
Color Grading, a term borrowed from the film industry, refers to the use of color to create or enhance a Scene’s mood. Here, we’ll explore Unity’s Color Grading tools.
2. Adding Color Grading
- Select the Post-Process Volume in the Hierarchy view.
- In the Post-Process Volume Inspector, click Add Override.
- Select Post-processing > Color Grading.
- If you’d like to use high-definition Color Grading, be sure to set Color Space in your project’s Player Settings (Other Settings > Rendering) to Linear.
3. Saturation
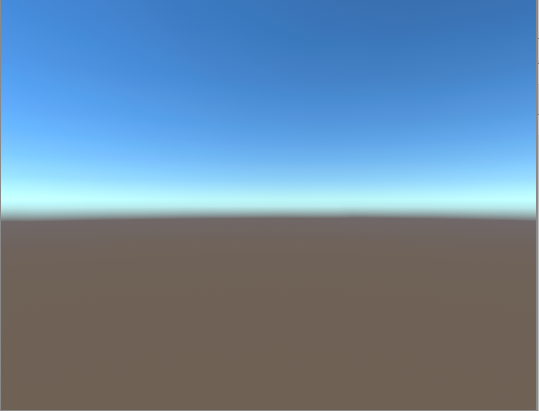
Check the box next to Saturation in the Tone section. Drag it all the way to 100 for a modern fantasy or comic book feel (Figure 01), or down to -100 to completely remove all color (Figure 02).
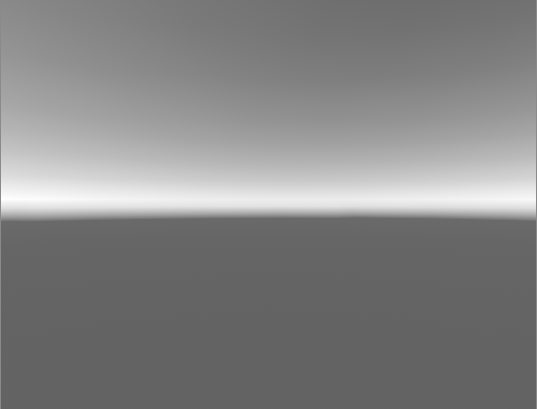
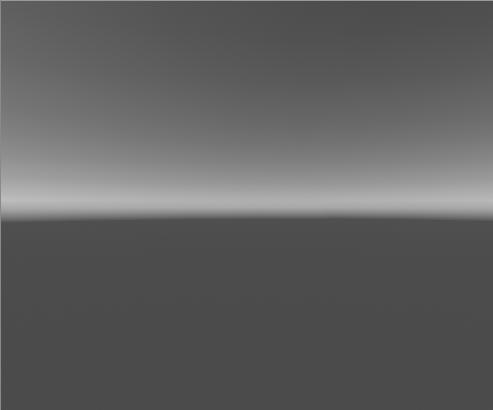
Saturation also works in combination with other effects. Set it to -100 and add a color filter (Figures 03-04).

4. Color Filter
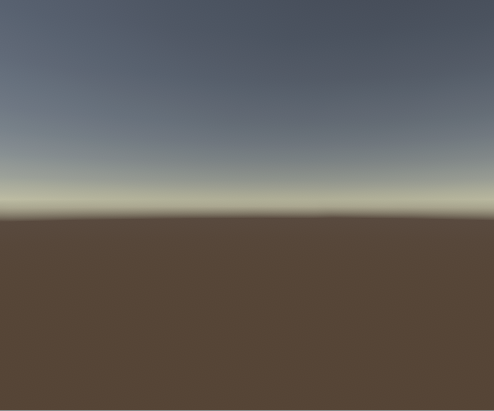
Use Color Filter to create a subtle filmic look (Figures 05-06) or a dramatic alien-like or apocalyptic sky (Figures 07-08).



5. Trackballs
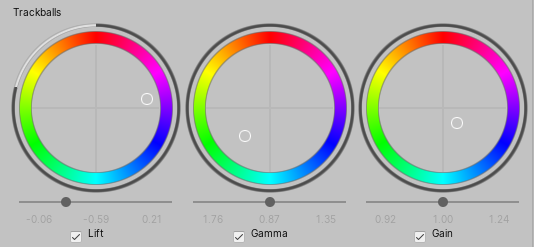
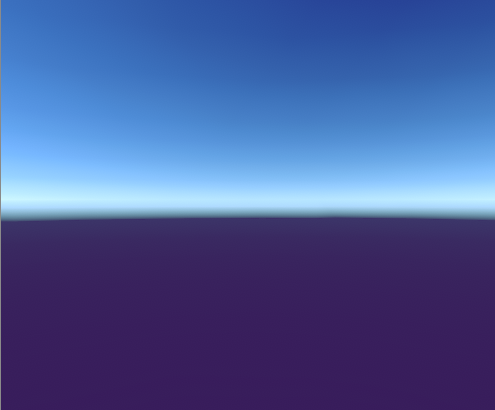
Perhaps the most versatile, powerful effect in the Color Grading toolbox are the Trackballs, which function as color correction wheels to tint the shadows, midtones, and highlights of your image (Figures 09-10). This is useful for setting a certain mood or color motif, or recreating classic warm/cool color combinations.
6. Conclusion
This has been a quick tour of just a few of the options available in the Color Grading toolbox. Try mixing and matching to find a combination that’s right for your project.