Post Processing Effects: Deferred Fog
Tutorial
Beginner
+0XP
15 mins
47
Unity Technologies

Deferred Fog uses information from the Z Buffer to gradually envelop your scene in Fog as it gets farther from the Camera. This can be used for especially thick atmospheres like steamy jungles or underwater temples, or to obscure monsters in a horror game. It's also a classic technique used to hide the Camera's Far plane, and the sudden appearance of geometry, on early 3D-capable computers and consoles, where a long draw distance wasn't feasible.
Languages available:
1. Post Processing Effects: Deferred Fog
This tutorial has been verified using Unity 2019 LTS and Post-Processing 2.3.0
Deferred Fog uses information from the Z Buffer to gradually envelop your scene in Fog as it gets farther from the Camera. This can be used for especially thick atmospheres like steamy jungles or underwater temples, or to obscure monsters in a horror game. It's also a classic technique used to hide the Camera's Far plane, and the sudden appearance of geometry, on early 3D-capable computers and consoles, where a long draw distance wasn't feasible.
2. Enabling Deferred Fog
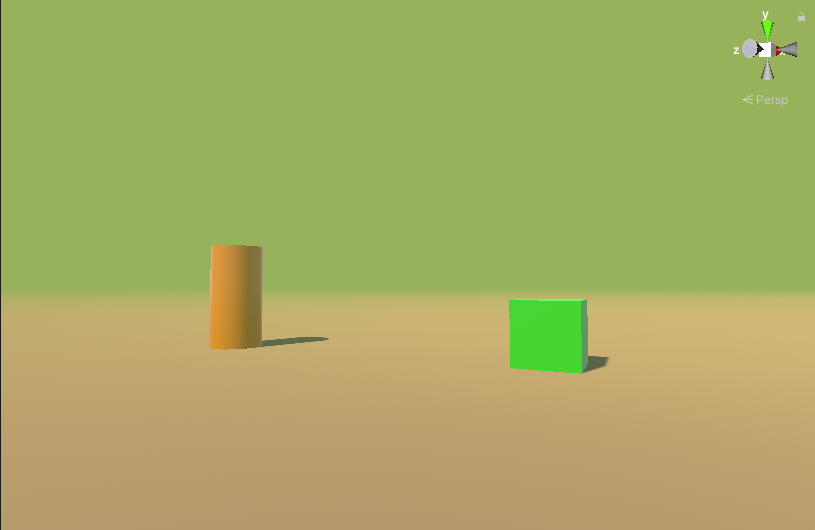
1. Select the Main Camera to which the Post-process Layer is attached. Set the Rendering Path to Deferred (Figure 01).

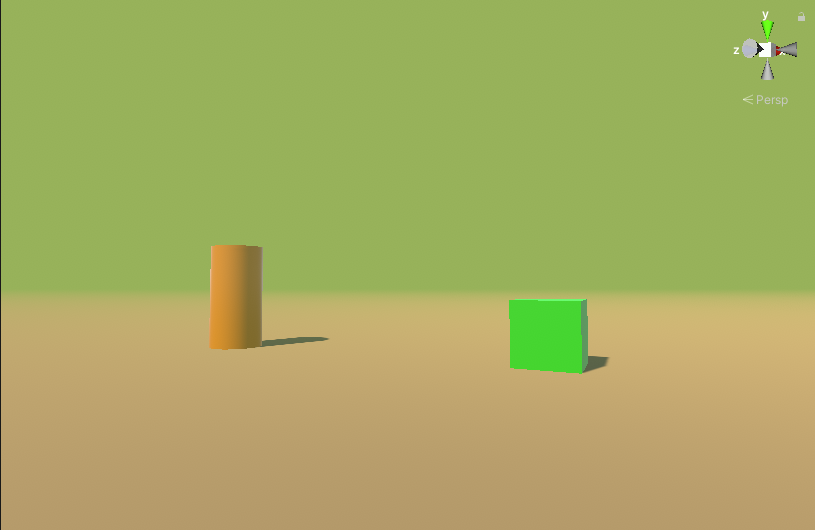
2. Deferred Fog becomes available in the Post-process Layer Component (Figure 02). The Deferred Fog can optionally exclude the Skybox.

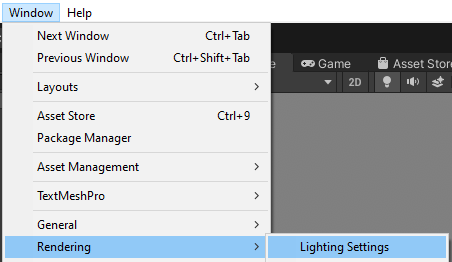
3. Aside from the option to exclude the Skybox, Deferred Fog uses the regular Fog settings, which can be found in the Window dropdown by selecting Rendering > Lighting Settings (Figure 03).

Fog Properties

Color - Note that the alpha channel of the fog color is ignored. Density is controlled by the distance.
Mode - The density of the fog is determined by the distance of the nearest geometry from the Camera at each pixel. Mode determines the function used, with three options:
Linear - This uses linear interpolation to evenly thicken the fog along the distance from the Camera. This is the only option that allows the user to control the start and end distances, though fog density is controlled by the distance from the Camera. Negative Start values can be used to have the fog start behind the Camera, useful for making especially thick fog.
Exponential - This gives a softer transition into the fog, but the fog begins sooner. Unlike Linear, density is user controllable.
Exponential Squared - This gives less fog in the area immediately around the Camera, but the transition to full fog begins sooner than with Exponential, and is sharper. Density is user controllable.

3. Next Steps
In this tutorial, you learned how to apply Deferred Fog to a Scene. Deferred fog has a long history in games, for purposes both artistic and utilitarian. Recreating classic scenarios can lead to new variations and applications for one of the oldest tools in the 3D and post-processing toolsets.