
Post Processing Effects: Tone Mapping
Tutorial
Beginner
+10XP
10m
(91)
Unity Technologies
Tonemapping is the process of mapping color values from high dynamic range (HDR) to low dynamic range (LDR). In Unity, this means that for most platforms, the arbitrary 16-bit floating-point color values will be mapped to traditional 8-bit values.
Languages available:
1. Post-processing Effects: Tonemapping
This tutorial has been verified using Unity 2019 LTS and Post-Processing 2.3.0
Tonemapping is the process of mapping color values from High Dynamic Range (HDR) to Low Dynamic Range (LDR). In Unity, this means that for most platforms, the arbitrary 16-bit floating point color values will be mapped to traditional 8-bit values. In simpler terms, the process remaps the HDR values of an image into a range suitable to be displayed on the screen. Tonemapping should always be applied when using an HDR camera; otherwise, any color intensity values above 1 will be clamped at 1, which alters a Scene’s luminance balance.
When using Tonemapping, you want to keep several things in mind: First, Tonemapping will only work properly if the camera is HDR enabled. Second, you should give light sources higher than normal intensity values to make use of the bigger range. Third, any effect that can benefit from the higher luminance should be scheduled before the Tonemapper. Fourth, when using Tonemapping, make sure the project is set to Linear color space to avoid double gamma correction on the rendered Scene.
To enable Tonemapping, go into the Color Grading option for post-processing effects.
1. Select the Post Processing Volume Profile in your Project window.
2. Click Color Grading to enable it and open up the category. If it’s not in the list, click
Add Override > Post-processing > Color Grading.
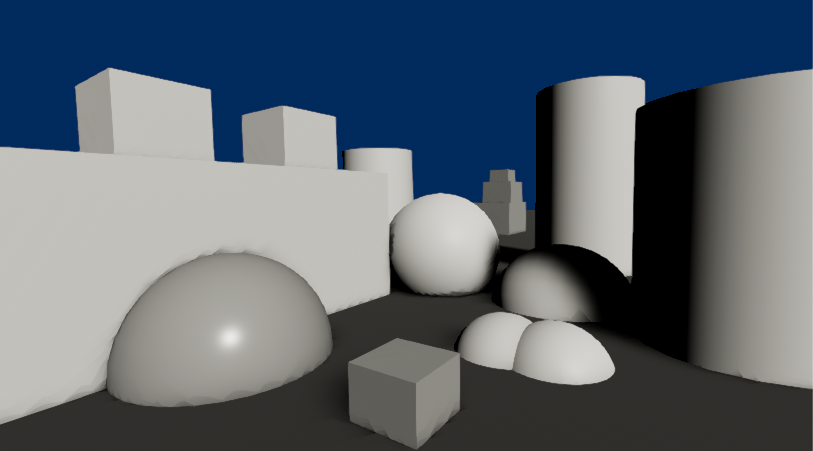
3. Tonemapping is a category with a dropdown menu. Click the dropdown to select the Tonemapping mode you want to use. (Figure 03)
2. Tonemapping Modes
There are three Tonemapping modes supplied with the post-processing stack:
- None: This mode applies no Tonemapping. Select this when working in LDR.
- Neutral: This has minimal impact on color hue and saturation.
- ACES: This mode offers more contrast than Neutral and has a larger impact on color hue and saturation.
3. Neutral Tonemapping
The Neutral Tonemapper only does range-remapping with a minimal impact on color hue and saturation. This is generally a great starting point for extensive color grading. Neutral offers a full parametric control over the Tonemapping curve.
4. ACES Tonemapping
ACES (Academy Color Encoding System) is a higher contrasted Tonemapper than Neutral and has a greater effect on color hue and saturation. This Tonemapper is the simplest to use, as it requires no user input. It also provides a more film-like appearance, which is why ACES is often referred to as Filmic.
The main difference between ACES and Neutral is how they handle high-intensity color values. The two Tonemappers normalize high-intensity colors differently, and ACES provides a higher-contrast, more saturated colors than Neutral.
You might want to use ACES if you want your dark areas darker and your colors more saturated.
5. Conclusion
Tonemapping is a mandatory post-processing effect when working on HDR lighting environments. It’s used to help adjust the colors, shadows, brightness, and contrasts of your scene to give it that final polish. It’s great to help enhance a scene or adjust how the colors and luminosity of your lights are rendered.