
Prefabs
Tutorial
Beginner
+10XP
5m
(639)
Unity Technologies
Prefabs are a special type of component that allows fully configured GameObjects to be saved in the Project for reuse. These assets can then be shared between scenes, or even other projects without having to be configured again. In this tutorial, you will learn about Prefabs and how to create and use them.
Languages available:
1. Prefabs
This tutorial has been verified using Unity 2019 LTS
Prefabs are a special type of component that allows fully configured GameObjects to be saved in the Project for reuse. These assets can then be shared between scenes, or even other projects without having to be configured again. This is quite useful for objects that will be used many times, such as platforms. A major benefit to Prefabs is that they are essentially linked copies of the asset that exist in the Project window. This means that changes made or applied to the original Prefab will be propagated to all other instances. This makes fixing object errors, swapping out art or making other stylistic changes very efficient.
Prefabs are created automatically when an object is dragged from the Hierarchy into the Project window.
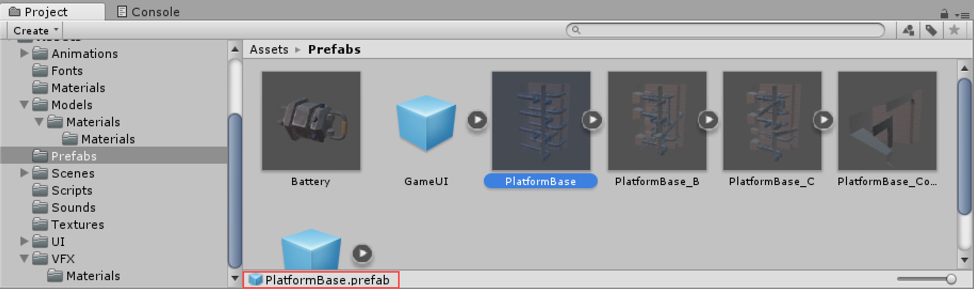
Prefabs look quite similar to other objects that appear in the Project window. However, when selected, their file type will be a *.prefab. When the Prefab is selected, the Inspector displays all of the components that were configured on the original object. (Figure 01)
When prefabs are present in the Hierarchy, they’re represented with blue text and a blue cube. (Figure 02)
When you convert an object to a Prefab, a new set of buttons is added above the Transforms values. (Figure 03)
Like any other asset in Unity, Prefabs can be edited after they are created. A Prefab can be edited on a per-object basis, where a single instance of a Prefab is changed for an individual purpose, or these changes can be applied to all instances of the Prefab.
- The Select button highlights the original Prefab in the Projects folder. This is helpful for projects that have become large with many different Prefabs spread throughout many folders.
- The Revert button removes all changes applied to a Prefab that do not match with the Prefab in the Project folder.
- The Overrides dropdown will show all the changes that have been made to the prefab. At the bottom, you will see two buttons Revert All and Apply All. You can also click on each individual change to review, revert, and apply.
- Revert All: Will revert all the changes in the overrides list.
- Apply All: button takes all the changes made to the selected Prefab and applies them to all other existing instances, as well as to the original in the Project window.