
Volume Overrides: Procedural Sky - 2019.4 LTS
Tutorial
intermediate
+10XP
20 mins
(15)
Unity Technologies
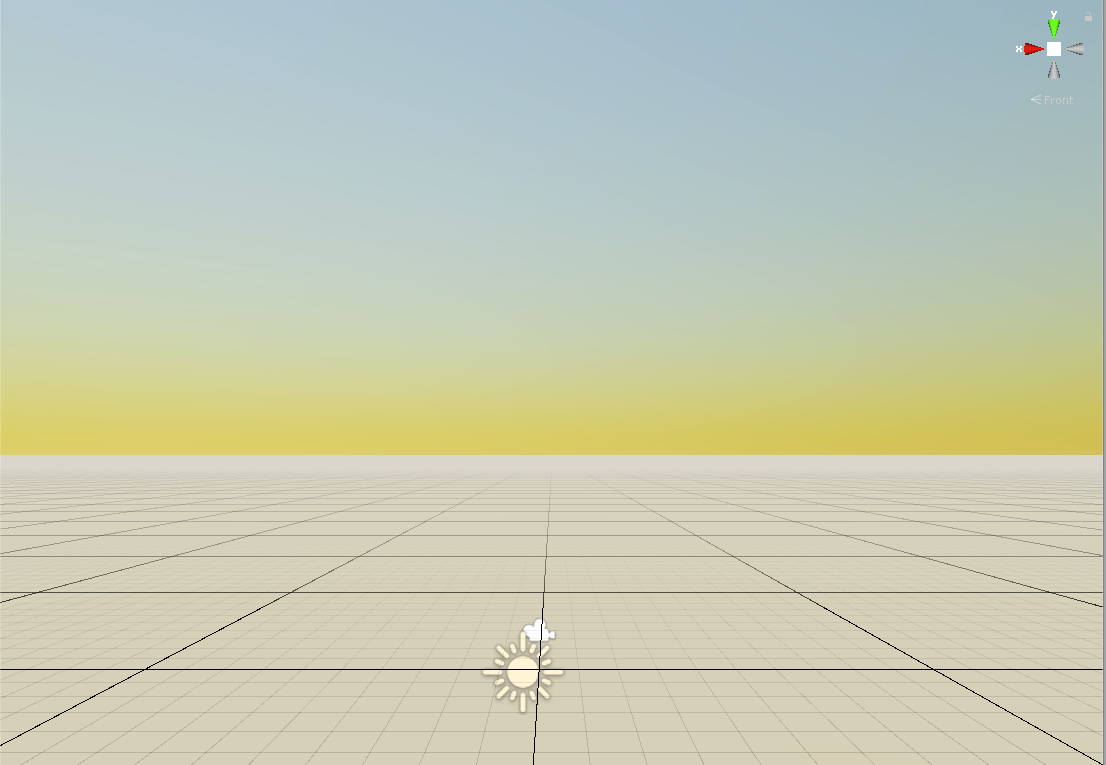
The Procedural Sky Volume Override is the default sky type in Scenes using the High-Definition Render Pipeline. In this workflow we’ll learn how to use the Procedural Sky Override to tint the sky and ground, adjust atmospheric thickness (simulating haze), and adjust lighting and exposure.
Languages available:
1. Physically Based Sky Volume Override
This tutorial has been verified using Unity 2019 LTS
The Physically Based Sky feature is available as a Volume Override to the Sky and Fog Volume, present in the Default Scene, or any new scenes created in a High Definition Render Pipeline (HDRP) Project. In this tutorial, we will learn how to use the Physically Based Sky Override to adjust the qualities of lighting as atmospheric conditions change, depending on the elevation of the atmosphere’s size, or the density amount of particulates in the atmosphere, simulating hazy conditions.
2. Setting up Physically Based Sky
1. Create or load a project using the High Definition Render Pipeline.
2. Select the Sky and Fog Volume GameObject in the Hierarchy window. This GameObject is present in the Default Scene, as well as in any newly created Scene.
3. In order to make any changes to the Physically Based Sky Override easier to see, disable the Fog checkbox in the Inspector window (Figure 01).
4. Select the Add Override Button, and then select: Sky > Physically Based Sky.
5. To visually enable the Physically Based Sky Override in your Scene, expand the Visual Environment Component of the Sky and Fog Volume, and change the Type from HDRI Sky (Default), to Physically Based Sky (Figure 02).
The Physically Based Sky Overrides settings in the Inspector can be enabled or modified (Figure 03). You can toggle the Overrides selection to All, although to maximize the performance of your scene, it is recommended to select only the individual Overrides that you need.
3. Selecting the Individual Override Settings
Planet
- Earth Preset - When enabled, the Inspector window reveals additional interface features specific to the Earth Preset, including Planetary Radius, and Air.
- Planetary Radius - This interface checkbox is only visible when the Earth Preset is selected. It sets the radius of the planet in meters. The radius of the planet is the distance from the center of the planet to the sea level.
- Spherical Mode - When enabled, you can define the planet in terms of a world-space position and radius. Otherwise, the planet is always below the Camera in the world-space x-z plane.
- Planet Center Position - Sets the world-space position of the planet’s center in meters.
- Planet Rotation - Sets the orientation of the planet.
- Ground Color Texture - Specifies a Texture that represents the planet’s surface.
- Ground Tint - Specifies a color that the HDRP uses to tint the Ground Color Texture
- Ground Emission Texture - Specifies a Texture that represents the emissive areas of the planet’s surface.
- Ground Emission Multiplier - Sets the multiplier that the HDRP applies to the Ground Emission Texture.
Space
- Space Rotation - Sets the orientation of space.
- Space Emission Texture - Specifies a Texture that represents the emissive areas of
- space.
- Space Emission Multiplier - Sets the multiplier that the HDRP applies to the Space Emission Texture.
Air - These interface checkboxes are only visible when the Earth Preset is selected.
- Air Maximum Altitude - Sets the depth, in meters, of the atmospheric layer, from sea level. This controls the rate of height-based density falloff.
- Air Density R - Controls the Red color channel opacity of air at the zenith point in the sky directly above the observer.
- Air Density G - Controls the Green color channel opacity of air at the zenith point in the sky directly above the observer.
- Air Density B - Controls the Blue color channel opacity of air at the zenith point in the sky directly above the observer.
- Air Tint - Specifies the color that the HDRP tints the air to. This controls the single scattering albedo of air molecules (per color channel). A Value of 0 results in absorbing molecules, and a value of 1 results in scattering ones..
Aerosols
- Aerosol Maximum Altitude - Sets the depth of the aerosol particles in the atmospheric layer in meters, starting from sea level. When selected, this controls the rate of height-based density falloff.
- Aerosol Density - Controls the opacity of aerosols at the zenith point in the sky directly above the observer.
- Aerosol Tint - Specifies the color that the HDRP tints aerosols to. This controls the single scattering albedo of aerosol molecules (per color channel). A value of 0 results in absorbing molecules, and a value of 1 results in scattering ones.
- Aerosol Anisotropy - Controls the direction of anisotropy, which is the property of being directionally dependent. Set this to a positive value for forward scattering, a negative value for backward scattering, or 0 for isotropic scattering.
Artistic Overrides
- Color Saturation - Controls the saturation of the sky color.
- Alpha Saturation - Controls the saturation of the sky opacity.
- Alpha Multiplier - Sets the multiplier that the HDRP applies to the opacity of the sky.
- Horizon Tint - Specifies a color that the HDRP uses to tint the sky at the horizon.
- Horizon Zenith Shift - Controls how the HDRP blends between the Horizon Tint and the Zenith Tint.
- Zenith Tint - Specifies a color that the HDRP uses to tint the zenith point in the sky directly above the observer.
Miscellaneous
- Number of Bounces - Sets the number of scattering events. This increases the quality
- of the sky visuals but also increases the pre-computation time.
- Intensity Mode - When selected, the dropdown menu’s choices include: Exposure or Multiplier.
- Exposure - Sets the exposure of the sky as an Exposure Value (EV).
- Update Mode - Specifies when the HDRP updates the environment lighting. When selected, the dropdown menu’s choices include: On Changed, On Demand, and Realtime. When set to OnDemand, use: HDRenderPipeline.RequestSkyEnvironmentUpdate().
- Include Sun in Baking - When enabled, the HDRP uses the Sun Disk in baked lighting.
4. Making Adjustments to the Physically Based Sky Overrides
The Earth Preset setting can affect various properties of atmospheric lighting within the Scene, depending on the Planetary Radius and Air Density values.
1. With the Earth Preset Selected, select the checkbox to the left of Air Maximum Altitude. The default value of 55261 meters depicts the planetary atmosphere altitude (Figure 04).
2. When you change the value to a lower number, it causes the air to thin and the sky’s lighting properties to change (Figure 05). As the Air Maximum Altitude value decreases, it simulates the shrinking atmosphere, approaching the vacuum of space at the surface level of 0 (Figure 06).
The Aerosols setting affects how particulates in the atmosphere refracts light in the Scene, depending on the Aerosol Maximum Altitude, Aerosol Density, Aerosol Tint, and Aerosol Anisotropy. Changing the Aerosol Maximum Altitude and the Aerosol Density values will result in changes to the visibility, quality, clarity, and properties of light in your Scene.
3. Adjust the Aerosol Maximum Altitude value to a higher or lower setting to preview the sky’s visibility changes, and increase the Aerosol Density value to simulate haze or a smoky atmospheric condition with increased particulates, such as dust storms or forest fires (Figure 07).
4. Re-enable the Volumetric Fog checkbox we disabled in an earlier step. This will soften the transition between the sky and ground, and enhance realism to the Scene (Figure 08).
5. Conclusion
Within a High Definition Render Pipeline Project, The Physically Based Sky Override Settings, in combination with the Fog settings, opens up a wide range of possibilities to extend various atmospheric conditions, qualities of light, density of atmospheric haze, and additional properties of lighting within your Scene.