Project Configuration with Unity Hub
Tutorial
·
Beginner
·
+10XP
·
15 mins
·
(75)
Unity Technologies
The Unity Hub is a standalone desktop application that’s designed to streamline your experience with the Unity Editor. It serves as a central repository for all things related to Unity, from downloading and managing different versions of the Editor to keeping a list of all projects both on the user device and in the cloud. It also provides you with easy access to official Unity Learn materials. In this workflow, we will download and configure the Hub.
Languages available:
1. Project Configuration with the Unity Hub
This tutorial has been verified using Unity 2019 LTS
The Unity Hub is a standalone desktop application that’s designed to streamline your experience with the Unity Editor. It serves as a central repository for all things related to Unity, from downloading and managing different versions of the Editor to keeping a list of all projects both on the user device and in the cloud. It also provides you with easy access to official Unity Learn materials. In this workflow, we will download and configure the Hub.
2. Installing the Unity Hub
1. Select the version of Unity you wish to work with (Personal, Plus, Pro) from the following link: https://store.unity.com/
2. Follow the installation instructions and, if prompted, sign in with your Unity account.
3. Installing a Version of Unity
1. Select the version of Unity you wish to work with (Personal, Plus, Pro) from the following link: https://store.unity.com/
2. Follow the installation instructions and, if prompted, sign in with your Unity account.
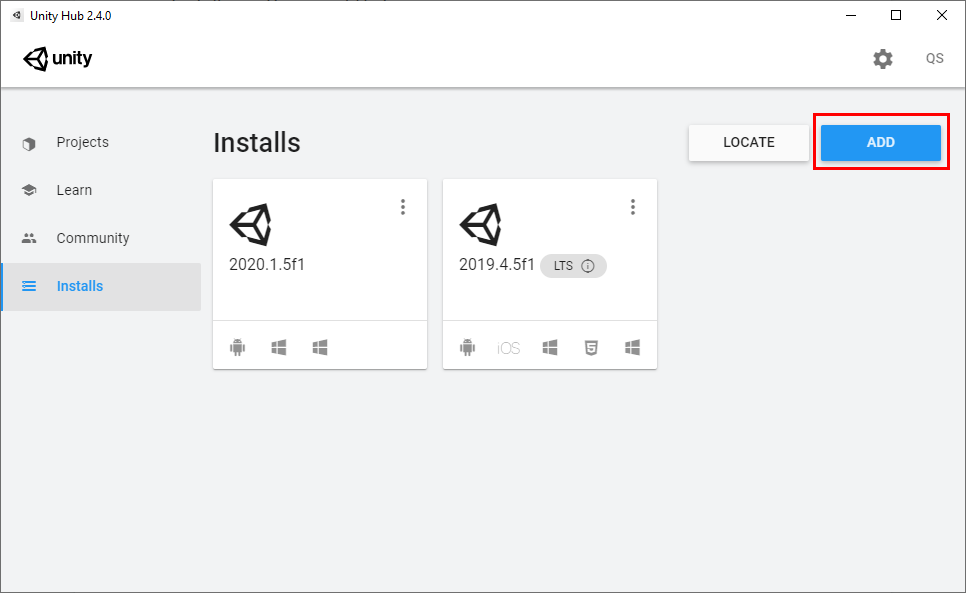
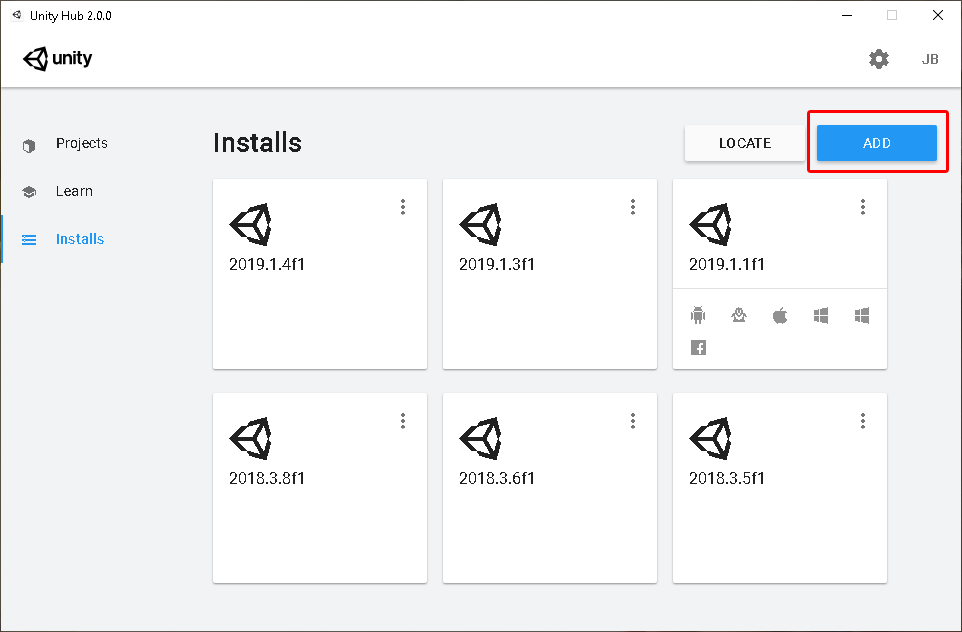
3. A window appears with all available versions of Unity. Alpha, Beta, and Final versions are all shown in the same list (Figure 02). The type of install is denoted by the letter near the end of the version number.
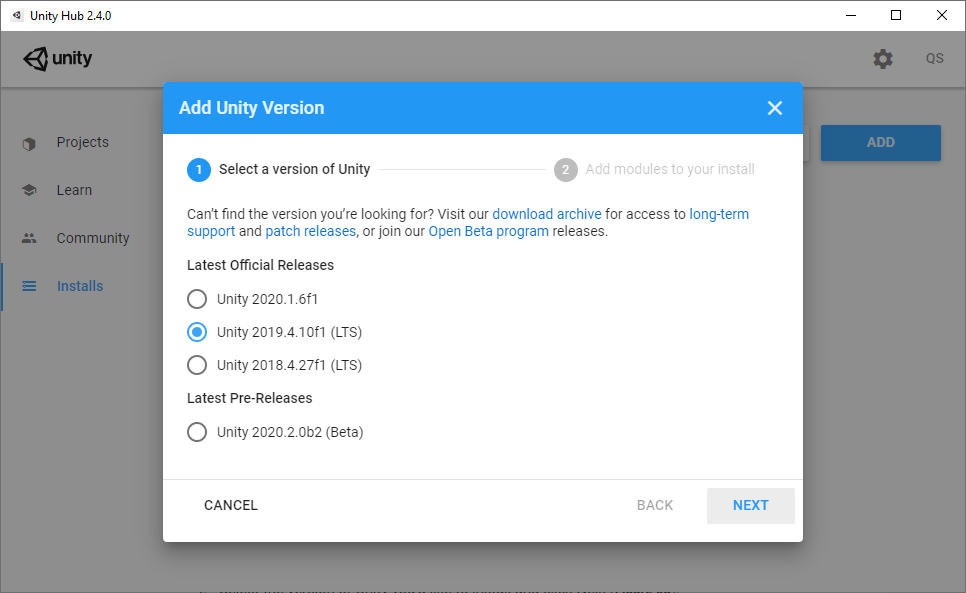
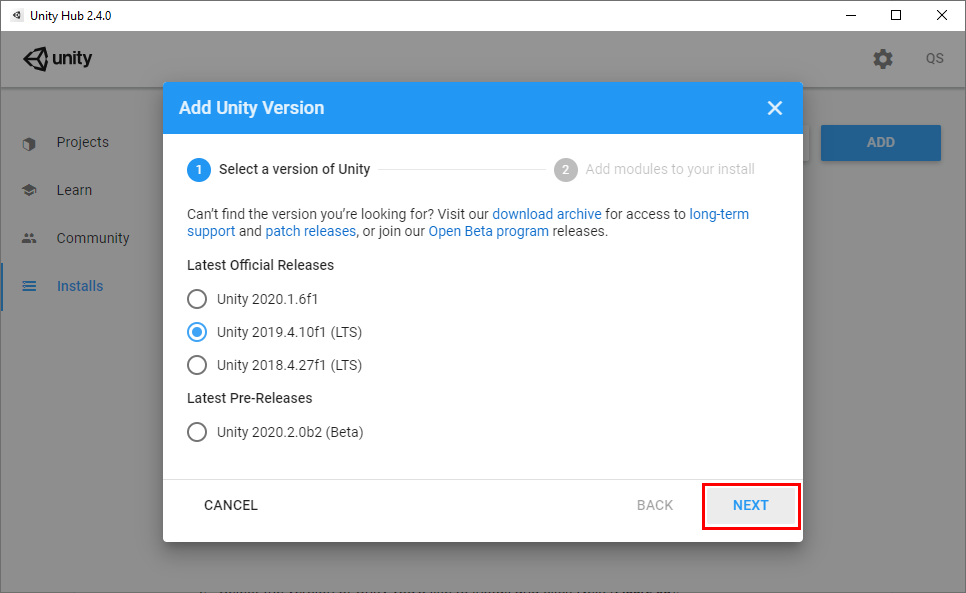
4. Select the version of Unity you’d like to install and click Next (Figure 03).
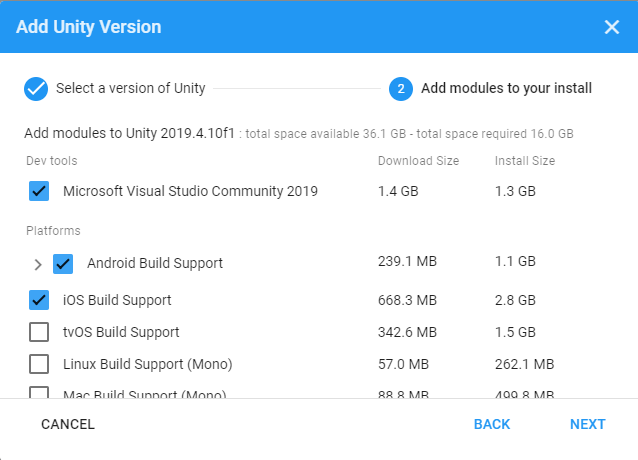
5. Select the modules you’d like to install and click Done (Figure 04).
4. Managing Multiple Versions of Unity
The Hub allows you to manage multiple versions of Unity on your machine without the need to manually configure different folder structures in your program files. It also allows you to quickly uninstall versions you no longer use. To delete a version of Unity with the Hub, simply locate the version you wish to remove in the Installs tab, click on the three dots in the upper-right corner of the version’s tile, and select Uninstall (Figure 05).
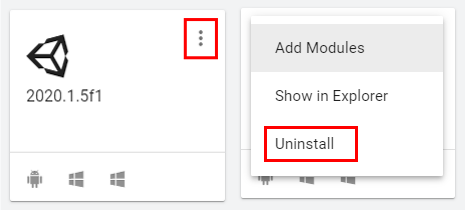
To add features to an installed version of Unity, select Add Modules in the same menu.
5. Setting up Projects With Unity Hub
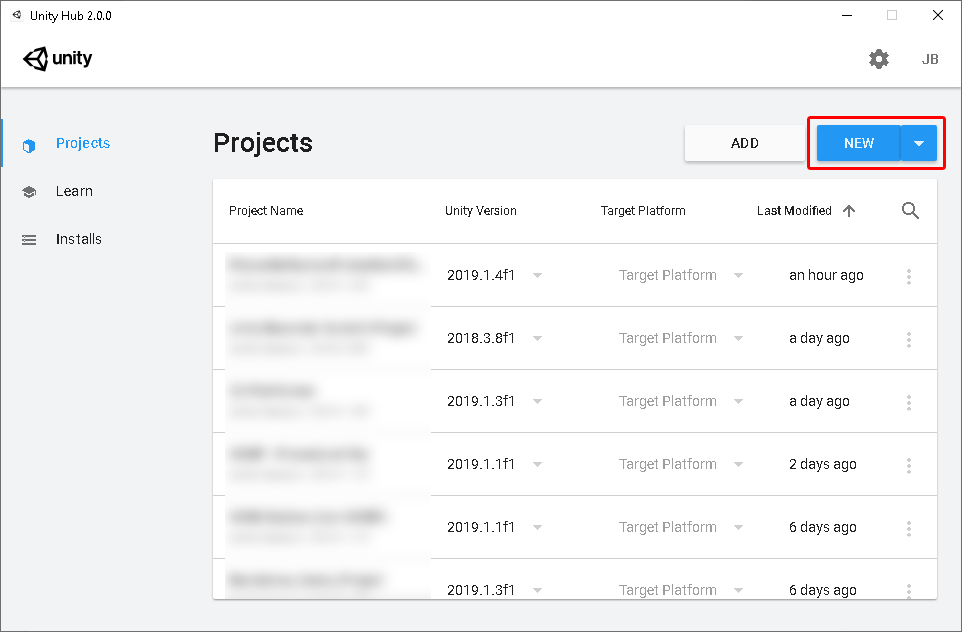
1. Launch Unity Hub and click the New button in the upper-right of the window (Figure 06)
2. In the new project configuration window, give the project a name and select where it should be saved on your computer.
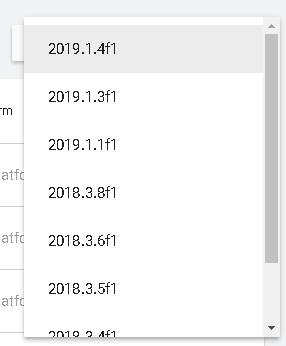
3. By default, clicking New will create a project for the latest installed version of Unity. To create a project for another installed version of Unity, click the triangle on the New button to show a list of installed versions (Figure 07). Select one to create a new project for that version of Unity.
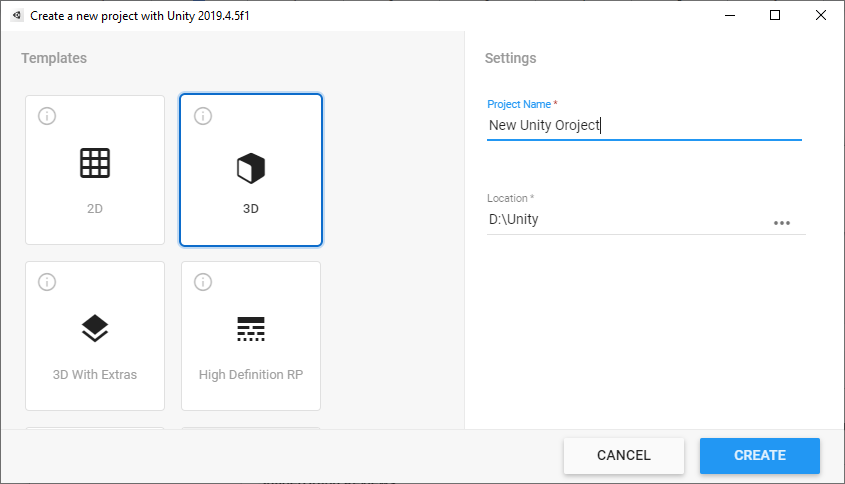
4. Select the desired template type for the project depending on your needs. The 3D and 2D templates automatically set up both the Scene view and camera to work as they should for the selected project type, while the 3D with Extras and High Definition RP import the necessary plugins to make the most out of each pipeline (Figure 08).
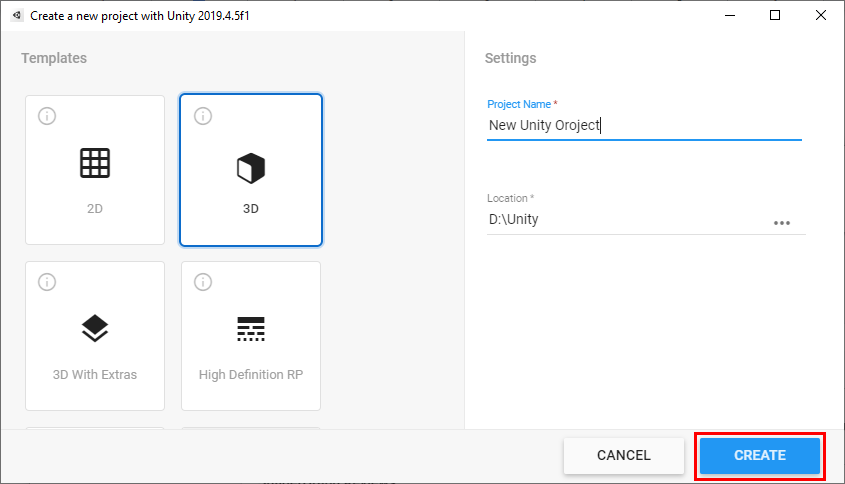
5. Click the CREATE button to complete your configuration and launch the Unity Editor (Figure 09).
6. Conclusion
With the Unity Hub, maintaining your working experience with the Unity Engine is easier than ever before. You can add and remove engine versions, create projects, and more all from one central location.