
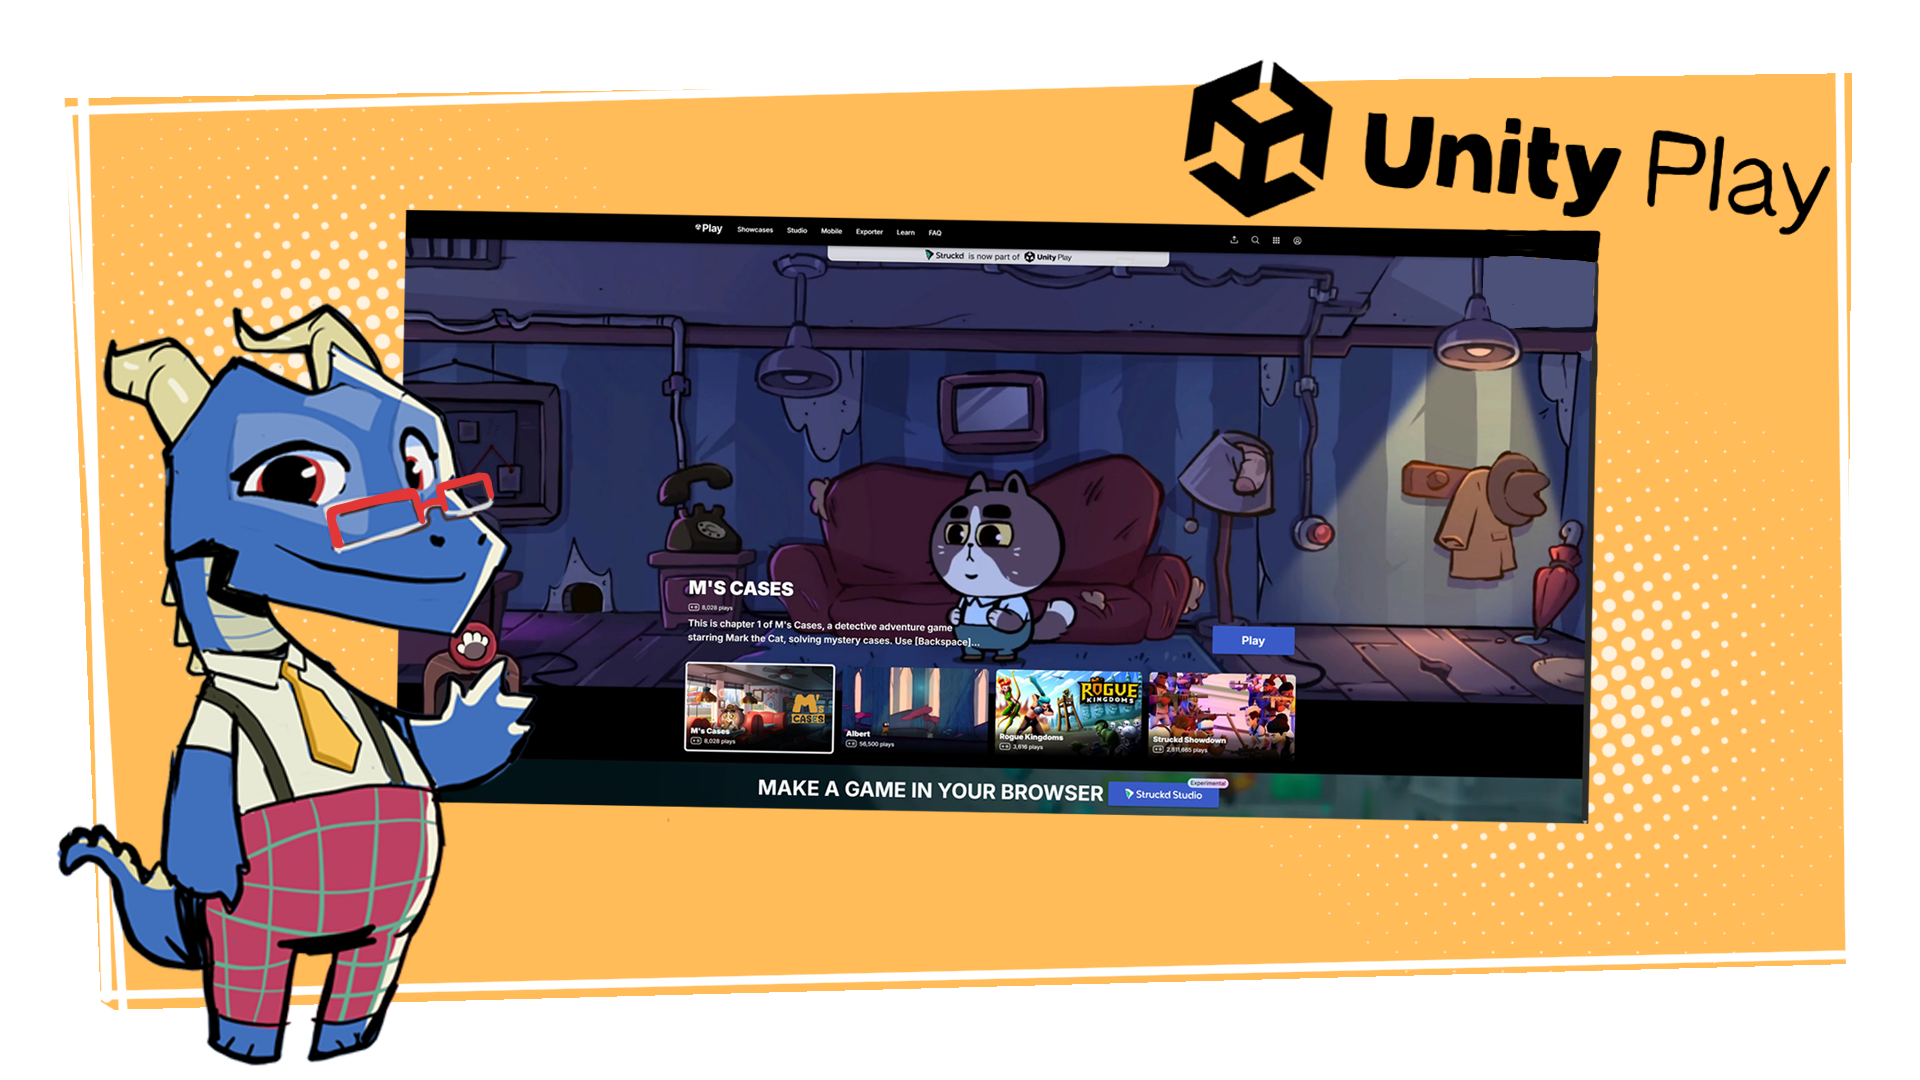
Publish on Unity Play
Tutorial
Beginner
+10XP
15m
(131)
Unity Technologies
In this tutorial, you’ll build your project for WebGL and learn how to publish it online using Unity Play.
Languages available:
1. What is WebGL?
When your real-time experience is ready, you need to create a build in order to play it and share it with others. A build is a standalone, playable version of your game.
There are many platforms you can build for, but the simplest is the Web Graphics Library, or simply WebGL, which allows you to play your games in a web browser using Javascript and HTML5. You can play a WebGL build of your game in your browser locally or publish it on Unity Play or other online hosting platforms.
2. Install the Web Build Support module in the Unity Hub
To be able to build your project to WebGL you need to install the Web Build Support module to the version of the Unity Editor you used for your project. To do so, follow these instructions:
1. Open the Unity Hub.
2. In the Projects tab, locate the project you want to add WebGL to and use the Editor version column to find which Unity Editor version it uses.
3. Open the Installs tab of the Unity Hub and find the corresponding version.
4. Open the Manage (⛭) dropdown of the version of the Editor you want to add the Web Build Support module to, then select Add modules.
5. In the Add Modules window, enable the checkbox next to Web Build Support, then select the Install button in the lower-right corner.
3. Edit Scene List elements
With the WebGL module successfully installed, it’s time to configure your build settings to include all the scenes you've created. In your first projects, you might only have one scene representing your main level or experience. But as your projects grow more complex, you’ll likely have multiple scenes representing different levels or parts of your game. You’ll need to add these to the Scenes list in the Build Settings window so Unity knows which scenes to include in your build and in what order they should appear in the final experience.
To edit the Scene List elements, follow these instructions:
1. From the main menu, select File > Build Profiles.
Tip: You can also use the shortcut Ctrl+Shift+B (macOS: Cmd+Shift+B).
2. In the Build Settings window, find the Scene List section in the upper-left.
This is where you can define which scenes are included in your build.
3. In the Scenes in Build section, you can do the following:
- Select the Add Open Scenes button to add the current scene you have open to your build. Alternatively you can drag scenes from the Project window into the Scene List to add them to your build.
- Disable scenes (using the checkboxes to the left of the scene’s name) if you want to exclude them from the build.
- Resequence the scenes in the list by dragging them up or down — The one at position 0 is the first scene that will load when your game starts.
For more information about Build Settings, see the WebGL Build Settings documentation.
4. Build and publish a project
By default, the build target platform is set to your local system (Windows or macOS), so you’ll need to manually switch it to Web. Once that’s done, the built-in publishing system will handle the rest when you upload your project to Unity Play.
Set target platform to Web
To set a target platform for your build to Web, follow these instructions:
1. From the main menu, select File > Build Profiles.
Tip: You can also use the shortcut Ctrl+Shift+B (macOS: Cmd+Shift+B).
2. In the leftmost side of the Build Profiles window, under the Platforms section, select Web from the list available.
Note: If the name of the platform is greyed out and a message stating “No Web module loaded” appears, go to Install the Web Build Support module in the Unity Hub, which will guide you through the installation process of the module, then return here.
3. To set WebGL as the default platform for your project, select the Switch Platform button in the bottom-right corner of the Build Profiles window.
Make a new build
To make a new build, follow these instructions:
1. Select the Build button at the bottom of the Build Profiles window.
A new window prompting you to select a folder to save your WebGL build files will appear.
Note: If it’s the first time you create a build using this package, we recommend creating a new empty folder for storing your builds; you can name it something like “WebGL Builds”.
2. Name your build in a clear and concise way like “[YourProjectName]_[Version]”, then select Save.
Making a build might take a few minutes depending on your computer’s capabilities and the size of your project.
Publish to Unity Play
To publish your build to Unity Play, follow these instructions:
1. If the Build Profile window was closed, reopen it by selecting File > Build Profiles from the main menu or by using the shortcut Ctrl+Shift+B (macOS: Cmd+Shift+B).
2. Select the Publish to Play button at the bottom of the Build Profiles window.
The Publish to Unity Play window will appear, showing you information about the latest build.
3. Select the Publish button.
Note: If you’re updating an existing project in Unity Play and want to upload the new build you created, select Update existing game and choose the desired one.
A new tab on your internet browser will open with your build already uploaded to Unity Play. Here, you can change some of the project’s characteristics, such as the following:
- Description: Add a brief description of what your game is about.
- Visibility: Choose how you want your project to appear (public, private, unlisted).
- Media (Optional): Add a thumbnail image or a video that plays before you start your game.
- Learn content (Optional): In case you followed one of our Learn tutorials, you can specify which one was used.
5. When you’re finished defining the project's characteristics, select the Update button at the bottom to publish your project.
5. Share your game on other platforms
Game hosting platforms
If a platform can host user-submitted HTML5 games, it should be able to host your WebGL build. These platforms will have their own guidance to help you with the process.
One of the most popular options among creators is itch.io. It’s widely used by indie developers to share their games for free in a simple and accessible way. It is also a go-to platform when hosting and participating in game jams.
Personal sites and portfolios
You can also upload your build to a personal website or portfolio. Many website platforms, such as Squarespace and Wix, have options to host WebGL content integrated into their platform tools.
About your build files
Your WebGL build consists of an index.html file, as well as other folders, files, and assets that the game will need to run. The index.html file is a loader file, which functions as a launcher for your game. The index.html file looks for the other files in your build in the locations within your build folder. It’s important that you don’t move any files within your build folder.
If you need to move the build files to a different location on your computer, make sure to move the entire build folder together or create a zip file before moving the build.
The best way to share your WebGL build with others is by hosting it online. However, you can also give a zipped folder of your WebGL build to others directly.