Refine your animation
Tutorial
Beginner
+10XP
40 mins
205
Unity Technologies

In this tutorial, you’ll learn about the curves editor and explore some basic animation principles.
By the end of this tutorial, you'll be able to:
- Edit the values of an Animation Curve.
- Add keyframes to an Animation Clip.
- Record a GameObject animation using Record Mode.
- Adjust multiple Keyframes at once.
Materials
Languages available:
1. Overview
You’re well on your way to learning how to create basic animations directly inside Unity. In the previous tutorials, you learned how to work with the Animation Editor, create Animation Clips, and create and edit keyframes. For the most simplistic of animations, you already have the skills you need, but Unity has additional tools that allow you to refine your animations even further. In this tutorial, you’ll learn about the Curves Editor and explore some basic animation principles.
As you prepare to take the next step in building your animation skill set, take a moment to hear some advice from our creators about creating animation for real-time 3D experiences:
2. Refine the animation with Curves
Earlier in the project you learned that in digital animation the primary focus for animators is on the process of creating keyframed poses, and whatever tool the animator is using takes care of the tweening. You saw this in action when you created the ball animations: you animated the most extreme poses, and Unity smoothly transitioned between them. For the pulse animation this type of tweening worked perfectly; however, for the bounce animation it looked somewhat unnatural.
In cases like the bounce animation, an animator must modify the tweens themselves, and in Unity this is done through the Curves editor. Until this point you have been working in a section of the Animation editor called the Dopesheet, which is where all keyframes are set.
1. Continuing in the TutorialScene_Animation_Outdoor, select the Ball and ensure the Animation editor is still open. If it isn’t, refer back to the previous tutorial on how to open it.
2. Ensure that the current animation showing in the Animation editor is Ball_Bounce. If it isn’t, select it from the Animation Clip from the menu at the top left of the Animation editor.
3. At the bottom of the Animation editor, locate and select the Curves editor button.
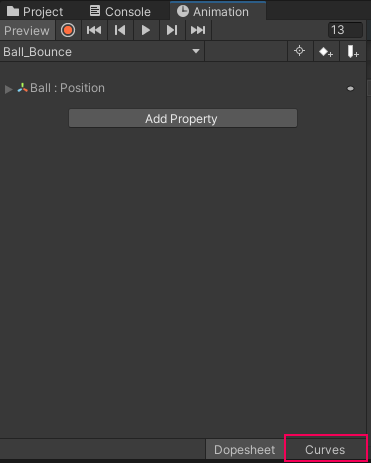
4. Use the scroll wheel of your mouse or the F key on your keyboard to zoom out in the editor work area until you’re able to see your three keyframes and the curves that connect them.

The curve shown in the editor is a visual representation of the tweens occurring between the set keyframes, specifically their transition rate. If you preview the animation, you can see this relationship in action. For the first few frames of the animation, the ball slowly descends from its full height, picks up speed in the middle of the drop, then slows down for the landing. It repeats this process in reverse to return to the starting point. This type of transition is referred to as easing. Let’s explore how the animation changes when no easing is applied.
5. Right-click the first keyframe of the animation in the Curve editor and from the list select Right Tangent > Linear.
6. Right-click the middle keyframe, and from the list select Left Tangent > Linear.

The first half of the animation has had all easing removed, and interpolates linearly from one keyframe to the next.
7. Press the play button in the Animation editor to preview the animation and take note of the differences between the first half and the second half of the ball bounce.
The ball falls at an even rate for the first half of the animation, but like the initial tweening this also seems unnatural. The reason for this is that nothing organic moves in a truly linear fashion–there’s always some level of easing in or easing out that occurs.
3. Adjust the easing of the ball
When animating, it’s best practice to refer to real-life references whenever possible. Before you make adjustments to the curves of your ball bounce, study the video below:
Notice how the ball picks up speed as it falls, before sharply impacting the ground and bouncing back up, before finally slowing toward the top of the next arc in the bounce. This bouncing arc is exactly how the curve for your ball should look in the curves editor!
1. Right-click the first keyframe and select Clamped Auto from the list. This will reset the tangent to its original state.
2. Right-click the middle keyframe and from the list go to Right Tangent > Linear.
3. Preview the animation in the Animation editor.
The animation now looks much closer to the reference video, but the ball’s descent and bounce can be emphasized further.
4. Select the last keyframe. A small gray handle appears when you select the keyframe. This is the tangent handle.
5. Select and drag on the tangent handle to adjust the curve so that it's slightly more rounded at the top.
6. Preview the animation in the Animation editor and continue to adjust the tangent handle until it appears as if the ball hangs in the air slightly before dropping again.
This is even closer; however, the landing should make more of an impact. Notice that if you select the middle keyframe, no tangent handles appear. This is because both tangents were set to linear. This puts the animation in the correct starting position; however, now that you need to push it further, it needs to be adjusted.
7. Right-click the middle keyframe and from the list, go to Both Tangents > Free. This will keep the tangents in the same position, but give you access to the tangent handles.
8. Adjust the tangent handles of the middle keyframe to form a sharper V shape.
9. Continue to adjust the tangents and preview the animation until you’re satisfied with the results.
4. Create squash keyframes
When an object strikes a surface with sufficient force, deformation of either the object or the surface will occur. The deformed object will then return to its original form (or as close as possible) once the energy of the strike has dissipated. In animation, this process is encapsulated in a technique called squash and stretch. In traditional animation this process is often overemphasized to give impacts a bigger presence.
Unity’s short film Sherman makes great use of squash and stretch in a traditional animation format. Watch the animation below and look for instances of over exaggerated squash and stretch, particularly with Sherman the raccoon.
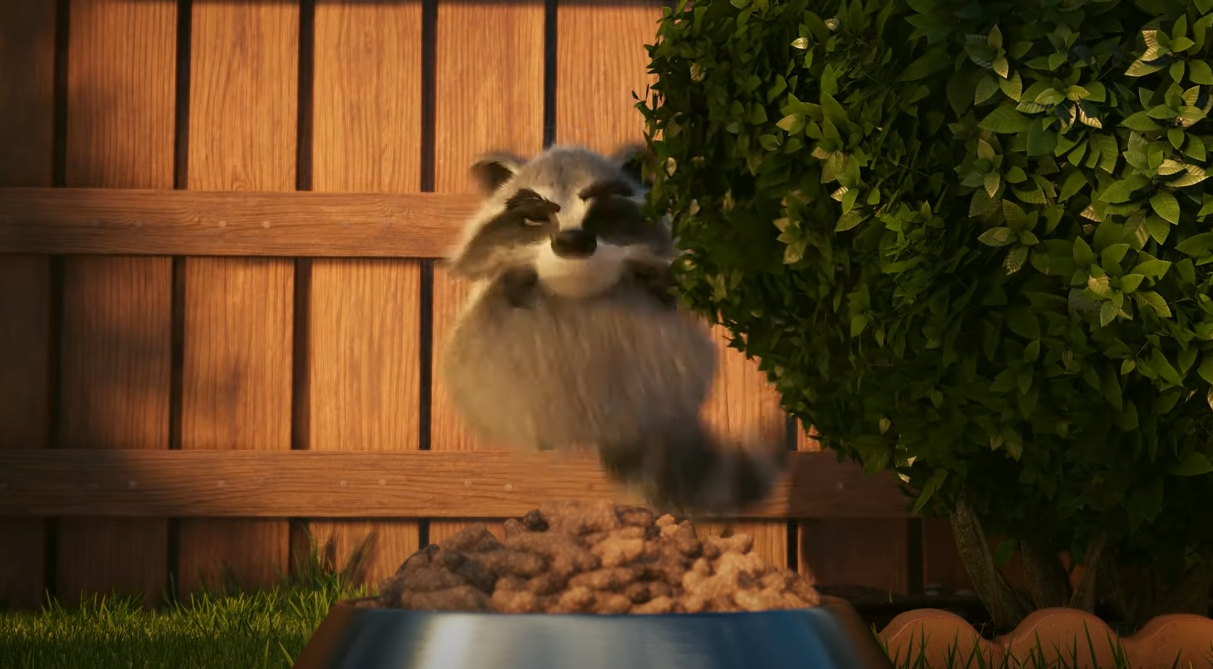
Extreme squash and stretch helps add a level of dynamism to Sherman, and firmly solidifies him in the realm of a comedic cartoon despite the realistic visuals. When used subtly, squash and stretch can have the opposite effect, making objects feel more grounded in reality. Consider how you might be able to apply this animation principle to your own animation: your ball is now bouncing nicely, but the way it retains its form makes it seem as if it might be a hard, hollow plastic. Applying squash and stretch can make the ball seem more like a soft rubber.
Let’s start with the squash:
1. Return to the Dopesheet by clicking on the Dopesheet button on the bottom of the Animation editor.
2. Set the Playhead to the first keyframe at 0:00 and turn on keyframe recording.
3. Click Add Property and go to Transform > Scale. Note that this once again automatically adds a keyframe at the start and end of the animation.
4. Advance the Playhead to the second keyframe, which is the moment the sphere strikes the ground.
5. Press R on your keyboard to enable the Scale Tool. Scale the sphere down to 0.8 in Y.
6. Press W on your keyboard to enable the Move Tool. Drag the sphere down so it appears to be resting on the surface of the ground again.
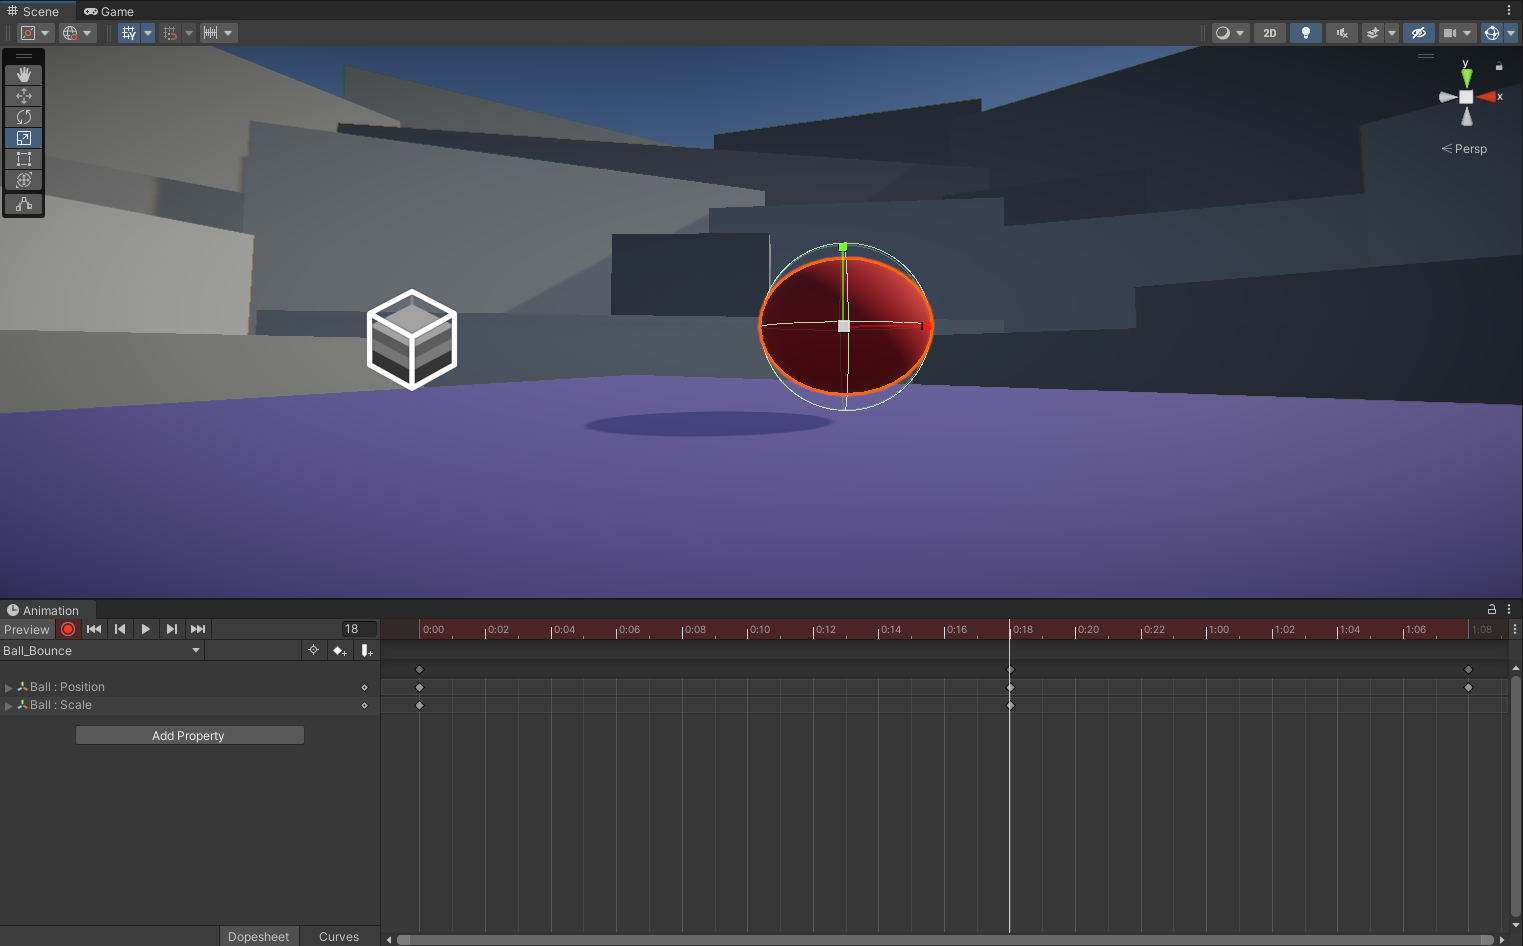
If you select and drag the Playhead along the timeline, you can manually preview sections of an animation. This process is referred to as scrubbing. Scrub through the animation and you’ll notice that the ball is now squashing; however, it’s doing so from the very beginning of the animation. The squash effect should only occur upon impact with the ground!
7. Select the Scale keyframe at the 0:00 mark and copy it by pressing Ctrl+C (Windows) or Cmd+C (macOS) on your keyboard.
8. Advance the Playhead to the frame directly before your impact keyframe.
9. Press Ctrl/Cmd+V on your keyboard to paste the Scale keyframe you copied.
10. Scrub between the two frames to see the ball retain its form until it hits the ground.
5. Create stretch keyframes
After the squash comes the stretch–it’s a direct result of the energy of the object being condensed and energetically exploding outward before returning to its original form. You saw earlier that Sherman was able to get into a fairly extreme squash pose. Now take a look at the resulting stretch:
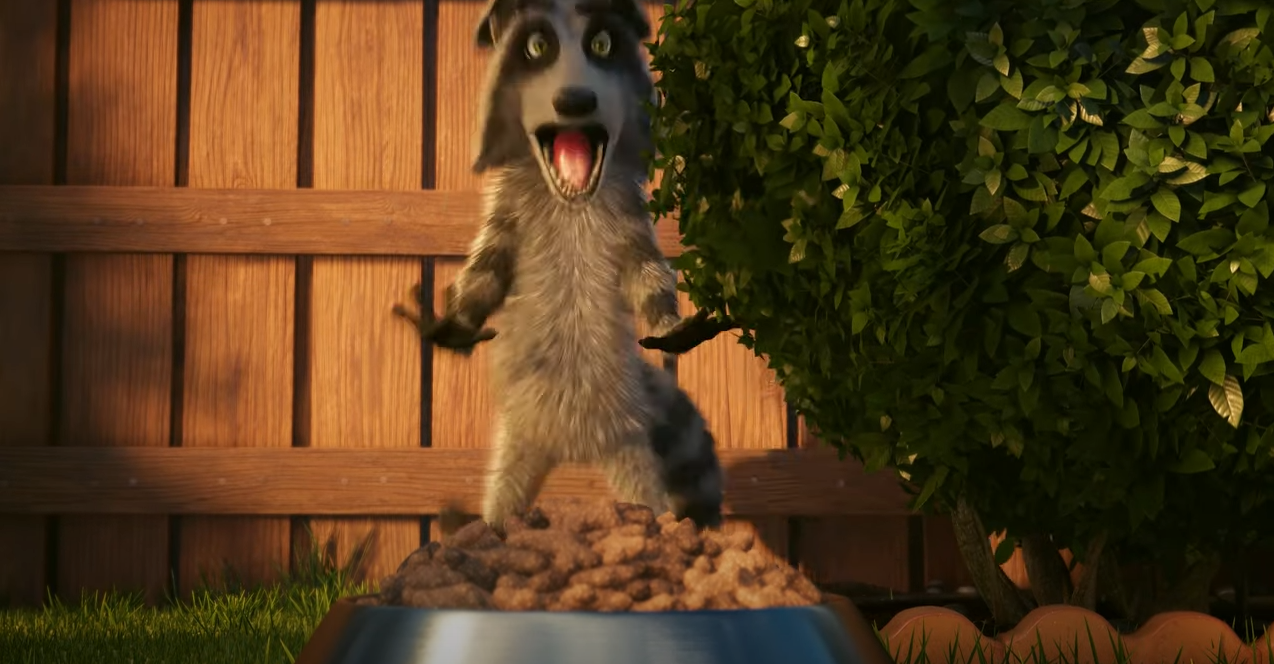
With the squash impact of the ball complete, you can move on to the stretch. For a rubber ball, this occurs right after the impact with the ground, when the energy from the fall launches the ball back into the air.
1. Advance the Playhead to the frame immediately after the impact frame.
2. In the Inspector, set the Y scale value to 1.2.
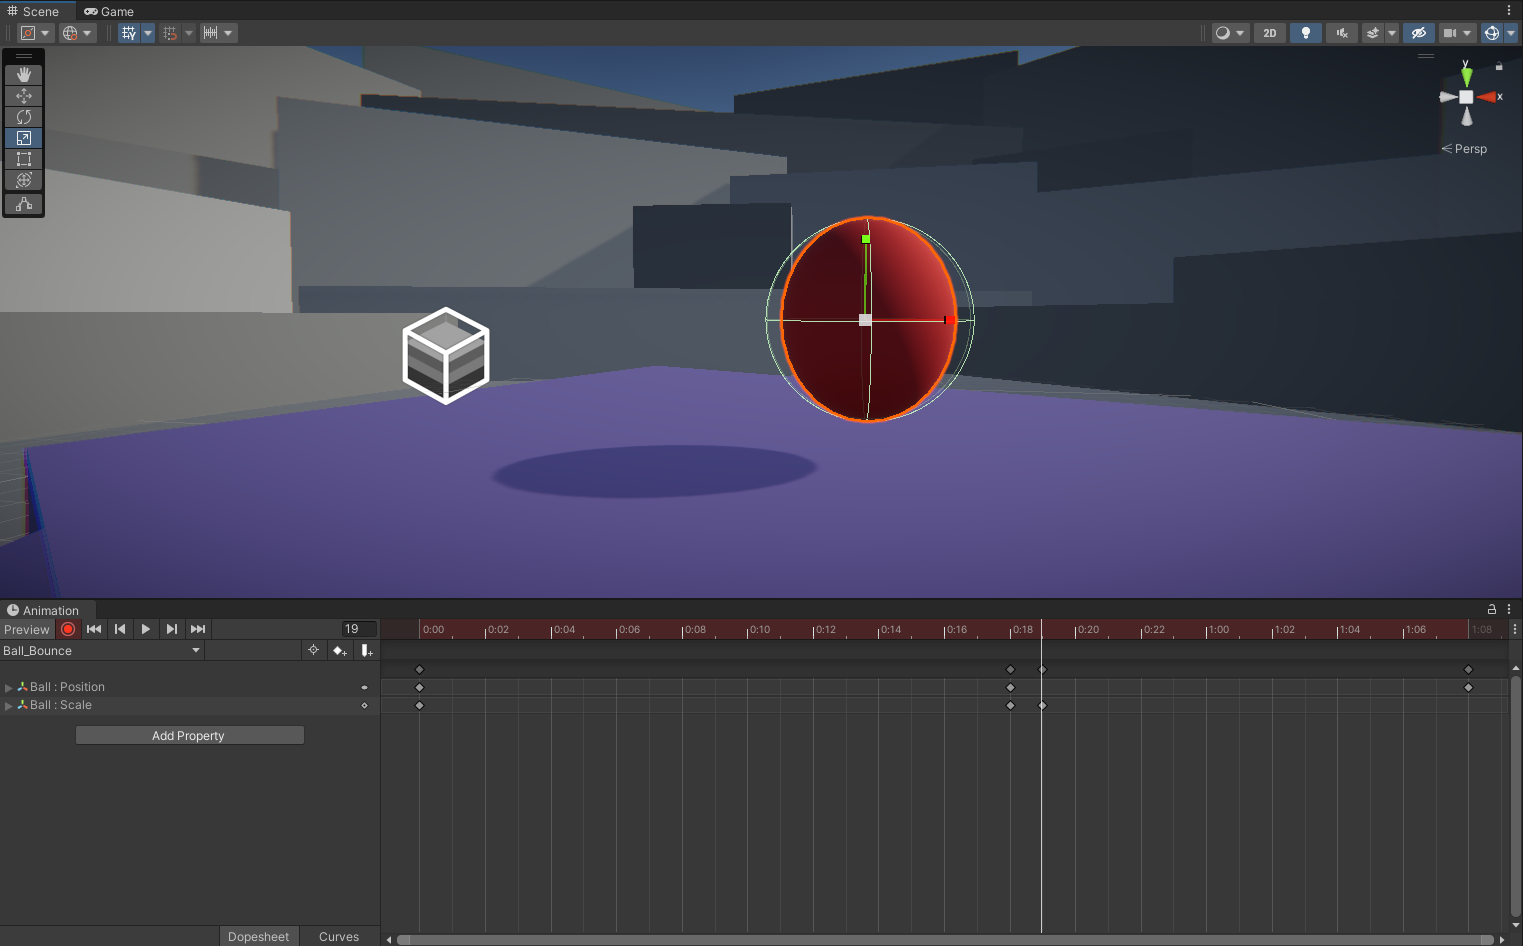
3. Preview the animation by pressing play in the Animation editor. The sphere will now squash and stretch as it hits and bounces back up into the air.
4. Adjust the squash and stretch keyframes to your personal preferences.
5. Click the record button to exit record mode once you’re finished editing.
Note: If you find the sphere collider distracting, you can disable the gizmos by clicking on the icon located at the top right of Scene view and using the view tool move around your ball to see different angles of your animation.
6. Move your animation throughout the scene
You’ve gone through all the trouble of animating a ball, but what happens when you decide you want it to exist somewhere else in the scene? You might expect that you can freely move it to wherever you need it to be; however, this isn’t actually the case.
1. Select the Ball in the Hierarchy and then move it elsewhere in the scene.
2. Press the Preview button in the Animation editor to play the animation.
Notice how the ball immediately jumps back to where you originally animated it. This all comes down to the position of the keyframes. Remember that the Transform Position settings you see in the Inspector relate to where the selected object exists in 3D space, also known as the global transforms. This means that the animation you created doesn’t only define how the ball bounces and deforms, but precisely where in 3D space it does so. Fortunately, there’s an easy way to allow your animations to move around freely.
3. Undo the move by pressing Ctrl/Cmd+Z on the keyboard .
4. In the Hierarchy, right-click and select Create Empty. Rename it to Ball Parent.
5. To reset the position of the Ball Parent object, click on the vertical ellipse button in the Transform section of the Inspector and select Reset. The Ball Parent object will snap to the origin of the scene (0, 0, 0).
6. In the Hierarchy, drag the Ball object into the Ball Parent to make it a child object.
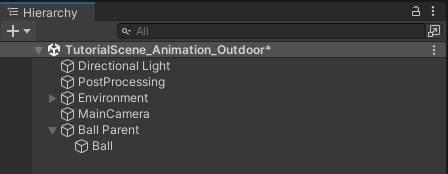
7. Move the Ball Parent object anywhere in the scene and preview the ball animation by selecting it and pressing the play button in the Animation editor. If the animation switched back to Ball_Pulse, reset it to Ball_Bounce in the menu under the playback controls in the Animation editor.
The ball will now bounce wherever you move the Ball Parent object. If you select the Ball object and look at the Inspector, you’ll be able to see why: the ball’s positional values haven’t changed at all. When an object becomes a child of another object in Unity, its transformation values shift from being global to local. The Ball being a child of the Ball Parent means that it only cares about its positional value in relation to the parent object. This means that you can move the Ball Parent object anywhere in the scene without affecting the child object’s animation.
7. Explore: Bounce over distance
You’ve now practiced all of the skills you need to create simple animations in Unity. However, until this point you’ve focused only on an object that stays in place during the animation. In this challenge, your goal is to try and animate the ball bouncing across the platform rather than in place.
- Create a new Animation Clip called Bounce_Distance.
- Animate the ball to bounce at least three times as it moves across the ground.
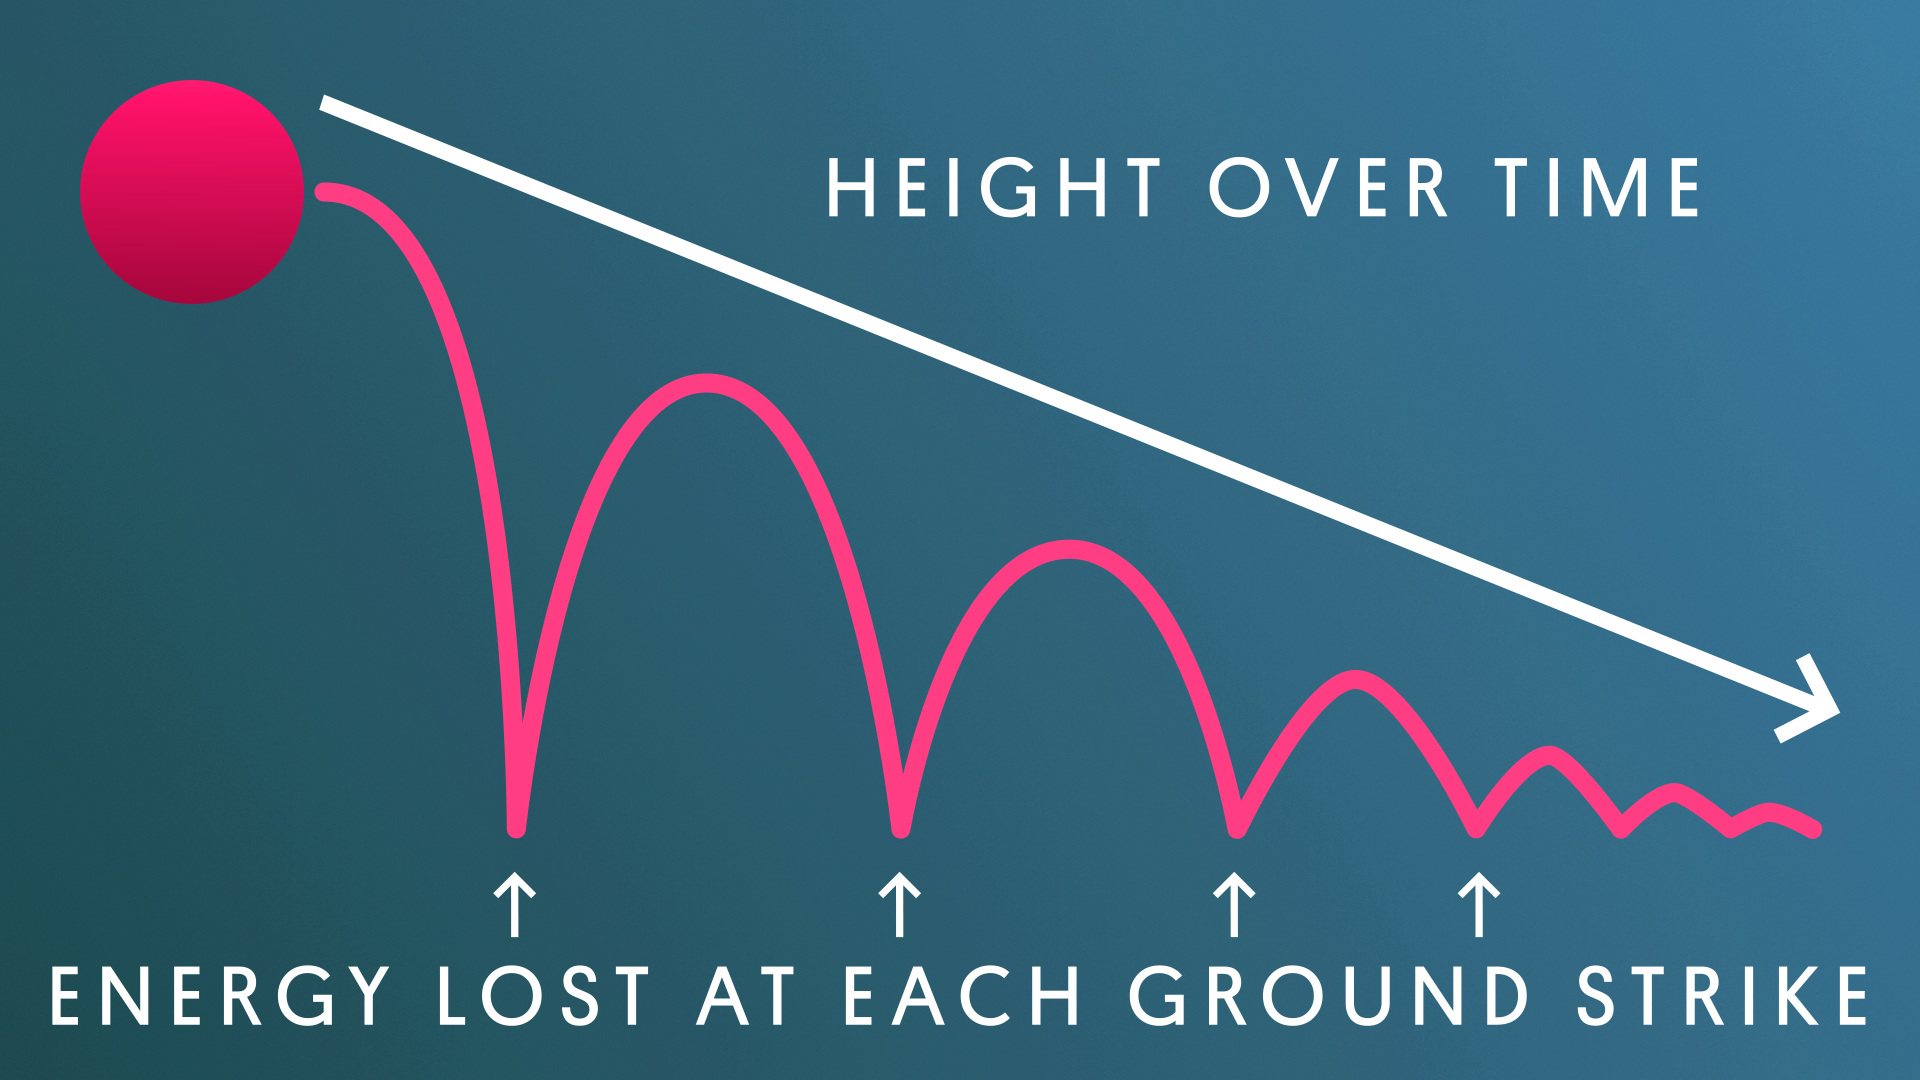
- Refer to the reference image and video to see how a bouncing ball loses energy over time.
