
Retopology Best Practices in 3dsMax for Unity
Tutorial
intermediate
+10XP
20 mins
(38)
Unity Technologies
Quite often, you’ll find yourself with a model that has too many polygons for your project. To make this model work within an engine, it often has to be retopologized to a much lower polygon count so it doesn’t crash and burn during the rendering process.
Retopology involves taking a model that has too high a polygon count and reducing the count without reducing the quality. There are several ways to do this, from manually to using automatic tools.
Languages available:
1. Retopology Best Practices in 3ds Max for Unity
This tutorial has been verified using Unity 2019 LTS and 3DsMax2020
Quite often, you’ll find yourself with a model that has too many polygons for your project. To make this model work within an engine, it often has to be retopologized to a much lower polygon count so it doesn’t crash and burn during the rendering process.
Retopology involves taking a model that has too high a polygon count and reducing the count without reducing the quality. There are several ways to do this, from manually to using automatic tools.
2. Retopology Tools
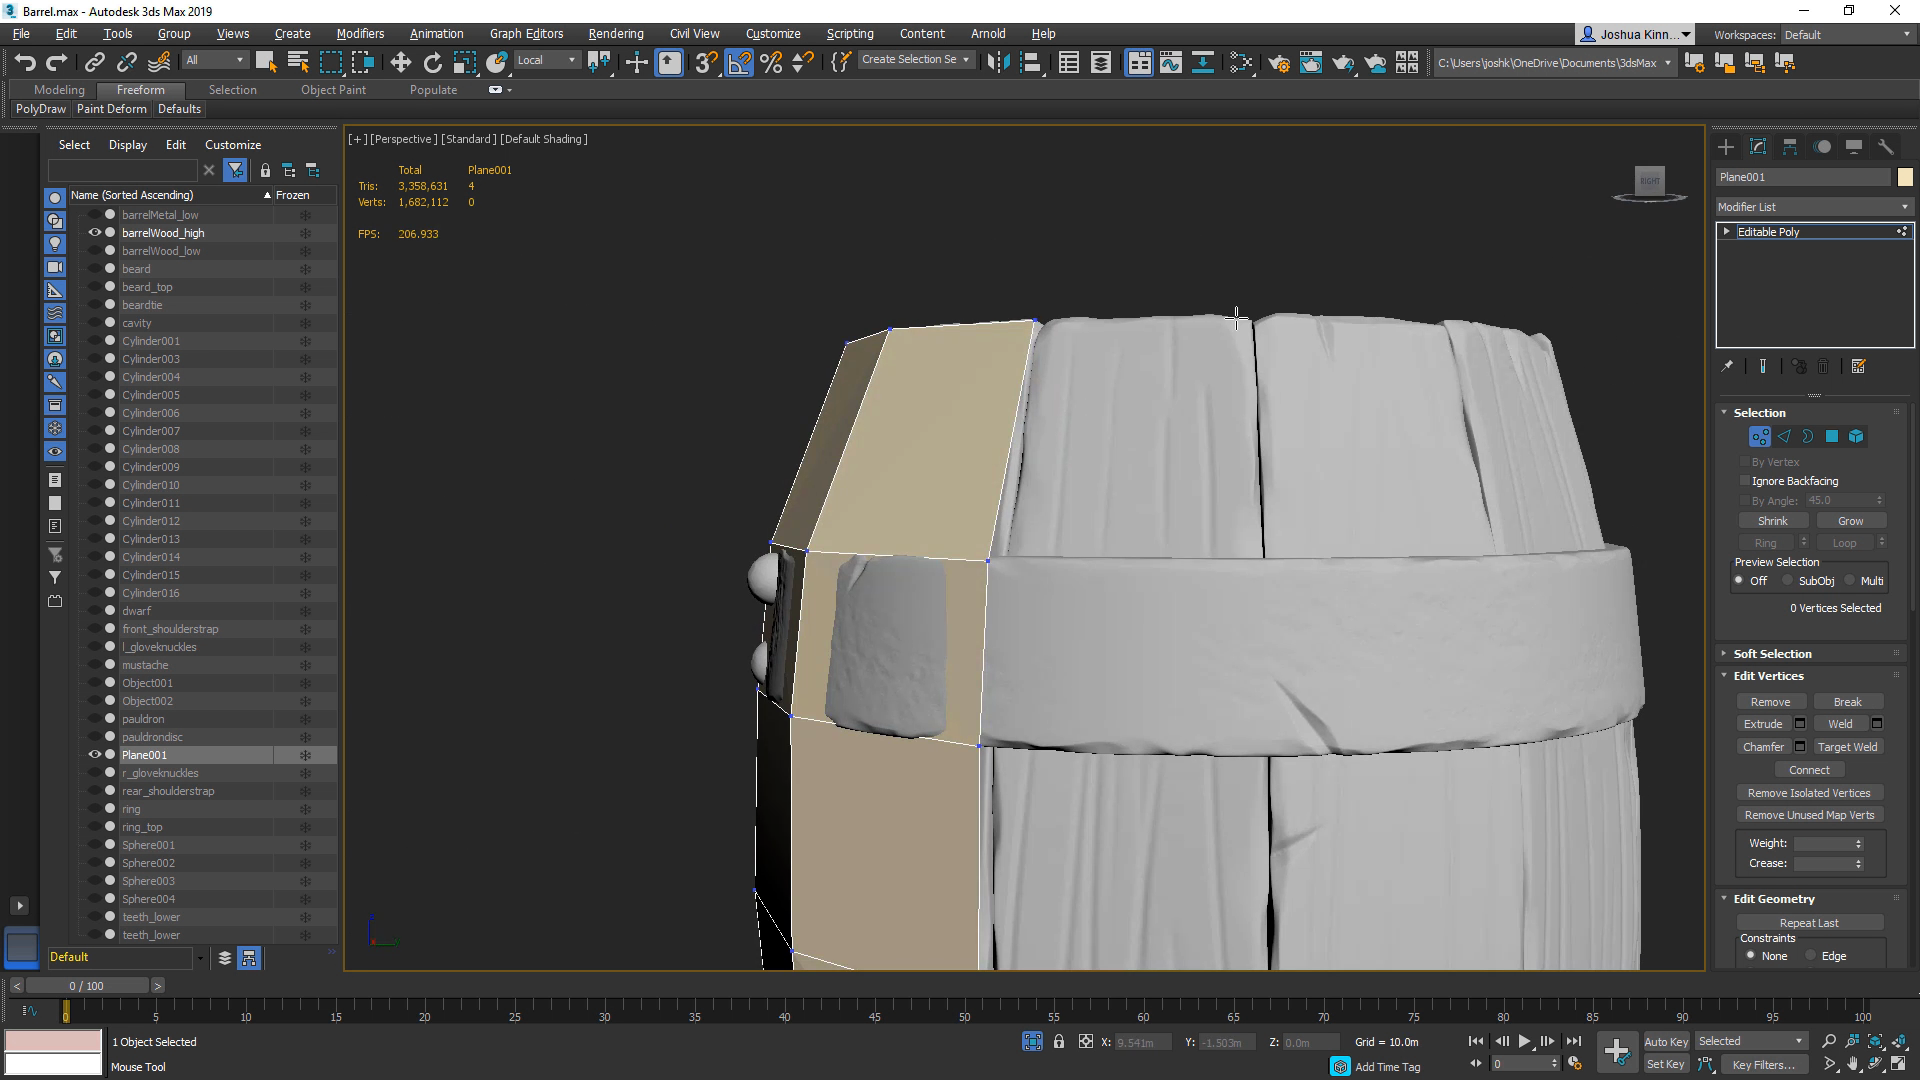
Step Building is one of the easiest manual retopology tools. This method takes longer, but often yields better results and gives you more control over the resulting model.
The idea is to create vertices on the Mesh you’re retopologizing. When you’ve set up the vertices, holding shift and dragging through them will create the new polygons.
Splines and Topology tools also allow the construction of lines that form faces of a Mesh when they overlap. These tools tend to be more difficult to use and often produce rather uncontrollable results. Best practice is to use the Step Build tool when working with topology.
3. Best Practices
Work with an offset: When you’re working with a high poly model, it’s best to attempt retopology with a bit of an offset on your tools. This allows you to more easily see the work that you’re doing and helps you more easily follow the model.
Follow the existing topology: When you are retopologizing, if the model has a good topology flow, follow it. Doing this will help keep your lower poly model from having confusing or inefficient topology. Following the existing topology also makes it easier to construct the new topology.
Divide and conquer: If you’re working with symmetrical objects, you’re often able to work on retopologizing only half the model. When you’re finished with half, simply duplicate and mirror your new topology.
Be aware of subdivision levels: If you prefer a resulting Mesh with simple topology, start the retopology operation with the source Mesh at a lower subdivision level.. This makes the retopology operation less sensitive to the source surface details, which can help produce a simple edge flow with fewer extraordinary vertices. With a higher subdivision level, the retopology operation is more sensitive to the surface features of the source Mesh. Generating the topology to flow around every bump and valley of the source surface can take considerably more time and could result in more extraordinary vertices. In some cases, retopologizing a high level with lots of detail can produce holes in the output Mesh.
Attempt retopology in larger areas first: It’s best to pick a starting point and, more often than not, it’s best to find a large area on the model to begin your work. Be mindful of areas that require the geometry to support movements. Make broader strokes first, before you get into finer details. The idea is to create a larger base to work from that supports any finer work.