
Set up Character Hair
Tutorial
Beginner
+10XP
45m
(81)
Unity Technologies
In this tutorial, you will learn how to use the Alembic Groom package to customize the look and feel of your characters' hair.
Languages available:
1. Import an Alembic Groom
The Alembic Groom package allows you to customize hair strands so you can achieve your desired look.
Follow these instructions to import an Alembic groom:
1. Import the Alembic Importer package.
2. Drag the Alembic file into the Project window. If you need a sample Alembic file, you may download this hair sample.
3. Select the Alembic Groom in the project and ensure Import Curves is enabled and Add Curve Renderers is disabled.
2. Create a hair asset from an Alembic Groom
Follow these instructions to create a hair asset from an Alembic Groom:
1. Open the Project window.
2. Right-click and select Create > Hair > Hair Asset.
3. In Settings Basic, select the Type option Alembic.
4. Drag an Alembic file over the hair asset in the Project window, and drop it there to assign the Alembic file to the hair asset.
5. In the Settings Basic section, enable LOD Clusters.
6. In the Settings Alembic section, set the Alembic Asset Groups property to Combine.
7. In the UV Resolve section, set the Root UV property to Uniform.
8. In the Processing section, enable Resample Curves. Adjust Particle Count and Quality.
9. Select Build strand groups to calculate each strand's Global Position and the effects of other properties on its characteristics. This can take several minutes depending on the content. Larger grooms take more time for the hair system to build.
Tip: Curly, long hair requires large quantities of particles. Straight, short hair does not need as many particles. Strands with higher quantities of particles require more system resources to simulate.
Build your strands with maximum resample quality for the best result. This process does not affect simulation performance, but does increase build and rebuild times.
Note: When Resample Curves is not active during build, the hair system uses the particle count from the groom that you imported.
After a successful build, you can see the result in the preview in the Inspector.
3. Create a hair instance and set parameters for an Alembic Groom
Follow these instructions to create a hair instance and set parameters for your groom:
1. Open the GameObject menu and select Create Empty.
2. Add a Hair Instance component to the empty GameObject (Mannequin_01 in the screenshots).
3. Drag the hair asset you already created into this new hair instance.
You should be able to see simulated strands as soon as you assign the asset, but you need to make some more adjustments and tweaks to the simulation parameters in the hair instance before your asset resembles the groom you imported.
At this stage, you need to experiment and iterate to determine the correct simulation settings for your groom.
The settings depend on the type of hair and style that you are trying to achieve. The same parameters can have slightly different results for different hair types and styles and are also dependent on interactions between the Hair Instance properties that affect the simulation.
To continuously update the simulation in the Scene view as you adjust parameters, select the Effects button in the View Options toolbar and select Always Refresh.
Parameter adjustments
Here are some tips and tricks to get your groom to match its original appearance with just a few parameter adjustments.
The first stack of settings in the Hair Instance Inspector are the Hair Asset settings. They might be hidden, but you can select the More (⋮) menu menu to display them.
- It can be practical to iterate on asset parameters from the hair instance. For example, you might adjust Resample Curves to rebuild the asset with a larger or smaller number of particles, depending on the simulation results when you tweak the LOD Clusters settings.
- You might want to adjust the Solver settings. Enable Global Position and apply a long time interval to a low Global Position value. A Global Position value of 1 fully reproduces the Alembic groom, and no simulation occurs. For this reason, it is best practice to start iterating with a very low Global Position value.
- Second, you can adjust the Gravity value. In the example below, a Gravity value reduction causes hair to regain the volume it originally had in the 3D modeling software file.
- You can adjust the Gravity value. In the example below, a Gravity value reduction causes hair to regain the volume it originally had in the DCC file.
Note: Adjusting gravity to be lower than the natural gravity may seem a bit odd, and yet this can be a reasonable choice for artist-made grooms delivered via Alembic, since they usually come with some amount of gravity already baked into the original reference pose.
The adjustments you need to make are very dependent on your specific groom, but these steps should get your hair to start resembling its original shape — but now fully simulated in real-time.
- The next step is to experiment with the Solver properties Iterations, Substeps, and Stiffness. This has a significant effect on the characteristics of the simulation, and if damping is not on, it might feel very bouncy.
- Try enabling Damping and Angular Damping and find settings that are relevant to your specific groom.
While experimenting you might want to change to a higher LOD setting and see how the groom performs and looks when you simulate clusters of hair instead of every strand individually.
- Adjust the LOD Search Value (in the System Settings) to change the level of detail.
4. Create dynamic character meshes
To prevent hair from intersecting with or penetrating a character’s geometry, use the following MeshToSDF setup for the character mesh:
1. Import the mesh-to-sdf package (unless your character is static).
2. Open the GameObject menu and select Create Empty.
3. Assign an SDFTexture component to the empty GameObject.
4. Navigate to the Project window, right-click and select Create > RenderTexture. Assign the RenderTexture to the SDFTexture component. You do not need to change settings on the asset because they’ll be managed by the SDFTexture component.
5. Select the SDFTexture GameObject to see a slice of the SDF in the Scene view that updates dynamically.
6. The SDFTexture component and the GameObject's transform determine the volume you capture, so make sure the GameObject surrounds your mesh and adjust its Size property.
7. The SDFTexture can move freely, but in the case of a character, parent it to the root or root bone so that it moves with the character. The SDFTexture component determines the resolution of the SDF render texture that it writes data to and ensures that its voxels are cubical, not stretched in any direction. An effective resolution value is typically between 32 - 64 [unit of measurement] (resulting in 323 - 643 voxels for a cubical capture volume). This setting is a trade-off between capturing detail and achieving a performant result.
Tip: The generator needs a lower poly mesh to be efficient, typically a proxy mesh with 4-10k triangles. High-resolution meshes result in poor performance, and Unity does not support meshes with indices beyond 16bit.
8. Add a MeshToSDF component to your SkinnedMeshRenderer or MeshRenderer, and assign the SDFTexture that you created to this renderer. In the example, this component is on the renderer of the proxy (low poly) mesh of the animated character because that’s the mesh to capture.
The MeshToSDF component is the actual SDF generator. It looks for a mesh on the same Game Object in either a SkinnedMeshRenderer, MeshRenderer, or MeshFilter, generates an SDF for it in the volume defined by the SDFTexture component, and outputs the SDF into the RenderTexture you created.
Tip: If your character is static, you can skip the MeshToSDF real-time generator and set up a SDFTexture with a static, externally generated 3D texture containing an SDF. Bake a 3D texture for your SDF using Unity’s SDF Bake Tool or an external tool and assign that texture to the SDFTexture component.
5. Adjust the properties on the MeshToSDF Component
To preview the SDF, either select the SDFTexture GameObject in the Scene view or select the 3D render texture asset and use one of the 3D texture preview modes in the Inspector. If you use the 3D texture preview mode, adjust your scale appropriately.
Follow these instructions to adjust the MeshToSDF component properties:
1. Open (and lock) an additional Inspector so that you can tweak settings on the MeshToSDF component, with the preview of the SDFTexture visible in your Scene view.
2. Increase Flood Fill Iterations to fill the entire volume with valid SDF data. Keep the number of iterations low for performance reasons.
3. After you finish setup, set the Rendering Layer of the low poly preview to Nothing to hide it.
Note: If you disable the low poly GameObject, this prevents MeshToSDF from functioning properly. If you disable the renderer, this also disables skinning. Therefore, the above rendering layer adjustment is the best solution.
Now that the MeshToSDF setup is complete, you need to add two additional components to the SDFTexture cComponent so that the hair system respects the SDF and the hair does not intersect with the character geometry.
5. First, add a Box Collider component and enable Is Trigger. This allows the hair instance to efficiently collect relevant hair boundaries from the scene with the aid of the physics system. The Box Collider's dimensions should closely match the size of the SDF.
6. Second, add a Hair Boundary Component, enable Origin, and select the Type option Discrete SDF. Select the proxy (low poly) mesh for the SDF Rigid Transform.
7. To determine if the setup is working, you can enable and disable the Game Object that has the MeshToSDF Component and the hair should pop out of the geometry when you enable the Game Object.
6. Prevent hair intersecting with character geometry
Now that the MeshToSDF setup is complete, you need to add two additional components to the SDFTexture component so that the hair system respects the SDF and the hair does not intersect with the character geometry.
Follow these instructions to add the necessary components:
1. Add a Box Collider component and enable Is Trigger. This allows the hair instance to efficiently collect relevant hair boundaries from the scene with the aid of the physics system. The Box Collider's dimensions should closely match the size of the SDF.
2. Add a Hair Boundary component, enable Origin, and select the Type option Discrete SDF. Select the proxy (low poly) mesh for the SDF Rigid Transform.
3. To determine if the setup is working, enable and disable the GameObject that has the MeshToSDF component; the hair should pop out of the geometry when you enable the GameObject.
7. Constrain an Alembic Groom to a transform
Follow these instructions to attach a character’s groom to the animated head geometry:
1. Open the GameObject menu, select Create Empty, and name the empty GameObject “groom”). Set the groom GameObject's transform to 0.
2. Make your Hair Instance GameObject a child of the groom GameObject.
3. Add a Parent Constraint component to the groom GameObject. Select the Add (+) button at the bottom of the component to add to the list of Sources.
4. Assign the Head bone (or another relevant transform) of your character’s rig as a source in the Parent Constraint Component and enable Is Active to activate the Constraint. Your Hair Instance GameObject should follow the animation of your character’s head.
Tip: When you set up the Parent Constraint, position your character in its initial neutral pose so that the head geometry and groom origin (original position in the 3D modeling software where you created the groom) align as you intend. To make adjustments, use the offsets in the Constraint Settings in the Parent Constraint component.
8. Attach an Alembic Groom with the Skin Attachments system
For some types of hair, such as peach fuzz, beards, or creature fur, the Hair System needs to attach to a deforming surface rather than be constrained to a transform as in the example above.
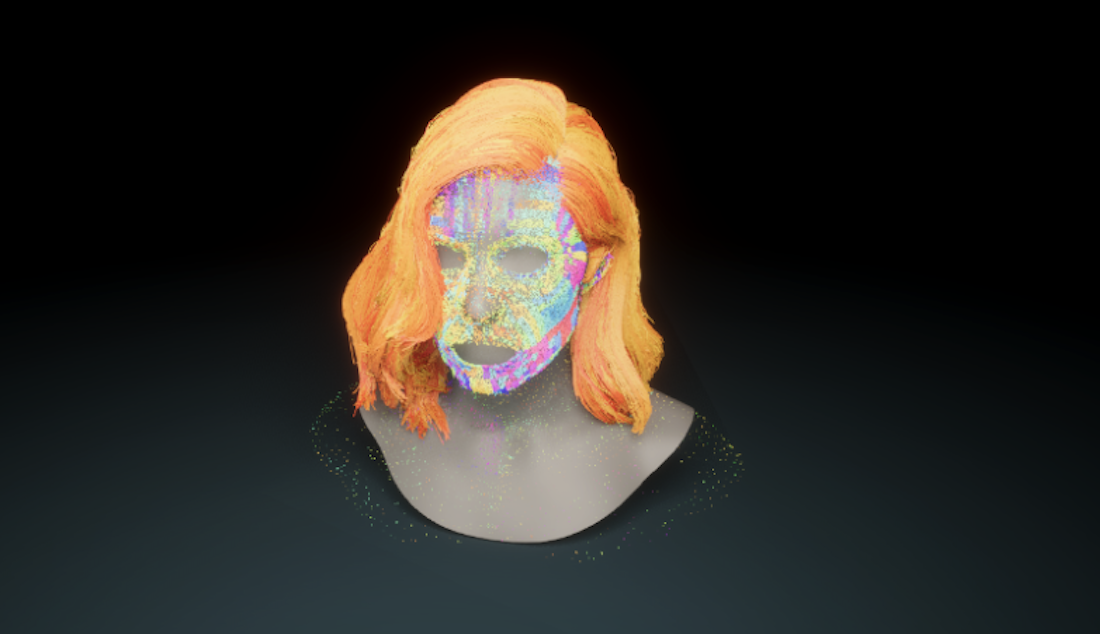
Follow these instructions to set up peach fuzz on our example character’s face:
1. Import the Digital Human package.
2. Select your character mesh and prepare it; enable Read/Write in the Inspector Model tab.
3. To create the Skin Attachment Data, navigate to the Project window, right-click and select Create > Digital Human > Skin Attachment Data.
4. Add the Skin Attachment Target component to the Character Mesh, and populate the Attach Data property with Skin Attachment Data. This component deforms any attachments together with the skin. If you need to rebuild the attachment data (for example, if you add or change some attachments that the system is supposed to drive), select Rebuild. The hair system automatically regenerates this data.
5. Create a hair instance with the Peach Fuzz Asset you authored in an external 3D modeling software following the instructions in this tutorial.
6. Now enable Roots Attach (Inspector > Strand Settings > Settings Skinning) and select the mesh that contains the Skin Attachment Target mesh. When you attach a hair instance, your attachment data will automatically regenerate. Your groom should follow your deforming mesh as it moves.