Set up tilemap collision
Tutorial
Beginner
+0XP
20 mins
35
Unity Technologies

In this tutorial you’ll implement tilemap collision to restrict character movement.
By the end of the tutorial, you’ll be able to do the following:
- Configure tilemap collision.
- Optimize the tilemap collider.
- Place additional objects in the scene to restrict player movement using the prefab system.
Languages available:
1. Overview
You’ve now configured the movement in your game so that the player can be blocked by an object by using collision detection. There are parts of your tilemap that you might also want to restrict the player from moving over — for example, water in the Ruby’s Adventure asset pack or icing in the Sugar World asset pack.

Restricting character movement is a key part of level design. You can block movement to guide your player towards a particular destination or to create challenges for them to navigate, such as a bottleneck where a dangerous enemy is located.
Note: For the purposes of this tutorial, we chose to use the Ruby’s Adventure asset set, and the images used in instructions will reflect this. If you chose another asset set, the file names will be the same, but in your corresponding theme folder.
2. Create a tilemap collider
You can restrict the PlayerCharacter GameObject’s movement over a particular area of the gameplay environment by creating an empty GameObject, adding a collider, and positioning it over the tilemap. However, this approach is very inefficient.
Instead, you can add a Tilemap Collider 2D component to your Tilemap. When you’ve determined which tiles a moving GameObject should collide with, the Tilemap Collider will automatically generate the colliders for the tiles you choose.
To set up a tilemap collider, follow these instructions:
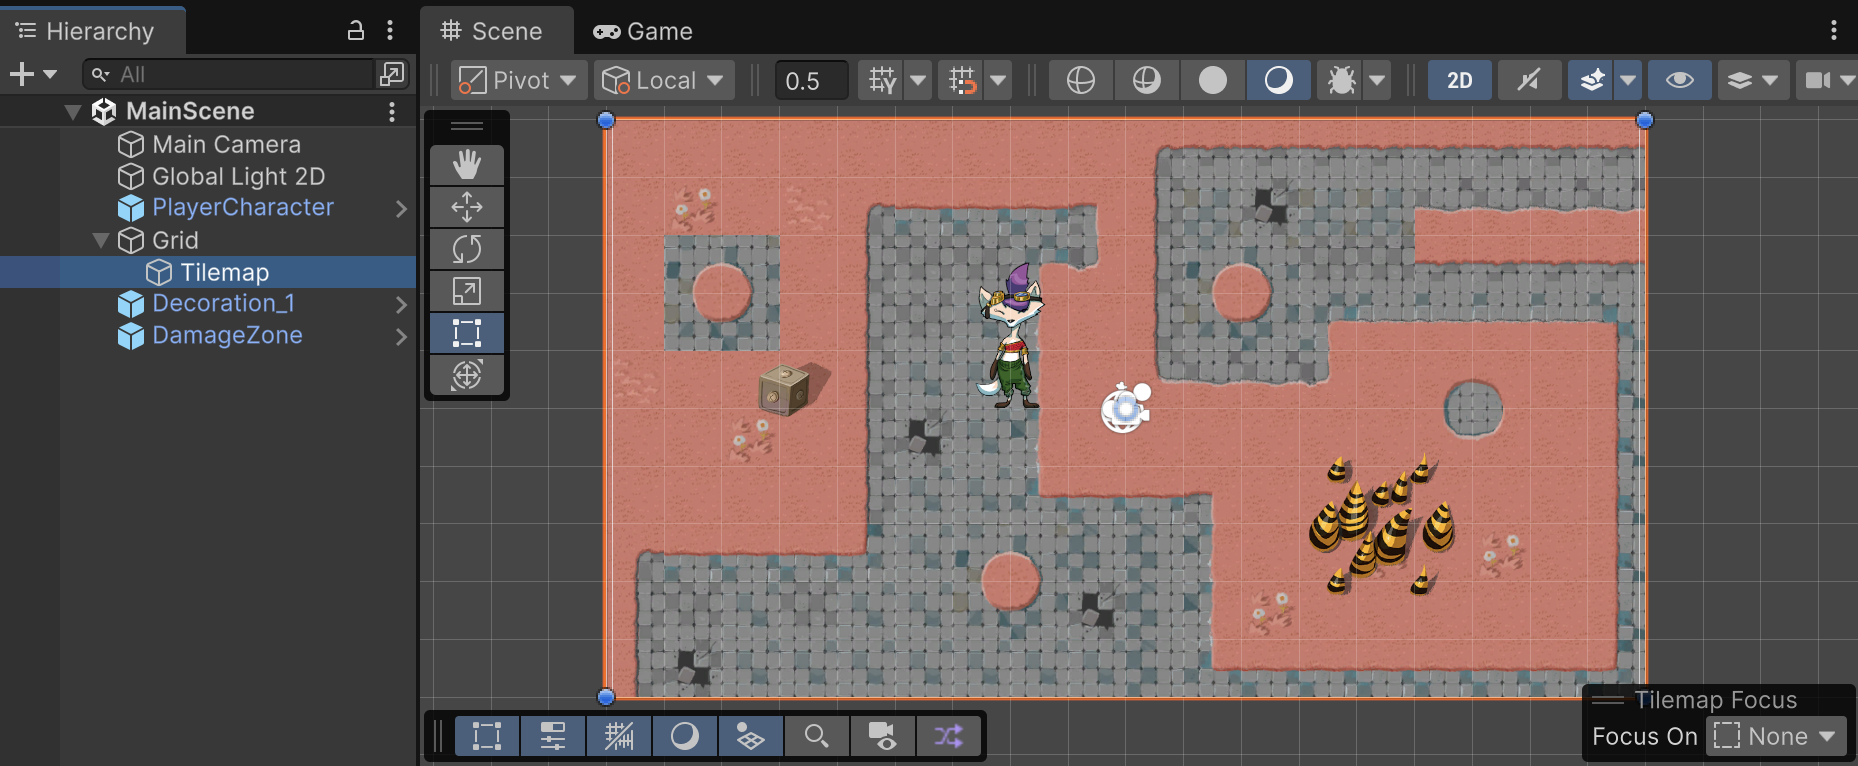
1. In the Hierarchy window, use the foldout (triangle) to expand the Grid GameObject, then select the Tilemap GameObject.

2. In the Inspector window, select the Add Component button.
3. Search for and add the Tilemap Collider 2D component.
By default, all tiles that you have not otherwise configured will have a collider.
4. In the Project window, navigate to Assets > _2DAdventureGame > Art > [Your Chosen Project] > Tiles.
5. Select all the tiles and rule tiles that you want the player to be able to move over freely — in this case, this is every tile except the ones containing water (or the water-equivalent in your asset pack).
Note: You can hold the Ctrl key (macOS: Cmd) and click each tile to select the correct tiles individually. You can also hold Shift to select multiple tiles at once.
6. In the Inspector window, open the Collider Type property dropdown and select None, then save your changes.
7. If your PlayerCharacter GameObject is currently positioned over or next to water tiles, move it slightly away on tiles that don’t have collision set up.
This adjustment will avoid any issues when you test your changes.
8. Enter Play mode to test your changes.
The player character should no longer be able to move through the tiles that have colliders.
3. Optimize the tilemap collider
The way the TileMap Collider 2D component manages collision for the tilemap, is by assigning each tile an independent collider if it needs one. This approach works, but it causes the following two problems:
- The physics system needs to perform calculations for each collider. If you create a large level, this could impact the performance of your game.
- Errors can occur when the PlayerCharacter GameObject moves across the border between tiles. Because each tile has its own collider if it needs one, there could be tiny gaps between each collider.
You can address these issues by adding a Composite Collider 2D component to the Tilemap GameObject. This component creates one large collider from all the colliders on the GameObject that it’s attached to.
To configure this component and optimize your tilemap collider, follow these instructions:
1. In the Hierarchy window, select the Tilemap GameObject.
2. In the Inspector window, select the Add Component button.
3. Search for and add the Composite Collider 2D component
Unity will add a Rigidbody 2D component too, because the Composite Collider 2D component needs a Rigidbody component on the same GameObject to work properly.
4. In the Tilemap Collider 2D component, open the Composite Operation property dropdown and select Merge.
5. In the Rigidbody 2D component, open the Body Type property dropdown and select Static.
This setting helps the physics system optimize its calculations, because it now knows that the Tilemap GameObject cannot move.
6. Enter Play mode to test your changes.
The PlayerCharacter GameObject’s movement will be just like it was at the end of the previous step.
If you update your tilemap after adding the Tilemap Collider 2D component, Unity will automatically update the Tilemap GameObject’s Composite Collider 2D component to reflect the colliders of the new tiles.
Important: Remember to exit Play mode when you’ve finished testing.
4. More things to try
If you want to further develop your skills, explore new concepts, or improve your project, check out some of the optional activities below. Each one is tagged as either Easy, Medium, or Difficult, so you can choose the level of challenge.
These activities are entirely optional, so if you’re not interested, no problem — just skip this step. We do recommend attempting at least one of them in order to get the most out of this learning experience. Good luck!
Easy: Experiment with water placement in your game
Think about the player’s experience of moving their character around the environment. How can you use water, or your asset pack’s equivalent, to impact that experience? Try out different design adjustments and consider how you can integrate no-movement areas into the gameplay experience.
5. Next steps
This tutorial brings to a close most of your work on the environment for your game, though you can always update it later. Next, you’ll move on to create a health system for the player character, which you’ll use to both deal and heal damage.