Set up version control
Tutorial
·
foundational
·
+10XP
·
60 mins
·
Unity Technologies

In this tutorial, you will consider multiple options for enabling student collaboration and for saving and monitoring student work throughout your course.
Languages available:
1. Overview
When you have a group of students learning Unity, you're faced with a core challenge: how will students share their work?

You should consider a system and process that allows the following:
- Students to share their projects with you for grading, support, and feedback
- Students to share their work with each other for collaboration and teamwork
There are a few ways to handle this, but one of the most robust is to use a version control solution.
Version control is a system that manages changes to a project over time. It lets users track who made what changes and when, revert to previous versions, and collaborate efficiently. In a classroom setting, this allows for the following advantages:
- Tracking student progress over time
- Reverting to earlier versions if something breaks
- Monitoring collaboration between students
- Helping students learn real-world workflows used in industry
- Reviewing and supporting student work remotely
But these benefits come with a learning curve — especially for beginners — so choosing the right path is important. This tutorial walks you through multiple options, from version control to simple file sharing—so you can choose the setup that works best for your classroom.
2. What is version control, at a high level?
Version control is a tool for tracking changes to digital files over time. In Unity projects, this usually means storing your project in a repository that records each set of changes (called a commit). This allows teams to go back to earlier versions, work on separate branches, and combine their work without overwriting each other’s.

If you’ve never heard terms like repository or commit before, don’t worry — it can be confusing at first! That’s why we provide multiple setup options below, ranging from simple file sharing to fully featured version control.
3. Start with the decision flowchart
Before you dive into the different setup options, take a moment to review the version control decision flowchart below. This visual guide walks you through key questions — like whether your students need to collaborate or whether you have specific group size requirements — and helps you land on the setup that makes the most sense for your class.
You’ll find the same decisions detailed in the steps below. But by reviewing the flowchart first, you can get a quick snapshot of your likely path. Then, after you read through the rest of this tutorial, you may want to revisit the flowchart to confirm your choice.
Click here to download a high resolution version of the flowchart.

4. Should you use version control at all?
There’s no one-size-fits-all way to organize and share Unity projects. Before choosing your path, consider whether using a version control solution is even right for you.
Start by asking yourself:
- Do my students need to collaborate with each other on Unity projects?
- Do I need my student to learn version control as an industry-relevant skill?
- Are my students and I already comfortable using Unity and with the concepts of version control?
If the answer to these is mostly “yes,” version control might be the right tool for you. If not, you can probably get by with a simpler file sharing solution outlined in the "No version control" step below.
Collaboration with or without version control
If you want to keep things simple and not have students collaborate with each other, you can skip this step. Although collaboration and teamwork on Unity projects is a valuable skill to learn, it introduces a lot of complexity into the logistics of your classroom. If you do want to pursue collaboration in your course, you can achieve it with or without version control.
Collaborating with version control

If you decide to pursue version control, you can expect the following workflows:
- Students can work in teams using a shared repository, or manage their own individual repos.
- Each student (or team) commits changes as they work, allowing teachers to monitor progress and support remotely.
- Optionally, teachers can be added to each project as collaborators for feedback and troubleshooting.
Benefits:
- Real-time collaboration, version history, rollback ability, industry-relevant workflows, centralized visibility
Considerations:
- Version control is a powerful tool, but it introduces complexity.
- Setting up a version-controlled workflow is best suited for educators who are already comfortable using Unity — and for students with some technical background or prior experience. If you or your students are brand new to Unity, we recommend holding off on version control for the time being.
- If version control feels like too much for your course or students — either due to student experience, time constraints, or complexity — you can still successfully manage collaboration with simpler file-sharing methods below.
Collaborating without version control

If you decide a version control solution is not for you, but you still want students to be able to collaborate with each other, you can expect the following workflows:
- Students export Unity Packages or zip project folders
- Files are shared via LMS, cloud storage, or email
- Students can still collaborate by passing versions back and forth manually
Benefits:
- Lowest tech barrier, flexible, works for short-term projects or less experienced learners
Considerations:
- Need to assign clear roles in group projects (designer, coder, reviewer)
- Share Unity Packages or project zips through a shared Google Drive or LMS
- Use naming conventions to track versions (e.g., Team1_v3.zip)
- Pair technical students with less technical ones to support each other
5. Path 1: Use version control
If you don’t think you’ll use version control, you can skip this step.
If you’ve decided that you do want to use version control in your course, your next step is choosing which system is the best fit.
While both Unity Version Control and GitHub are excellent options, each has trade-offs in terms of ease of use, setup complexity, and classroom constraints.
Unity Version Control

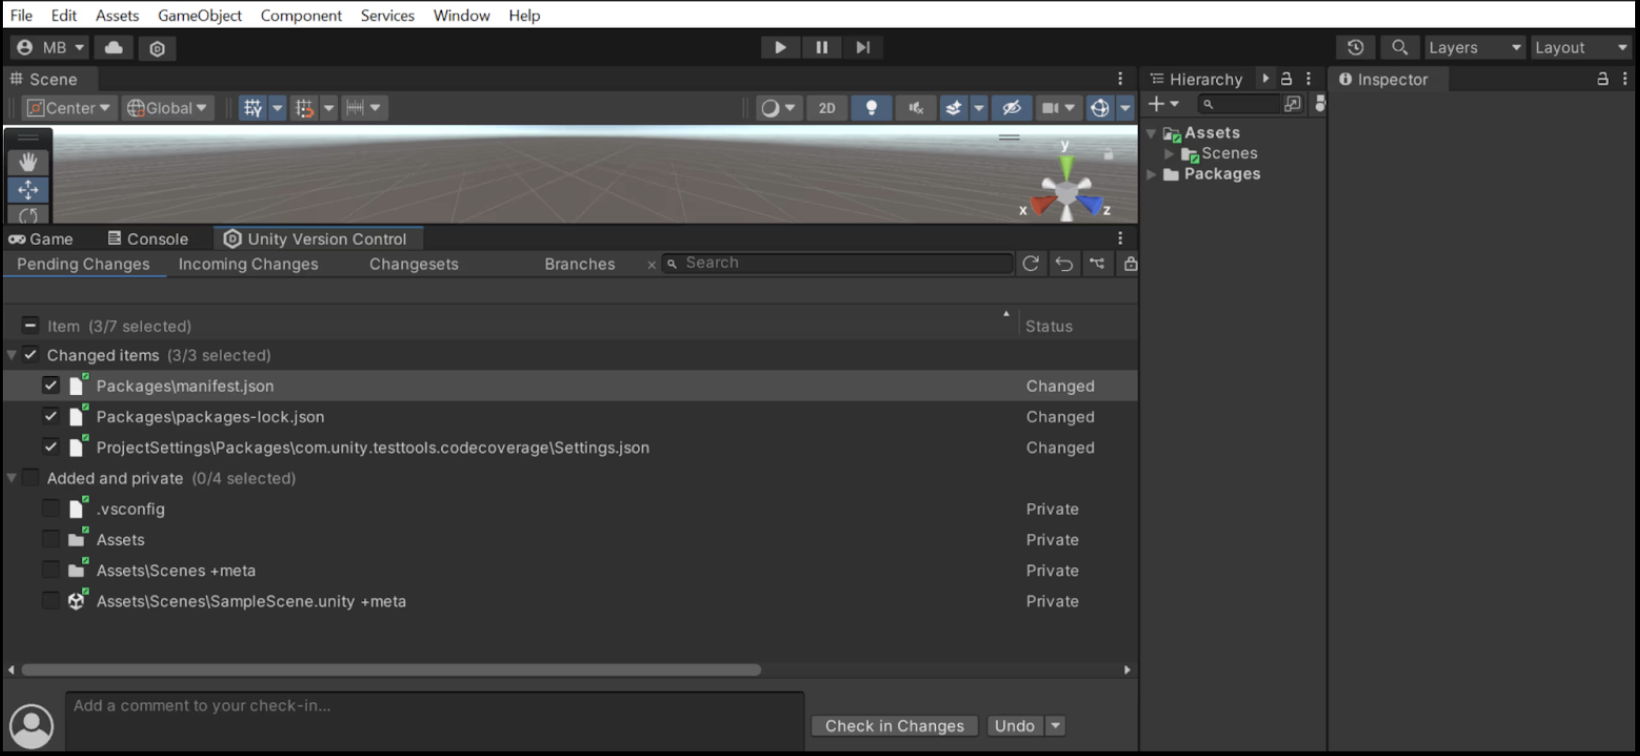
Unity Version Control (UVS) is a tool built specifically for teams using Unity. It integrates directly into the Unity Editor, making it easy to set up and use—especially for beginners. It's ideal for small teams and supports real-time collaboration, file tracking, and rollback options.
Best for: Educators and students who want a seamless experience directly inside Unity and don’t mind the limitations of the free plan (3 users per project, 5GB per user).
GitHub

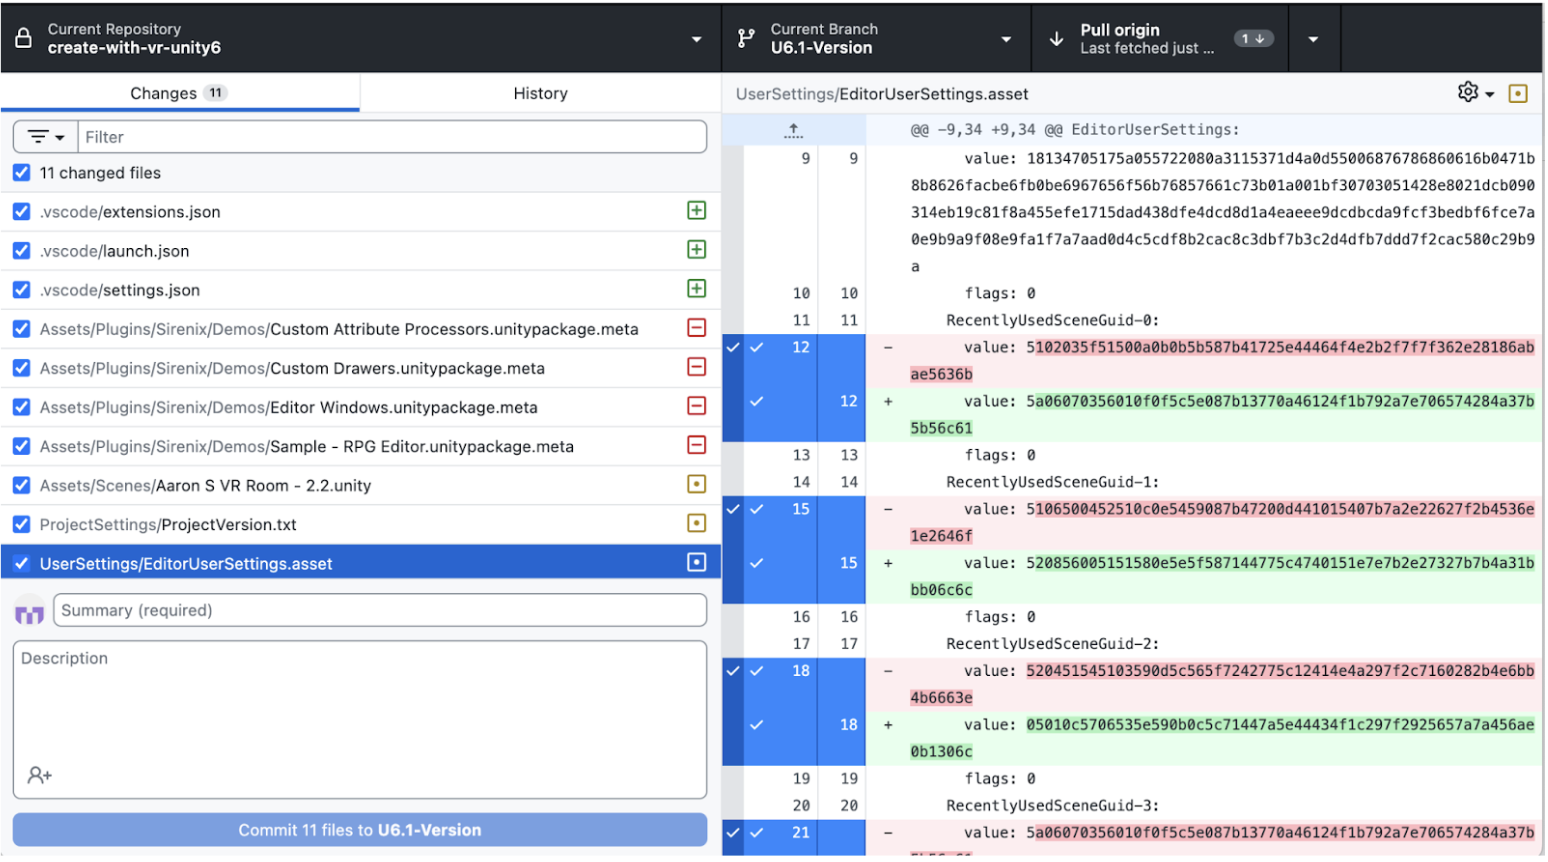
GitHub is the industry standard for version control and widely used in software development. It requires more setup and familiarity with concepts like branches, repos, and pull requests, but it aligns closely with real-world workflows and tools.
Best for: Educators who want to teach industry-standard tools and have students comfortable enough to navigate Git workflows and interfaces.
How to choose which solution to use
Start by asking yourself: What's more important to you?
A. Ease of setup and integration within the Unity Editor
B. Flexibility, control, and industry-standard tools
Next, consider the limitations of Unity Version Control:
- Are you OK with being limited to 3 contributing members per project and 5GB of storage per user on the free plan? If not, do you have the budget for higher tier pricing options for Unity Version Control?
If your answer above was option A, and you don’t mind the limitations on the free tier, Unity Version Control may be the solution for you.
If your answer was option B, or if flexibility and industry alignment are more important, GitHub may be the better option — even though it requires a bit more technical setup.
Tips for the classroom:
- Ask students to add you as a collaborator to their repository so you can easily review and support their work
- Ask students to commit after each work session
- Review commit history to monitor progress
6. Path 2: Do not use version control
No version control? No problem. You can still track and access student projects effectively.
Why choose not to use version control
- Fastest to implement
- No additional setup or accounts required
- Works well for short or one-off projects
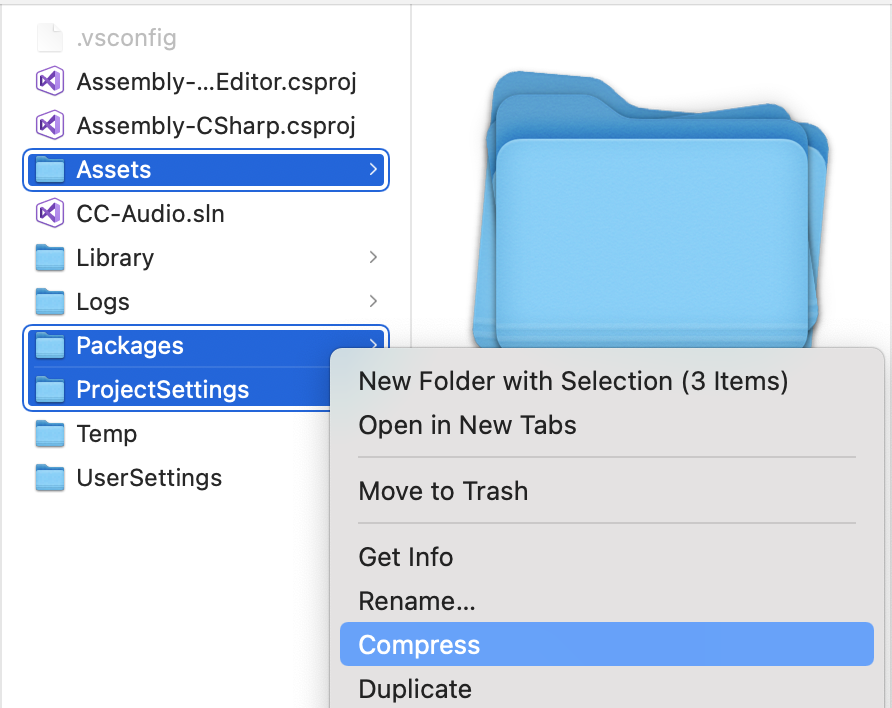
Option 1: Zip the Project Folder
This option is ideal when students are working individually or need to submit standalone projects. It’s quick, requires no extra setup, and works well for classes using an LMS or email for submissions.
- Students zip their Assets, Packages, and ProjectSettings folders
- Rename zip with student name and version (e.g., Alice_Unit3_v2.zip)
- Submit via LMS, email, or shared folder

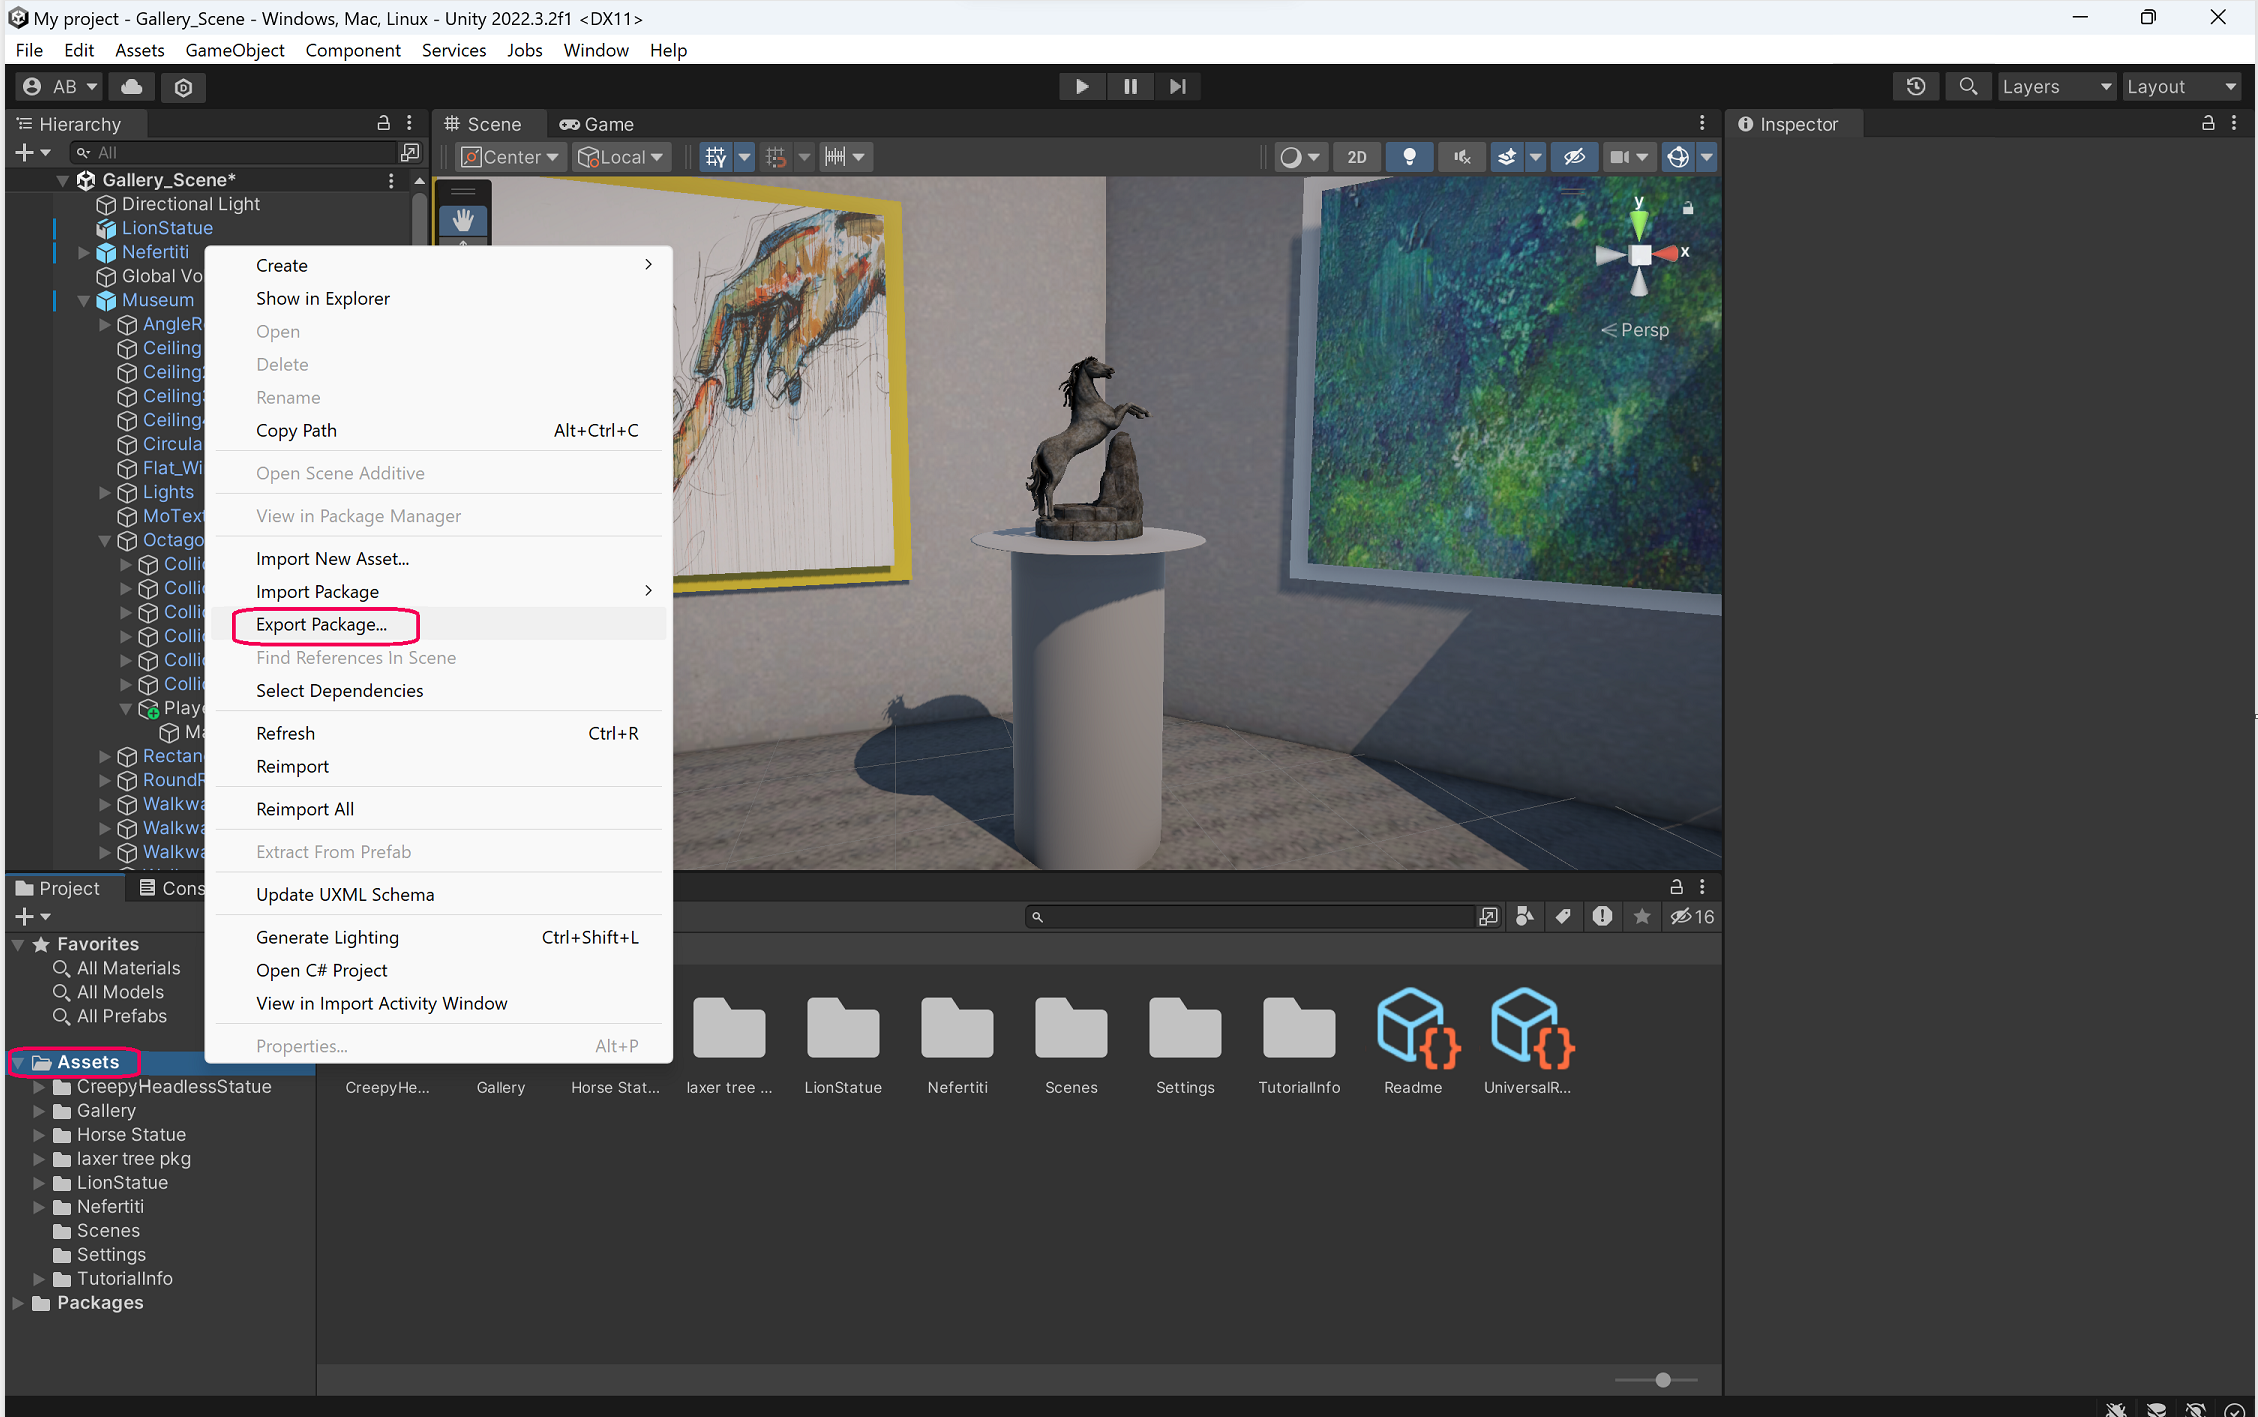
Option 2: Export Unity Package
Use this option when students are sharing parts of a project—like prefabs or scripts—or when you want to ensure all students start from the same setup. Unity packages are easy to import into other projects and are great for collaborative handoffs.
- Students right-click the Assets folder and choose Export Package
- Save as .unitypackage with name and version
- Works best for shared projects with identical starting files

Tips for the Classroom
- Create naming conventions for submissions
- Ask for screenshots or short videos to accompany files
- Use shared drives or folders for organization
7. Make a decision and experiment
If you want, revisit the decision flowchart at the top of this tutorial to see if you now have all the information you need to confidently arrive at a solution that works for you.
Whichever path you choose, begin experimenting and testing setup configurations that will work for you.
- If you chose to use GitHub, we recommend following the instructions on Getting Started with GitHub Desktop (https://docs.github.com/en/desktop/overview/about-github-desktop), including creating a repo, cloning a repo, and inviting collaborators.
- If you chose to use Unity Version Control, we recommend checking out this course on Getting Started with Unity Version Control (https://learn.unity.com/project/getting-started-with-plastic-scm).
- Create a sample project with version control or export a zip
- Set up a test account or simulate a student submission
- Walk through the full workflow yourself to surface any questions or hiccups
Capture your setup or any roadblocks — then get ready to share and discuss with your fellow educators.
8. Discord Discussion: Collaboration strategy
Head over to Discord and post:
- Which path you've chosen to manage collaboration or file sharing
- A screenshot of your setup (optional)
- Any questions or tips to share with others
