Setting up Blendshapes in Unity - 2019.3
Tutorial
intermediate
+10XP
20 mins
50
Unity Technologies

Blend shapes are used in 3D animation to interpolate between different sets of geometry. For instance, blend shapes are often used in facial animation to transition between expressions — like a character breaking into a smile or a frown from a neutral expression. In this tutorial, you will learn how to access blendshapes through the Unity animation system.
Languages available:
1. Introduction
If you are using Unity 2019.2 or below, click here.
Blend shapes are used in 3D animation to interpolate between different sets of geometry. For instance, blend shapes are often used in facial animation to transition between expressions — like a character breaking into a smile or a frown from a neutral expression.
Blend shapes must consist of a base Mesh and at least one target Mesh. The base Mesh is the model in a neutral pose while the target Meshes are variants of the model in different poses.
2. Before importing into Unity
When importing your own rigged models, it’s important to keep in mind that Unity can only use static blend shapes from an FBX exported from your DCC. Your animated model should be already at scale and positioned at the center of the ground plane. Models must also have their history deleted before being imported into Unity.
In Maya, this can be accomplished by navigating to
Edit > Delete by Type > History.
3. Creating animation using blend shapes
In this exercise, you will be creating a simple animation within Unity using blend shapes from an imported model. In this example, we will be using a character created in Makehuman called “Generic_Character” purely as a demonstration. If possible, follow along with your own model.
1. To begin, create a new Scene.
2. Position your character in the Scene and then select them in the Hierarchy.
3. Open the Animation window by navigating to Window > Animation > Animation.
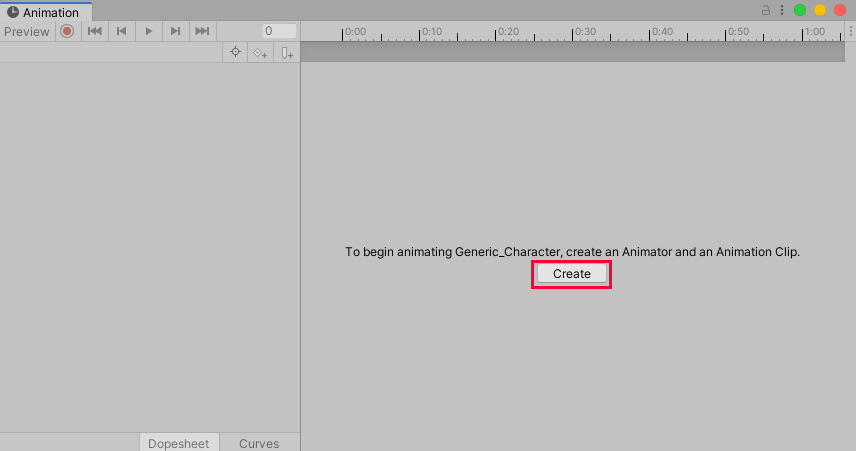
4. With the Character selected in the Hierarchy Window, select the button Create in the Animation Window (Figure 01).

5. Name the clip “BlendshapeTest” and save it in your Assets > Animations folder.
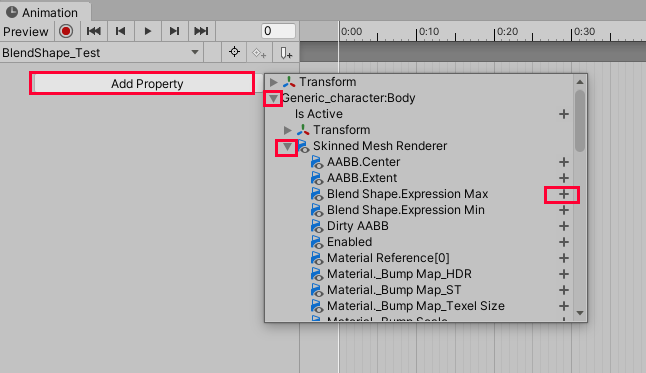
6. In the Animation window, select the Add Property button and select [Your Character] > [Your Character_Body] > Skinned Mesh Renderer and select the blend shape you wish to animate (Figure 02).

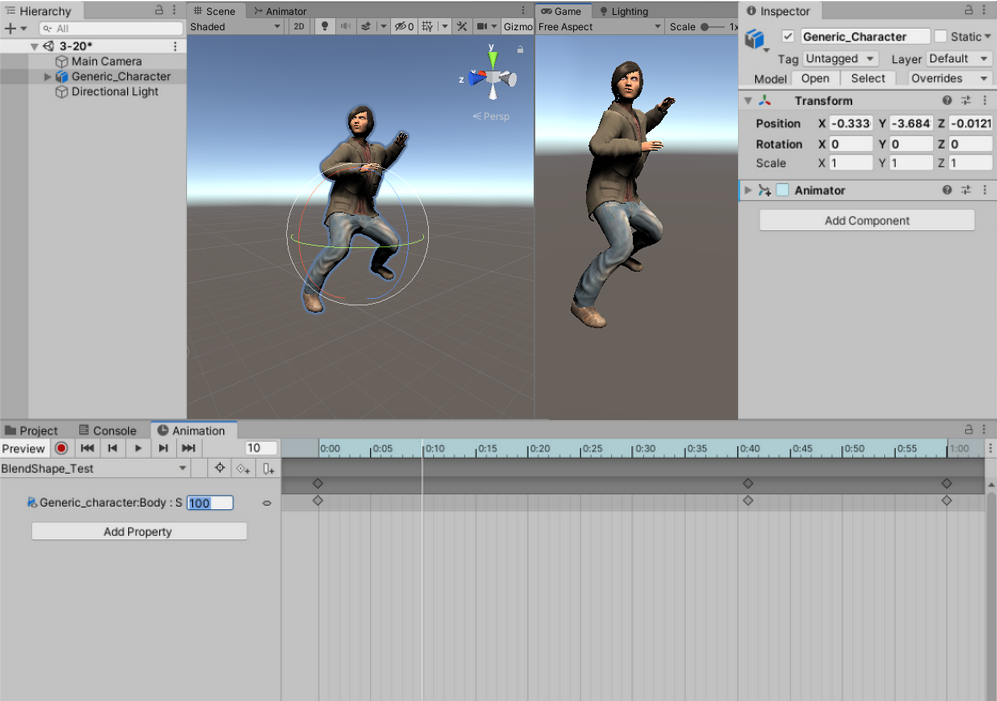
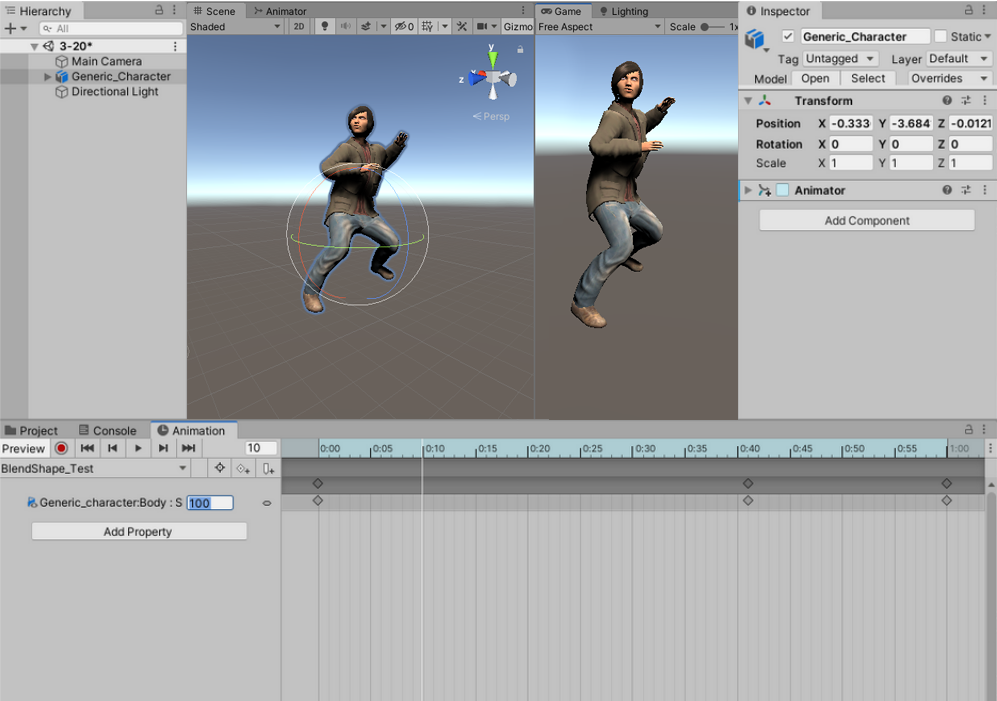
Any of the blend shapes that came with your character can be accessed here and keyed (between a value of 0 and 100) to blend and animate between them (Figure 03).

4. Conclusion
By authoring blend shapes, animators can quickly create intricate animations within Unity. Blend shapes are especially great for facial animations as animators can create a wide array of expressions without having to manually adjust each element of the face independently.