
Setting up Photon Unity Networking
Tutorial
Beginner
+0XP
15m
(186)
Unity Technologies
In this tutorial, we’ll download and set up Photon Unity Networking. Photon is a real-time networking framework that makes development of multi-user applications easier.
Languages available:
1. Setting up Photon Unity Networking
This tutorial has been verified using Unity 2019.4.11f1 and PUN 2 Version 2.22
In this tutorial, we’ll download and set up Photon Unity Networking. Photon is a real-time networking framework that makes the development of multi-user applications easier.
1. PUN 2 is available free from the Unity Asset Store. On its Unity Asset Store page, click Add to My Assets (Figure 01).
2. Import and download PUN 2 using the Package Manager, which can be accessed by selecting Window > Package Manager.
3. When you first import PUN 2, you’ll be greeted by the PUN Setup Wizard (Figure 02).
4. Enter your e-mail address or an existing AppId. Click Setup Project (Figure 03). The PhotonServerSettings Asset is updated and you’re ready to get started with PUN.
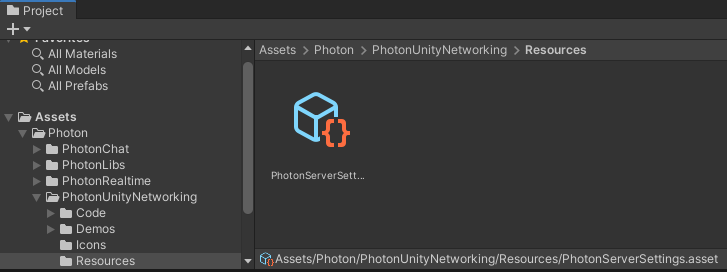
5. In the Project view, navigate to Assets > Photon > PhotonUnityNetworking > Resources. This will take you to the PhotonServerSettings Asset (Figure 04), where your AppId and other settings are stored (Figure 05).
6. Create an empty GameObject by selecting Create Empty from the GameObject drop-down. Name it Photon.
7. Attach the Connect And Join Random component. This component connects to a random PUN room for your application. If none exists, one is created.
8. Enter Play Mode and look at the console output for more detailed information.
2. Conclusion
PUN is now configured for your application, and your PUN-enabled application is able to create or join a room.