
Setting Up the Project
Tutorial
Beginner
+10XP
40 mins
(249)
Unity Technologies
You will learn how to add a background and a player that can move and rotate. You will also learn how to add particles to your GameObjects so that they look animated.
Tutorial Outcome
By the end of this tutorial, you will be able to
- Add GameObjects to the Hierarchy
- Add Components to the Inspector
- Transform GameObjects
- Make changes to GameObjects
Key concepts:
- Rigidbody 2D
- Play mode
- Push script
- Rotate script
- Particles
- Parenting GameObjects
Challenge Ideas:
- Change the spaceship from SpaceshipRed to SpaceshipBlue
- Add other Particles to the spaceship, by going to Project > Prefabs > Particles > select a particle
Languages available:
1. Create a Background
You’ll set the scene by creating a background for your game.
- Create a new scene by going to File > Create a New Scene
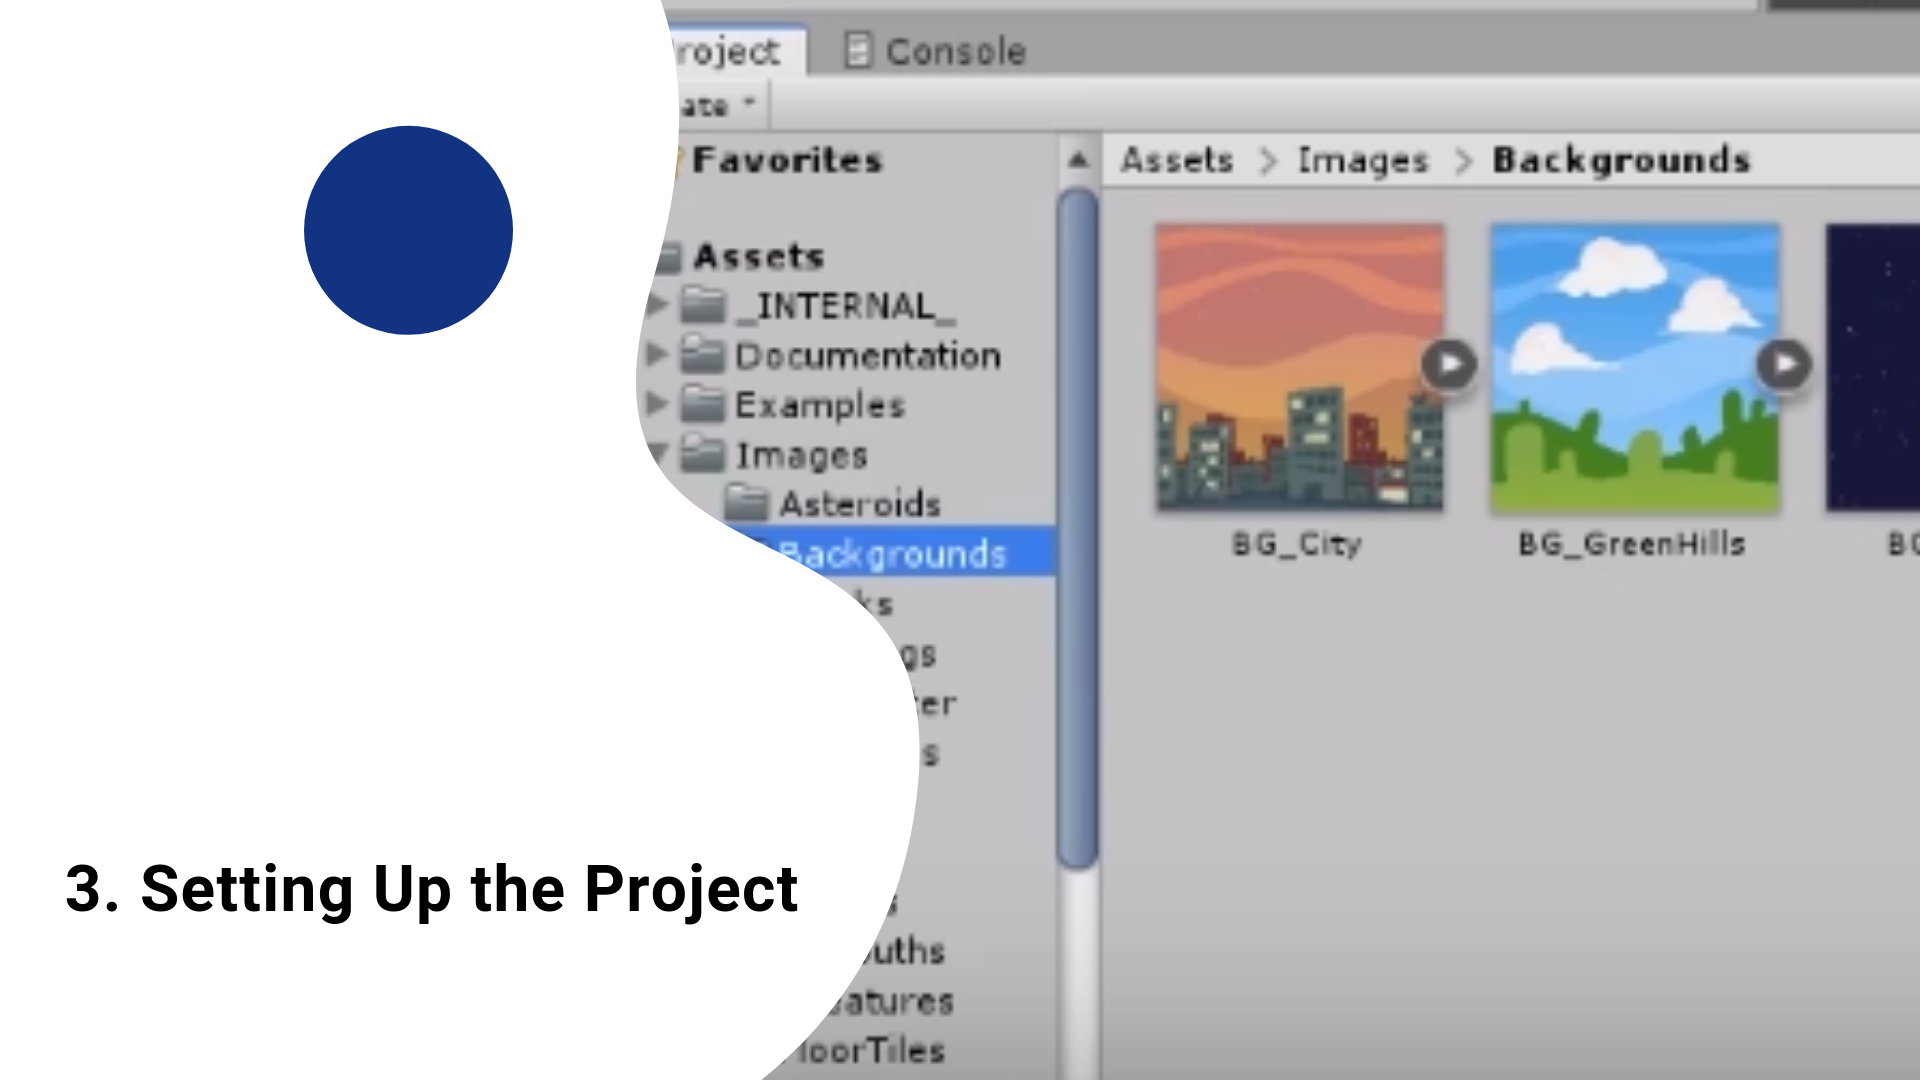
- In the Project View, navigate to Images > Backgrounds > BG_Space and drag it into the Hierarchy
- Go to the Inspector window and change the Draw Mode from Simple to Tiled. Expand the Visibility Options and set the Sorting Layer to Background to ensure that this element will always be behind other game elements
- Resize BG_Space to fit the whole screen by making sure that the image covers the grey rectangle that represents the camera
2. Create and Add Interactivity to the Player
Now, you’ll add a player to the game and add a script that allows it to move around.
- Go to Project > Images > Spaceships > SpaceshipRed
- In the Project View, navigate to Images > Backgrounds > BG_Space and drag it into the Hierarchy
- Go to Inspector > Add Component > Search for Push and add it
- When you add the Push script, you will notice that a Rigidbody 2D was also automatically added to the Inspector. This is because physics is required to make the game object move
- Make adjustments: on Rigidbody 2D, change the Gravity value to 0 and Friction to 2 and on the Push (Script), change the Push strength from 5 to 8
- Test the game by clicking the Play button and use the arrow keys to move the spaceship
Definitions:
- Push script applies a push in a direction when pressing a key
Tweaking the Game:
- Changes made in the Play mode are not saved! Get out of the Play mode and make the changes again if you want them to be reflected in the game
3. Add the Rotate script to the Player
You’ll add another script to allow the player to rotate.
- Go to Inspector > Add Component > Search for Rotate and add it to allow steering
- Change the Input keys (Type of Central) from Arrow Keys to WASD
- Test the changes by going to Play mode. Tweak the values of Rigidbody 2D > Angular Friction and Rotate (Script) > Speed
4. Add a Flame to the Spaceship
Now for the finishing touches: you’ll add a particle to your player to make it look more animated.
- Go to Project > Prefab > Particles > P_Flame and drag it on the Hierarchy
- Parent the P_Flame under SpaceshipRed. Now, the flame will move in unison with the red spaceship
- Change the initial position of the flame on the back of the vehicle. While selecting P_Flame in the Hierarchy, go to Inspector > Transform and change the Position, Rotation, and Scale values to your preference. You can also do this by using the Position, Rotate, and Scale tools on the top left hand part of the screen
- Save the scene by going to File > Save As > give it a name and save it in the Scenes folder
Definitions:
- Parenting GameObjects: Child GameObjects inherit movements from the parent GameObjects