Shader Graph: Gradients
Tutorial
Beginner
+10XP
10 mins
149
Unity Technologies
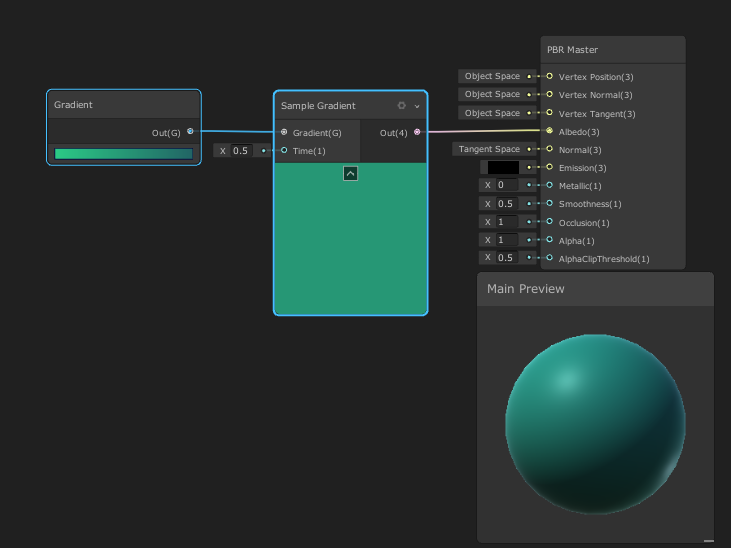
Gradients are used for many things within Shaders, such as fading transparency, allowing a shift between two or more colors over time, or adding a vignette. Within the Shader Graph, there are two Gradient nodes you’ll want to become familiar with. In this tutorial, you will learn to adjust gradients to customize Shaders.
Languages available:
1. Creating the Shader Graph
If you are using Unity 2019.2 or below, click here.
To begin, let's create a Shader to use as an example.
1. Right-click in your project and select Create > Shader > PBR Graph.
2. Name the new Shader “SampleGraph”
3. Double Click the new shader to open the “SampleGraph” Shader Graph window.
4. In the new window that opens, right-click to select Create Node.
5. Type in “Gradient” and click the result that matches.
You will now have a Gradient node sitting in your graph (Figure 01).
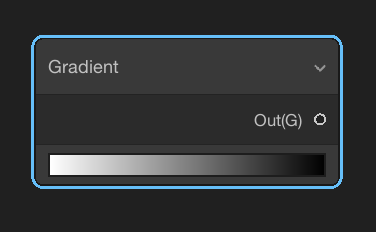
The Gradient node defines a gradient. It has a single output.
1. Click the gradient bar in the Gradient node.
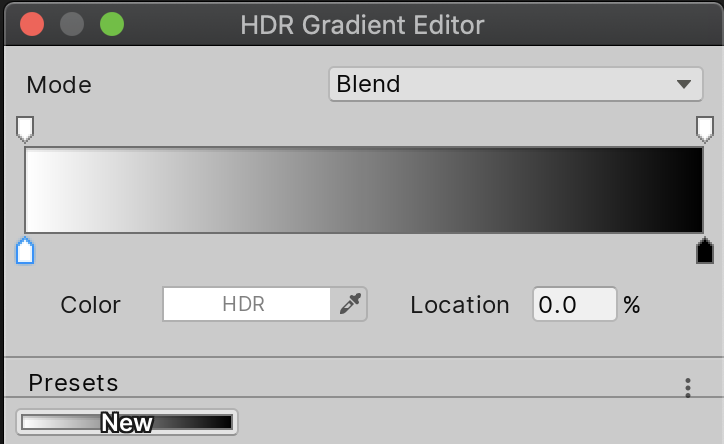
2. Define a new Gradient of your choosing.
3. Back in the Shader Graph, create a new node called “Sample Gradient” (Figure 03).
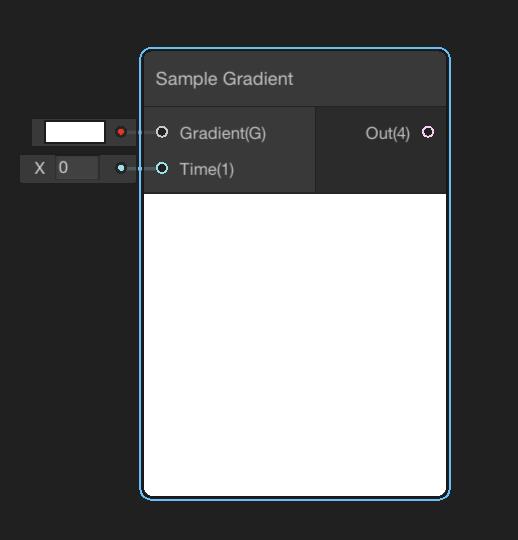
The Sample Gradient has two inputs and a single output. This node takes Gradient and Time as its inputs. The Time variable is used to move through the Gradient from one end to the other. You can use this to animate through the Gradient or pick a specific position, or color, within the Gradient.
Inputs:
- Gradient: The Gradient that the node will use as its sample.
- Time: Determines the position of the Gradient that is rendered out.
Output:
- Out: Outputs the final Gradient.
4. Let’s change the Time from 0 to 0.5. This will change the color in the preview from a green to teal.
5. Take the Out pin of the Gradient node and plug it into the input Gradient of the Sample Gradient node (Figure 04).
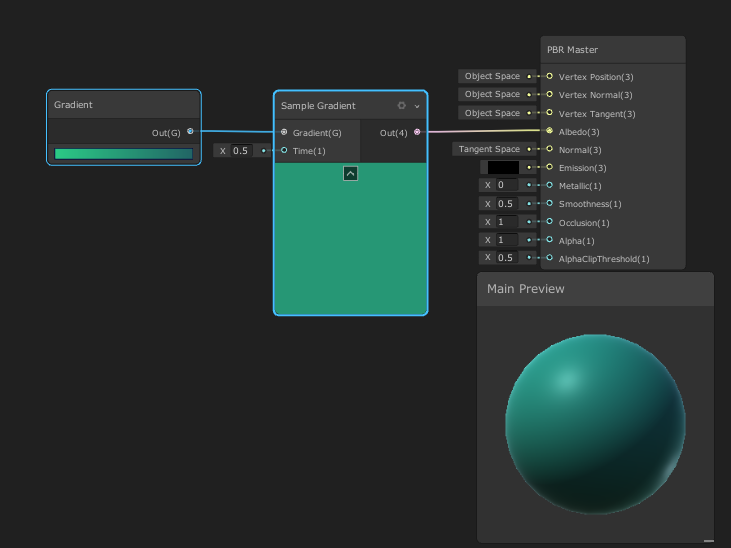
This will connect our work to the final node of the Shader Graph to be rendered out. The PBR Master node comes with a small preview at the bottom to show you the final live result of the Shader.
2. Finishing the SampleGraph
To finish your Shader you must save your Asset:
1. In the top-left corner of your PBRGraph, click the Save Asset button (Figure 05).

2. Create a new Material in your Project window by right-clicking to select
Create > Material.
3. In the Material window, select Shader dropdown and select the Shader you created (Will default to “Shader Graphs/ “Name of your Graph”)(Figure 06).

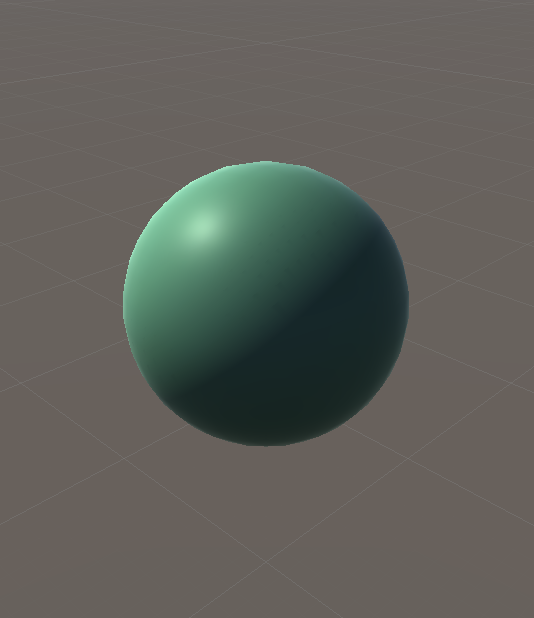
4. Apply the Material to an object in your Scene (Figure 07).
3. Conclusion
You now have another node in your arsenal to add even more to your Shaders. It’s a useful node that you might encounter often during shader development as it gives you control over effects like fades or masks.