ShaderGraph: Height to Normal
Tutorial
intermediate
+10XP
10 mins
69
Unity Technologies
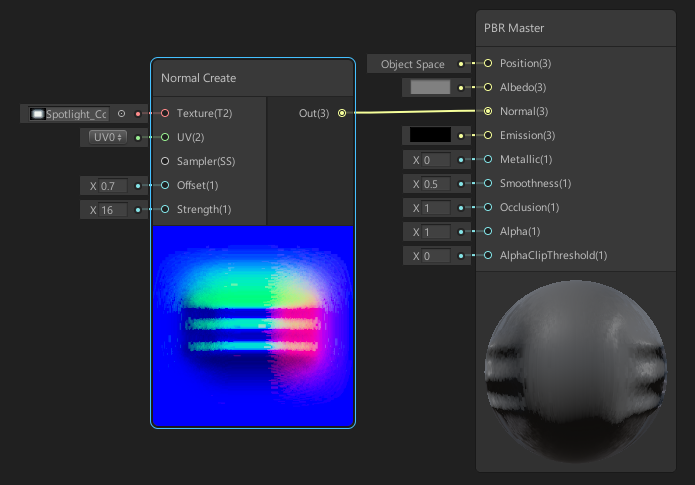
There’ll come a time when you need to quickly generate a normal shader. To do this, you’ll use a Normal Create node. This node allows you to supply a black and white Height map texture to generate a Normal map. In this tutorial, you will learn to quickly generate and adjust a normal Shader.
Languages available:
1. ShaderGraph: Height to Normal
This tutorial has been verified using Unity 2019 LTS and Shadergraph 7.3.1
One of the more common texture map types is the Normal map. There may be some situations in which you will have heightmap information for your mesh, but not a normal map. Fortunately, the Shader Graph allows you to generate Normal map data from heightmap data. To do this, you’ll use a Normal Create node. This node allows you to supply a black and white Heightmap texture to generate a Normal map. This becomes very useful when you’re trying to add additional detail to your Shader’s surface to determine how it should interact with the light and how it should appear to the viewer.
2. Creating the Shader Graph
To begin, let's create a Shader to use as an example.
1. Right-click in your project and select Create > Shader > PBR Graph.
2. Name the new Shader “SampleGraph.”
3. Double click SampleGraph to open it in the Shader Graph Editor window.
4. In the new window that opens, right-click and select Create Node.
5. Type in “Normal From Texture” and click the result that matches.
You will now have a Normal From Texture node sitting in your graph (Figure 01).
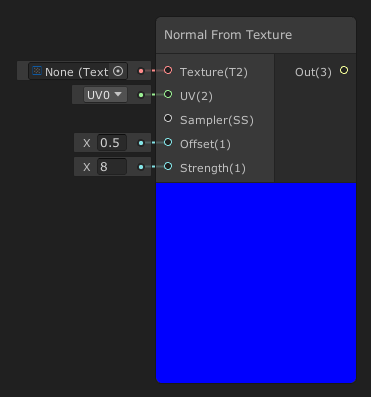
The Normal From Texture node creates a normal map from a heightmap defined by the input Texture. This node has a single output and five inputs.
Inputs:
- Texture: The texture of a heightmap to create a Normal from.
- UV: The Texture coordinates.
- Sampler: The sampler for the Texture.
- Offset: The amount to offset samples from the Texture.
- Strength: Determines the strength of the Normal map.
Output:
- Out: Outputs the Normal map.
Let’s create a Normal map with this node by giving it a Heightmap texture.
1. Either download a heightmap texture or find an image that’s black and white. (Figure 04)
2. Set the heightmap texture as the Texture input of the Normal From Texture node.
3. Increase the strength of the Normal map by doubling the default 8 to 16 in the Strength input.
4. Increase the Offset input by changing it from 0.5 to 0.7.
5. Plug the Out pin of the Normal From Texture node into the PBR Master node.
You should now have a Normal map created from the supplied heightmap
(Figure 02). This is incredibly useful as you can reuse heightmaps and customize the Normal maps generated from them. This gives you a good amount of versatility and customizability.
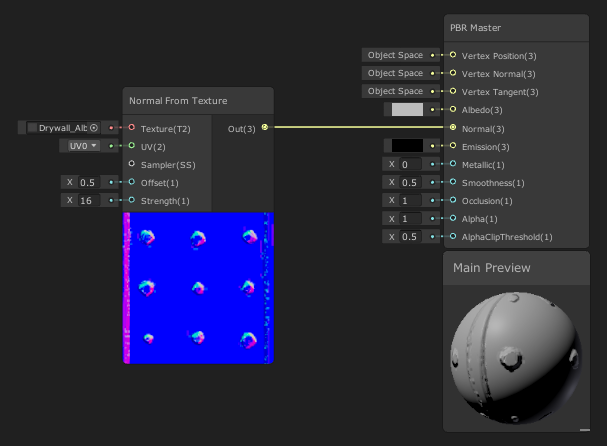
This will connect your work to the final node of the Shader Graph, which all Shaders feed through to be rendered out. The PBR Master node comes with a small preview so you can see the final result of the Shader.
3. Finishing the SampleGraph
To show your Shader, save your Asset.
1. In the top-left corner of the Shader Graph Editor window, click the Save Asset button (Figure 03).

2. Create a new Material in your Project window by right-clicking to select Create > Material.
3. In the Material window, select the Shader dropdown and select the Shader you created. (Figure 04)
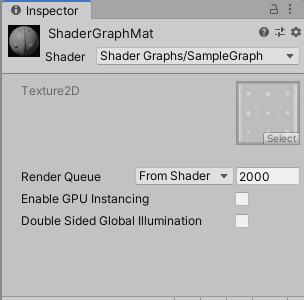
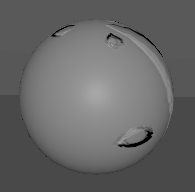
4. Apply the Material to an object in your Scene (Figure 05).
4. Conclusion
The Normal From Texture node allows you to create Normal maps on the fly within your Shader. It helps add additional detail to your Shaders to determine how they interact with the light.