Shader Graph: Multiply - 2018
Tutorial
·
Beginner
·
+10XP
·
10 mins
·
(64)
Unity Technologies
The Multiply node is used often in Shader development to combine or change effects. It’s one of several Math nodes that calculate inputs and produce a single output. As its name suggests, the Multiply node accepts two inputs multiplies them together to produce a single dynamic vector output.
Languages available:
1. Creating the Shader Graph
This tutorial was verified using Unity 2019.4.9f1 LTS and Shader Graph 7.3.1.
The Multiply node is used often in Shader development to combine or change effects. It’s one of several Math nodes that calculate inputs and produce a single output. As its name suggests, the Multiply node accepts two inputs multiplies them together to produce a single dynamic vector output.
To begin, let's first create a Shader to use as an example.
- Right-click in your project and select Create > Shader > PBR Graph.
- Name the new Shader “SampleGraph”
- Double click the new Shader you just created to open up the ShaderGraph window.
- In the new window that opens, right-click and select Create Node.
- Type in “Multiply” and click the result that matches.
You will now have a Multiply node sitting in your graph (Figure 01).
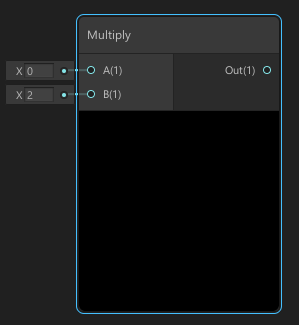
Inputs:
- A: First input value of a dynamic vector.
- B: Second input value of a dynamic vector.
Outputs:
- Out: A dynamic vector resulting from the multiplication.
Let’s use the Multiply node.
- Create a Sample Texture 2D node and assign it a Texture.
- Drag the R output of the Sample Texture 2D node into the A input of the Multiply node.
- The node will update, sampling only the data in the Texture’s Red Channel.
- Change the value of B input to another number. Anything below 1 will reduce the brightness of the texture; anything greater than 1 will increase the brightness of the texture.
- Take the Out pin of the Multiply node and plug it into the PBR Master node. (Figure 02)
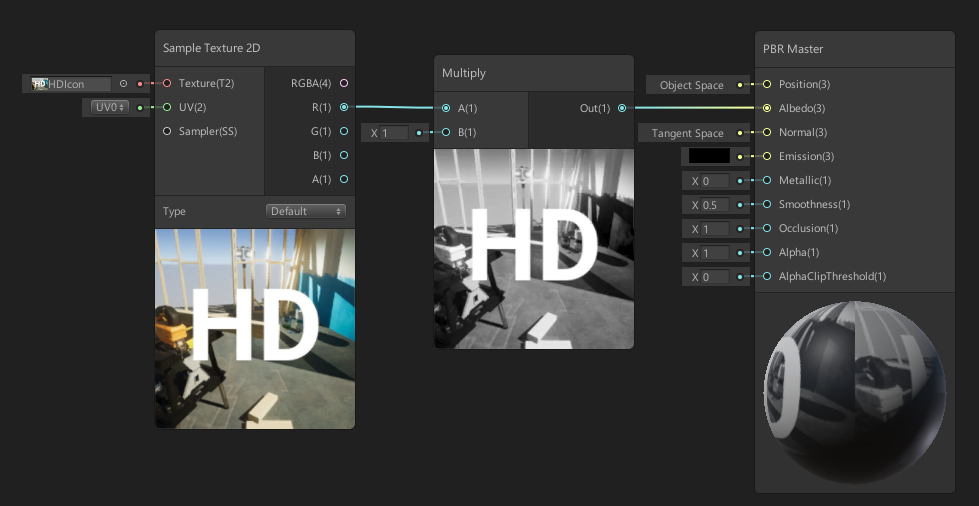
This will connect our work to the final node of the Shader Graph to be rendered out. The PBR Master node includes a small preview so you can see the live result of the Shader.
2. Finishing the SampleGraph
To finish your Shader, you must save your Asset:
1. In the top-left corner of your PBRGraph, click the Save Asset button (Figure 03).

2. Create a new Material in your Project window by right-clicking to select Create > Material.
3. In the Material window, select the Shader dropdown and select the Shader you created (Figure 04).
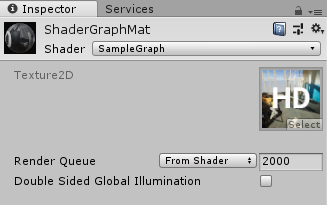
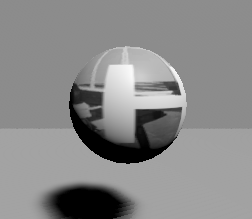
4. Apply the Material to an object in your Scene (Figure 05).
3. Conclusion
The Multiply node powerful math node that you will eventually use quite often to help build all of your shaders. It’s good to know its capabilities moving forward as you can really begin to experiment with what you can combine and multiply together for interesting results.