Shader Graph: Time Node - 2019.3
Tutorial
Beginner
+10XP
10 mins
35
Unity Technologies
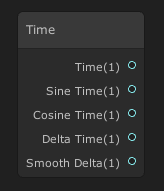
Eventually you will want to create a shader that animates continuously or at certain points in time. Whatever the goal, you will use the Time node to achieve this. The Time node allows you to access multiple time variables to work with within the shader. In this tutorial, you will learn to adjust and manage animations in Shaders.
Languages available:
1. Video Overview
If you are using Unity 2019.2 or below, click here.
2. Creating the Shader Graph
To begin, let’s create a Shader to use as an example.
1. Right-click in your project and select Create > Shader > PBR Graph.
2. Name the new Shader SampleGraph.
3. Open the new Shader graph you just created.
4. In the window that opens, right-click to select Create Node.
5. Type in Time and click the result that matches.
You will now have a Time node sitting in your graph (Figure 01).
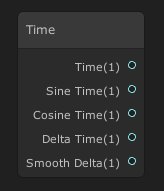
The Time node provides access to various Time parameters in the Shader. This node has five outputs. Outputs:
- Time: Provides a flat Time value.
- Sine Time: Provides the Sine of Time value.
- Cosine Time: Provides the Cosine of Time value.
- Delta Time: Provides the current frame time.
- Smooth Delta: Provides the current frame time smoothed.
Let’s make use of this Time node by creating a Panning Texture.1. Create a Tiling and Offset node and a Sample Texture 2D node.2. Take the Time pin from the Time node and plug it into the Offset input of the Tiling and Offset node.3. Take the Out pin of the Tiling and Offset node and plug it into the UV input of the Sample Texture 2D node.4. Select a Texture for the Texture input of the Sample Texture 2D node.5. Plug the RGBA pin of the Sample Texture 2D node into the PBR Master node.The result is a Panning Texture going from the top-right corner to the bottom-left corner (Figure 02).
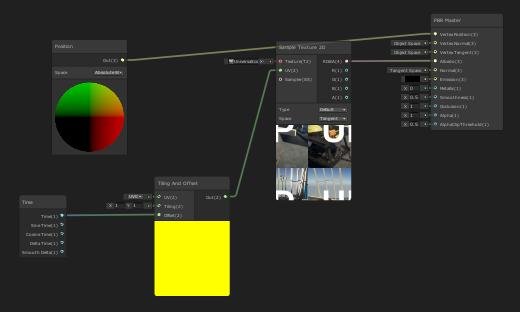
The PBR [Physically Based Renderer] Master node is the final node of any Shader. It’s the node that all shaders feed through to be rendered out. The Master node comes with a small preview at the bottom to show you the final live result.
3. Finishing the SampleGraph
To finish your Shader, you’ll need to save your Asset:
1. In the top-left corner of your PBRGraph, click the Save Asset button (Figure 03).

2. Create a new Material in your Project window by right-clicking to select Create > Material.
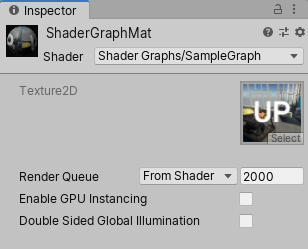
3. In the Material window, select the Shader dropdown and select the Shader you created (Figure 04).
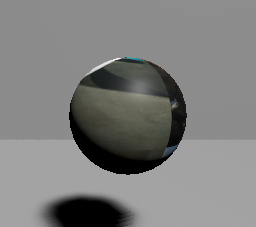
4. Apply the Material to an object in your Scene (Figure 05).
4. Conclusion
Use the Time node when you want an object to animate continually or for Shaders that rely on time in their operation. Experiment with animating gradients, colors, Textures, and other nodes that can be changed by time to make unique Shaders.