ShaderGraph: Color - 2019.3
Tutorial
Beginner
+10XP
10 mins
67
Unity Technologies
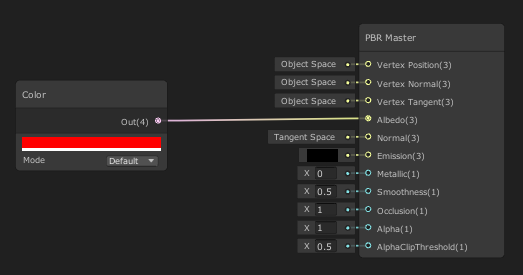
Within the Shader Graph, the Color node allows you to add color to an effect, use it to sample other colors, and much more. In this tutorial, you will learn to adjust color to customize effects in your Shaders.
Languages available:
1. ShaderGraph: Color
If you are using Unity 2019.2 or below, click here.
2. Creating the Shader Graph
To begin, let's first create a Shader to use as an example.
1. Right-click in your project and select Create > Shader > PBR Graph.
2. Name the new Shader “SampleGraph.”
3. Double-click the Shader you created to open it.
4. In the new window that opens, right-click and select Create Node.
5. Type in “Color” and click the result that matches.
You will now have a Color node sitting in your graph (Figure 01).
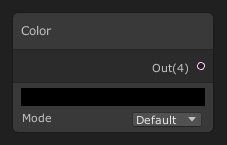
This node will define a constant Vector 4 value that represents a Color. This node has a single output and two parameters.
Note: The numbers you see in parenthesis are the vector sizes of the output and inputs and helps detail how large of a vector you will need, from a single value (1) to a vector of (4) parameters.
Outputs:
- Out: The output value of the color node.
Parameters:
- Color: Defines the color output value.
- Mode: This dropdown has two values, Default and HDR. These set the properties of the Color field.
Let’s make use of this Color node.
1. Change the Color property of the node to whatever color you wish.
2. Drag the pin to the PBR Master node and drop it into Albedo.
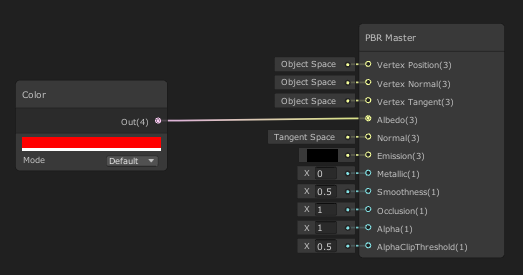
This will connect our Color node to the final node of the Shader Graph. All Shaders feed through this node to be rendered out. The PBR Master node comes with a small preview to show you the live result of the Shader.
3. Finishing the SampleGraph
To show your Shader, save your Asset:
1. In the top left corner of your PBRGraph, click the Save Asset button (Figure 03).

2. Create a new material in your Project window by right-clicking to select
Create > Material.
3. In the Material window, select the Shader dropdown and select the Shader you created (Figure 04).
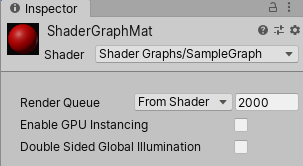
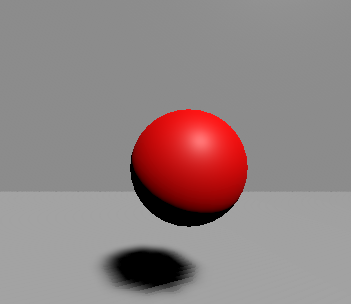
4. Apply the Material to an object in your Scene (Figure 05).
4. Conclusion
With basic knowledge of the Color node, you can add color overlays, or remove specific colors from textures. You can also add colors to special effects like dissolving a material or creating a force field effect. This node is incredibly versatile and can add life to your Shaders. Experiment with it to see what you can do.